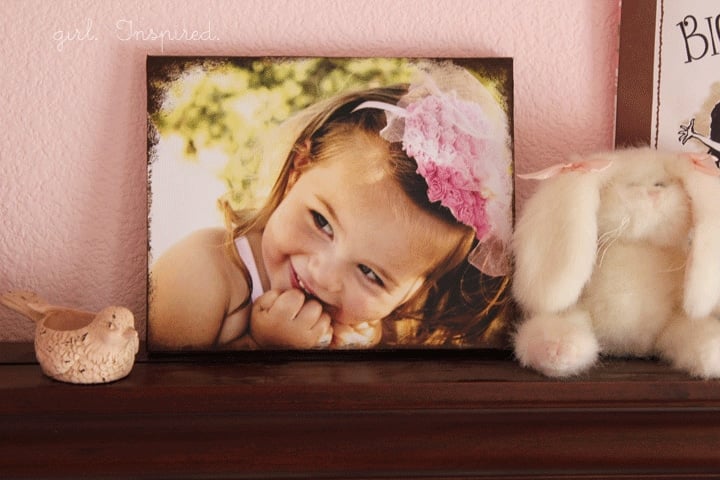
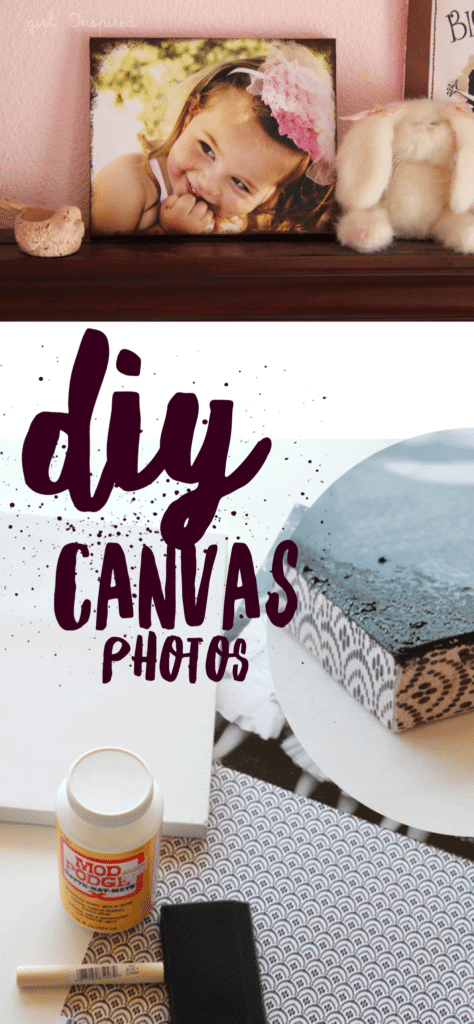
I am so excited to share this easy and beautiful tutorial for to make your own DIY Canvas Photos from inexpensive craft supplies!! I finally set aside the time and put a picture of the girls on canvas for Graham for Father’s Day. It was such a quick and easy project and I think the results are super cool.
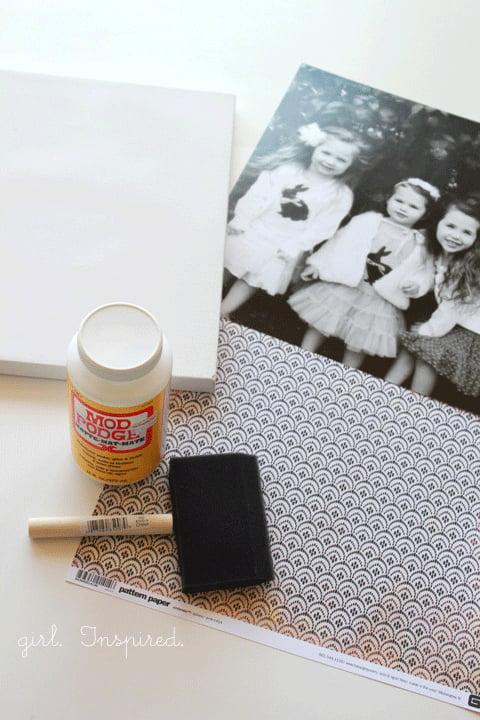
The supply list is short:
canvas
photograph (same size as canvas)
MATTE mod podge
scrapbook paper
acrylic paint
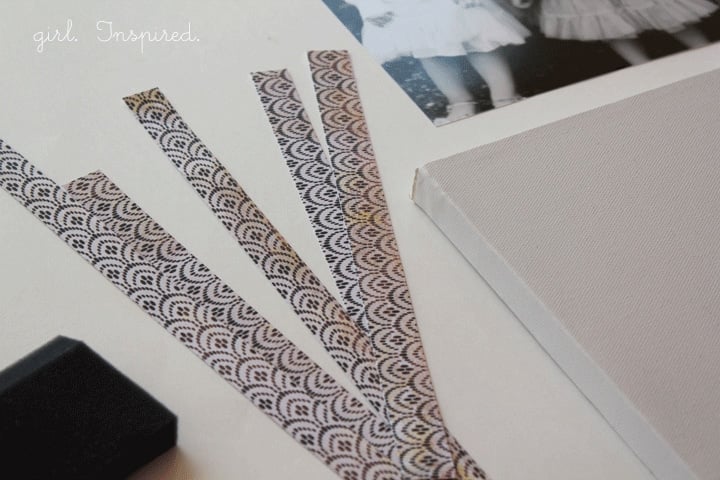
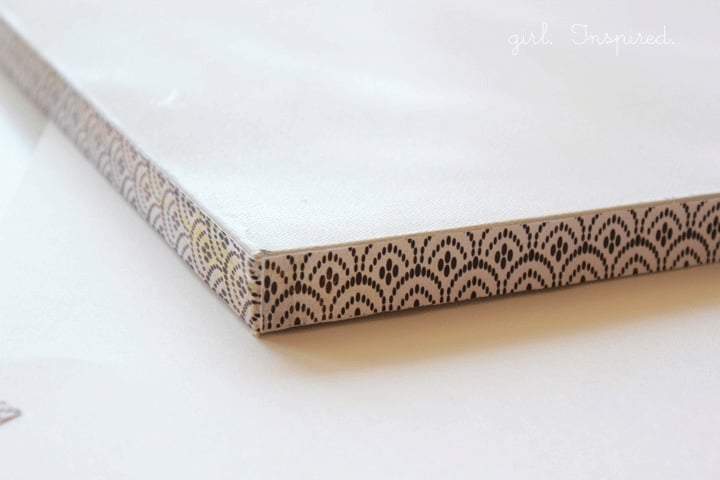
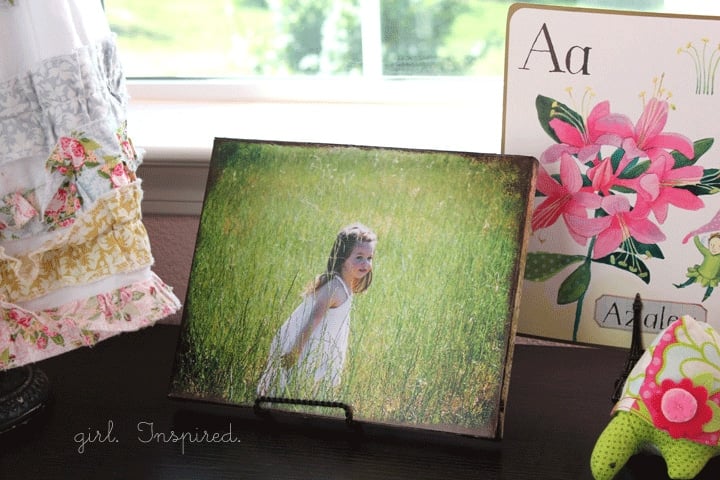
First, cut strips of scrapbook paper to fit each side of the canvas. It’s easiest if the strips are just slightly shorter and narrower than the sides. Apply mod podge liberally and glue strips on each side Glue the photograph to the top of the canvas. You can lay your project on wax paper so that it doesn’t stick to your work space while drying. Allow to dry completely.
Then, apply a coat of mod podge over the entire surface, the edges and the picture. Allow to dry completely again. It will look milky at first, but will dry clear. I used photos printed at Costco; they held up well and the ink didn’t smudge or anything wonky like that.
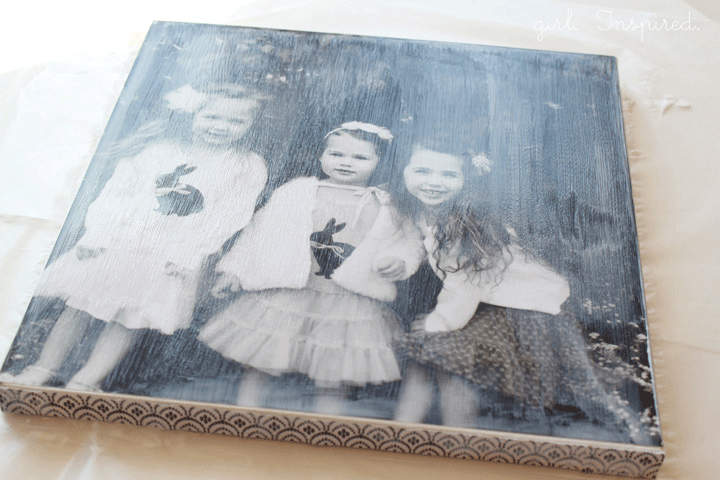
Okay, so after it’s all dry, use a sponge or cloth to dab on acrylic paint to cover any spaces between side paper strips and the photograph. I also liked the look of smudging up the corners. The paint adds a little texture that I like, too.

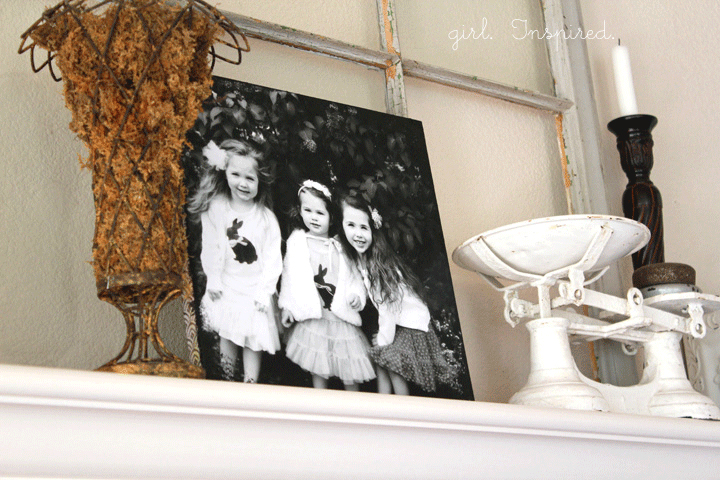
I only got a quick snapshot of Graham’s picture before we wrapped it up and now it resides at his office.
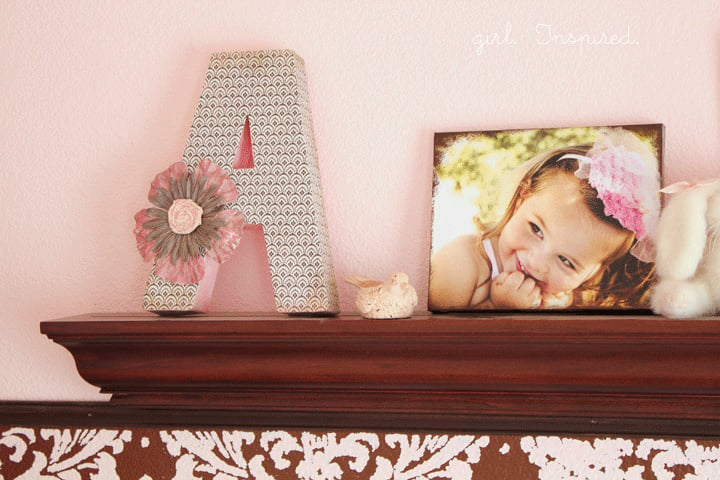
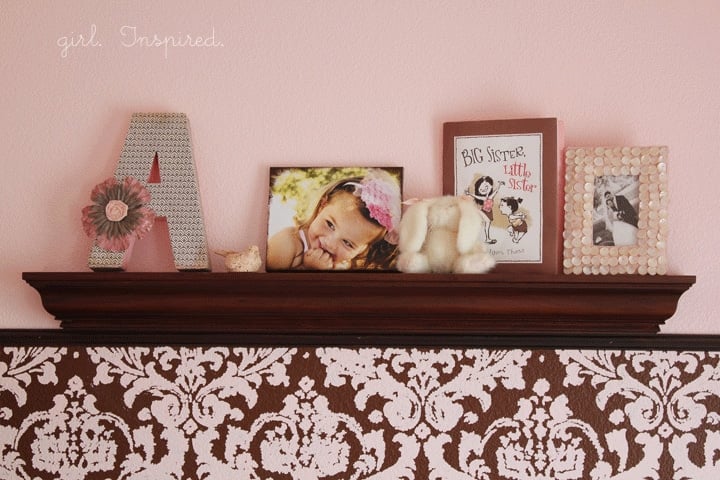
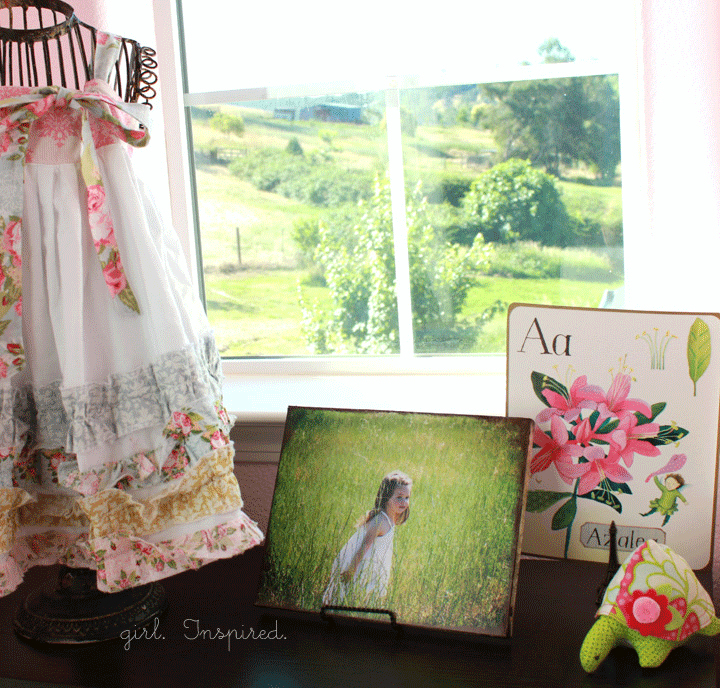
I made a couple more canvas pictures for Addie’s room with my favorite pictures from her birthday. I usually prefer black and white photos, but I did these in color because I love how the coloring coordinates perfectly in her bedroom. Rather than the black acrylic paint, I mixed a metallic bronze, medium brown, and metallic black and dabbed that around the edges and corners. It took me a couple tries to get the right color combination, but since the mod podge was well dried, I was able to rub off the unwanted paint with a damp sponge – foolproof! You gotta love that.
This is one of those immediate gratification projects. Each step literally takes less than a minute, and the mod podge dries fairly quickly (e.g., less than 30 minutes). You can have your canvas photo project done and on display in no time at all!
I like it, I think I’m going to go for a big ‘ol picture next.
PLEASE ALSO READ: CANVAS PHOTOS DIY REVISITED


Comments & Reviews
Miranda says
These are beautiful photo canvas motives and the result is gorgeous! Thank you so much for sharing this. I just came across this blog as I was looking for ideas for making a photo canvas and this is perfect 🙂 I’m inspired!
Maria Lopez says
This is a great idea for a family activity so as a school activity for kids, thank you so much for sharing this creative idea. I been thinking for activity that I could get my hands on with my kids, I been trying to get them creative instead of playing in computer everyday. This DIY gives me idea on making some photo canvas after our trip in the beach, I hope the kids will enjoy this fun creative activity.
Jacque says
I seen your post about transferring a photo to canvas, I want to do this but I wasn’t sure do I get a picture developed or do I use computer paper to get the photo.??
girlinspired says
Definitely get the photo developed – the ink from a computer-printed photo will bleed when you put the glue over the top. I get my pictures developed at Costco.
Stacey says
Thank you so much for sharing this project!! I’ve made a couple of (unsuccessful) attempts at photo canvases using transfer methods. I decided to go this route instead. I used Liquitex instead of Mod Podge because that’s what I had. I tried this project out using the acrylic paint method & am thrilled with the results. My dining room table is currently covered with drying projects I plan to give as gifts, as well as keep for my home.