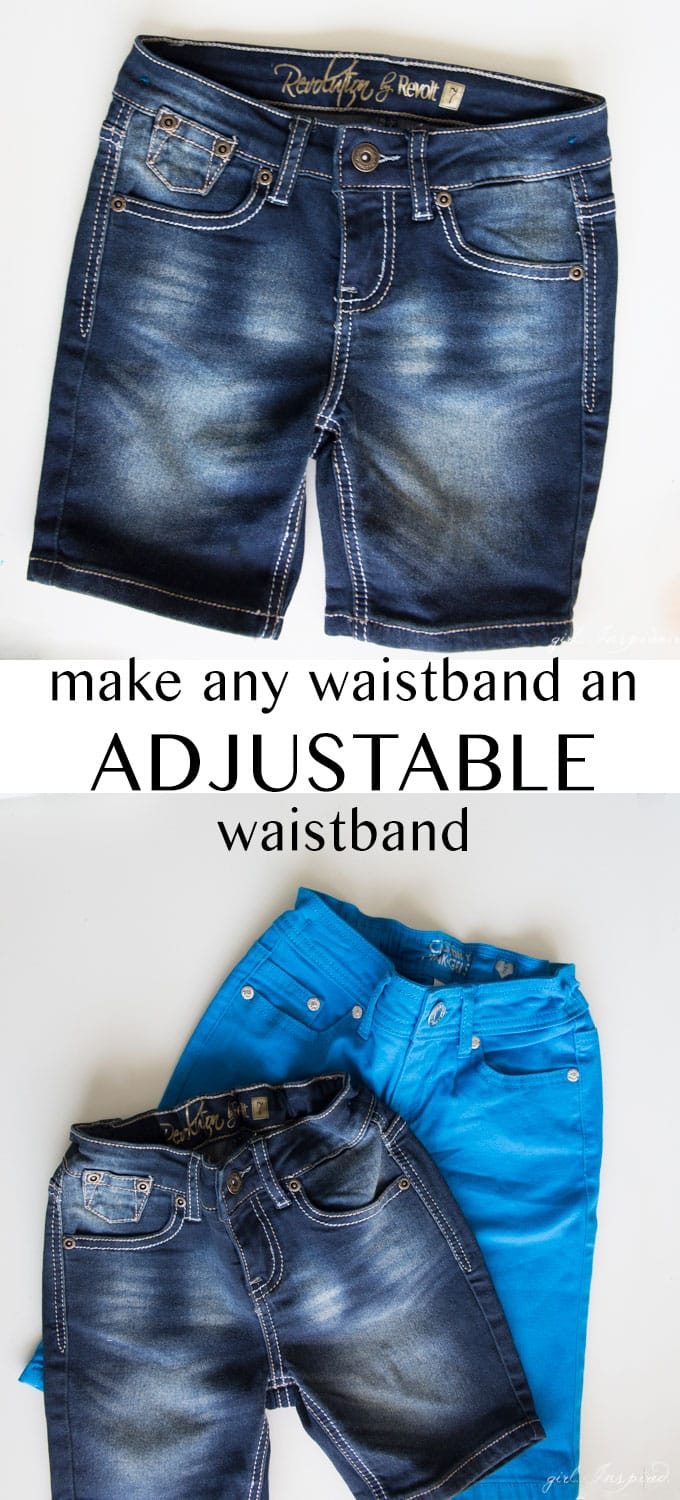
Keeping up with kids’ wardrobes can be a full-time job. Even with three girls exchanging hand-me-downs and swapping clothes, there still seems to always be someone who has “nothing to wear!” We had a stack of shorts in the closet that no one could wear because they didn’t have an adjustable waistband and my girls have tiny little waists. In less than five minutes, I turned each pair of shorts into a useable pair complete with an adjustable elastic waistband. You don’t even necessarily need a sewing machine for this task and it’s quick. Ready to see how simple this is?
Supplies:
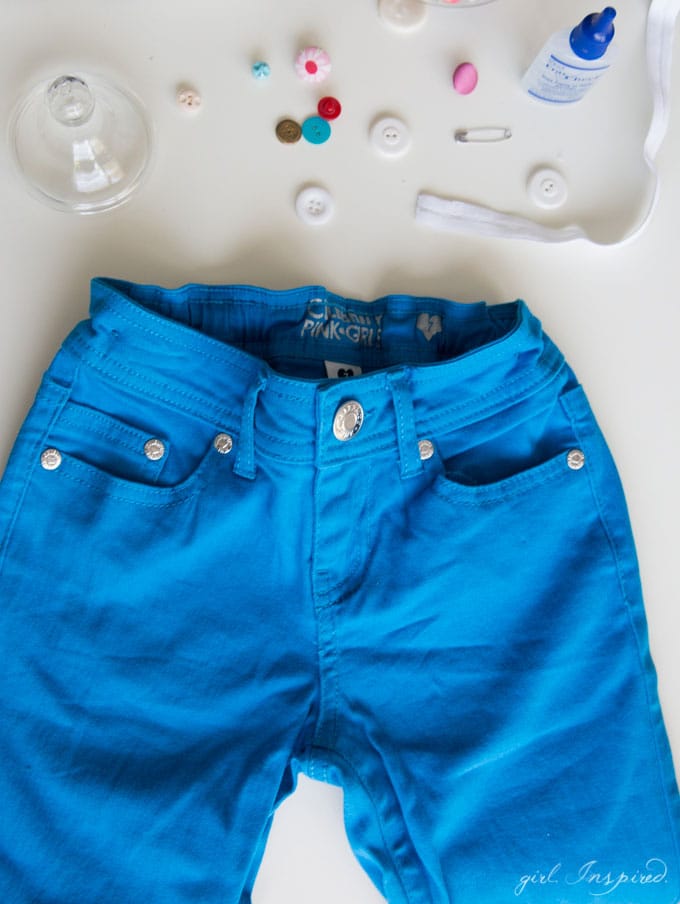
pair of shorts/pants/skirt without an adjustable waistband
buttonhole elastic (here’s an affiliate link to the kind I use).
fabric scissors
two ⅝″ buttons
Fray-check (available at any sewing supply store, but here’s an easy affiliate link)

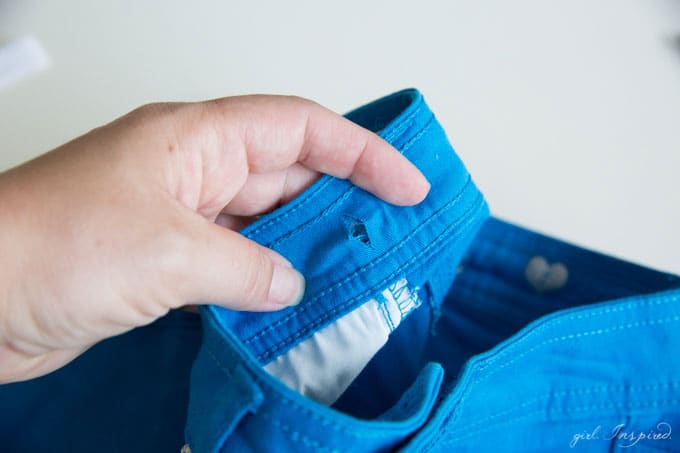
Grab your pair of shorts or pants and check to make sure they have a double layer waistband spanning the back of the shorts. Rub the waistband between your fingers if you’re unsure and you should feel the two layers of fabric. The waistband is going to act as a tunnel for your elastic. Check also to make sure that the pathway is clear. I found a small tag stitched onto one waistband which “blocked” the tunnel – simple fix – I used a seam ripper and removed the tag from the pathway.

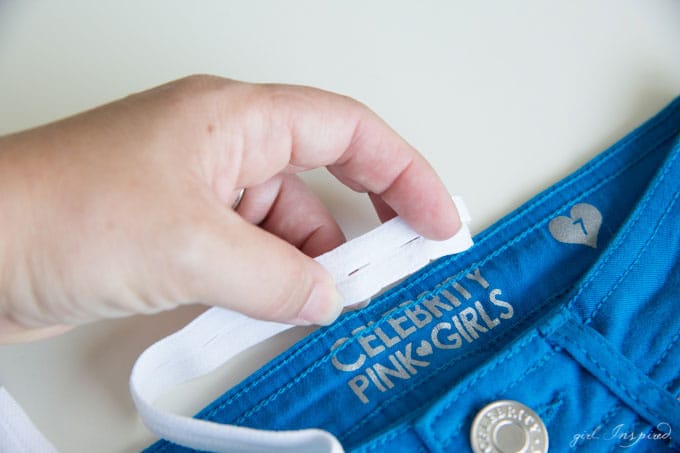
Measure a piece of buttonhole elastic just long enough to span from one side seam to the other (i.e., half the waistband). See how this specialty elastic already has the buttonholes in it? Makes our task so easy!
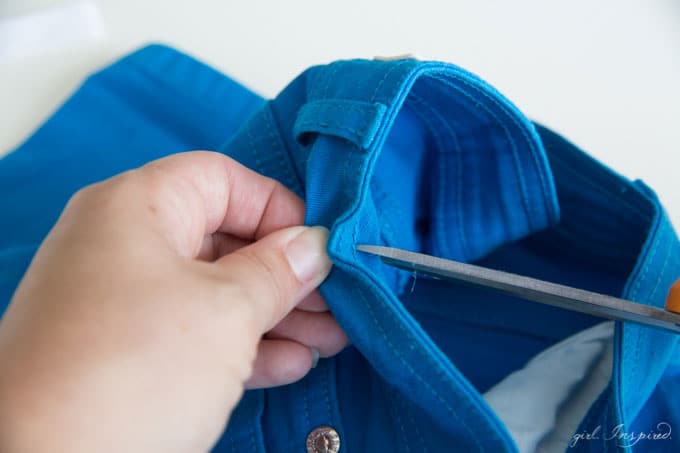
At each side seam (or about ½″ to the back of each side seam), separate the front of the waistband from the back of the waistband. We’re going to snip a small slit in the INNER waistband piece at each side seam. Cut carefully – be sure that you don’t cut the front of the waistband (which will be visible on the outside of the shorts) and that you don’t cut through the stitching along the top or bottom edge of the waistband.
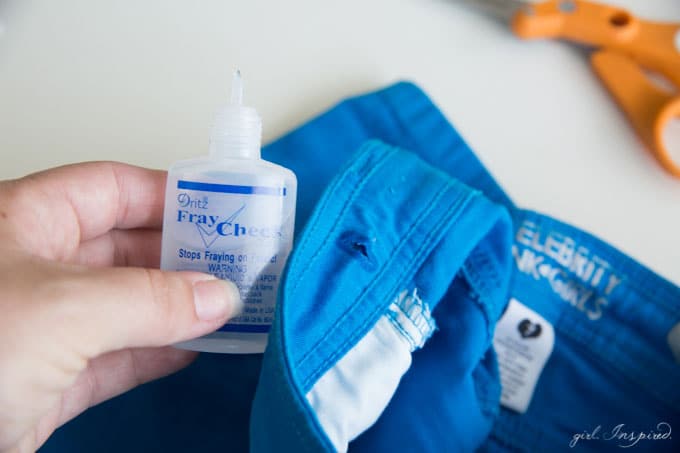
Apply Fray Check to the snipped holes to prevent them from fraying unnecessarily.
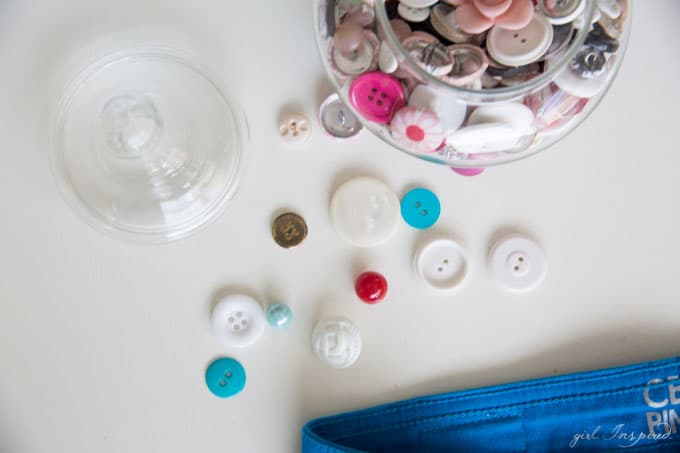

Choose two buttons and stitch them alongside each snipped hole – the buttons should be sewn toward the front of the shorts from the snipped holes. They should be at right about the side seam, as long as you snipped the slits ½″ to the back of the side seam.
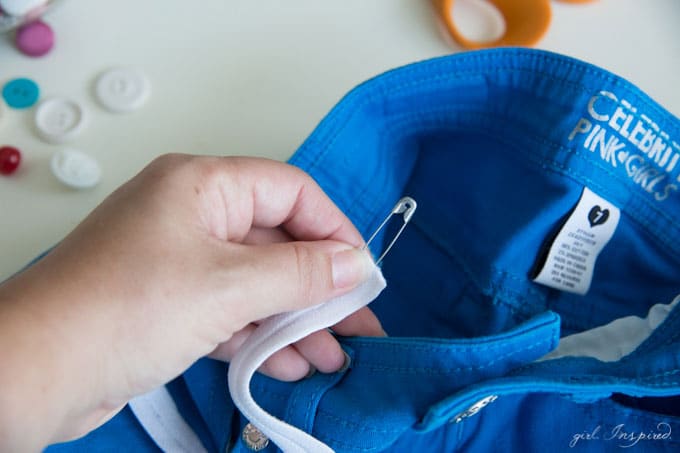
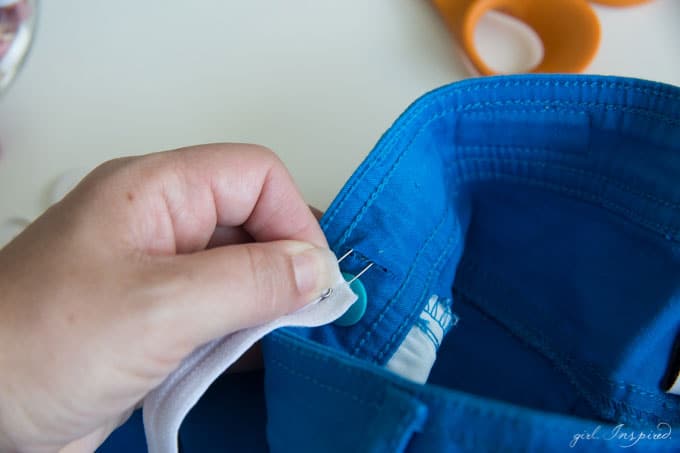
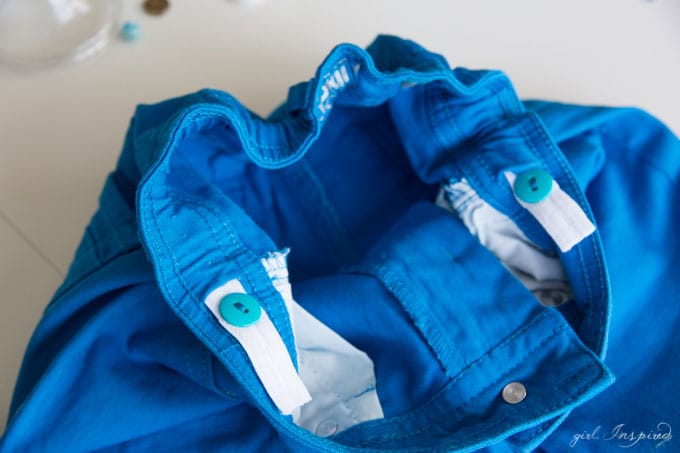
Finally, attach a safety pin to the end of the buttonhole elastic piece and thread it through one slit and out the other. Try the shorts on your little one and pull the elastic over the buttons for the perfect fit. So simple, right? Your kids will thank you!

Now that you’ve fixed up their waistbands, you can sew an infinity scarf or make a DIY princess crown as your next project!


Comments & Reviews
DeLissa says
Simply awesome. …my son has a very small waist. He wears a 30 length in pants but not a 30 waist. They are way to big in the waist. I can’t wait to try this. Thanks for tips.
Stefanie says
You’re welcome! My girls are all in high school now and I still have to adjust the waist on some of their clothes. Some kiddos just have smaller waists than the clothing manufactures think. 😂
Kate says
Perfect, thank you. One pair of falling down shorts sorted.
girlinspired says
Woohoo!
familyfirstfcu.org says
It’s an remarkable piece of writing designed for all the web people;
they will take advantage from it I am sure.
Roos Mom says
I could hug you! Exactly the tutorial I was looking for. Thanks bunches.
Ana Sullivan says
Thank you for this easy tutorial. I have used this same method with a snip in waistband and regular elastic sewn in. See here: http://www.thelostapron.com/2012/08/quick-repairs.html
But I think this would be great for my aging father who keeps loosing weight.