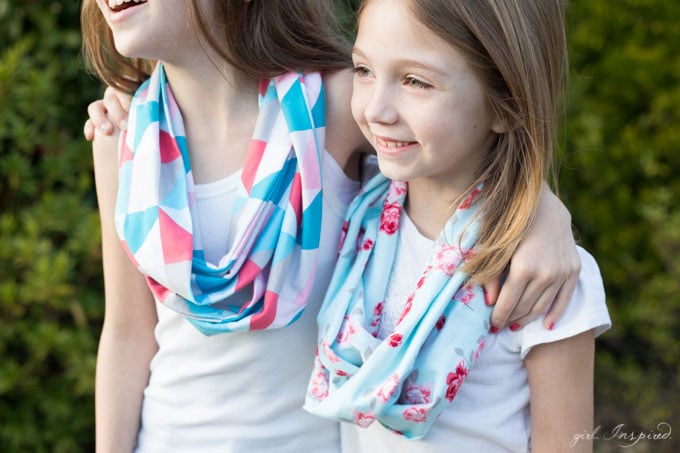
I got the girls behind the sewing machine! They’ve been raiding my scarf drawer looking for a little something to brighten their outfits against the cold, rainy weather. Since two of them were home sick from school last week, but had a little energy, we decided to do some sewing.
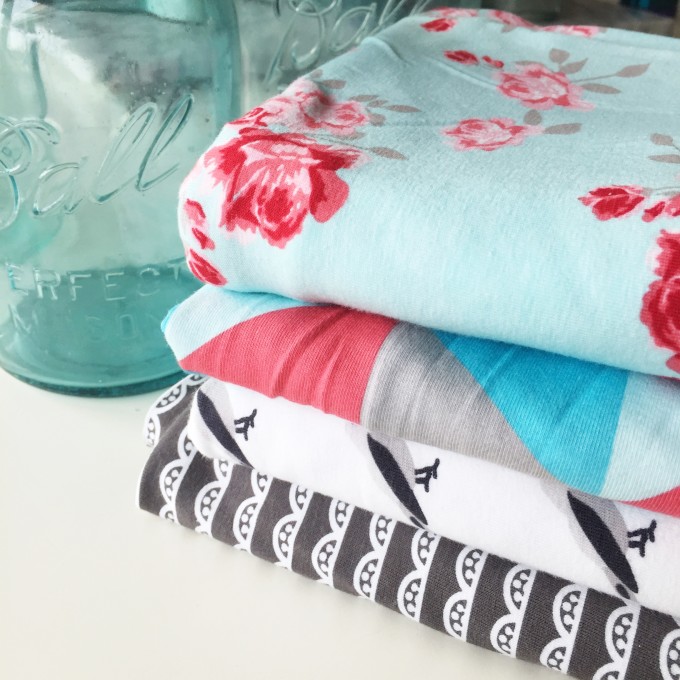
When my stack of Idle Wild knits arrived the week before, my girls tore open the package and staked their claim on their favorite design. Have you seen this fabric line? Probably – I keep seeing beautiful projects and adding ideas to my sewing list. There are three different color ways and four different patterns – each one designed by one of the lovely Pattern Anthology ladies. So fun!
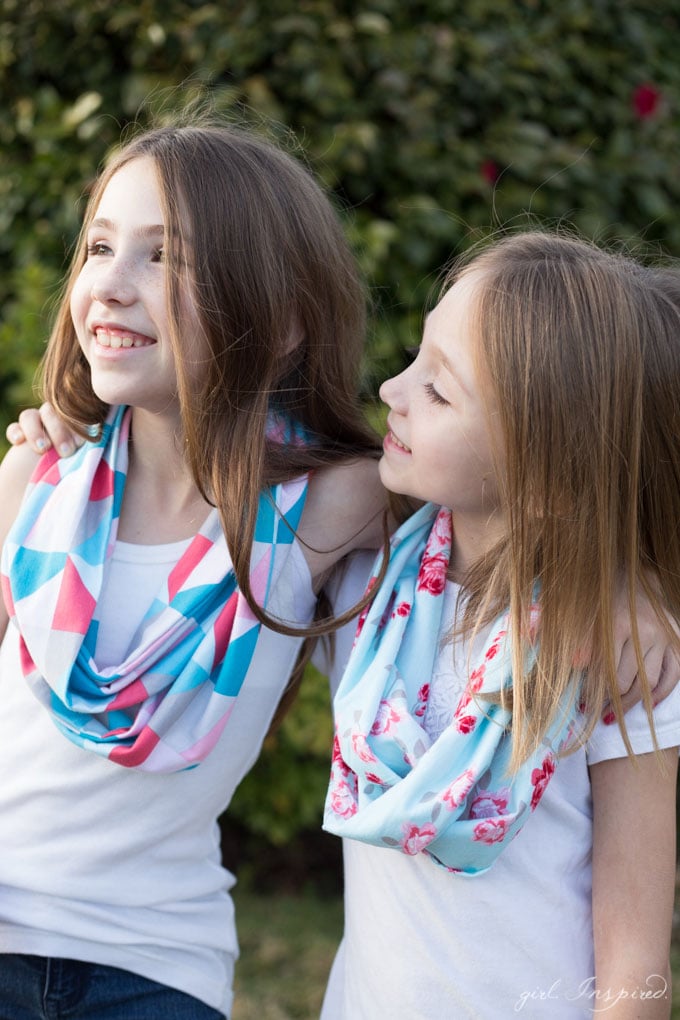
So on to this particular project – Have you sewn an infinity scarf or 20 gazillion yet? They’re so simple and this knit has enough structure to make a nice accessory scarf! We sewed these on the serger because it’s just so super easy and fast. The focus today is not so much on the tutorial – because it’s not anything revolutionary or new – but rather on an IDEA for a quick, simple project that your KIDS can sew themselves. The girls each sewed their own and are really proud of themselves – you should see their faces light up when they come home from school and talk about how their friends love their scarves and they got to tell them they made them!
Again, the girls used the Babylock Evolution serger to make these. They had never operated the serger before so I stood right next to them as they sewed and they did just fine. If you have younger children, I’d recommend working on a regular sewing machine with heavy supervision. These kiddos (age 8 and 10) were able to control the serger and go nice and slow, keeping their fingers a safe distance from the blade and needles. Here’s the how-to, in case an infinity scarf is new to you:
- Cut a 12″ x 60″ strip of knit fabric. Trim the salvage edges from each end.
- Fold the strip in half, lengthwise, to form a 6″ x 60″ strip. Fold right sides together, matching the raw edges, and pin. (The girls used Wonderclips, which are easy for them to clip on and remove while sewing).
- Sew all the way down the length of the strip, removing pins/clips as you sew.
- Turn right side out.
- Bring the two ends together, forming a circle with the scarf. Join the right sides of each end together, matching the seam and working out and around the circle. Pin or clip. Sew the two ends together, working on the wrong side of the fabric. This is a bit awkward but you will basically be turning the scarf into itself as you sew the ends. You will not be able to sew the ends fully together. Stop with about a 2″ space to go and reposition the fabric so that the scarf is almost fully joined and right side out.
- Hand stitch the opening together or use an adhesive tape and iron to seal the hole.
- Wrap around your neck a couple times and you’re all set!
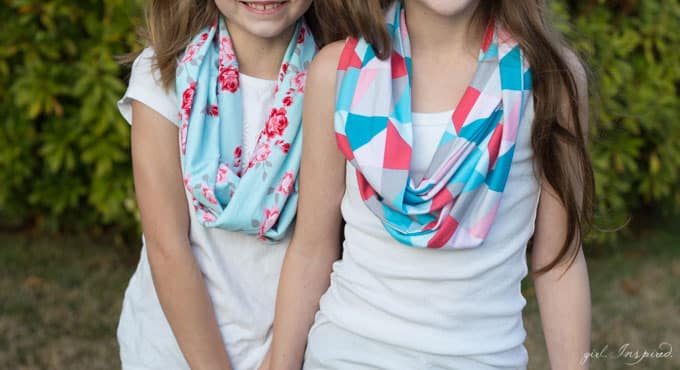
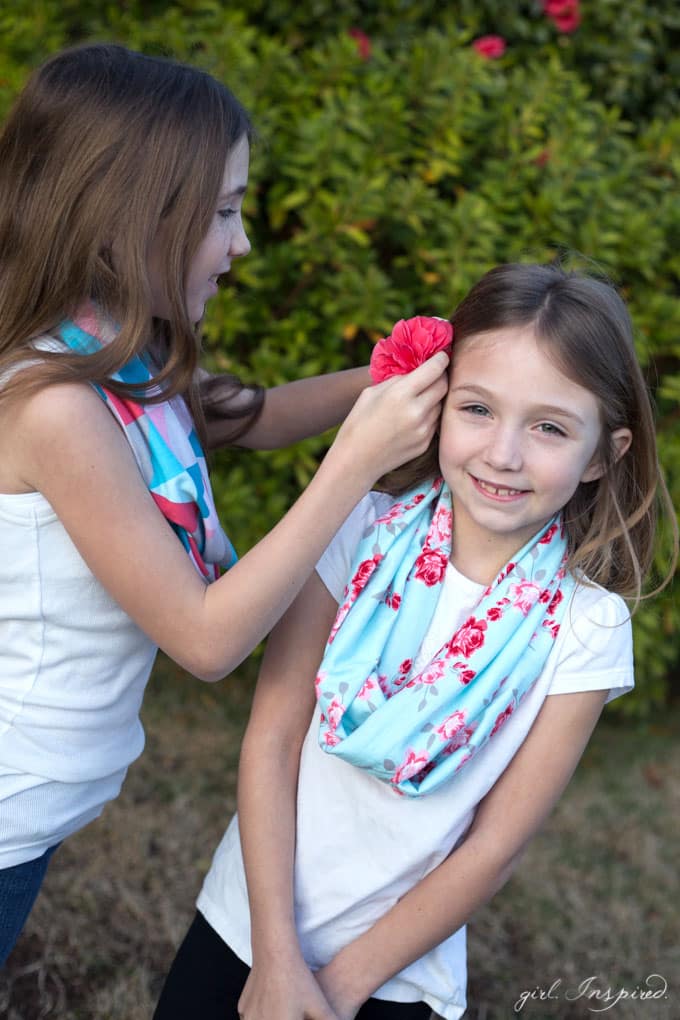
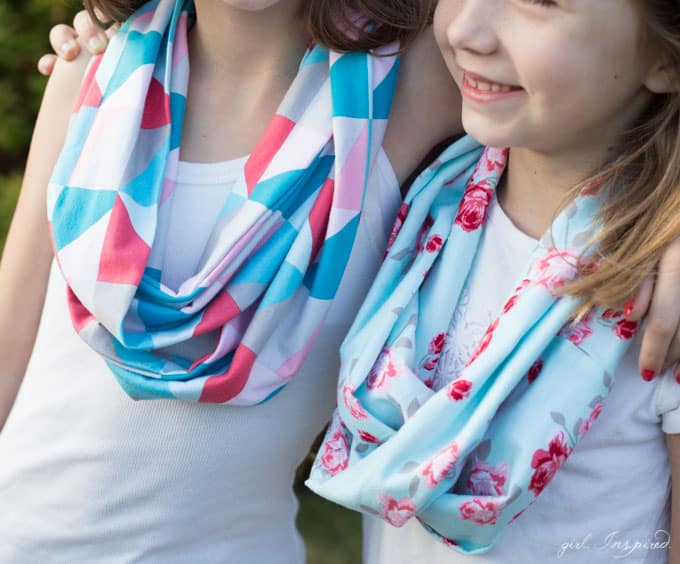
Presto! I see many more accessories in our future!


Comments & Reviews
Charity says
Your girls are so cute! My oldest isn’t quite ready for the serger yet, but I’ll have to ask her if she wants to make one of these on the regular sewing machine. =)