The pace of this sewing competition is so intense, I haven’t had a lot of time to share instructions for the pieces I’m making, though I do plan to put some things together after things wrap up. Today, though, I DO have a wide-cuffed coat sleeves sewing tutorial for you from the “Sunday’s Child” outfit. While I was making Christmas gifts, I made a little “Red Riding Hood” cloak for Grace (which I will share with you soon) which is when I discovered how beautiful the beaded machine-embroidery looked on velvet. For our Outerwear challenge, I knew that I wanted to incorporate that embroidery along with some large cuffed sleeves. The rest of the coat (and outfit) emerged from there. I think it’s incredibly interesting that two of the other outfits last week were a play off of Little Red Riding Hood. Most definitely a fun thing to sew for little girls! Anyhow, here is how I made the “Sunday’s Child” sleeves….
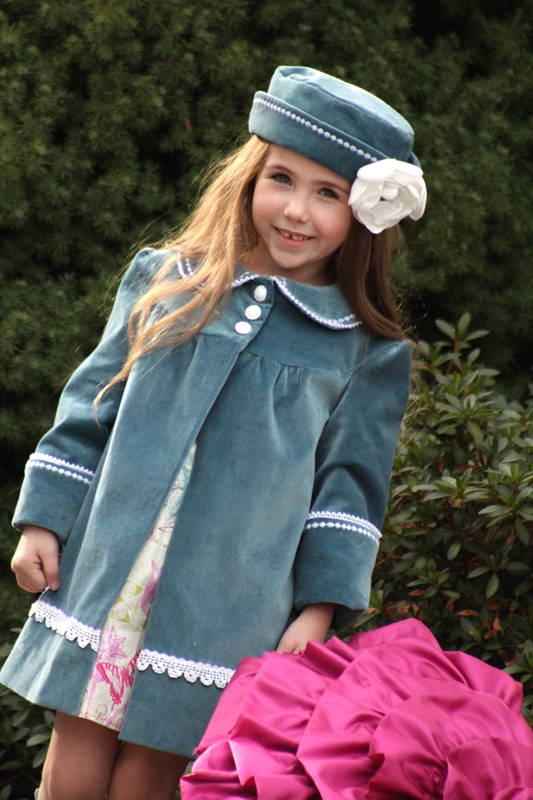
You are going to want to decide how wide you want the cuffs of the sleeves. I chose to make these cuffs about 6″ wide. As Olivia grows, the cuff width can be adjusted so that the coat will fit for quite some time.
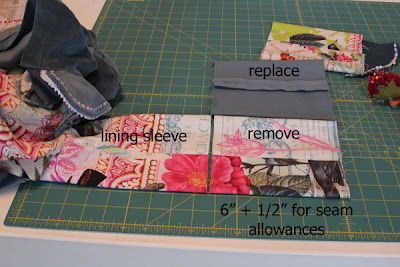
We’re going to start with the coat completely sewn except for finishing the sleeves. When cutting the material for the sleeves and sleeve lining, I cut the length an extra 6″ + ¼″ for hem from the necessary finished length of the sleeve. Attach the main sleeve and the lining sleeve to their respective bodies of the coat. Once the whole coat is assembled, separate the main sleeve from the lining sleeve and move the coat out of the way so that you are working just on the lining sleeve. We’re going to replace 6″ of the lining with the velvet so that when the sleeve is turned into a cuff, only the velvet shows. Cut 6 ¼″ from the lining sleeve (you could also do this from the get-go, but I wasn’t sure of the measurements until I had everything put together. Then I cut an equal piece of the main (velvet) fabric at 6 ½″, sewing it into a tube.
Working on lining only: pin “new lining piece” to the lining sleeve right sides together, matching seams and raw edges. Stitch with ¼″ seam.
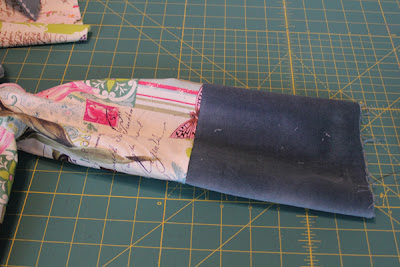
Fold out and press seam toward top of sleeve.
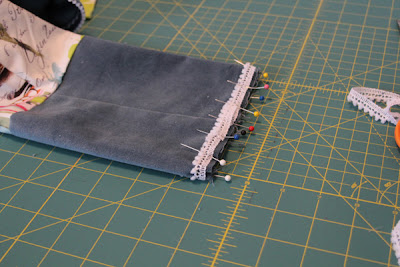
Now is the time to add trim if you wish. Pin trim to sleeve, matching raw edges. You can measure length around sleeve and form your loop of trim ahead of time (stitch the ends together, then place over the sleeve and match seams) – this trim was so small, I simply overlapped the ends at the seam and left them separate. Now, stitch the trim down. Turn the trim out and press the seam up.
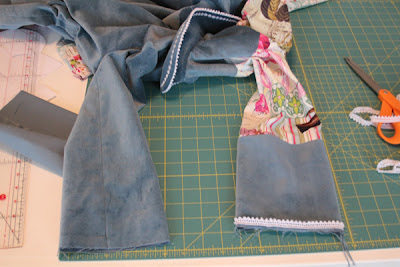
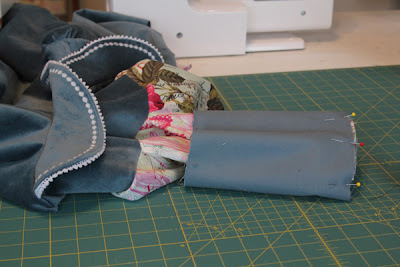
Next, we’re going to attach the new lining sleeve to the main sleeve. Press the raw edge of your main sleeve under ¼″ (not pictured). Take your lining sleeve and insert it into the main sleeve. Wiggle the sleeves around to ensure that the seams are matched and everything is in its place. Turn the whole coat inside out so that you are working with the lining sleeve face out.
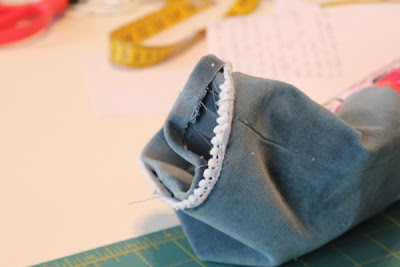
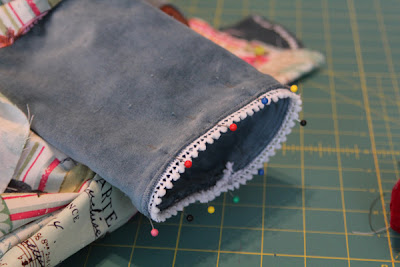
Working on the sleeve ends, match seams and pin the main sleeve to the lining (both sleeve ends should be turned under to the inside of the coat.)
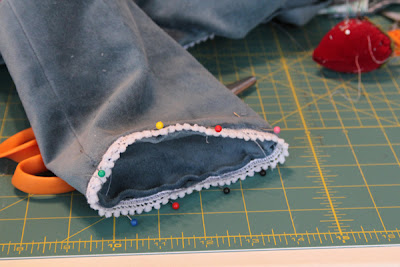
Now, stitch close to the edge, making sure you catch both the main sleeve and the lining.
If you want to embroider a design on the hem of the sleeve, do that now. I lined up the edge of the sleeve with the edge of my presser foot as a guide.
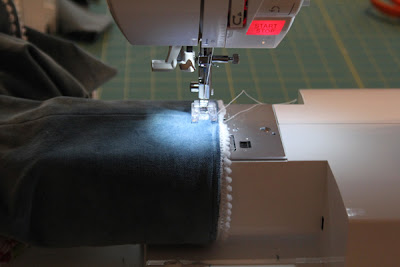
I selected this oval satin-like stitch and used white thread for a nice contrast and to brighten the coat. My machine (because some have asked) is a Singer Quantum Stylist 9960. It has some great little stitches on it. Even the most basic machines usually come with some embroidery stitches built in – they make such a pretty compliment to the garment – experiment!!
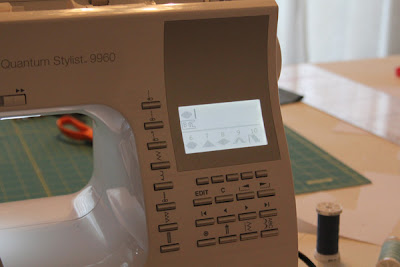
Okay, so stitch all the way around the cuff, repeat on the other side, and, done!! Turn the coat right side out, turn your cuff up, and admire your work!
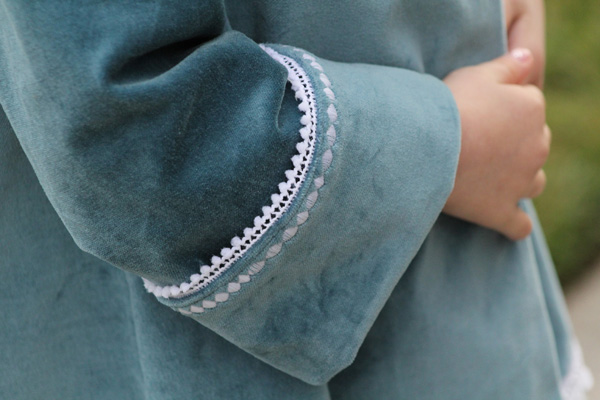
So pretty!! Let me know if you have any questions!


Comments & Reviews
Audrey says
Hi Stef,Thanks so much for the sewing machine info! I’m routing for you on PR&P! Everything you’ve made is fantastic and your daughters make the most adorable models.
Amy at Ameroonie Designs says
So glad yo made it through another round! congratulations. 🙂 I adore this coat and all it’s lovely details.
xoxo
Kristie-Creating Chaos says
It’s gorgeous Stef. Liv looks lovely in her coat.I seriously am envious of your talent. I can’t wait to see this weeks PR&P project. You do special occasion so well I’m excite to see what you’ve made!
cpasseno says
This coat is so lovely! I always forget to use my decorative stitches, but I will be using them now. I hope to make a spring coat for my granddaughter and will be doing this. I love all of the projects you have made to PR&P. You are very talented.