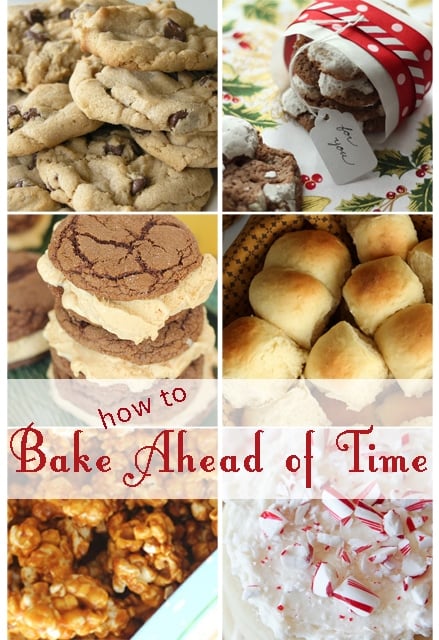
There is always a list of things to bake around the holidays. From cupcakes for classroom parties to sugar cookies for Santa, it can be difficult to find the time to freshly bake everything that you need for each event. I’ve shared ideas here and there for time management and make-ahead recipes. Today’s tips for baking ahead of time are meant to be a summary of ideas and personal experiences. Let’s talk about cakes, cookies, and breads.
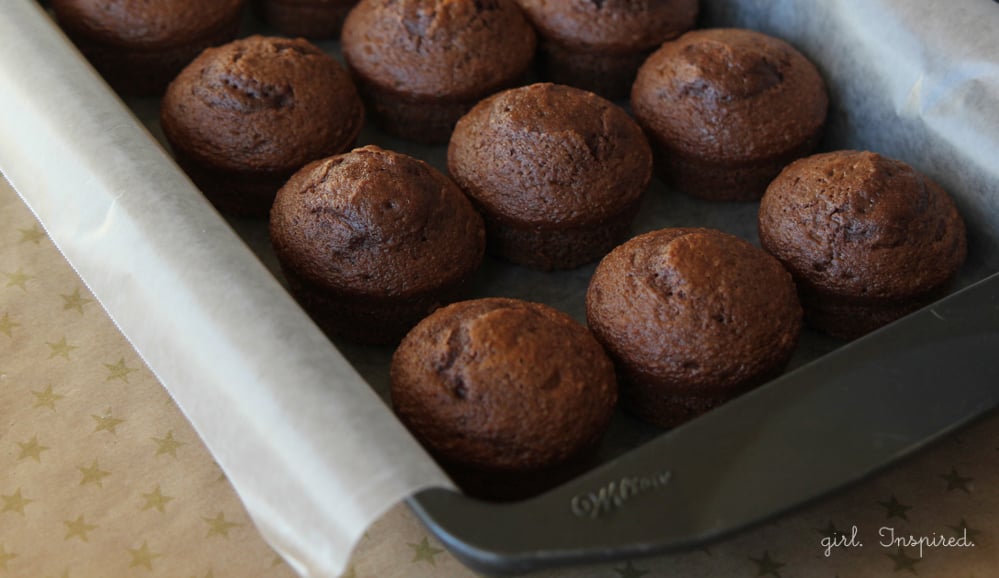
Cakes and Cupcakes
- Cake/cupcakes can easily be made ahead (up to a week) and frozen without compromising the taste or texture of the cake. In fact, it might just be my imagination, but I think cakes that have been frozen come out even more moist!
- Allow cake to cool after baking, remove from pan, cool completely. Wrap tightly in plastic wrap (I use two layers) and freeze flat.
- Cupcakes can be baked in paper liners or baked without liners – the cupcakes can be slipped into paper liners just before frosting if you prefer (I think it looks nicer to slip the liners on later).
- Cooled cupcakes can be frozen by placing them in a container that has a lid. Wrap a couple layers of plastic wrap around the container prior to snapping the lid over the top.
- Set cakes out to defrost several hours prior to frosting. When they are mostly defrosted, unwrap and proceed with leveling and/or frosting.
- Frosted cake and cupcakes can typically be stored in the refrigerator overnight, prior to an event. This is dependent on the type of frosting. Fondant-covered cakes should not be refrigerated or frozen, but can be kept in a bakery box in a cool, dark room overnight.
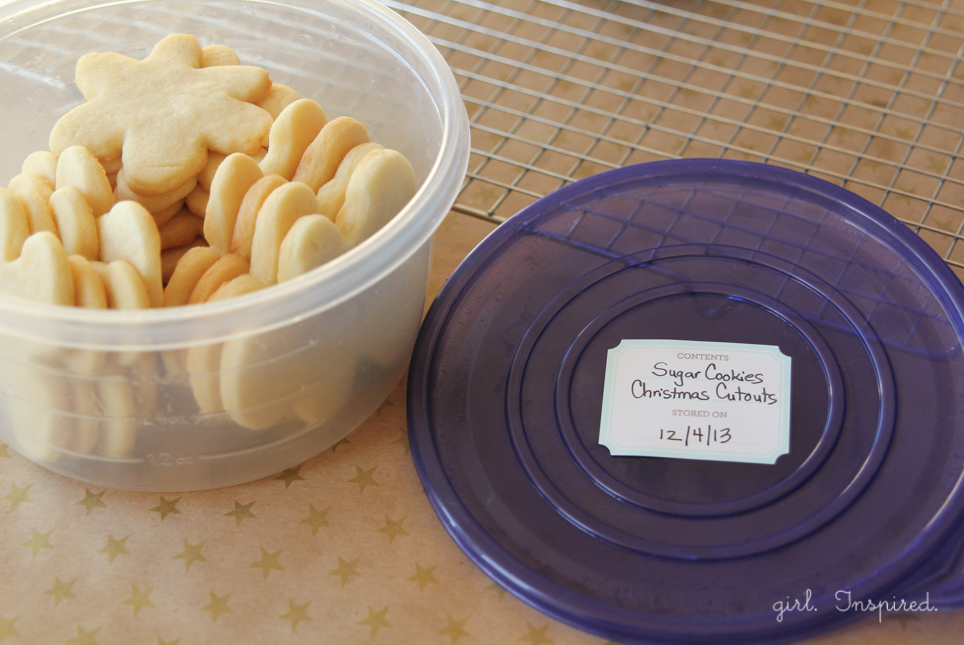
Cookies
- Cookies can be stored in a freezer for 3-4 weeks.
- Bake cookies according to the instructions. Cool completely. Place in a freezer-safe container or gallon-size plastic freezer bag; separate layers of cookies with waxed paper.
- Cookies that I’ve found freeze well include: sugar cookies, chocolate chip, oatmeal chocolate chip, molasses/gingerbread. I think most baked cookies would freeze well – give it a try!
- Thaw cookies at room temperature prior to serving.
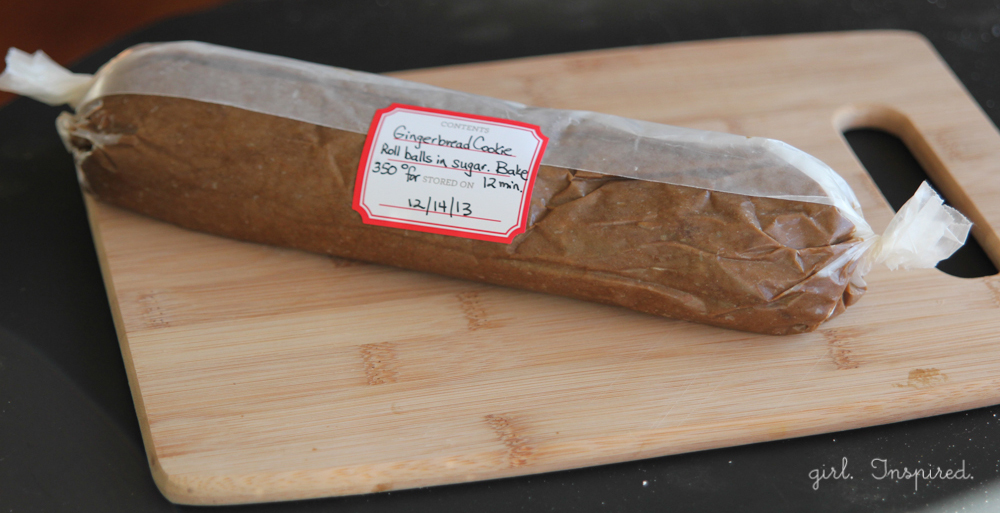
- If you have a favorite cookie recipe that is heavenly just out of the oven, consider freezing the dough. I mound the dough on a large piece of plastic wrap and then on a sheet of waxed paper or freezer paper. Next I roll it up into a log, twisting the ends off. The log of dough can be labeled and then placed in the freezer for 4-6 weeks.
Other Baked Goods
- Some pies can be prepared and frozen ahead of time. I don’t have a lot of experience with this, but from what I’ve gathered, fruit pies (like apple) do especially well in the freezer ahead of time. Fruit pies should be transferred directly from the freezer to the hot oven to avoid sogginess and will take longer to cook than a freshly prepared pie.
- Breads, such as the sweet dinner rolls, can be baked and then frozen up to a week in advance. Cool cooked rolls completely, wrap in plastic wrap, and freeze. Defrost at room temperature. Warm, covered, for a few seconds in the microwave just before serving if necessary – I like them room temperature best.
- Banana breads and zucchini breads can be baked, then frozen a couple weeks in advance. Whether in loaf or muffin form, these types of breads make a convenient snack for little ones or for unexpected company.
- Just a little word about frosting – some types of frosting can be prepared in advance. They can be refrigerated or frozen according to recipe instructions. Frosting has to be defrosted at room temperature and then re-whipped before you are able to frost with it. I typically make the frosting the same day I’m going to use it because it takes quite a while to defrost enough to re-beat it, particularly during the cold weather months. Also, I have a much harder time getting the frosting back to the right piping consistency if I haven’t just made it.
Time Management Tips
- Write out a calendar and mark which items you will need on which days. Determine days that you can dedicate to baking, taking into consideration the above tips for baking ahead of time. I typically work backwards from the event date. For example, if I have a party on Friday afternoon, I know I’ll make my frosting and finish a cake on Friday morning, that I will need to work on decorations on Wednesday and Thursday, and that I should bake the cakes and cookies on Monday or Tuesday. This gives me a plan for the daunting task of having everything ready on Friday afternoon – make sense?
- Make a shopping list for all of the baked goods that you want to make during the holiday season. Do all of your shopping at once to avoid repeated trips back to the store.
- Buy ingredients in bulk to save on money. Flour and sugar can be purchased in large bags. You can never have too many eggs for baking – if your chickens don’t lay fast enough (or, more likely, you have no chickens to lay for you), buy a big ‘ol crate – they’ll keep for weeks. Butter can be purchased in bulk (for quite a discount) and frozen until ready for use. Defrost in the refrigerator or on the counter if you’ll be using it later that day.
- Multiply recipes all at once, even if you’ll be baking some for eating now and freezing the rest (baked or raw) for later.
- If you’re making cupcakes and a cake, mix up the batter all at once. Portion out the batter into your various baking pans. If necessary, extra batter can sit for a bit while a first batch cooks and cools. Just re-beat for a second before pouring the rest into the cleaned baking pan.
- Consider baking like-items on the same day. For example, do different types of cut-out cookies one day or all your cakes/cupcakes another day. That way, you won’t have to pull out your item-specific equipment over and over again.
- Group baking activities that can be done with children and work on those during the day. Save adult-only baking for the evening or a time when the kids are at school.
- When you have only a little time to bake, think about the one or two items that your family especially enjoys and just bake those things. Sure, it’s fun to experiment with new recipes or make a large assortment of cookies to choose from, but if you’re pressed for time, focus on the holiday traditions that are most important to you!
Lastly, here are some of my favorite holiday recipes, all in one place! Just click on the picture and it will take you to the recipe. Happy baking!!



Comments & Reviews
Emilia says
I hope you don’t mind me sharing this info I got when I asked a question about freezing a pie (“Partridge in a Pear Tree”) from an old (1988) Betty Crocker Christmas book. Here it goes:
“Some pies, such as pumpkin or pecan, must be baked before freezing. Fruit pies may be frozen before baking. Follow these tips when assembling and freezing an unbaked fruit pie:
• Brush the bottom crust with egg white before filling to prevent sogginess.
• Add fruit filling, but do not slit the top crust.
• Cover the pie with an inverted paper plate, wrap it thoroughly, and freeze it for up to three months. When baking a frozen fruit pie:
• Do not thaw the pie.
• Unwrap the pie, cut slits in the top crust, and bake it at 425 degrees F. for 15 minutes.
• Reduce the temperature to 375 degrees F. and bake it for an additional 30 to 45 minutes or until the center is bubbly.
In addition, we can offer these tips from our files:
Freezing after baking is preferred because pies frozen unbaked tend to have soggy crusts. If pies are frozen before baking, excessive juice will develop during freezing and thawing of the pie. The thickener used in the filling will have to be increased by 1 to 3 tablespoons. Use cornstarch or tapioca for thickening brightly colored fruit pies (flour sometimes gives a gray color to the frozen fruit). Fresh apples and peaches should be treated to prevent discoloration.*
Defrosting: Baked–Let stand wrapped at room temperature 30 minutes. Remove wrap. (Place on baking sheet if using aluminum foil pans.) Heat in 350° F oven 30 minutes. Remove from oven; let stand at least 15 minutes before serving. Unbaked–remove from wrap. (Place on baking sheet if using aluminum foil pans.) Bake as directed in recipe except–increase baking time 10 to 20 minutes. (Fruit pies should bubble in center when done.)
Storage time: Baked–4 to 6 months. Unbaked–2 to 3 months.”
girlinspired says
Thanks so much, Emilia! Great info!
Emilia says
My pleasure! I’m glad you found it useful.
Aleesha Banks says
Thank you so much for sharing this tips. I was really in need of these tips because I always made certain mistakes in it. I hope I can overcome from these mistakes.
Charity says
You are incredibly well-organized! I put off baking any of my Christmas cookies until today…. so I’ve baked 4 kinds of cookies today, and have two more types to make tomorrow. Next year I think I’ll be freezing some things. =)
kristin says
You are just so on the ball! I immediately freeze my Gourmet Chocolate Chip Cookies (after cooling of course) and they stay well in the freezer for about 5 days max–because they are all gone by then–ha! Seriously, cookies and breads (like banana) freeze so well. Great tips!
Anne says
Timely post! I am in the middle of rolled cookie baking hell right now, lol. (15 dozen down and I think I’m just halfway.) One thing that works well for me when baking in ridiculous quantity is to have enough baking sheets or muffin pans that I can keep rotating them through the oven. Four is a good number. As two trays of cookies are baking, two trays are out of the oven cooling down and getting loaded with the next batch.
girlinspired says
You crack me up, Anne. What in the world are you making near 400 cookies for? And please tell me you don’t have to frost or decorate them, too. Great tip! I only have two cookie sheets and they’re on the smaller size, drives me nuts that it takes so long to bake up all the dough.
Anne says
We’re having a cookie decorating party for all of Liv’s friends. It’s an annual event and it’s gotten to be kind of a “thing”. I’ll make all the cookies ahead of time and then turn the kids loose with icing and sprinkles. Last year we got smart and bought a case of squeeze bottles from a restaurant supply store so the kids can squeeze the icing in designs on the cookies.
Annie says
I thought that refrigerating or freezing any kind if cake or cupcake batter that contains baking soda or baking powder means your cakes or cupcakes won’t rise versus baking them fresh. Can you clarify if this is a myth?
girlinspired says
Thanks for the question, Annie. I should have been more clear. I have successfully let cake/cupcake batter sit out on the counter for up to one hour (for example, I have only one circular pan in some sizes, so I’ll bake a layer, wash the pan, then pour the rest of the batter in to bake the second layer). I wouldn’t put the batter in the refrigerator or let it sit out for very long – I do think that it effects the finished cake. Within an hour or two, though, I don’t think you’ll be able to tell too much difference if the second batch doesn’t rise quite as much. Also, if you have enough pans and a double oven, just mixing everything up together and baking it all at once really saves time!
Queenie says
Thank you so much for the great tip. I shall keep this in mind.
girlinspired says
You’re welcome, Queenie! Thanks for always stopping by!
Courtney says
Great tips! I bake and freeze all the time. What a lifesaver!
girlinspired says
Thanks, Courtney! It really is a lifesaver! What do you like to freeze?