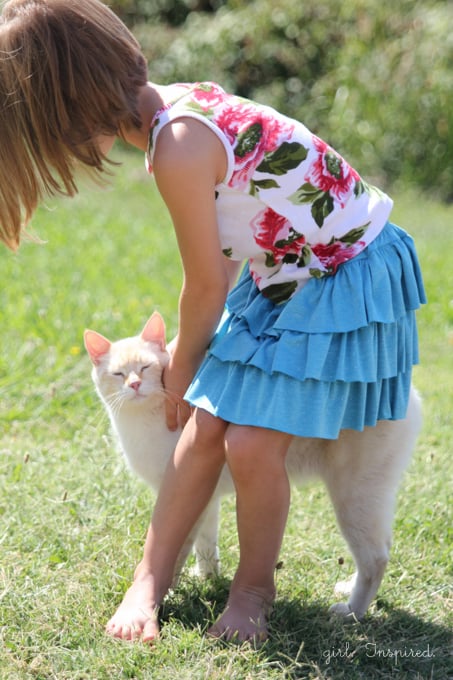
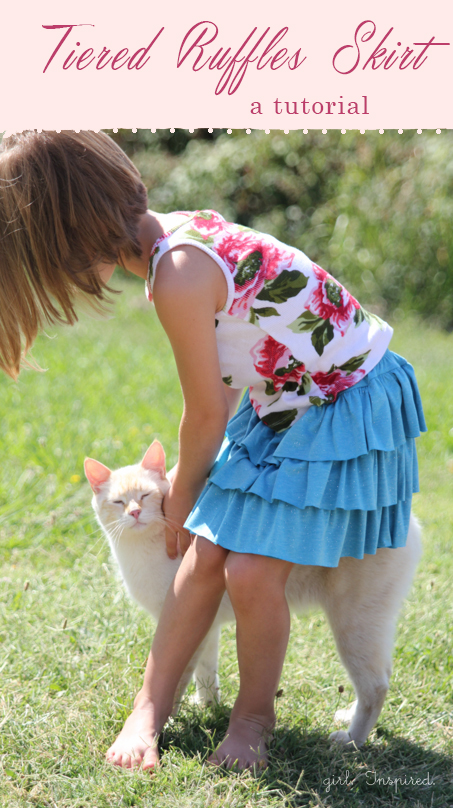
Are you familiar with Skirting the Issue? It’s an annual event hosted by Simple Simon & Co. where everyone is invited to sew skirts that can be donated to local Foster centers. Today, I am so happy to share a new tutorial for a simple, knit skirt that would be appreciated by girls of all ages. You can read all of the Skirting the Issue details here. When you’re done, I’d like to invite you to sew a skirt or two and donate to this wonderful cause. It’s such an honor to be a part of this sewing community that can make a real difference in foster girls’ lives!
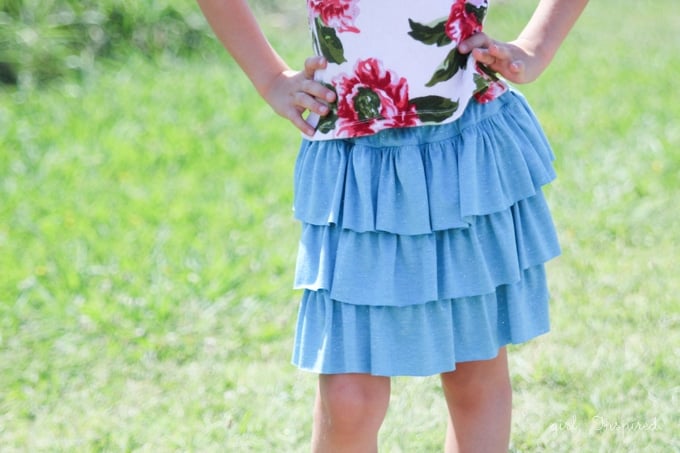
This skirt comes together quickly and requires just two measurements – the desired finished length and the waist measurement. You can find an average size chart by clicking here to calculate the measurements for your skirt. I am working off of a desired length = 11″ and a 19″ waist for my skirt. You will need:
- approximately 1 yard of knit fabric
- approximately 1 yard of ½″ elastic
- fabric marker
- ruffling foot (optional)
- sewing machine, ballpoint needle, thread
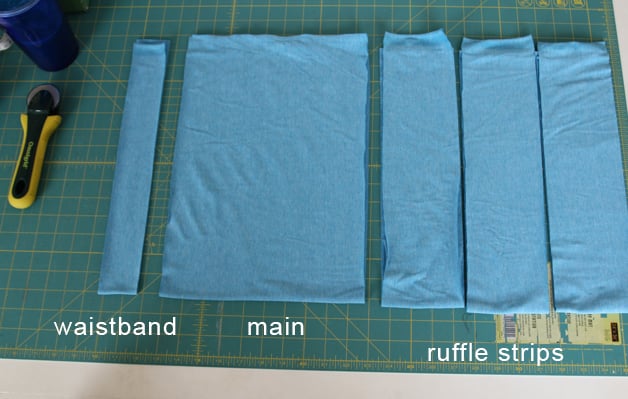
Begin by cutting your three components of the skirt – a waist strip, a main skirt piece, and three strips for the ruffled tiers:
- Waist strip= waist measurement x 1.5″ wide by 2″ tall. [My piece is 29″ wide x 2″ tall]
- Main skirt piece= (waist measurement x 1.5″ wide) by (desired finished length – 1″ tall). [My piece is 29″ wide x 10″ tall.]
- Ruffle tier strips= (Main skirt piece + 2″) divided by 3 for the height and cut the width from selvage to selvage. Cut three strips total. Each strip will overlap the other by 1″, which is why you add 2″ to the the calculation. My main piece was 10″ tall, so I cut each strip 4″ tall.
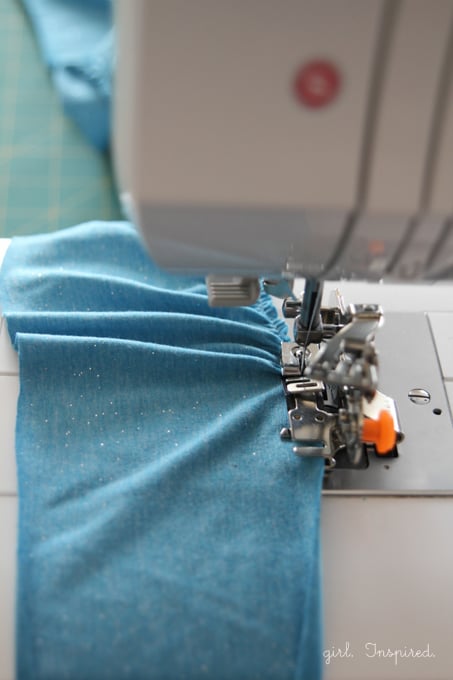
Gather the top of each ruffle strip with a ruffling foot or learn the basics of sewing gathers and ruffles with my tutorial. Repeat for all three ruffle strips. The finished width of the ruffle should be equal to or slightly greater than the width of the main skirt piece. Adjust the gathers to the appropriate size.
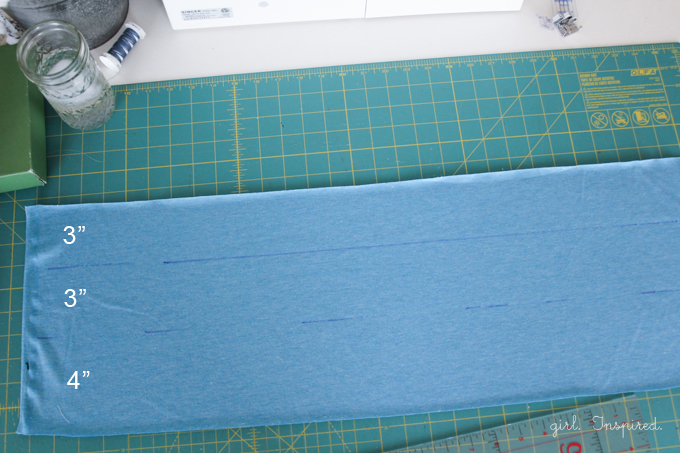
With your main skirt piece right side up in front of you, use a fabric marker to indicate lines for attaching the ruffle pieces. The first line up from the bottom should be equal to the height of the ruffle (4″). The next line up should be equal to the ruffle – 1″, so 3″ up in this case. The distance from that second line to the top of the skirt piece should also equal (3″).
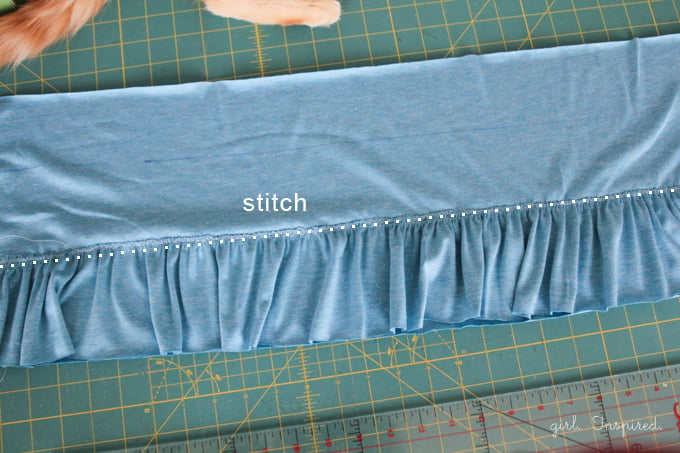
Beginning with the bottom ruffle, pin and stitch the ruffle into place along the line. Be sure that the bottom of the main skirt piece falls exactly even or slightly higher than the bottom of the ruffle piece. (Alternately, you could sew the ruffle into place and cut the extra lining off from the underside). You can use a straight stitch or a zig-zag stitch – no stretch is needed here, but I found a zig-zag stitch to be really quick in catching the gathered edge and it is hidden so it will never show. Use a ballpoint needle appropriate for knit fabric!
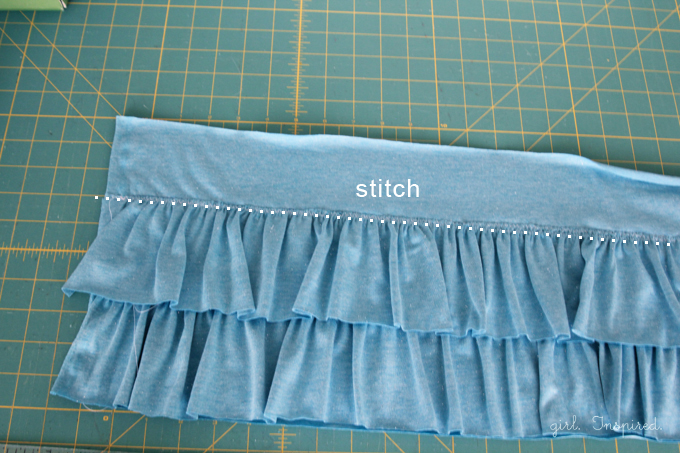
Attach the next ruffle tier in the same manner.
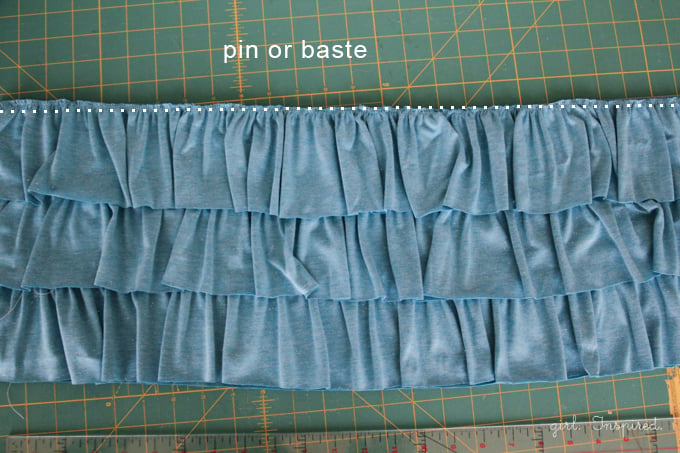
The third/top tier of ruffles should be aligned with the top edge of the main skirt piece. You can pin or baste this in place. For quicker assembly, proceed to the next step and pin/sew these layers along with the waistband layer all at once.
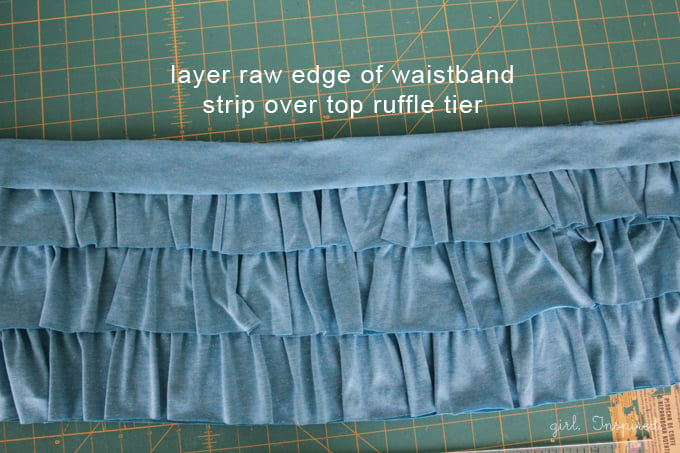
Align the right side, bottom edge of the waistband strip facedown with the right side, top edge of the ruffle layer and main skirt layer as shown. Pin to hold the three layers together. Stitch using a ⅜″ seam.
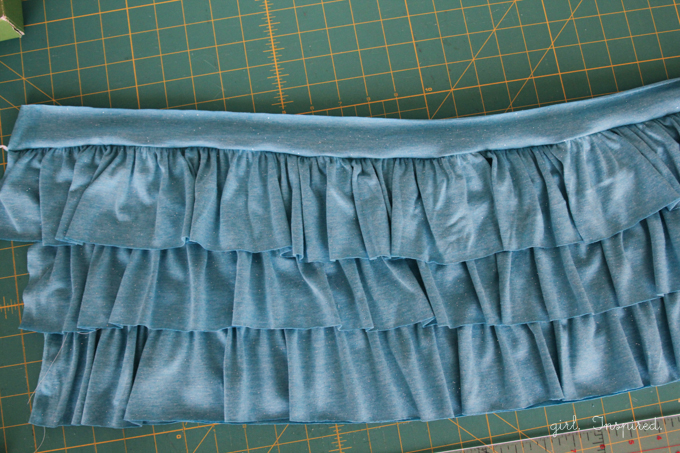
The above picture shows how the waistband will look when you flip it up – the raw edge of the ruffle and skirt layers should be enclosed in the seam.
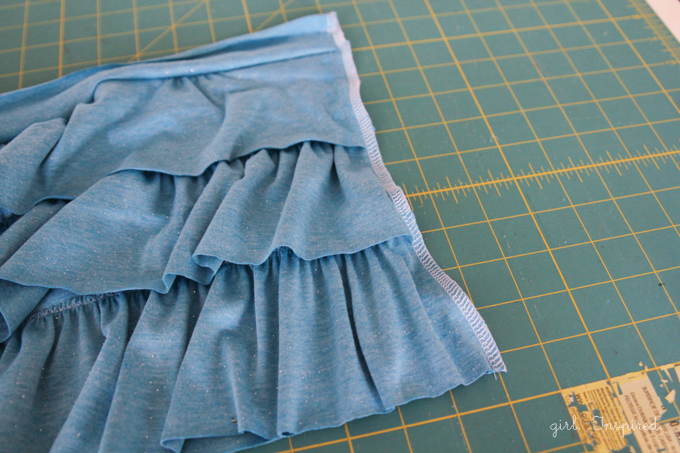
Before forming the skirt, you might find it helpful to stitch or serge along the two sides to keep everything in place.
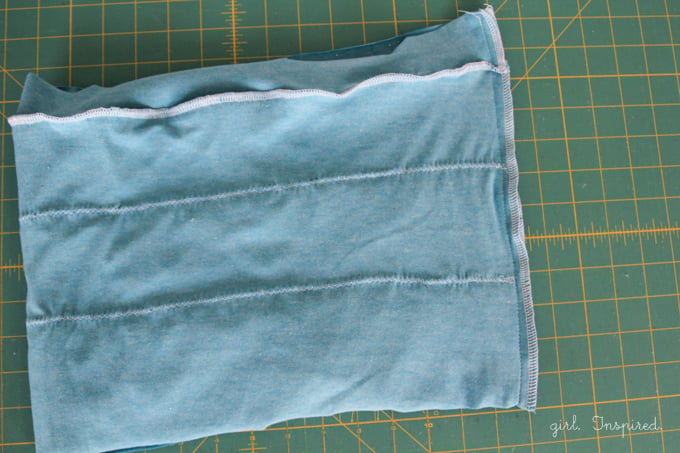
Match each ruffle layer along the side seams as you pin together the two sides, right sides together. Be sure the waistband is flipped up. Stitch using a ½″ seam. Press the seam open.
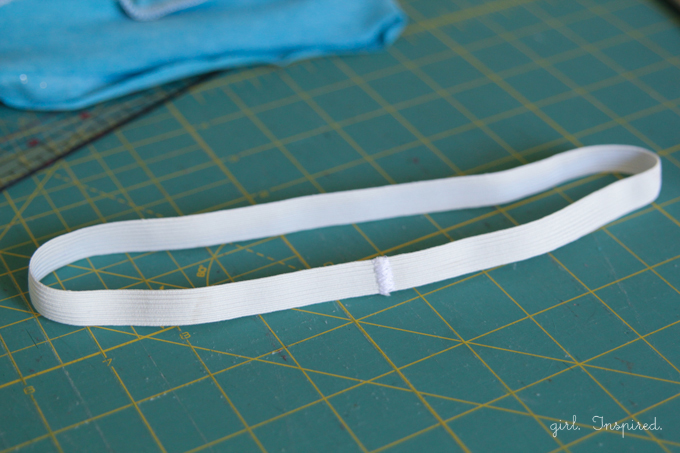
Cut a piece of elastic 1″ shorter than the waist measurement. I used ½″ elastic and it made a nice, comfy waistband. If you use larger elastic, you may need to adjust the skirt measurements to account for a larger casing at the waist. Join the two ends of the elastic using a zig-zag stitch. Reverse and go forward several times to make sure the ends are joined well.
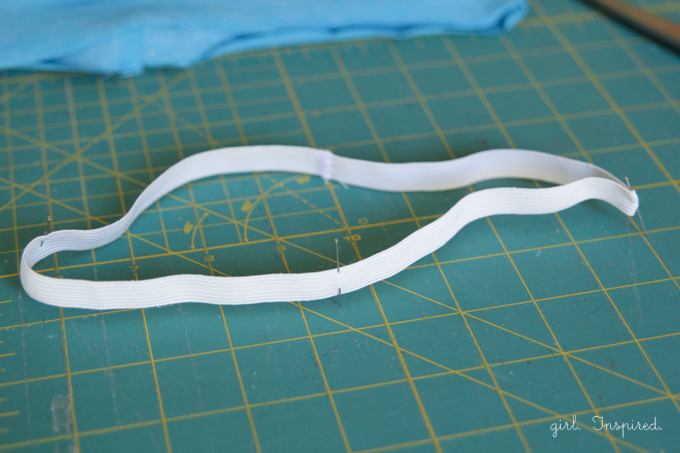
Assuming the joined ends to be the “back” of the elastic, place a pin in the “front” and “sides” to mark four evenly spaced points on the elastic. Do the same with the waist of the skirt.
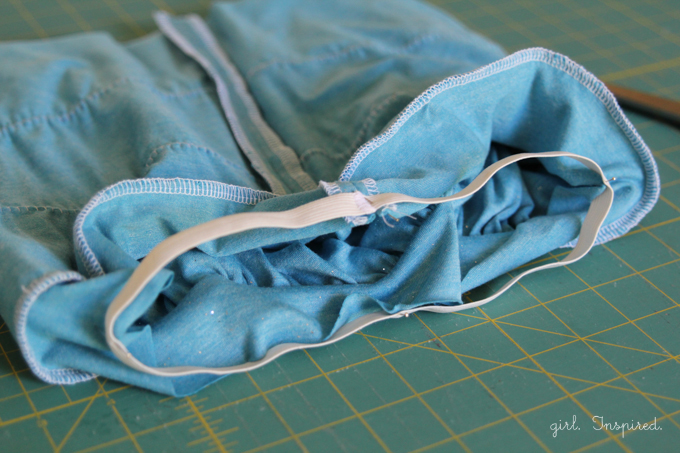
Match the “back” pin on the elastic to the back seam on the skirt. Match the other pins as well. Pin the elastic to the top, wrong side of the skirt waistband.
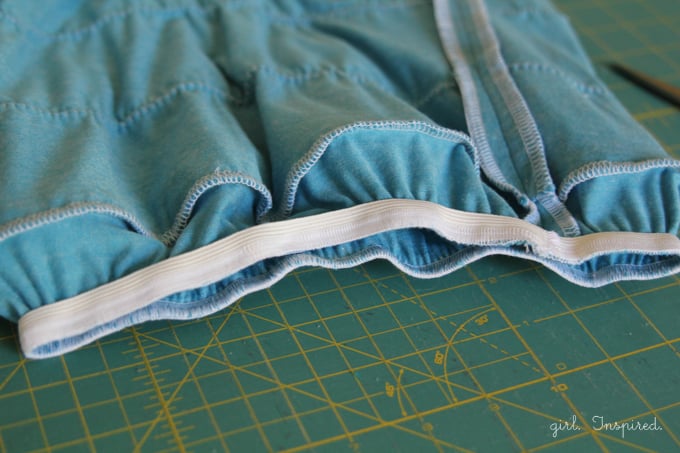
Sew or serge the elastic onto the waistband. You will need to stretch the elastic to fill the length of the waistband between each pin. Do not stretch the skirt, only the elastic.

With the elastic attached to the top of the waistband, we need to turn the waistband to toward the wrong side and secure it with a zig-zag stitch. You will again need to stretch the skirt (but not the elastic) as you are stitching.
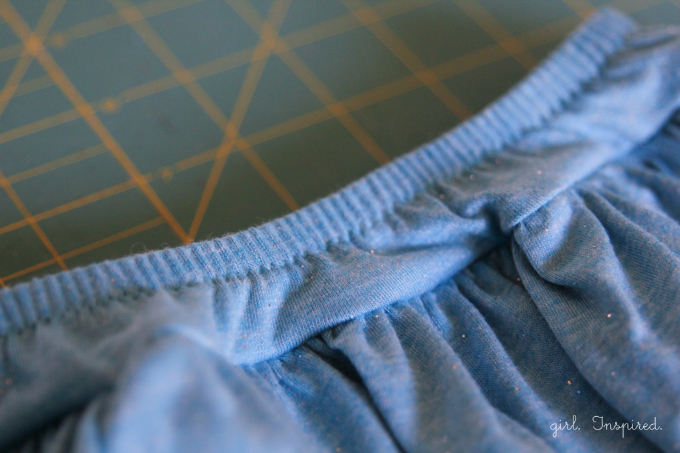
Once you have stitched all the way around the top of the skirt, you are done!!
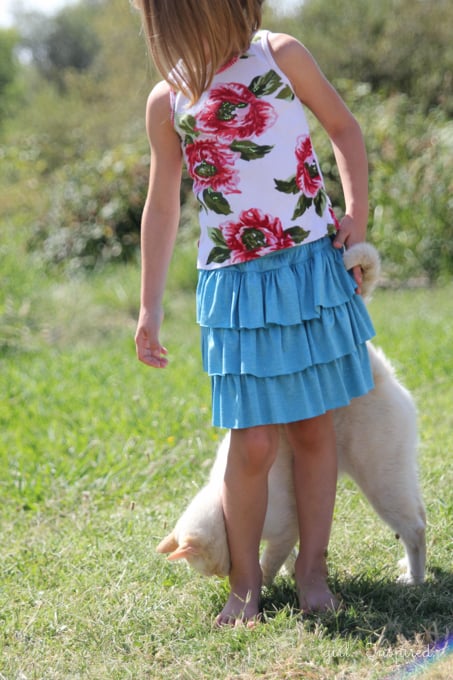
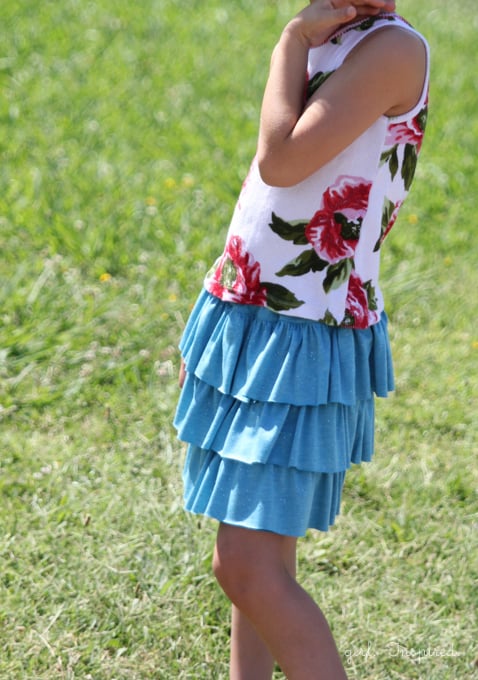
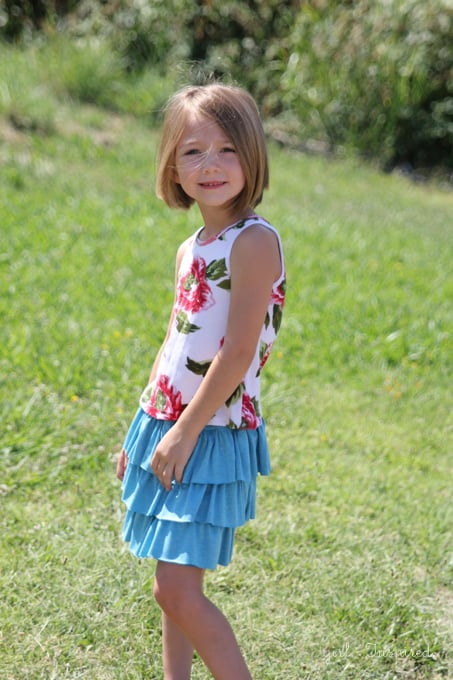
How fun is this skirt? Perfect for any girl – even my not-so-keen on skirts girl fell in love. No problem, I can whip up a ton more and get them shipped off to some foster girls in need. I hope this tutorial and Skirting the Issue will motivate you to participate is this wonderful event. Don’t love this skirt? Make ANY skirt you love!


Comments & Reviews
Julie harris says
Amazing!
Brianna Lytle says
i am OBSESSED with all the projects you do! Keep going, and please don’t stop posting you are a huge source of inspiration for me! kisses!
BreezyBaby!
Charity says
I love the sweet pictures of Grace, and the unexpected but pretty combination of this floral top with the blue skirt. Any little girl would love the ruffles on this skirt!
kristin says
aw this is so cute and looks so comfy! i just saw a thing about gathering with my serger (since i don’t have a ruffle foot) – this might be the perfect project to try it on. Em would LOVE a skirt like this.