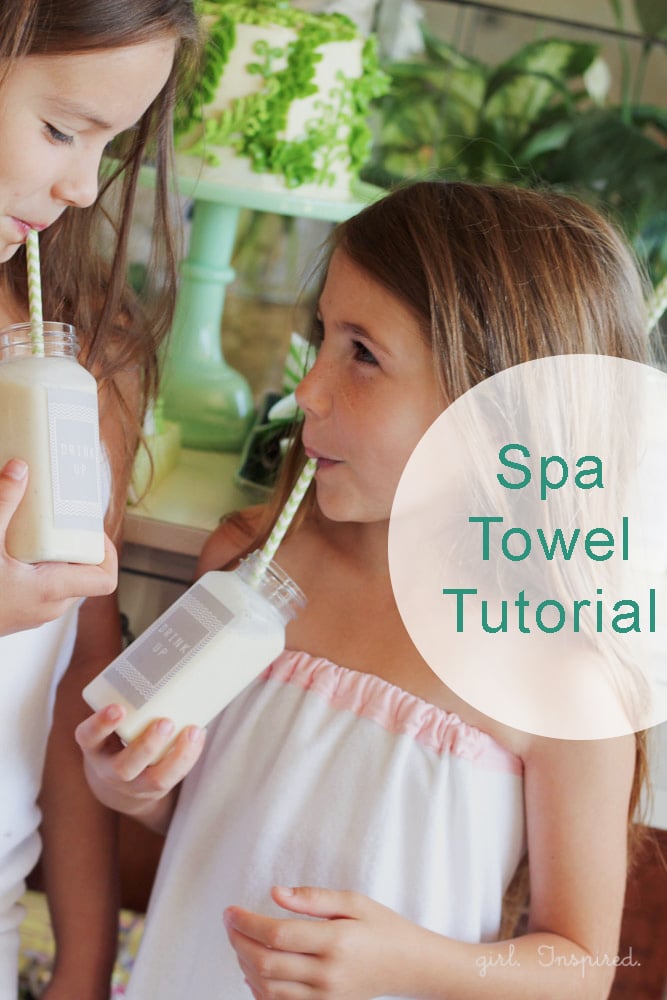
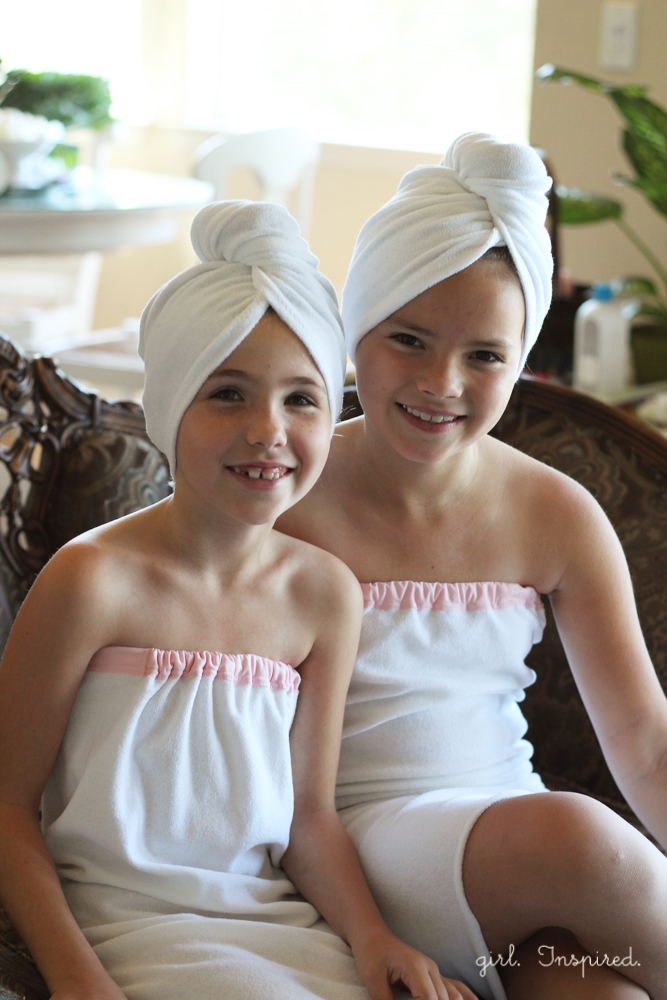
How fun is it to be able to sew up whatever you can think up, especially when you’re creating a birthday party for your child? I knew that some sort of robe would be extra special and essential for the spa experience at our recent spa-themed party. It took some experimenting to create a spa towel that I could sew in advance, one that would be versatile enough to fit a variety of sizes. Today, I’m sharing the step-by-step instructions for making this towel robe for little girls. Since it’s basically a tube with an elasticized top, this spa towel sewing tutorial works great for bodies that are little cylinders. If you’re making towel robes for older girls, you will need to adjust for their curves. Also, I used a stretch/knit terrycloth, which allows for movement and flexibility while wearing the towel. My girls love their towels so much, they’ve been wearing them after baths and to lounge around the house. Adorable!
Spa Towel Robe Sewing Tutorial
Supplies:
stretch/knit terry cloth – approximately 1 yard
quilt binding or 1″ wide double-fold bias tape
½″ wide elastic
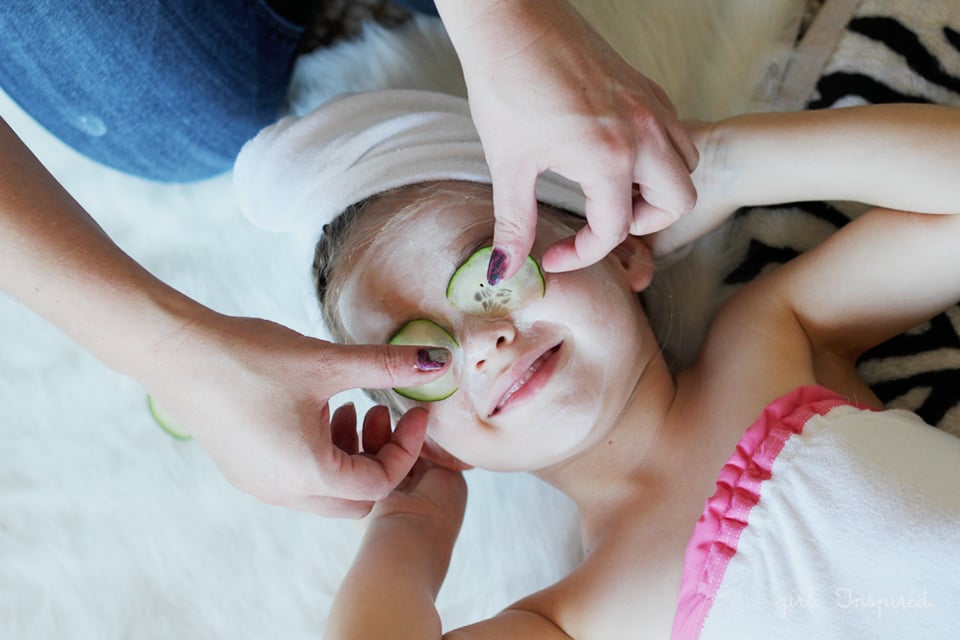
To begin, you will need to take your child’s chest, hip, and underarm to knee measurements. Cut a rectangle of the stretch/knit terry cloth. The width (which should run parallel to the stretch) should be the chest measurement plus 5 inches ( double check to make sure that the child’s hip measurement is not greater than this width – the towel should fall loosely around the hips, adjust measurements if you are sewing for a person with more curves). The length should be the measurement from the underarm to wherever you want the towel to end (I made mine about mid-thigh and left the bottoms un-hemmed). Fold the rectangle in half, right sides together, along the width and serge or sew a single seam to form the towel tube.
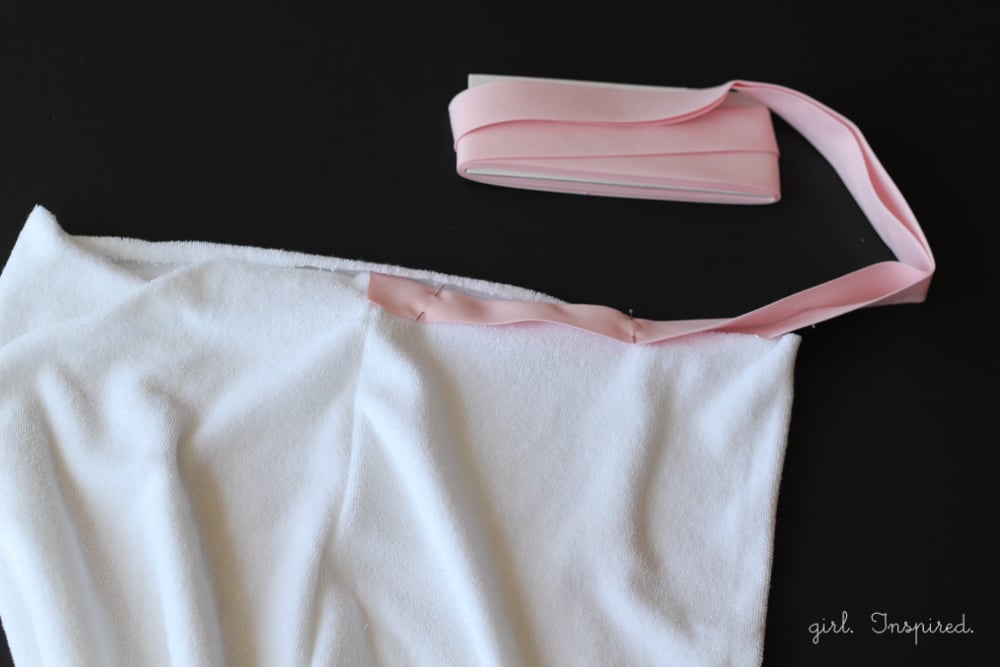
Take the bias tape or quilt binding and open it up the main fold in the binding. Wrap it over the top of the towel tube, and pin it in place. Be sure that the end of the binding starts at approximately the seam – this will become the back of the spa towel and you don’t want your seams up in the front. Pin the binding around the top of the towel all the way around. Leave a few inches of extra binding when you get back to the starting point and cut off the excess.
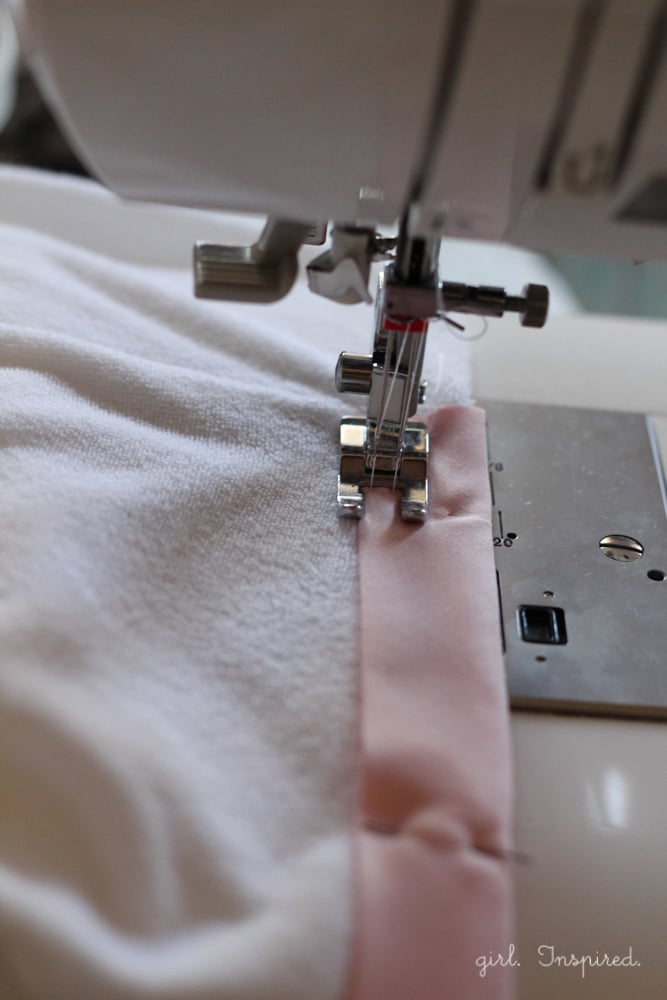
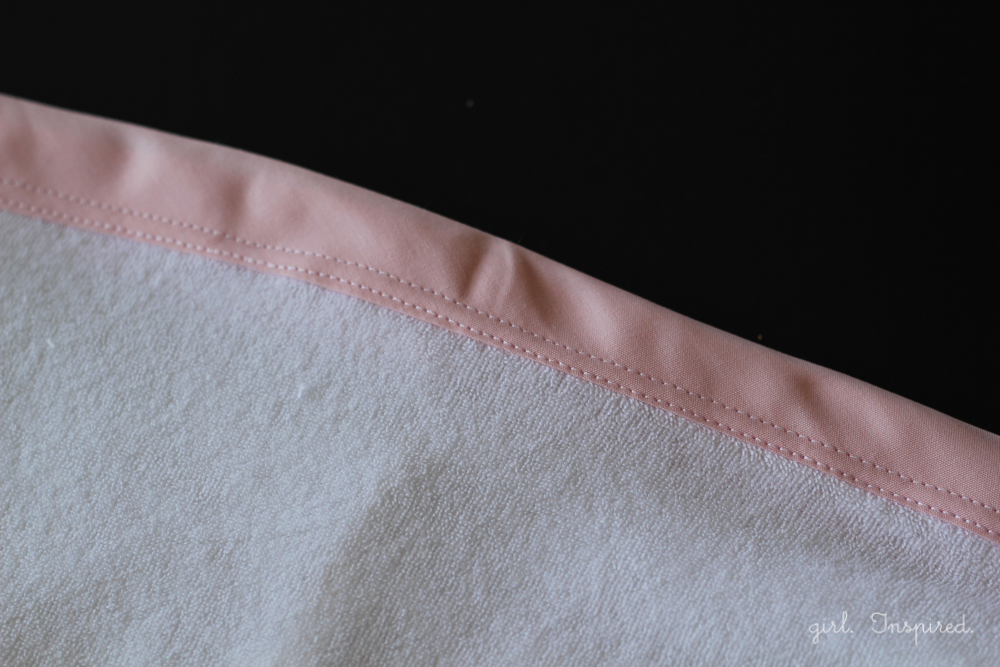
Using a twin needle (if you have one), begin stitching the binding onto the towel. Start at the back seam and continue most of the way around. Stop about 1″ from the starting point, backstitch, and remove the towel from the sewing machine. You will have two rows of pretty parallel stitches. The twin needle is simply providing a nice aesthetic for the towel. Because we’re using non-stretchy binding, the sewing technique does not need to account for stretch and you can use a single row of straight stitches if you prefer. (Alternately, I suppose you could make some knit binding and then use the twin needle or a zigzag stitch and maintain the stretch at the top of the towel, too.) Okay, so here’s what the binding will look like now:
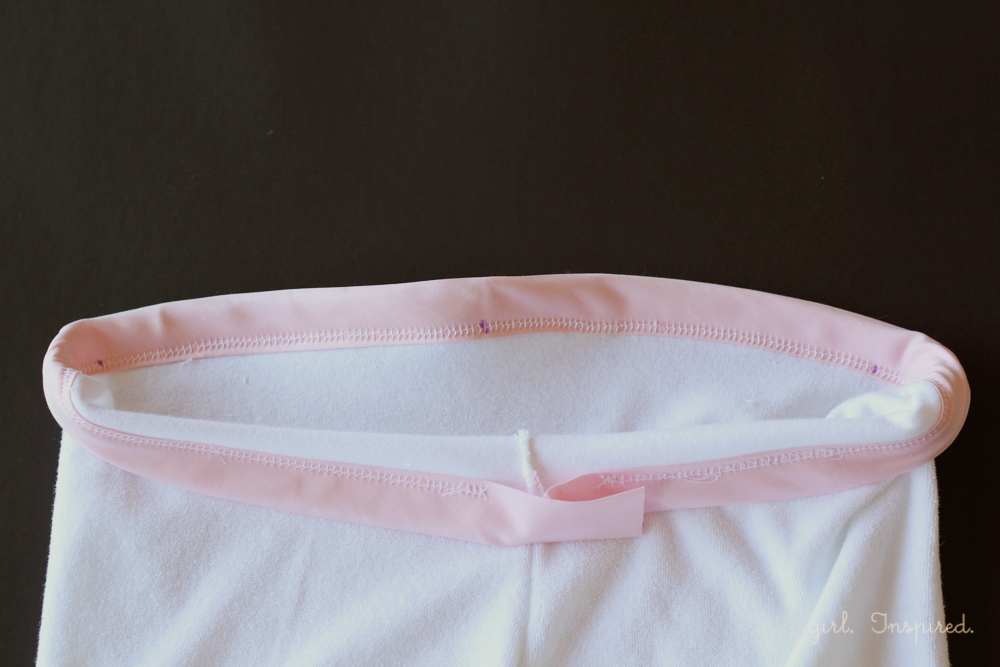
Next, working on the top inside of the towel, mark the front center by finding the point directly opposite the back seam. Make a mark with a water soluble fabric marker. Make another mark 6″ to each side of this front center mark.
Now we’re going to add a 6″ long piece of elastic between those two outer marks. Attach a 6″ piece of elastic onto a safety pin…
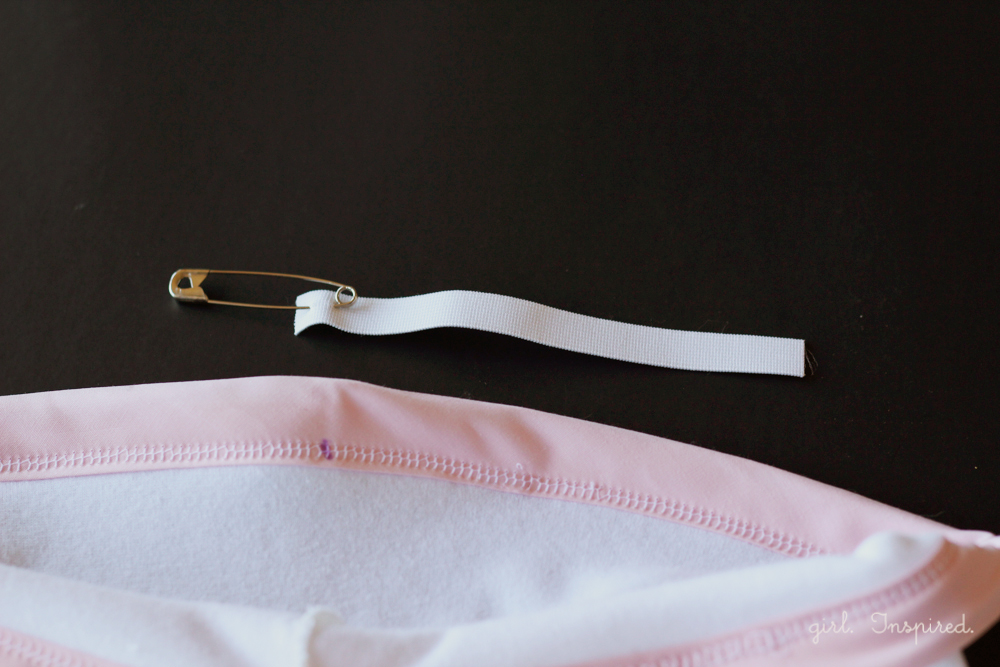
…and feed it through the opening in the binding at the back of the towel.
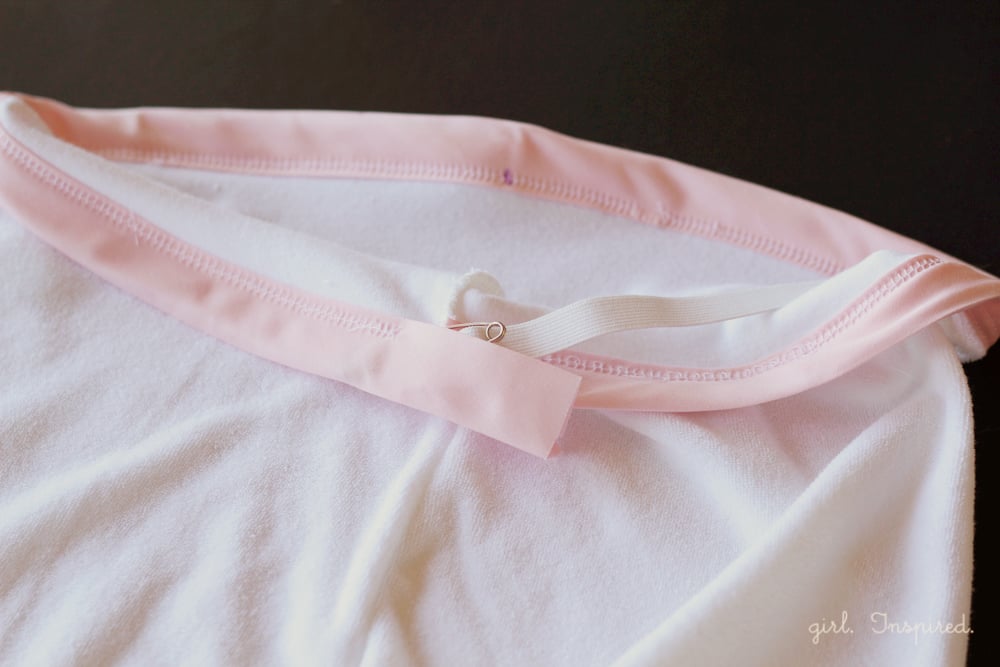
Work the safety pin through the binding tunnel until the tail end of the elastic (opposite the safety pin) rests directly under the first mark that you pass. Stitch up and down over the elastic from the top of the biding in a vertical direction to secure the elastic in place.
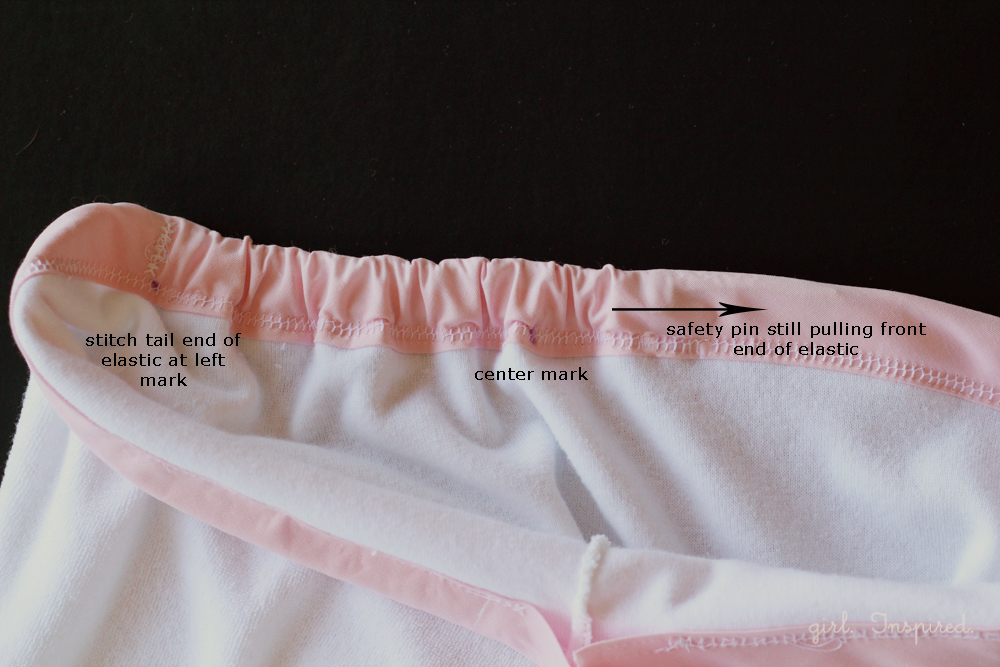
Continue pulling the safety pin through the remainder of the binding until it comes out the opening at the other side.
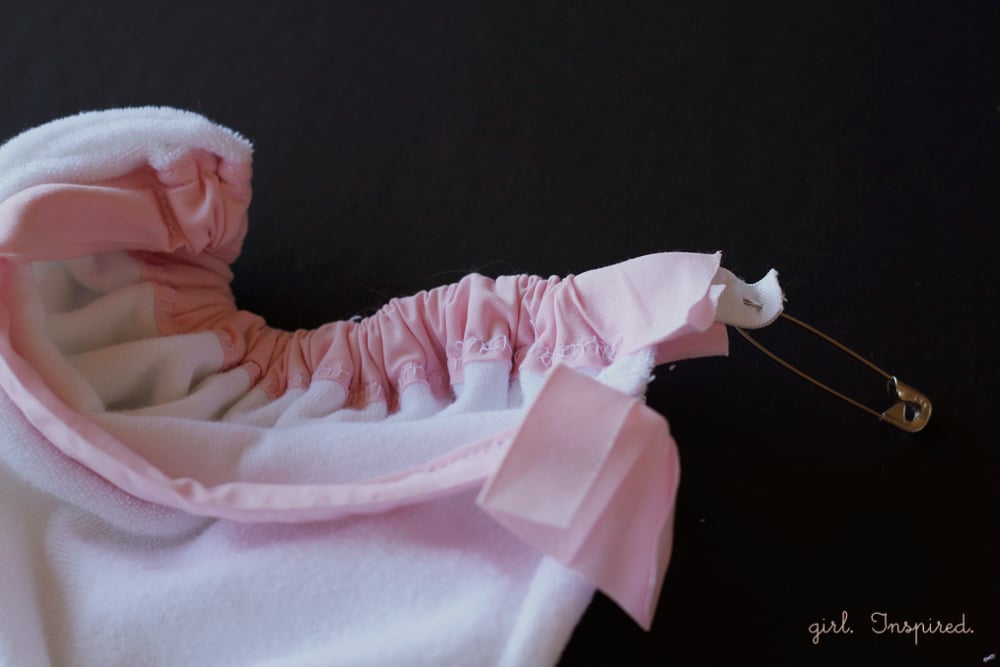
Now for the only tricky part. You will need to remove the safety pin so that it doesn’t stay inside the towel, but you have to carefully control the end of the elastic so that it doesn’t slip back into the towel too far. Pinch the binding and hold the elastic underneath. Remove the safety pin. CAREFULLY inch the elastic back into the casing until the end is laying just under the far right hand mark on the towel. Secure the elastic in place by sliding the safety pin through the binding and elastic and clip it closed.

Stitch to secure this other side from the top of the binding as you did for the first side.
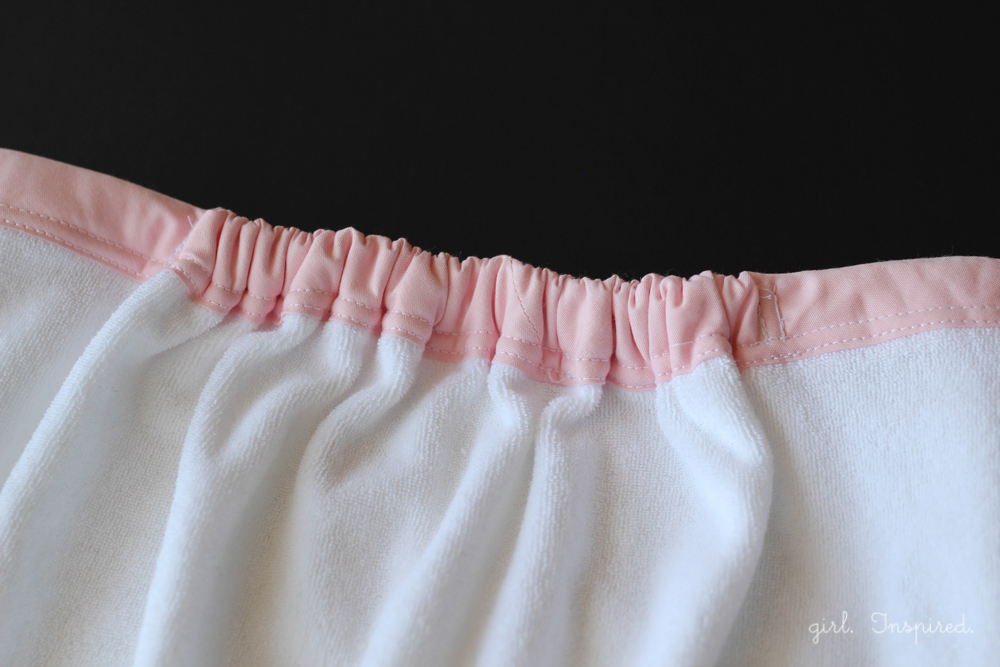
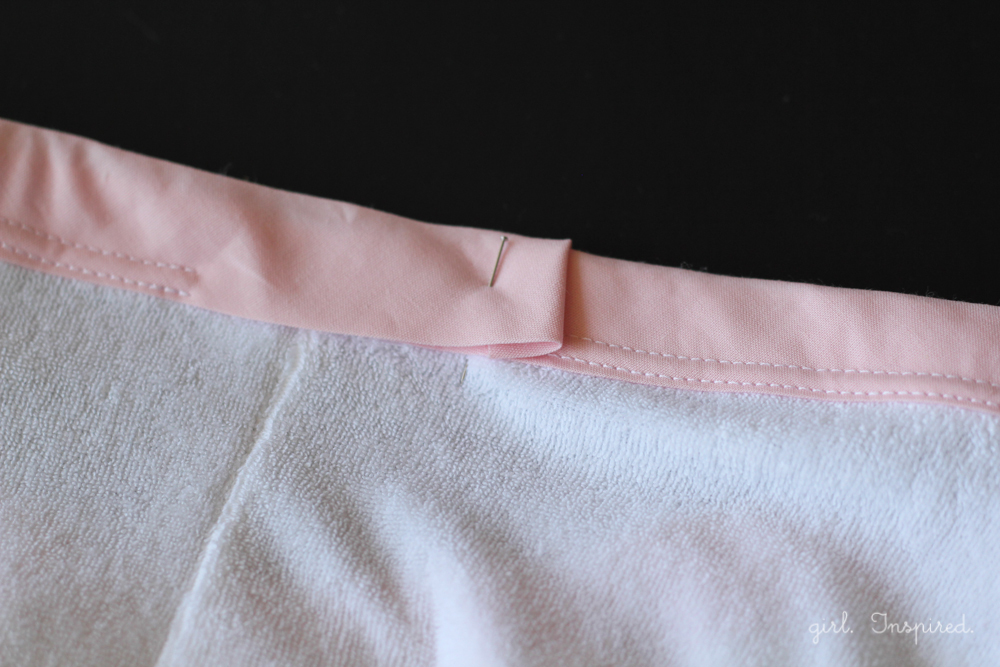
Finally, we just need to stitch up the binding opening in the back. Fold the raw edge under and pin it down, overlapping the two ends of the binding at the back seam. Stitch over this section of binding with the twin needle, backstitching and the beginning and end of the stitches and overlapping with your prior stitches.
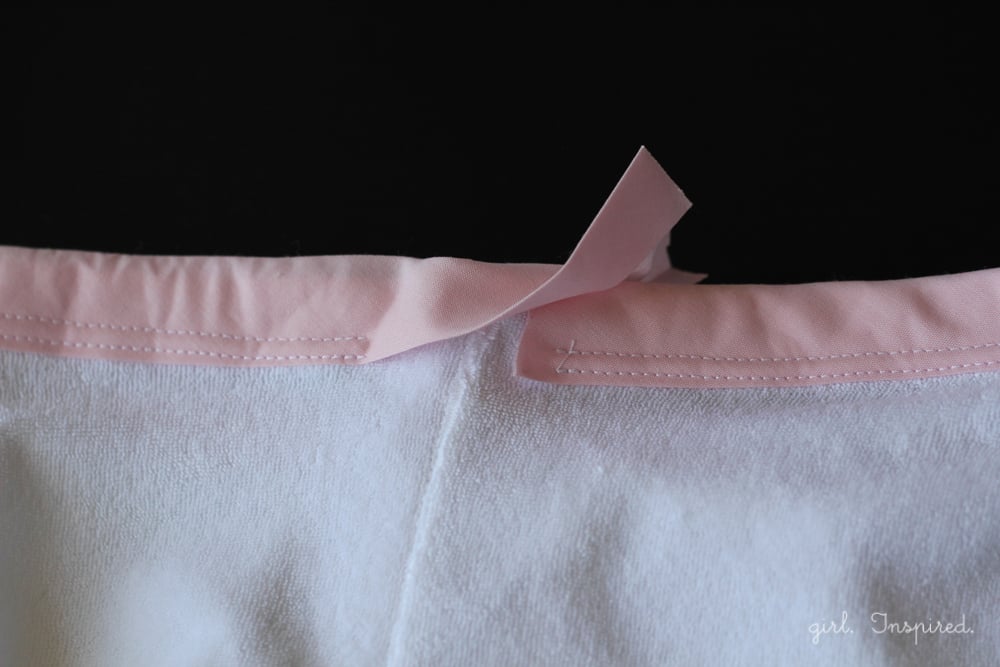
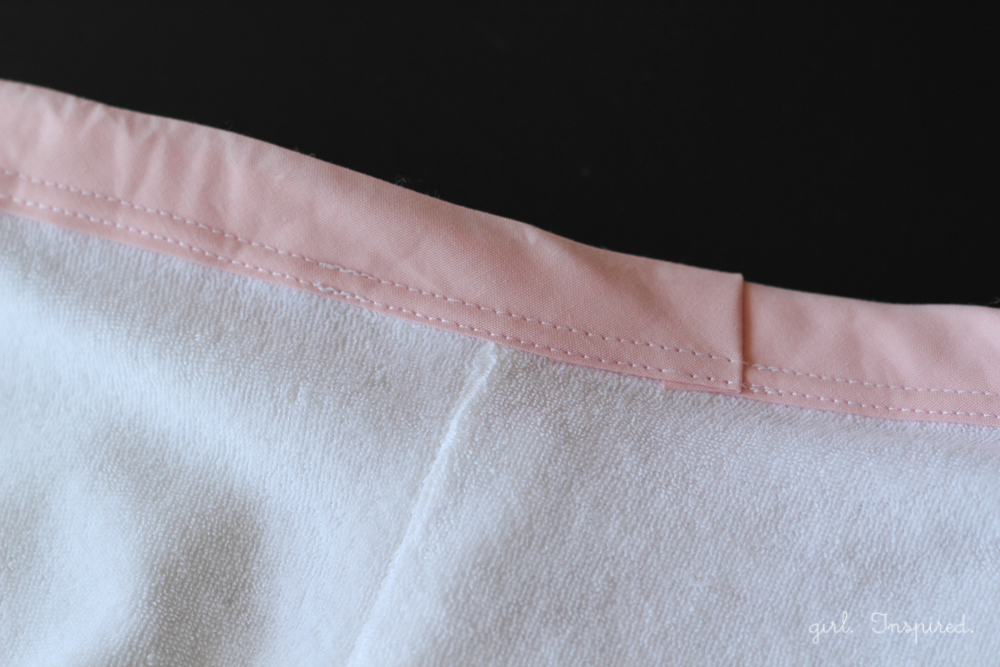
That’s it! Repeat for as many little girlies as you’d like! If you don’t have measurements for all of the girls (if you’re preparing for a party, for example), I made a little standardized chart below with average chest measurements. For the length, I recommend you measure your child and then make approximate height adjustments depending on the intended recipient.
| 3T | 4T | 5T | 6 | 7 | 8 | 9 | 10 | |
| Chest (inch) | 21.5” | 22.5” | 23” | 24” | 25” | 26” | 27” |
28.5” |
The robes are stepped into and should stay up without slipping. Remember that every body is shaped a little different, so be sure to measure your child and be ready to make adjustments for the best results.


Comments & Reviews
Denise says
Do you make these and sell?
girlinspired says
Hi Denise,
I don’t make items for custom order at this time. So sorry!
Anne says
That looks like it was an awesome party!! I’ve linked to your spa towel tutorial over at Craft Gossip:
http://sewing.craftgossip.com/tutorial-girls-spa-towel-wrap/2013/10/30/
–Anne