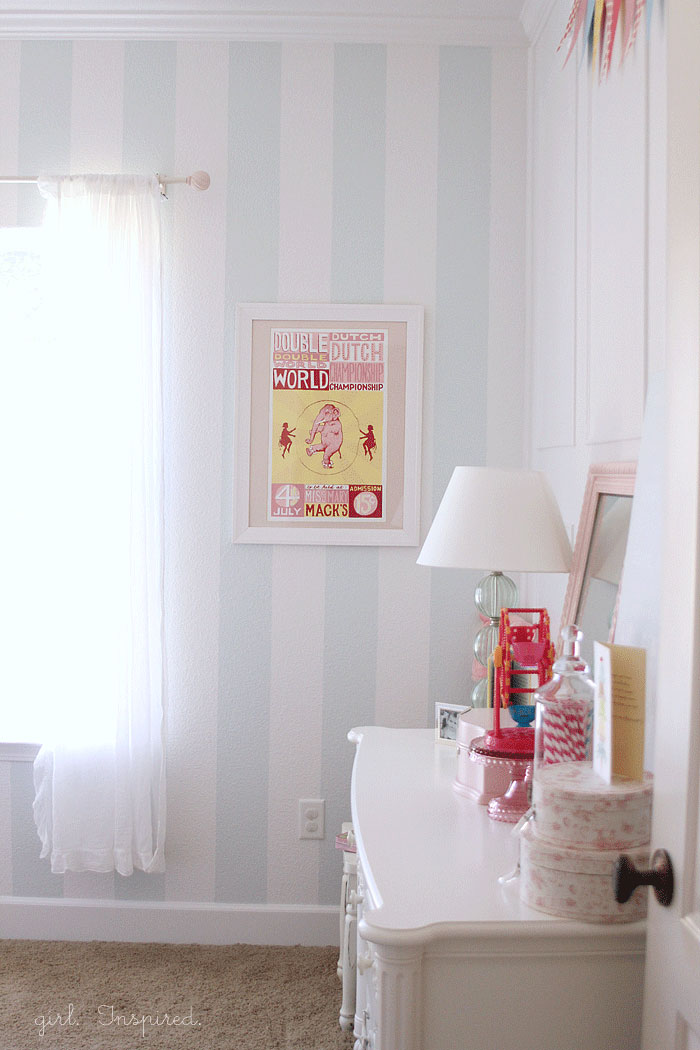
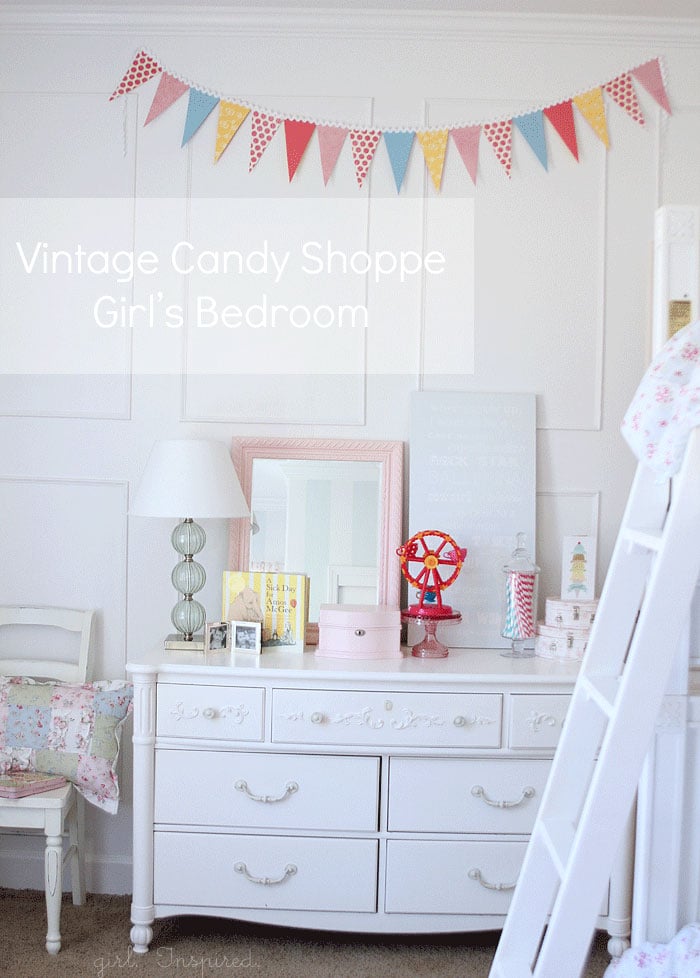
Last week, I showed you the big candy shop theme bedroom makeover that we did for the girls’ bedroom and today I wanted to talk a little bit about the molding that we added in the room. I’m also going to share a time-saving tip on getting that perfect seamless finish on your molding!! My Seamless Molding Tips are a great place to start if you are considering some redecorating!!
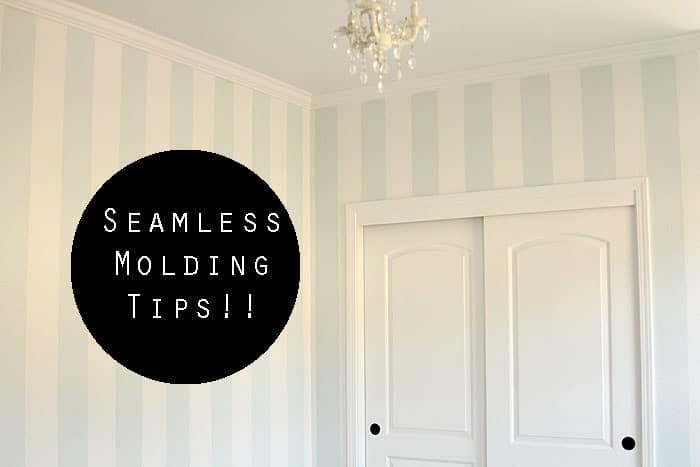
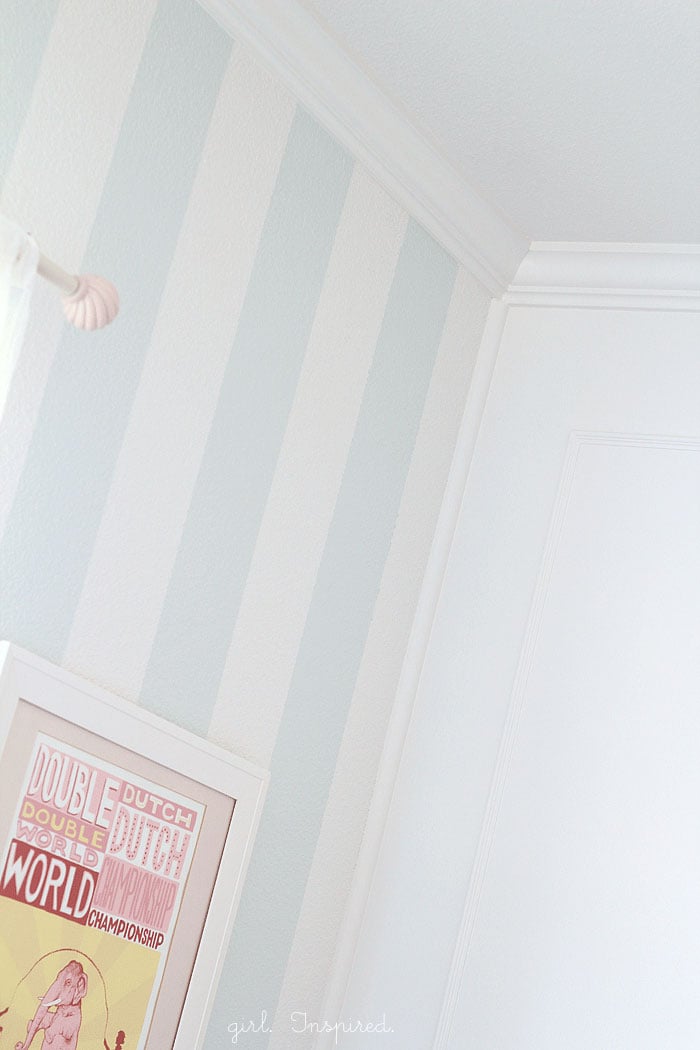
We installed two main areas of molding in the bedroom. All of the molding was primed and painted with two coats of gloss latex paint before cutting and installing. Please refer to the finished bedroom post for more details on the paint choices and colors. First, we put in crown molding around the room. This requires some know-how and, in my opinion, an excellent miter saw. I’m not going to go into the details of cutting and measuring the crown molding. As a general overview, you need to cut mitered corners so that the pieces match up on an angle at each corner of the room. The key to nice corner seams is measuring precisely and cutting correctly with a sharp saw blade; a miter fence can be used for easier achievement of consistent, correct angles. To install the crown molding, we simply held it in place and secured it with a nailgun, spacing each nail about 12″ apart and into the beam that runs parallel to the ceiling (this beam is called the top plate). Installing crown molding is an added expense, but it really takes the whole bedroom up a notch in style, I think. Also, it saved SO much time where I didn’t have to cut in the corners while painting!!! Especially with all those stripes!!!
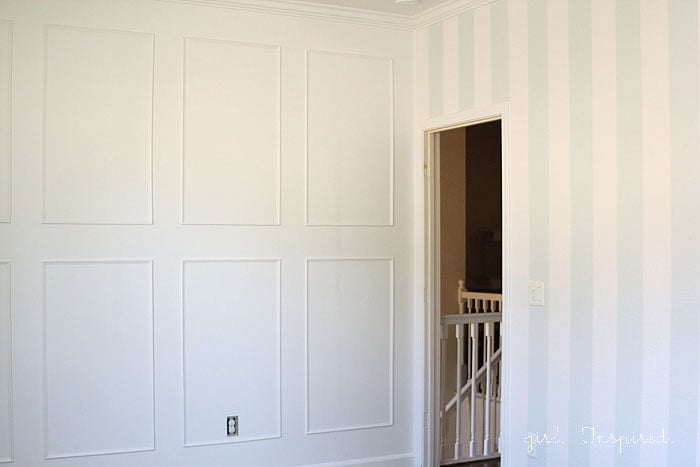
The other area where we applied molding was the wall of wainscoting. If you have brand new walls in the house or walls with no texture, you can simply paint the wall with a gloss paint and then apply your boxes of trim. In our case, I thought that the texture that was already on the walls would result in a less than professional finish. So, we built a new wall base by adhering (with Liquid Nails) and nailing sheets of MDF over the existing wall. The seams were then filled with joint compound and sanded smooth. We put two layers of primer over the MDF before applying paint. Then, we cut small pieces of wood trim and formed them into boxes. The trim was adhered (with wood glue) and nailed into place.
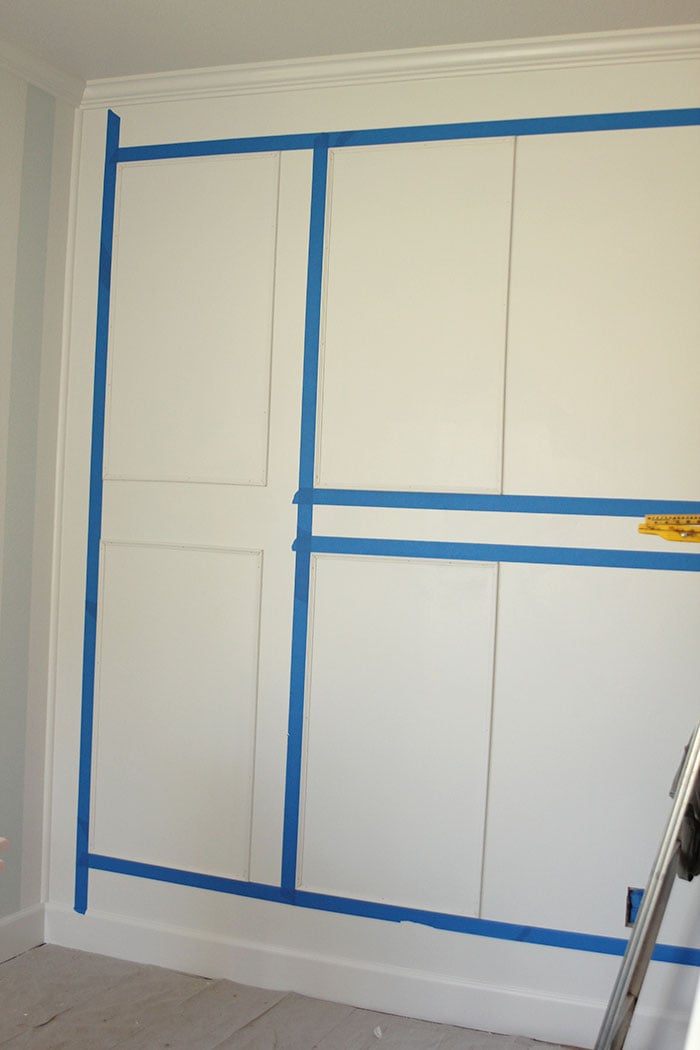
We used painter’s tape and a level to pre-mark the placement of each box.
Okay! So, once you have all your molding installed, the tedious work of finishing the room comes into play. All the nail holes in your molding need to be filled with wood filler or spackle. Wearing latex gloves, use the tip of your finger to scoop a small amount of filler onto your finger and then swipe it over the hole. Try to leave as little residue surrounding the hole as possible. Read the label and allow the filler to dry for the recommended amount of time. Use a fine grit sandpaper to sand any excess residue. NOW it’s time to caulk along all the edges of the molding. And this is where my super secret tip comes in for the BEST results! Pull that painter’s tape back out one more time! (If you painted stripes like me, you’re probably going to swear off tape for at least 6 months after this project, but it’s a must on this last step.) Place a continual strip of tape onto the wall and onto the ceiling along all of the molding. Tape as close as possible to the molding while still leaving a tiny bit of wall exposed (1/16″). You do not want the tape to run under the molding. For the wainscoting, place tape inside and outside the molding on each box. Using your caulk gun, run a small bead of caulk in the crevice between the molding and the wall; you do not need a lot, just a very small bead. Work in small sections, like three feet at a time or so. Now run your index finger right over the bead of caulking, smoothing it into the crevice with a consistent finish. Immediately remove the tape from that section (the caulking should still be wet when you remove the tape or it will stick to the tape). Move to the next section and repeat. If you notice that there is an edge to the caulking where you remove the tape, the caulking is too thick – use a smaller bead. Once you get the hang of it, you’ll have everything caulked and done in no time. (Also, gloves should be used to protect your fingers; my husband so kindly volunteered to demonstrate the swiping for the pictures, but I usually do that part of the job with my little tiny gloves.)
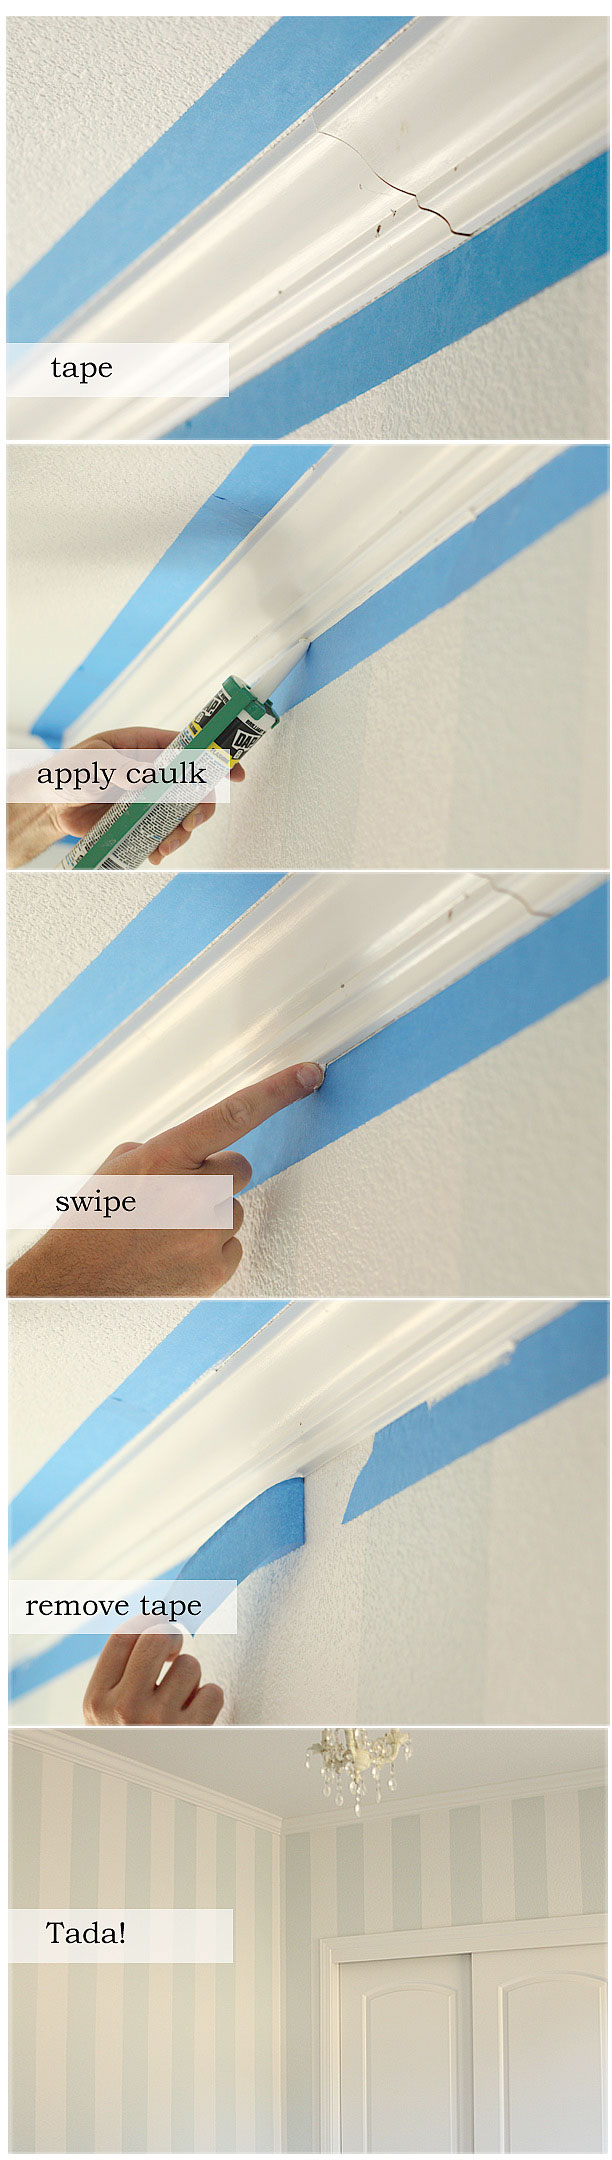
After you’ve caulked all of the seams where the molding meets the walls, allow the caulking to dry completely (refer to package). Now, you can apply a final coat of paint over the molding to cover the filled holes and caulking. I didn’t need to tape again, I just did a quick swipe of gloss paint using an angled brush. Let me tell you – I touched up the paint in the entire room in less time than it took me to touch up the stripes and paint on the three foot section that my husband caulked without my magic taping method.
So what do you think? Do you love the look of decorative molding?


Comments & Reviews
Jennifer@The Chronicles of Home says
I absolutely LOVE the look of moulding. Pretty much any moudling. It’s looks absolutely gorgeous in your girls’ room!