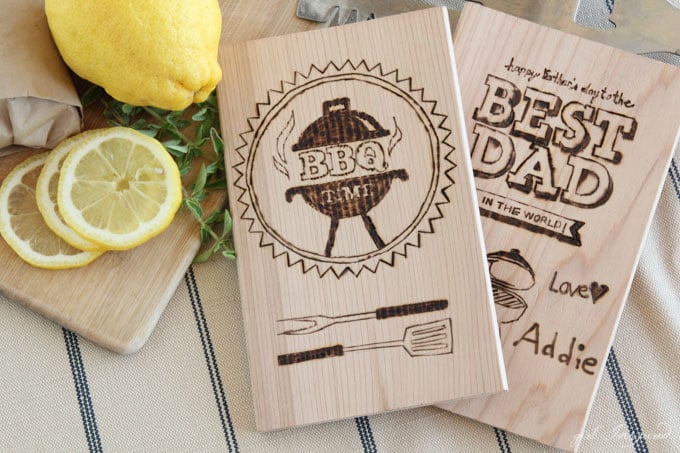
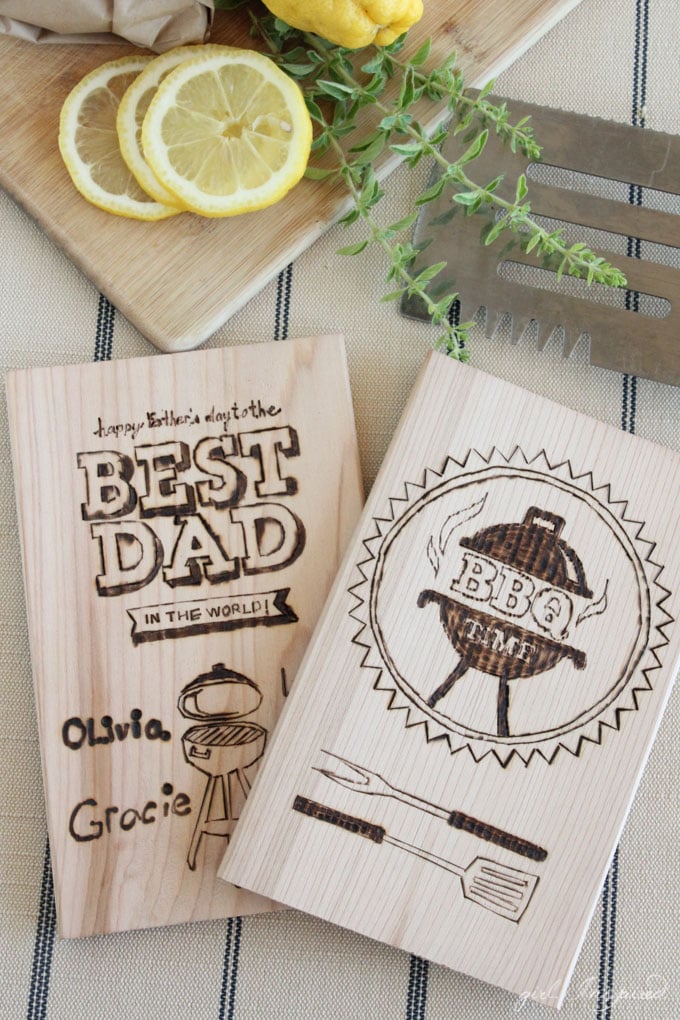
This project is SO much fun, I just might have a new obsession with my wood-burning kit. I don’t know about you, but I struggle with ideas when it comes to making gifts for dads! Today’s idea came to me when I was daydreaming about dinner, as I often do, and I think it’s one of the best personalized Father’s Day gifts I’ve wrapped up yet! Wood-burning crafts combined with delicious food on the grill sounds like the perfect combo.Wood-burning is a new craft for me and this tool set is actually a pretty versatile tool that you can use with wood, leather, and paper (among other things), but I gave it an initial test drive with some cedar planks for grilling that I found at the grocery store. These planks are inexpensive and they really work well to flavor your food! I wasn’t sure what to expect and thought that perhaps I wouldn’t even be able to taste the cedar, but I was really pleased with how much flavor it added. If you have a grill-master dad in your life, these personalized wood-burned cedar planks are a fun present for him! Wrap some planks up along with your tins of perfect steak spice rub and you’ve got Father’s Day covered!
Supplies:
Versa-Tool wood burning kit by Walnut Hollow (aff link)
food-safe cedar planks for grilling (my grocery store sells these at the meat counter)
(or) other wood blanks
pencil
tape
design
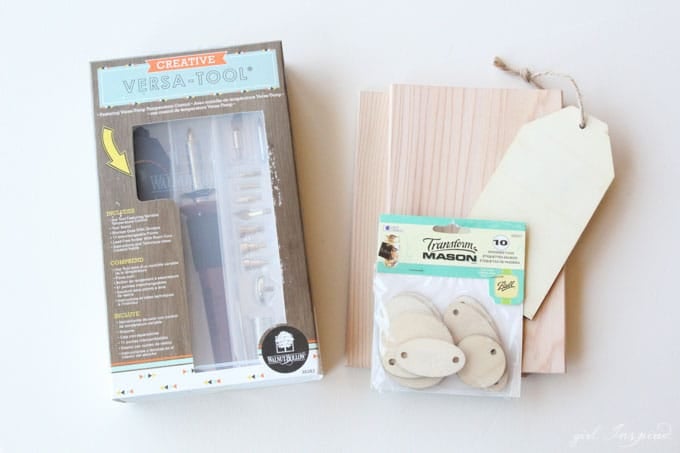
Step 1: Collect your materials. This Versa-Tool by Walnut Hollow comes with a variety of tips for creating your design. It also has adjustable temperatures so that you can use it with different materials and also burn designs in various shades. We are using cedar planks for grilling today, but there are many wood blanks available, from luggage tags and labels to wall plaques and kitchen utensils!
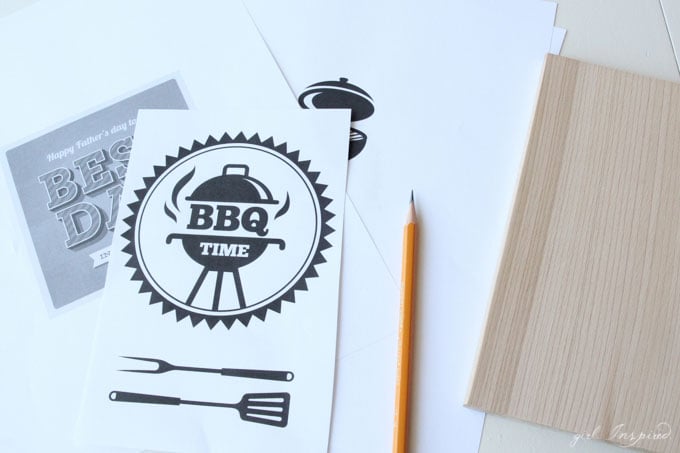
Step 2: The design. You will also need a pencil to draw or transfer your design onto the wood blank. I cannot free-hand a single line, so I found some designs that I liked and transferred them onto the cedar plank. Use a pencil to sketch a design now or print out your design and proceed to the steps below for transferring. I found my designs at vectorstock.com.
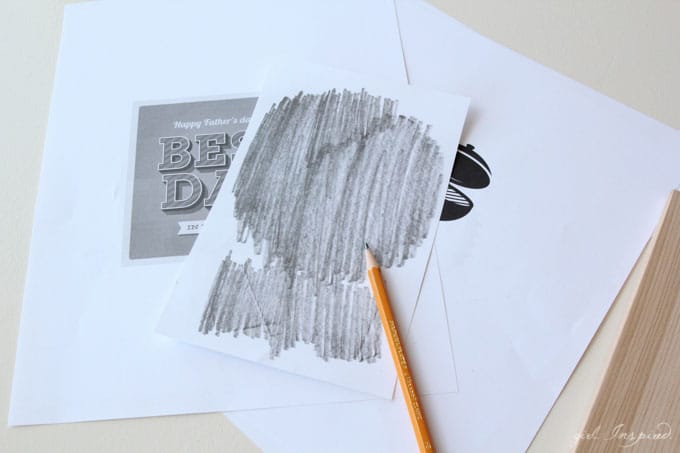
Step 3: Flip your printed design over to the wrong side. Scribble your pencil over the entire back of the design you wish to transfer.
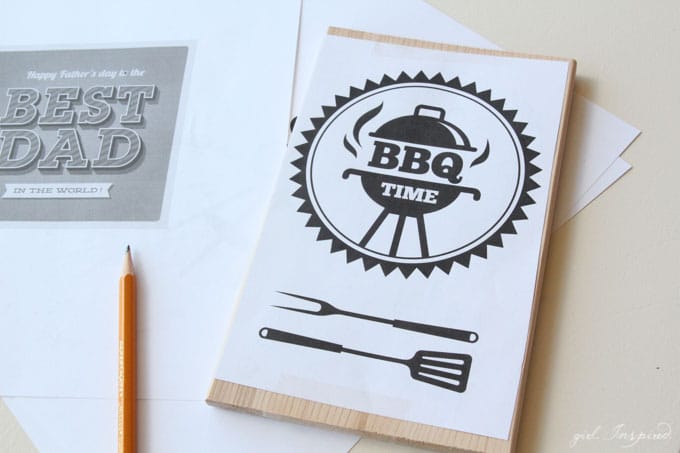
Step 4: Tape the design, right side up, onto the wood plank. Position it exactly where you’d like your finished design to go.
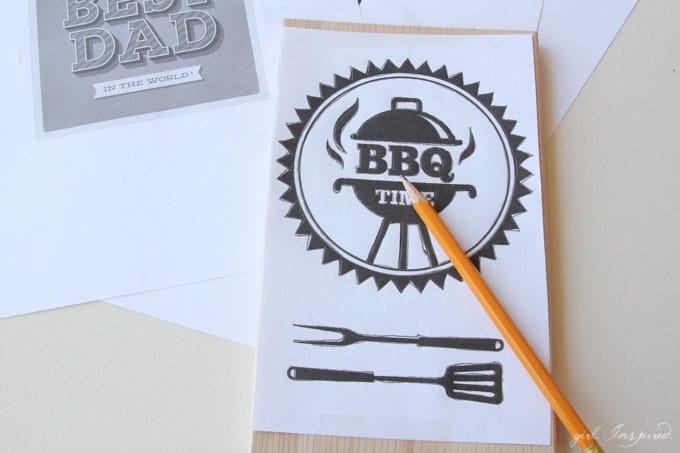
Step 5: Now use a pencil or ball point pen to trace around every line on your image. This will transfer the scribbled lead onto the wood and transfer your design.
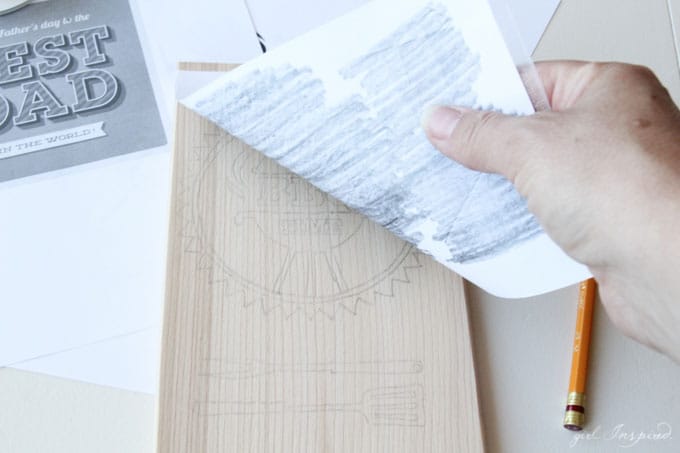
Step 6: MAGIC!! Make sure your entire design has been transferred and then remove the paper.
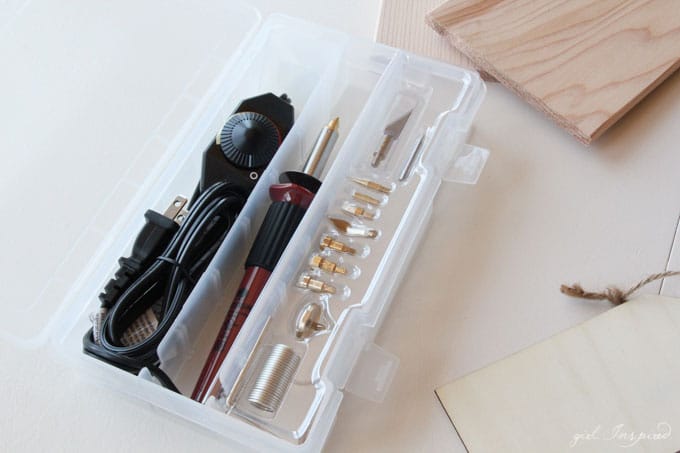
Step 7: It’s time to heat up that wood burning tool! Screw the desired tip into the top of the tool, plug it in, and turn it on to a medium setting. The tool heats very quickly!
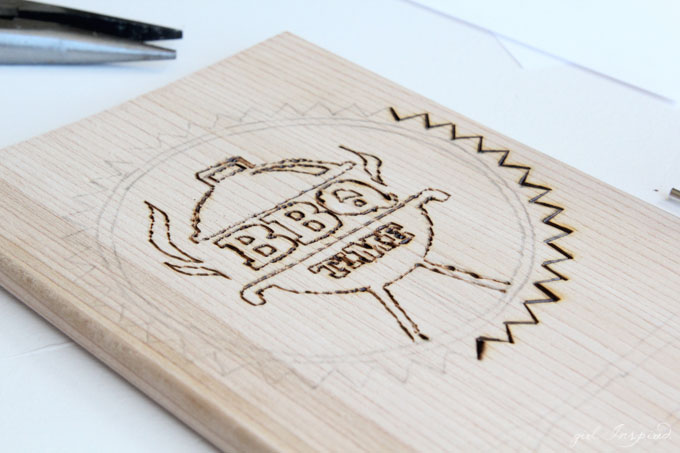
Step 8: Work slowly and carefully to trace over your design, burning it into the plank. You can experiment with various heat settings and tool tips for the various parts of your design. SAFETY TIP: Use needle nose pliers to remove and replace tips as you change them out. Place hot tips into a glass bowl while cooling.
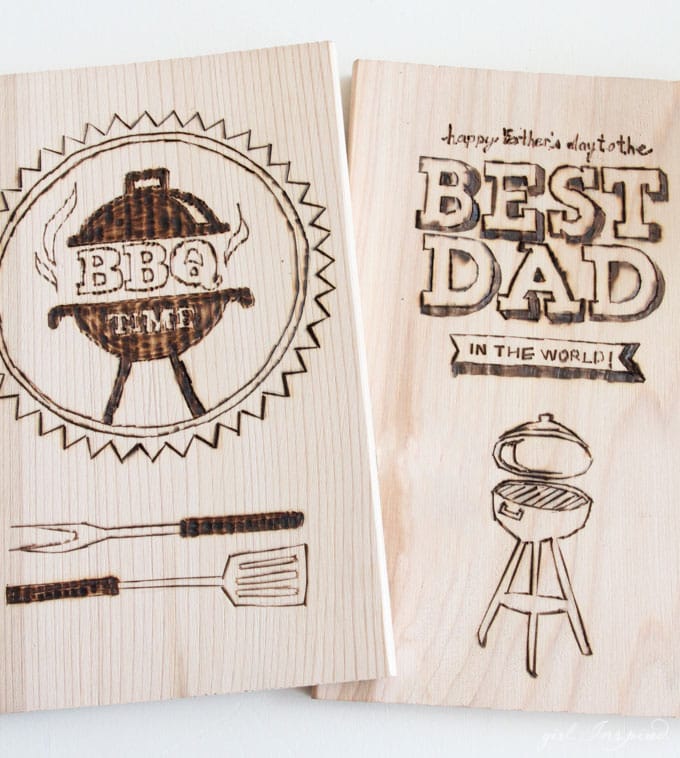
Step 9: Continue burning your design and creating new designs until you have a finished gift that you love!
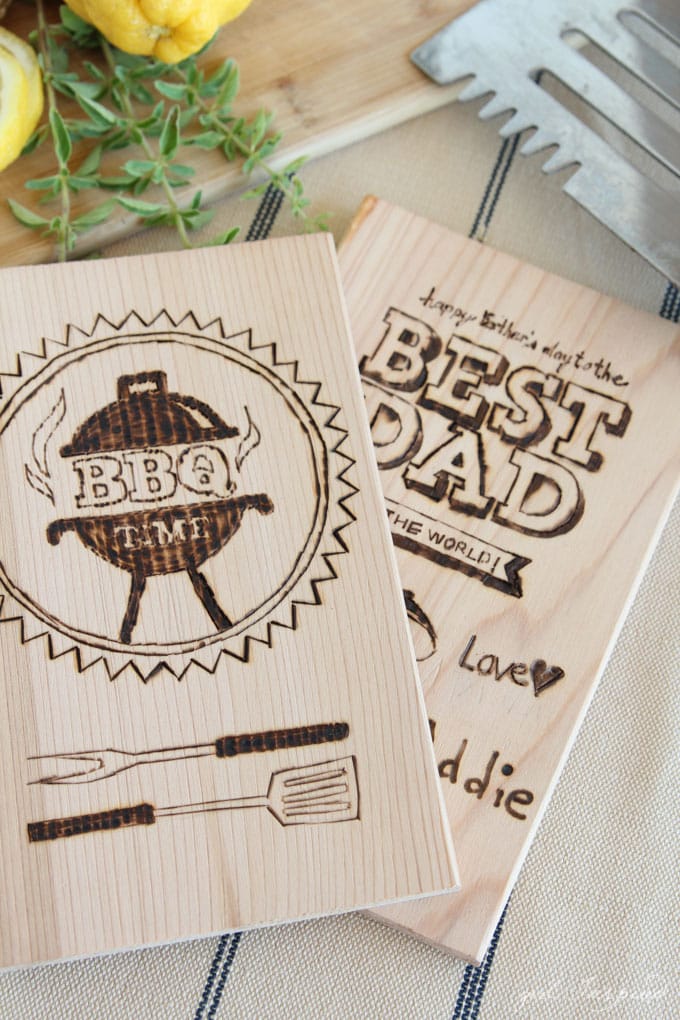
Step 10: You can have little ones sign their own names in pencil onto the wood and then burn it for them for that special touch! Include instructions for using the cedar planks with your gift. These, for example, need to be soaked in water for 1-2 hours before placing on the grill.
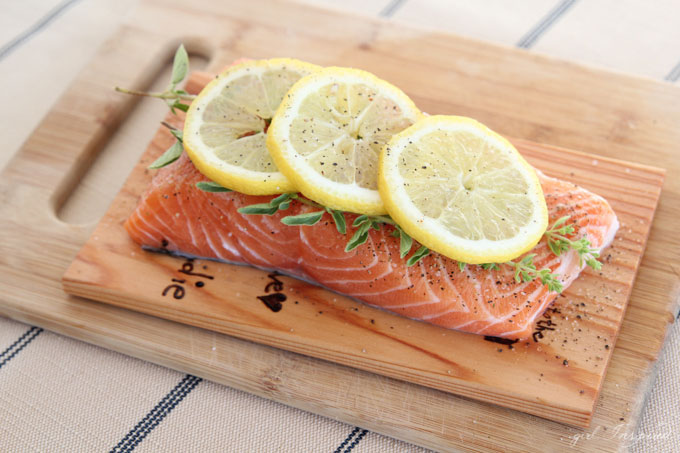
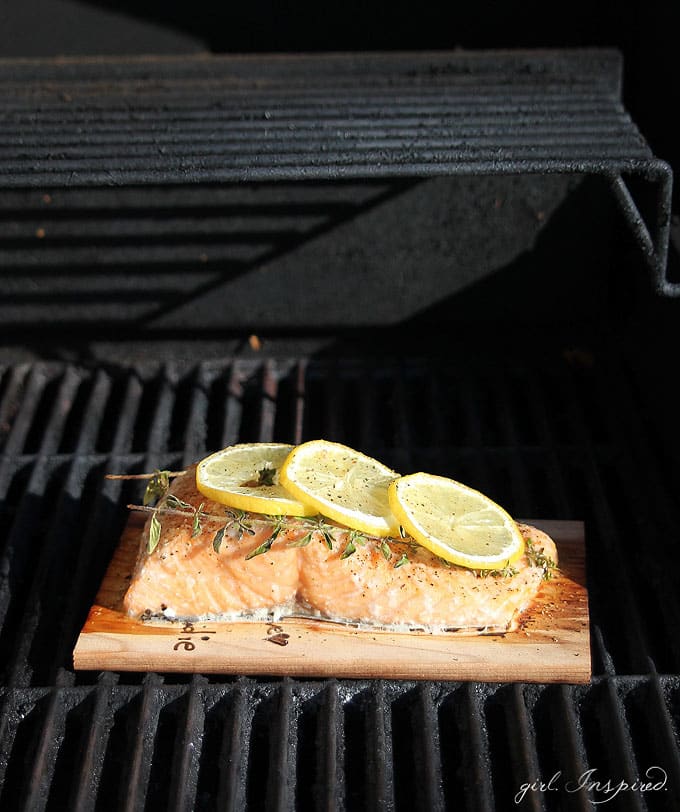
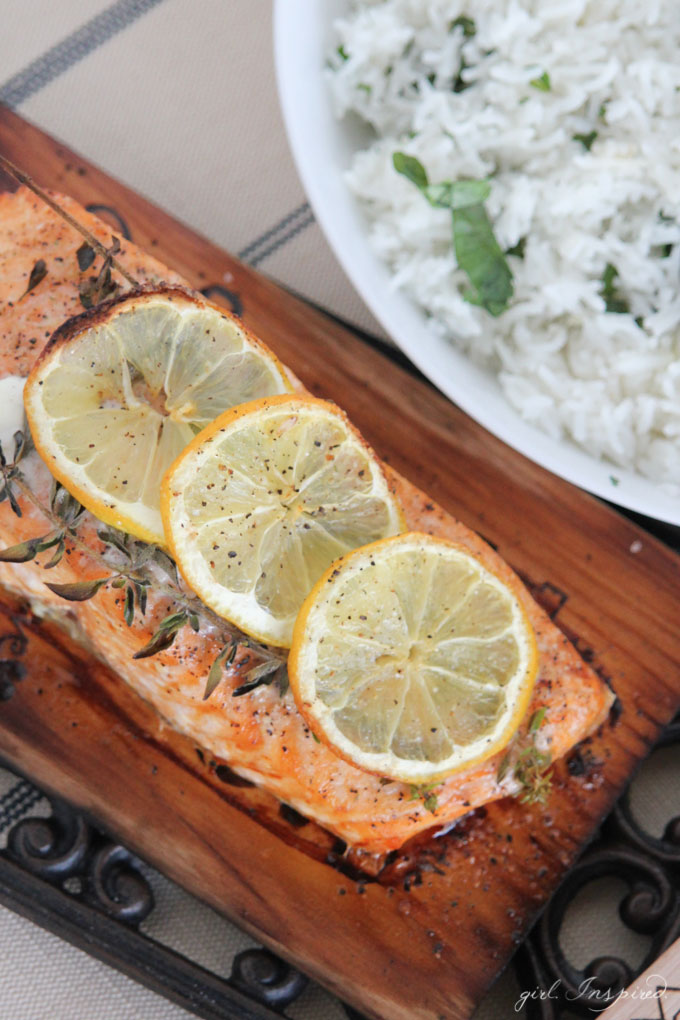
I soaked this one for about an hour before grilling and the bottom became pretty black. The instructions say single use only, though the supermarket employee indicated that they could probably be used more than once! If you’re concerned about all your wood-burning work being charred in one fell swoop – consider giving dad a big stack of cedar planks with the personalized work on just the top one or two. You might also put your new skills to work on a cutting board – I know that’s what I’m planning to tackle next!!

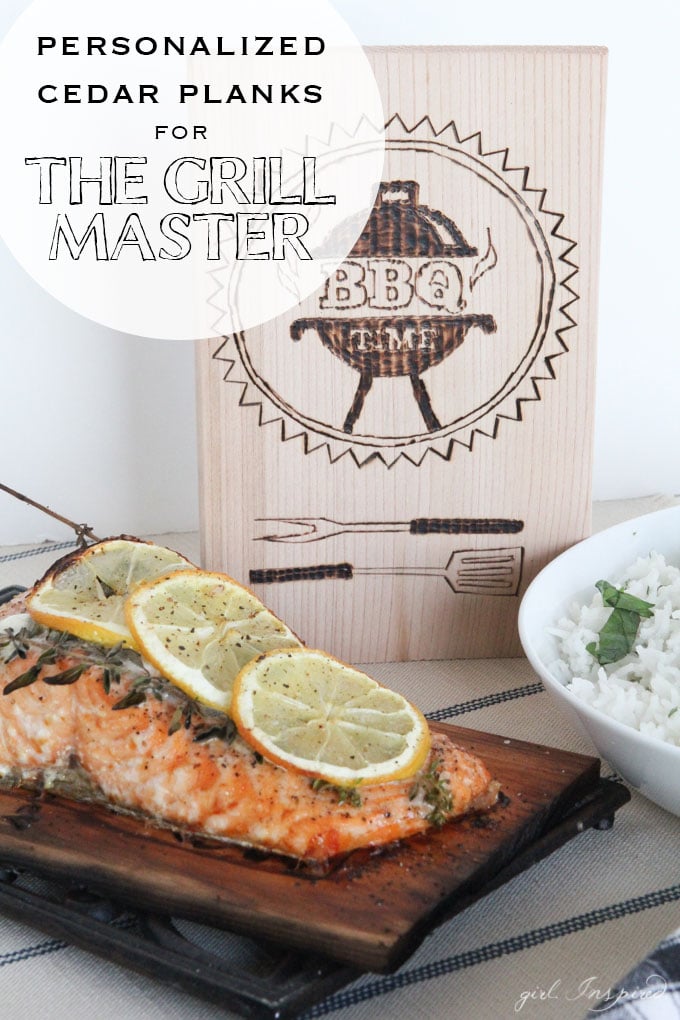
And in case you’re wondering, I grilled this salmon with some black pepper, garlic salt, fresh oregano, and lemon slices, and it was delicious!!
You might also like:
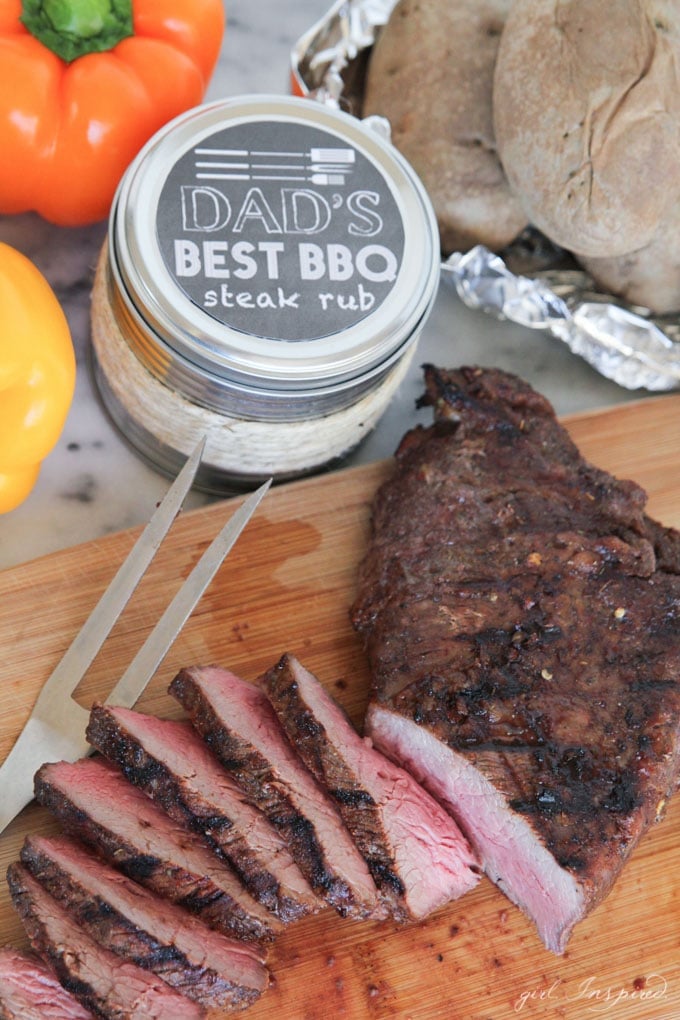
Perfect Steak Marinade and printable Father’s Day spice rub tin labels


Comments & Reviews
Charity says
Wood-burning is pretty fun! Your designs turned out great. =)
Did you know you can also use the tool to keep the edges of some synthetics from fraying? It takes some practice to burn the fabric enough to seal it but not enough to blacken it, but it’s great for ribbons. =)