As you know, I love a good party! As the kids get older, I find I have much less control in the party planning, and even in the party preparing. When my oldest daughter came home from school and said that she and her good friend were both planning to have an outdoor movie party days apart for their birthdays, the girls were ecstatic to plan the party together. Today I’m sharing some of our movie night party ideas as well as a fun director’s clapboard DIY.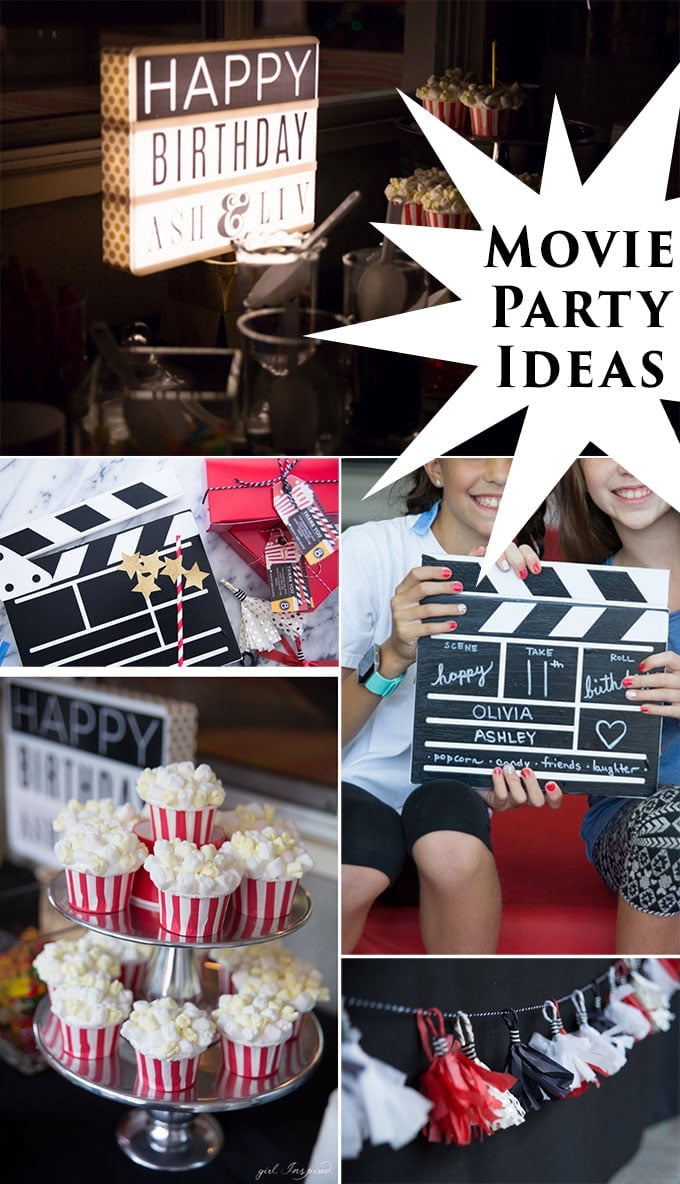
This theme was so much fun – the bright cheery colors and the easy food preparation made it a blast. Even more fun, the girls did the bulk of the party preparation and decorating themselves. Us moms just had to set up jars of candy and roll out the red carpet.
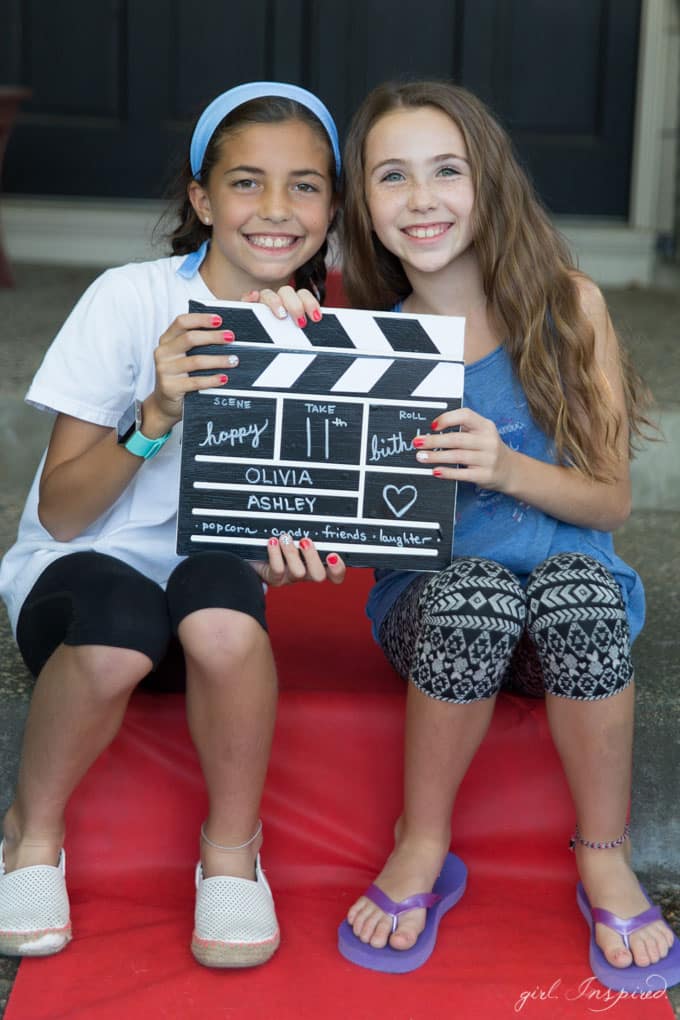
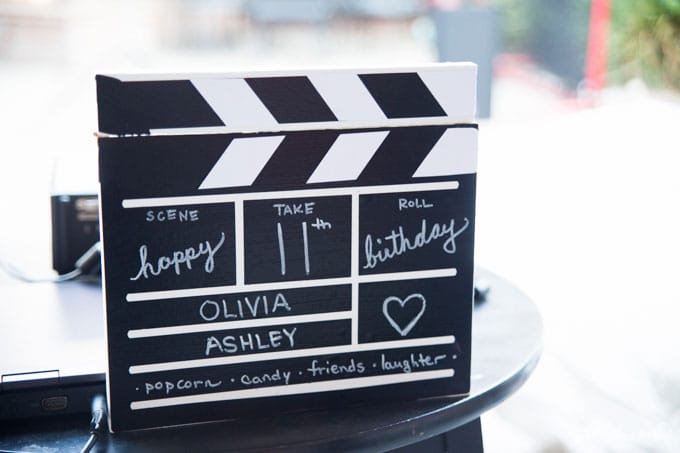
Since my interjections in the party decor were minimal, I focused my efforts on making a director’s clapboard for the kids to use as party decor. They ended up working it into most of the events of the evening and it has been such a fun addition to our make-believe toys. It was actually really simple to make using my Cricut Explore and I’m going to show you how in just a minute!
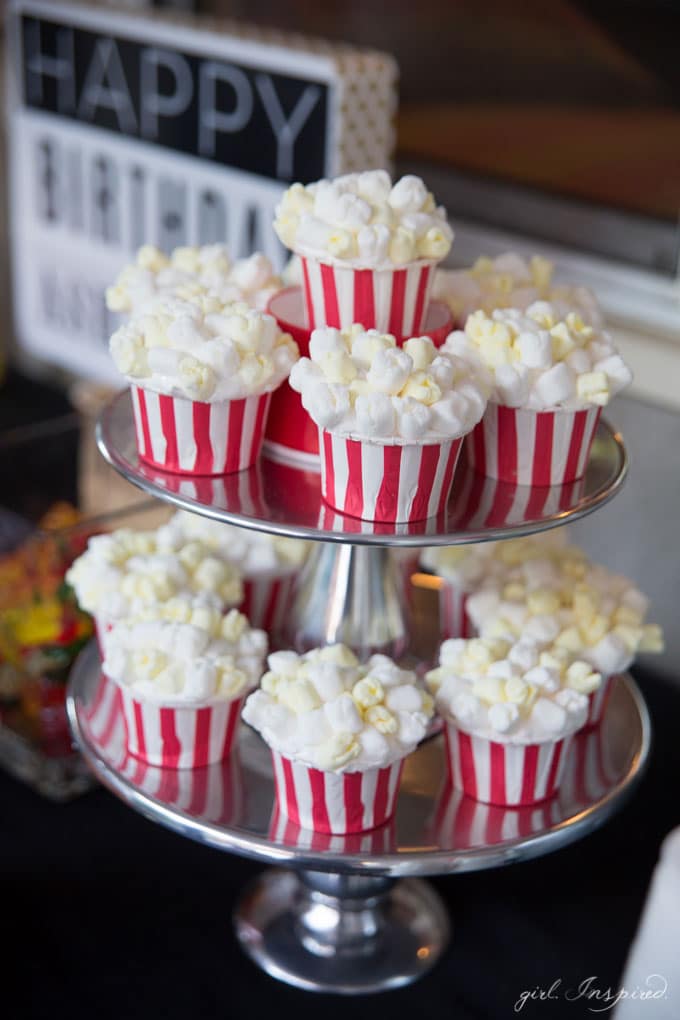
I also got to help my daughter make the popcorn cupcakes. These were AWESOME!! So easy to make – just bake cupcakes in perfect little striped baking cups (I got mine from Sweet Lulu). Add a layer of frosting – I used white mountain frosting, recipe here. Buy a big bag of white mini marshmallows and several bags of the pastel mix mini marshmallows – separate out all the yellow ones! Now, snip one end of most of the mini marshmallows into four sections so they look like popped corn. Mix the yellow and white marshmallows together and mound them on top of a blob of frosting! Presto! Tweens can make these all on their own!
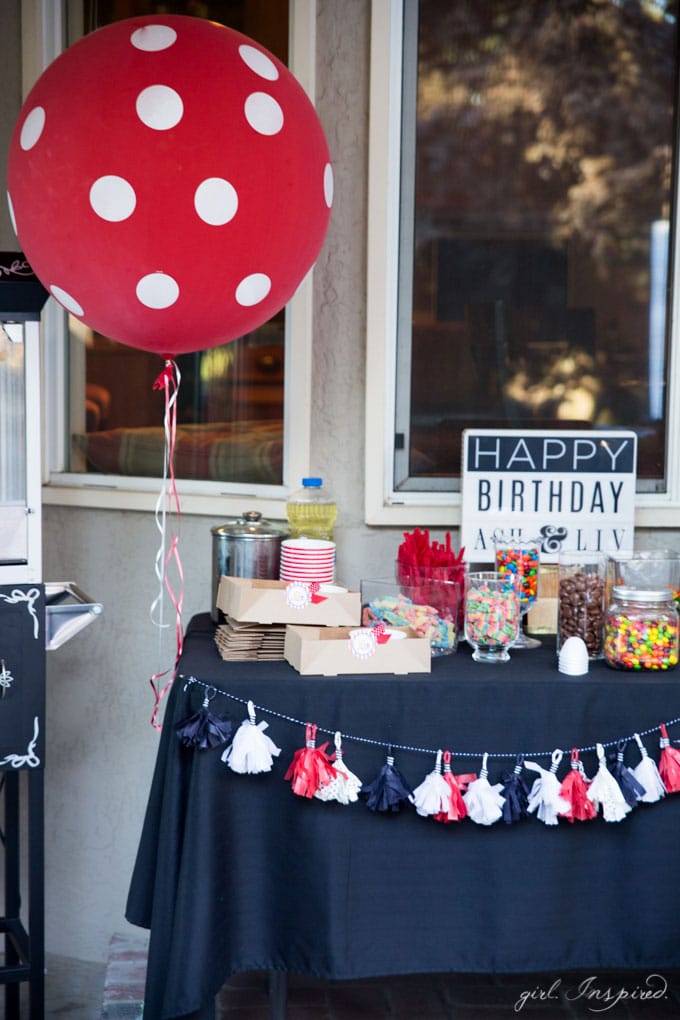
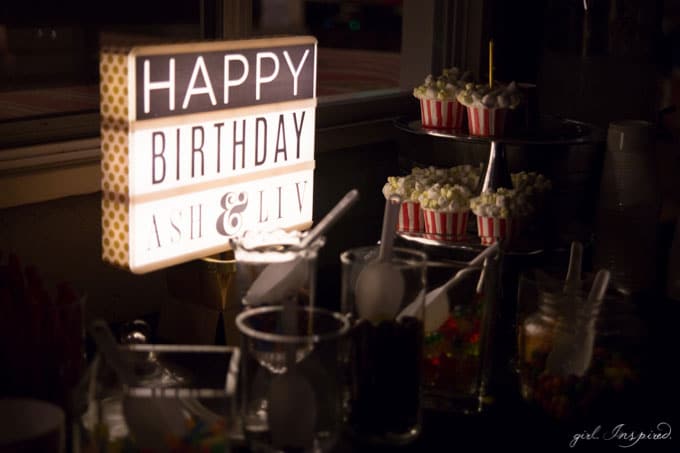
Candy table – easy peasy! Popcorn popper? Absolutely! I purchased some craft box tray things (also from Sweet Lulu) and the party girls glued a little ribbon and punch out onto the front, which I downloaded from Etsy.
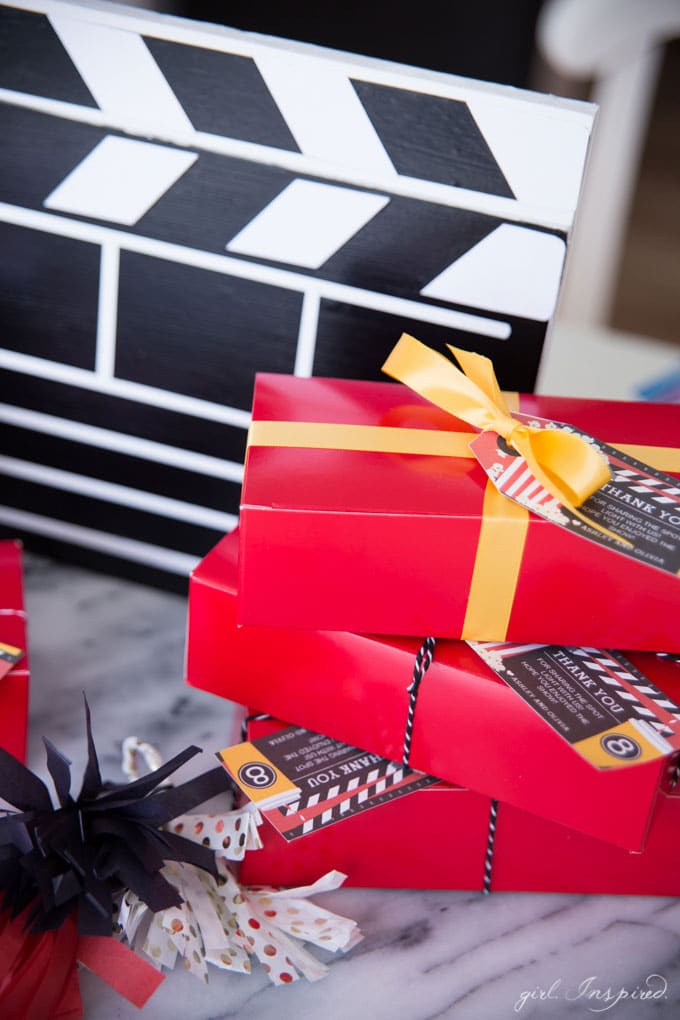
Party gifts of caramel corn, packs of gum, and hand sanitizer were packed into little red boxes and tied with a ribbon and tag (also downloaded from Etsy).

Olivia and I made a bunch of little tissue tassels and then the party girls put them on a string and hung them across the concession table.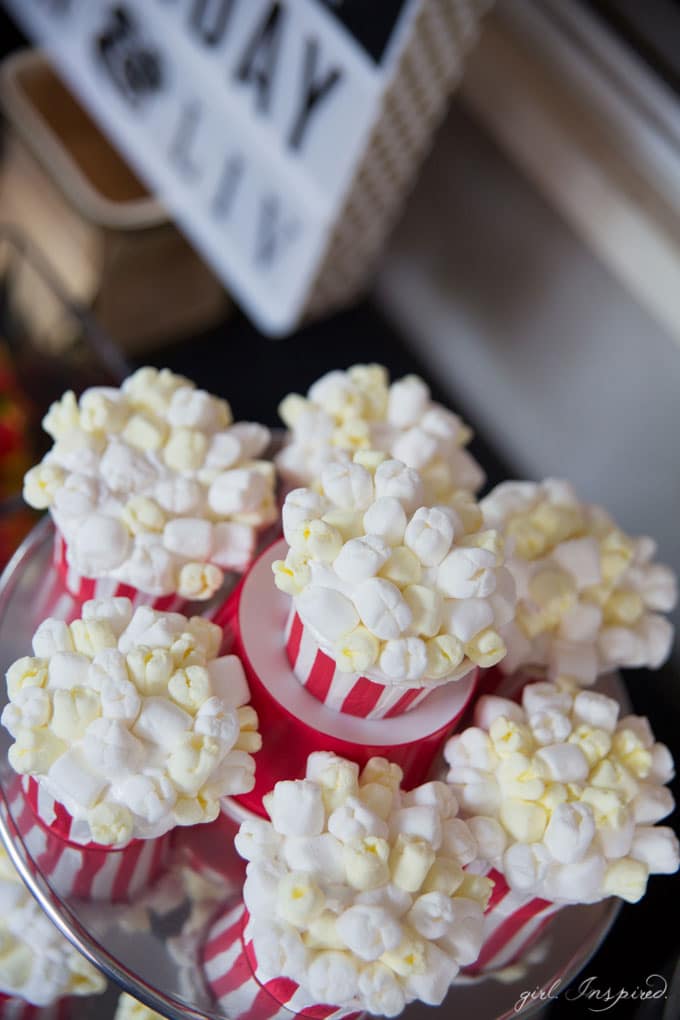
Alright, so let’s get to the director’s clapboard, because it was one of the favorites!
Supplies:
- plywood, scrap wood, or foam-core poster board – at least 13″ x 13″ so it can be cut down to size
- white paint
- black vinyl
- white vinyl or white cardstock
- Cricut Explore and Cricut Design Space software
- Mod Podge – matte
- small hinge
- chalk pen
How to Make a Director’s Clapboard:
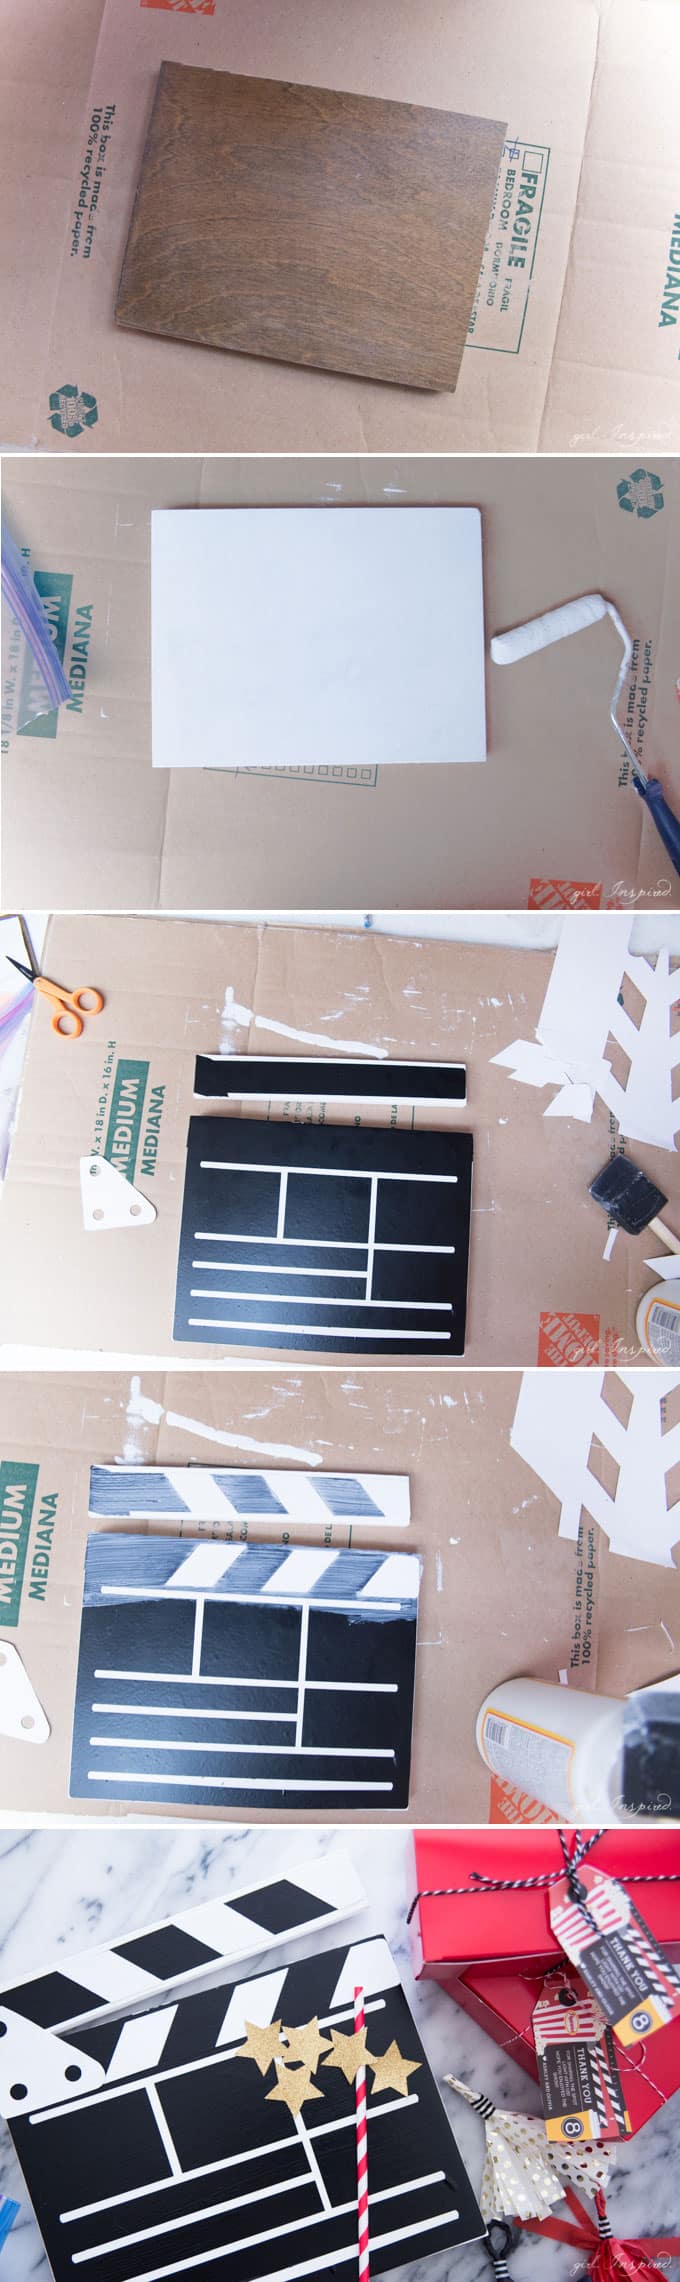
- Cut a piece of ¾″ plywood, scrap wood, or foam core poster board to an 11″ x 9″ rectangle.
- Cut a second piece of material to an 11″ x 1.5″ rectangle.
- Paint both sections of the clapboard bright white. Repeat 2-3 coats on all sides and allow to completely dry.
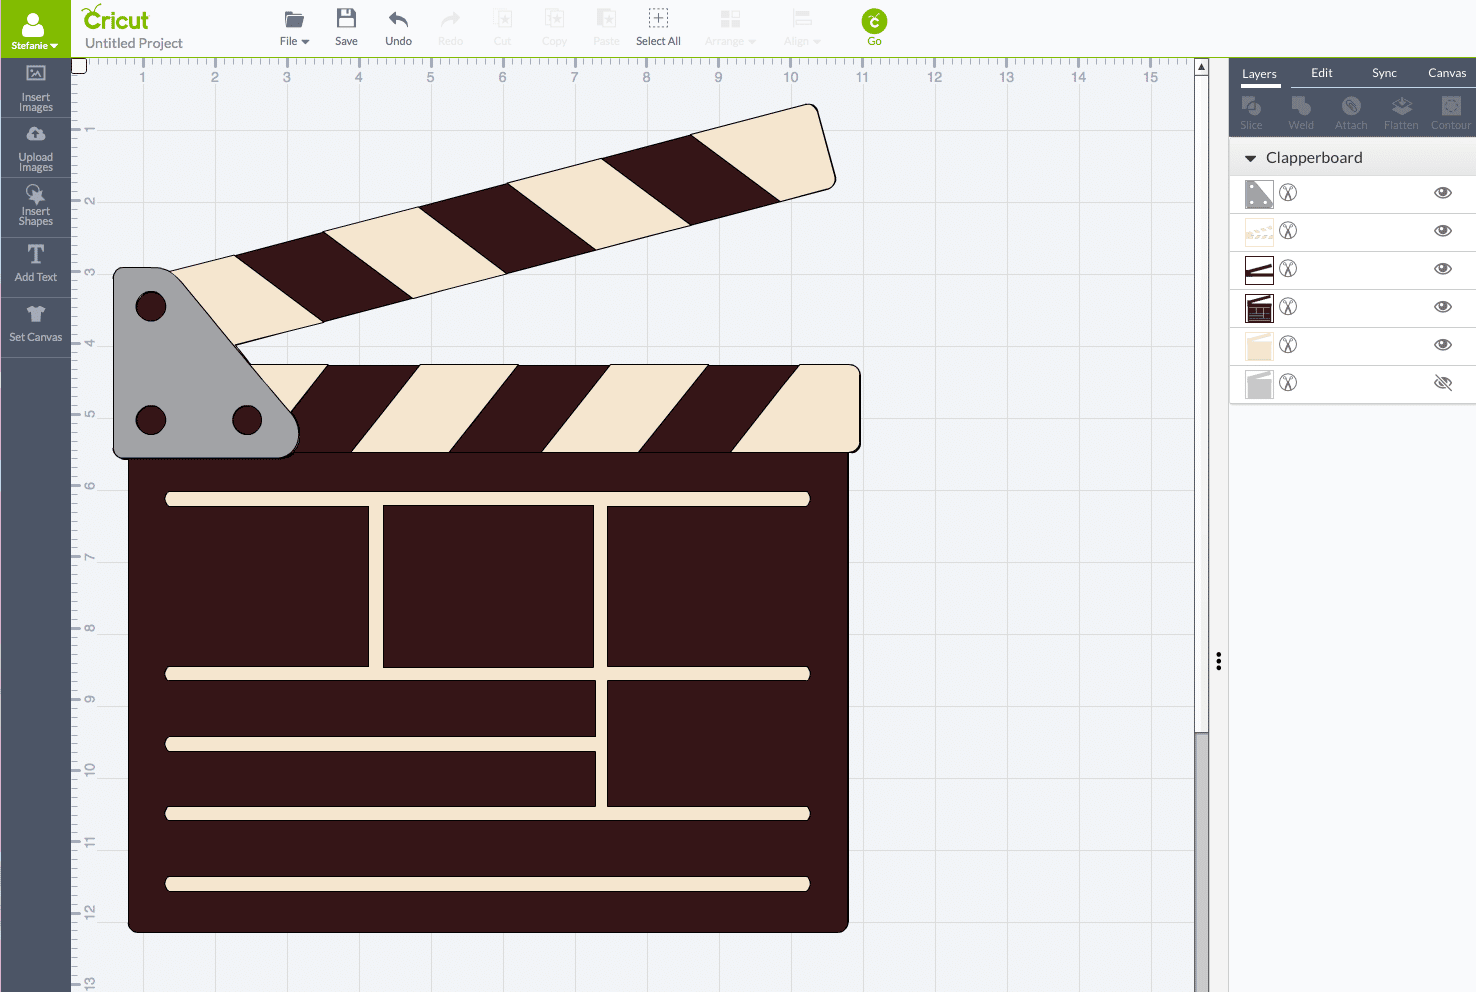
- While the paint is drying, open up your Cricut Design Space software and open a new project. Go to “Insert Image” and then search the term “Movie.” When you see the director’s clapboard image, insert it into design space and resize it to 11″ wide.

- You do not need to cut all the layers of the clapboard. You will need to cut one layer, the full design of the front that is all black. Cut this layer from black vinyl and set aside.
- Next, cut just the layer of white parallelograms that run along the top edge of the clapboard. Cut these from heavy white cardstock or you could instead use white vinyl.
- When the paint is dry on your boards, carefully place the black vinyl designs over the wood pieces. Smooth it down completely, working out any air bubbles.
- Use Mod Podge to glue the white parallelograms into place over the vinyl.
- Coat the entire project with 1-2 layers of Mod Podge and allow to dry.
- Screw on a small hinge on the inner edges of the clapboard to make it swing up and down in true director’s style!
- Use a chalk paint pen to fill in some fun and applicable words for your event!

Hope you loved these ideas for a Movie Party – what kinds of parties are you planning this year?
This is a sponsored conversation written by me on behalf of Cricut. The opinions and text are all mine.


Leave A Reply!