Do you have any sewing projects that have been lingering in the back of your mind for ages? Today’s project is just a simple, fun idea for packaging your favorite fabric and notions into a sweet gift for a friend or even just to treat yourself to something cute on your sewing table. I’ve been wanting to make a few for ages! These Mason Jar Sewing Kits are a fun way to show off small pieces of fabric and I like that it provides a contained way for me to carry simple notions to another room if I’m working on some stitching in front of the television or in the car.
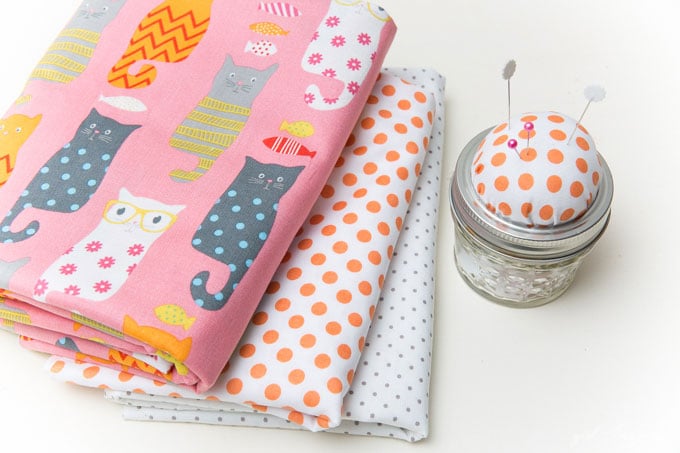
These are so easy to make – I’ll show you how I made mine and I hope you’ll make some, too! Never to early to stockpile a few gifts before the busy gift season kicks in! We love mason jar projects a round here – so when you’re done with this one, do make some mason jar luminaries, decorative jam jars, jar up some jam, or make some chocolate cream pie in the jars!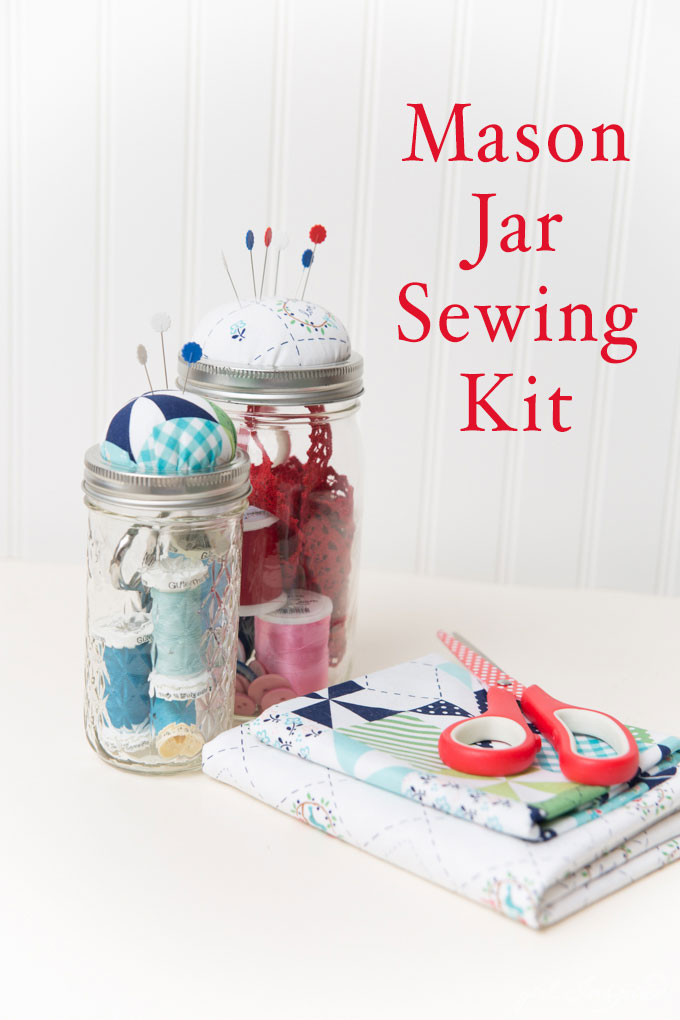
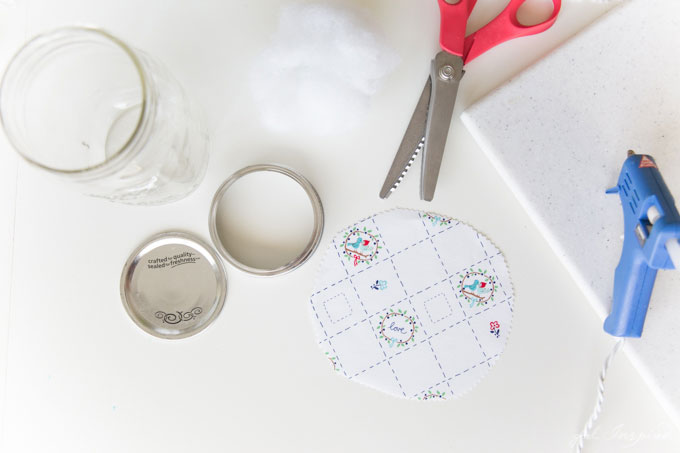
Begin with a mason jar – any size will do – it only depends on the size of the notions that you’re hoping to tuck inside! You will also need a large handful of batting, a 6″x 6″ piece of fabric, and a hot glue gun. Use pinking shears to cut a circle from your fabric – the circle should be an inch or so bigger than the mason jar lid all the way around.
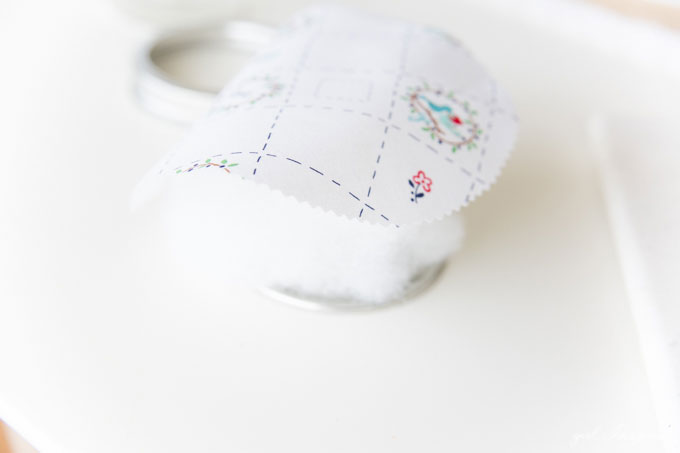
Ball up the batting and place it on top of the mason jar lid. You’ll want enough batting to really make the pincushion dense when it’s finished. You can hold it in place with a bit of hot glue if you’d like. Place the circle of fabric right side up and centered over the batting/lid.
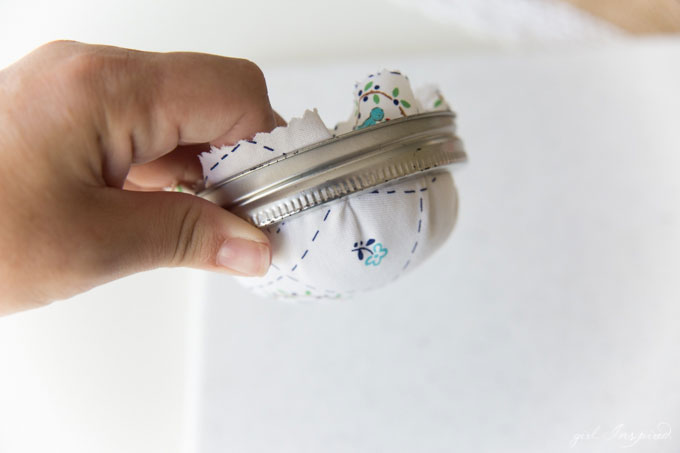
Gently slip the screw cap for the jar over the lid – nestling the fabric and batting evenly in through the screw cap as shown above.
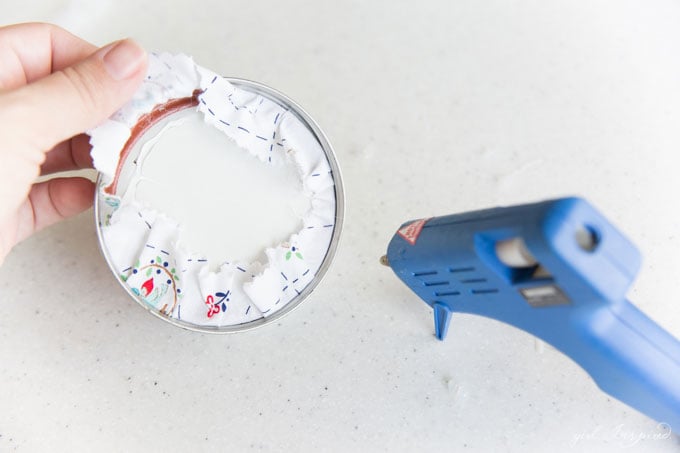
Hold the lid tightly into the screw cap. Pull the fabric evenly down around the bottom of the lid, forming a smooth and even dome on the other side of the lid. Hot glue the fabric edge around the bottom of the lid. Try to keep the bulk of the fabric and glue to the inside of the rim so that the lid will more easily twist onto the jar.
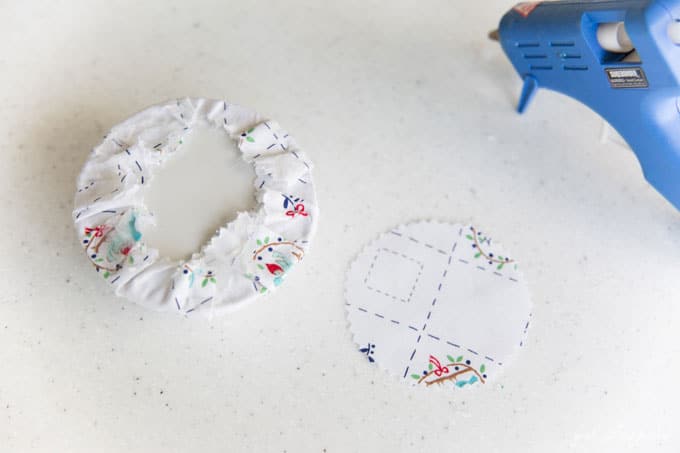
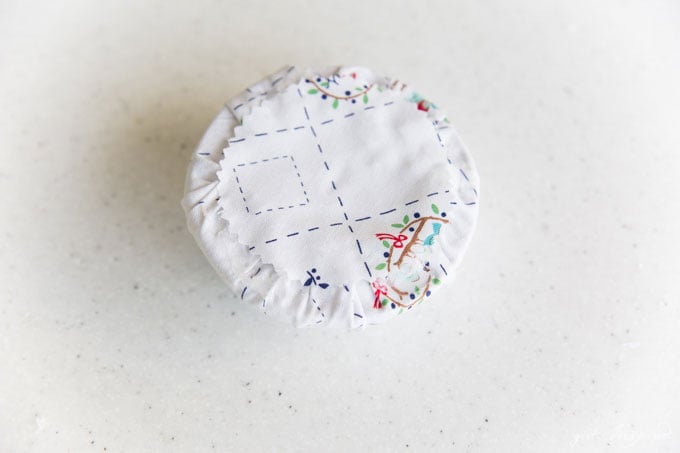
Remove the screw cap and trim any loose strings or excess fabric. Cut a small circle of fabric or felt and hot glue over the back of the lid to contain the raw edges.
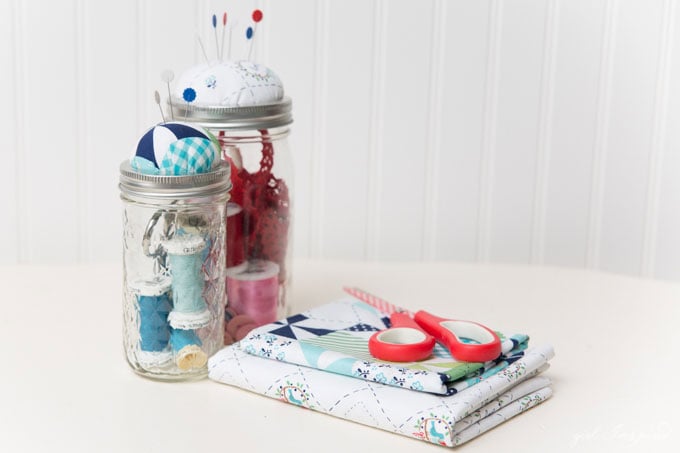
Fill that jar with your favorite notions, add some pins to the pincushion and you’re done! You can store thread, trim, buttons, embroidery scissors, and all kinds of sewing supplies in these jars. Pair them with a stack of your favorite fabrics and they make such a special gift!
I used Country Girls fabric for some of mine and..
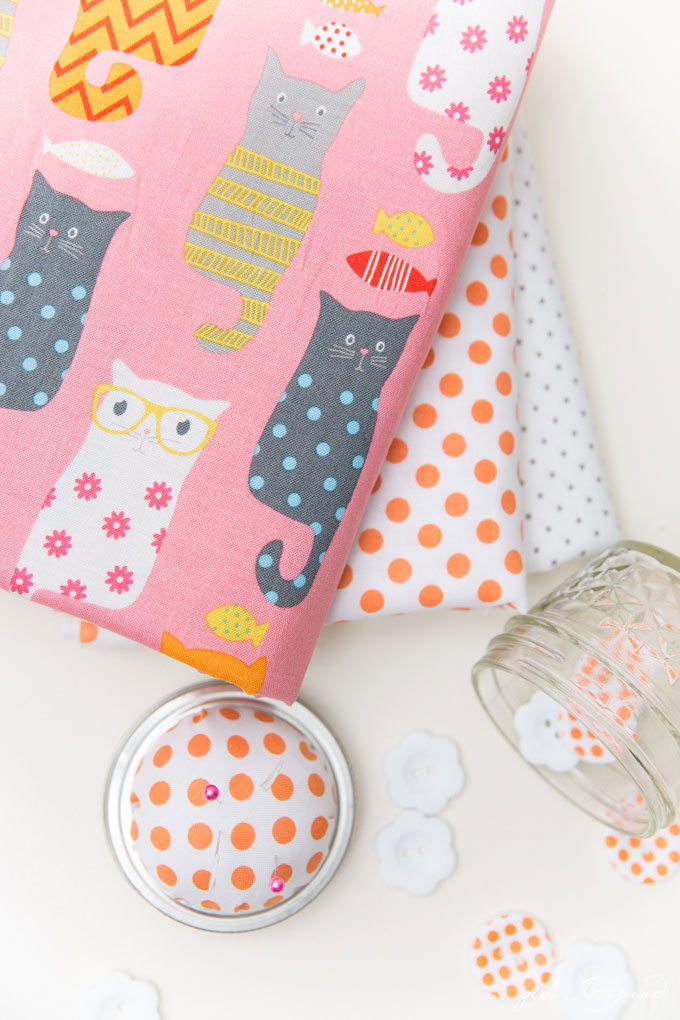
I’m currently fixated on this Smarty Cat novelty fabric from Riley Blake Designs. It is pretty much the perfect cotton for a back to school dress for my kitty cat obsessed 2nd grader! So guess what’s next on my sewing to-do list!


Comments & Reviews
Sherry says
Just beautiful! I’m 62, never took a sewing class, just watching some YouTube tutorials and videos, I learned how to crochet the very same way. Am still learning my sewing. My husband bought me and brand new on before this past Christmas and for my birthday this past January. It’s a Brother SE630 sewing & embroidering. Have enjoyed it so much. Made quilts, burpees for babies, and some bowl cozies . I hope to see more of your videos in the future for beginners like me!
Thank you for making these.
Sherry Truitt
Stefanie says
How wonderful! I wish we could hang out and make things together! Have fun with your new adventure, Sherry!