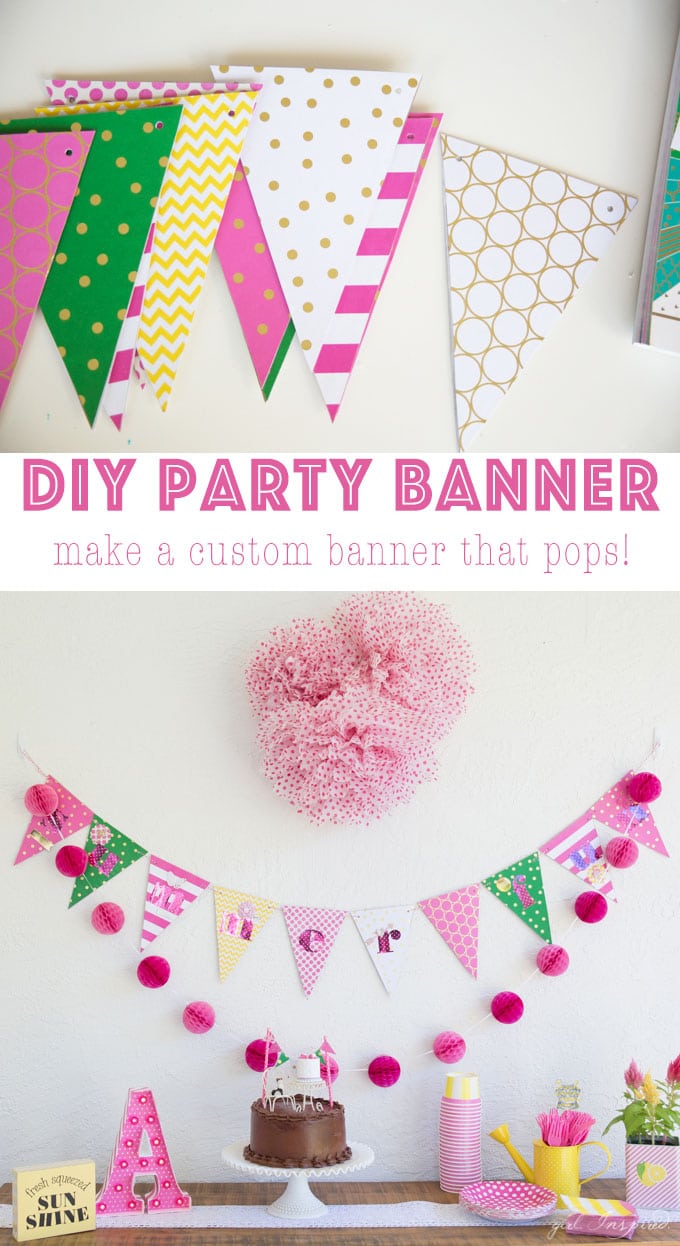
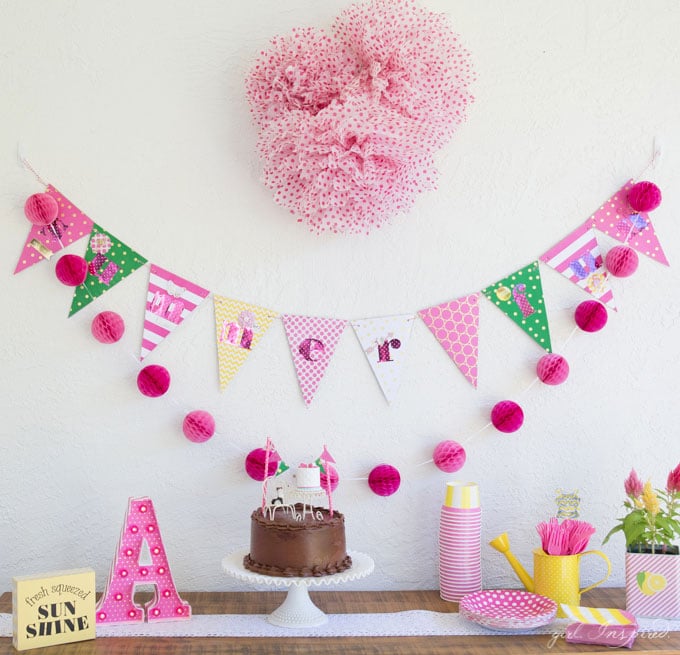
Before the summer completely leaves us, I wanted to share the step-by-step to create a DIY party banner using chipboard pieces and patterned paper. Although this banner was for summertime, you can follow these steps to make a festive banner for absolutely ANY occasion! The process is simple and fun – you can be as creative or as quick as you’d like. My ten-year-old made most of this banner herself so feel free to incorporate this activity into kid craft time!
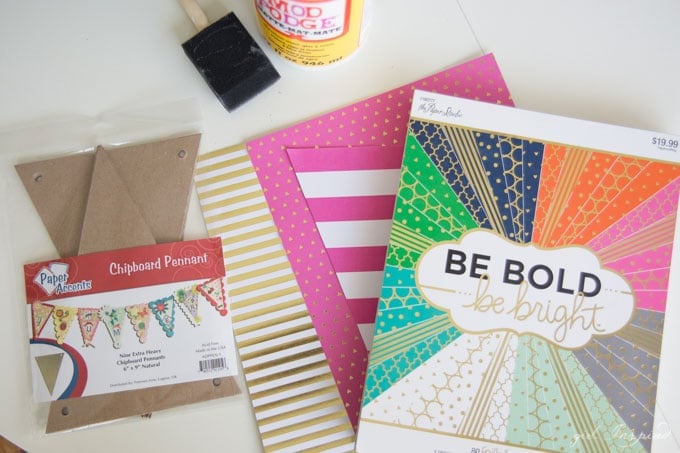
You need just a few supplies (affiliate links provided below):
- Chipboard Pennant (other varieties such as this or this)
- Patterned Cardstock (I like the foil embossed like this one).
- hole punch
- Matte Mod Podge
- Sponge brush
- waxed paper
- letters (chipboard, stickers, etc.)
- stickers, bows, clips, flowers, ribbon, etc. to accessorize
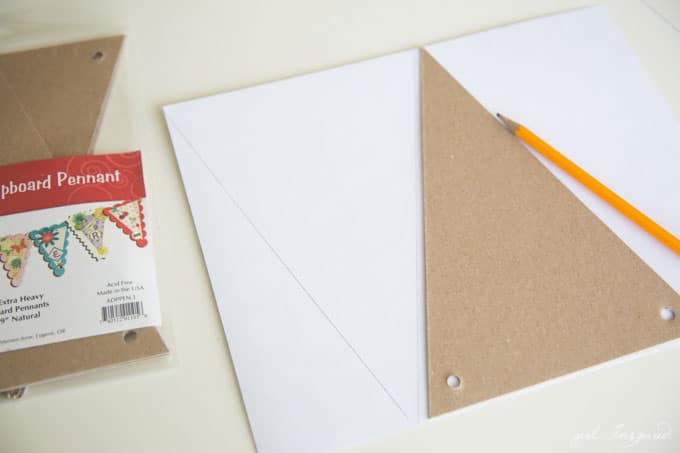
Be sure that you have enough pieces of chipboard to spell out the phrase that you want to display (remember spaces and possibly a blank one at the beginning and end). Trace the shape onto the wrong side of the patterned cardstock. Be sure that the shape of the chipboard is in alignment with any pattern direction on the paper. Cut out the shapes, one for each side of each piece of chipboard.
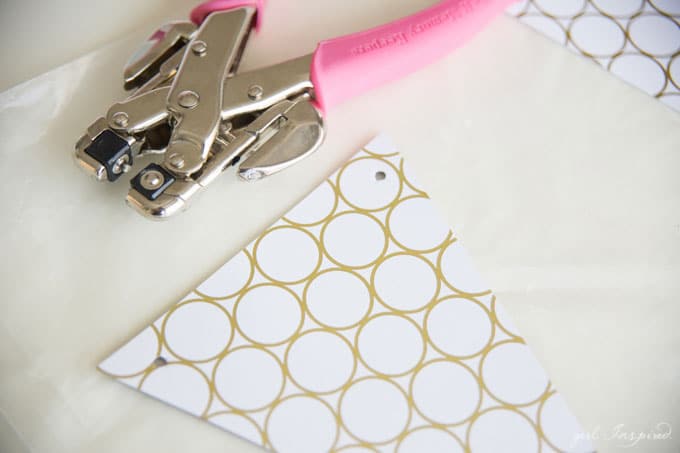
Punch holes in each sheet of cardstock before adhering to the chipboard or you’ll have trouble finding where to punch those holes. Use an even layer of Mod Podge to paste each paper shape onto the chipboard. Set the drying chipboard onto waxed paper to prevent sticking. After the glue is completely dry, coat the outside of each banner piece with another layer of Mod Podge. It’s probably best to do one side at a time.
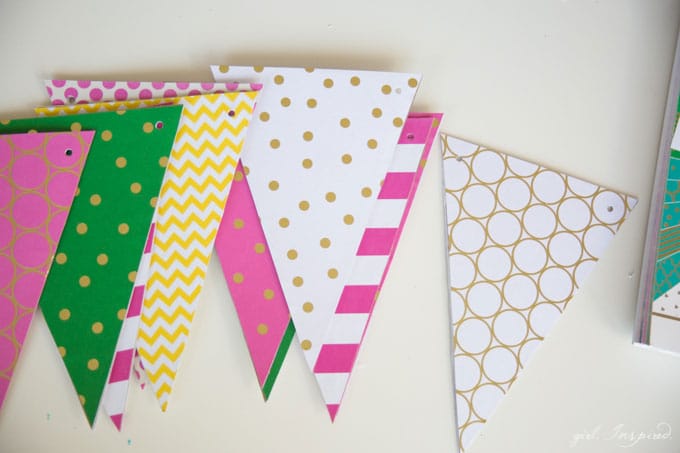
When all your pieces are completely dried, it’s time to lay them out and add letters and accessories. Decorate to your heart’s content!
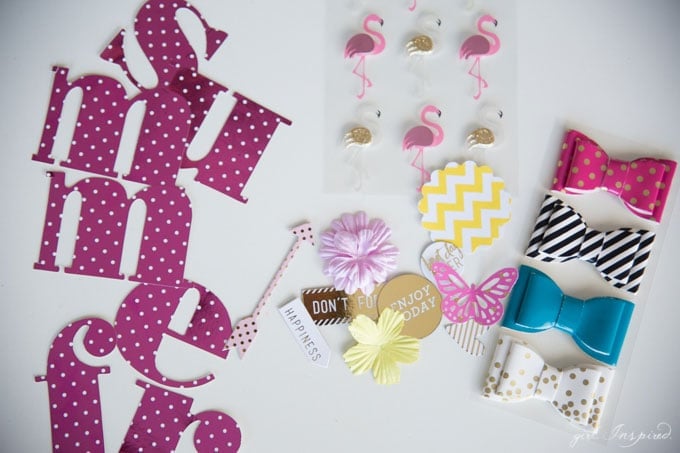
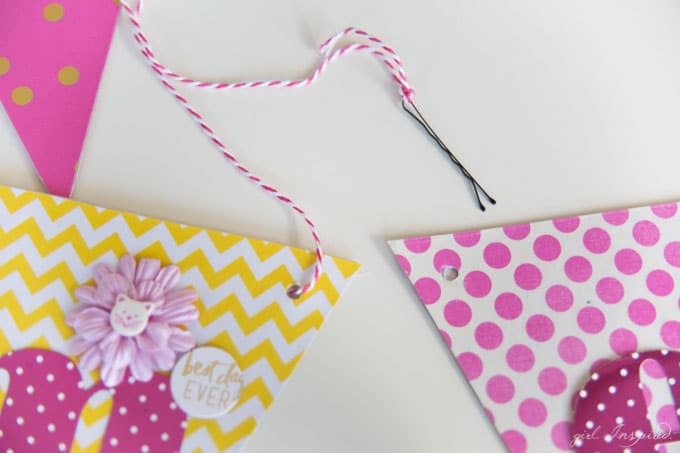
Finally, string up the banner on ribbon, twine, or jute string. That’s all there is to it! Here’s a quick video showing the steps and some additional detail pictures:

I love that you could even flip the banner around and add a different phrase to the other side – I’m planning on adding “Lemonade” to this one for our stand next summer. I also have “CELEBRATE” hanging up in my office – it’s so cheery and fun to display even when I’m not hanging it up for a party!
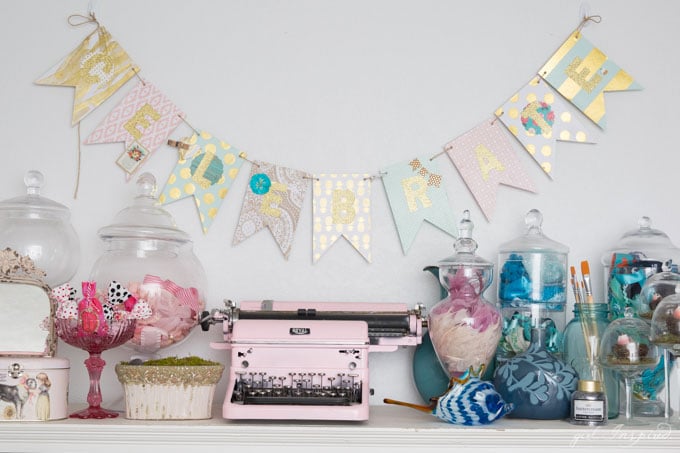
Have fun making your perfect party banner!


Comments & Reviews
Charity says
I love the version hanging in your office- so pretty!