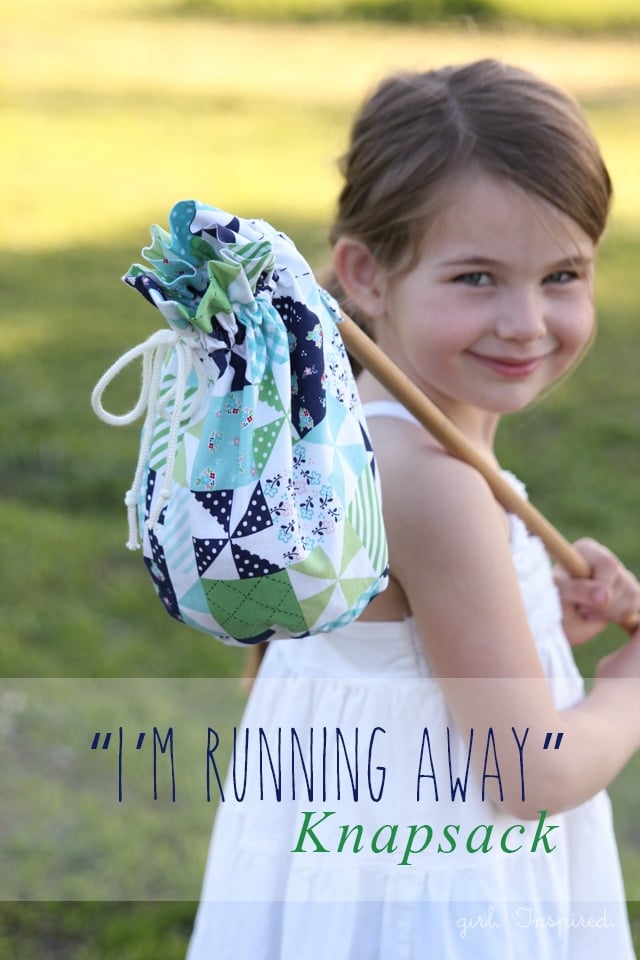
I am back from the SNAP conference and have a list a mile long with new ideas, goals, projects, and blog improvements. Blog conferences, I’ve found, are so inspiring , but also incredibly exhausting. It is such a wonderful feeling to be surrounded by other creative people who love making and sharing. While I was in Utah, I had the chance to meet with a lot of the contributors, as well as the staff/team that makes up Riley Blake Designs. I’m even more proud to be part of the blog design team and look forward to my next project!
As I play catch up around here, I wanted to share this knapsack sewing tutorial that I created last month, just in case you missed it over there. My girls continue to pretend they’re running away with these fun toys! This project was made from the beautiful Country Girls line by Tasha Noel for Riley Blake. Oh my word, I’m still in love with this whole line! The prints and colors are reminiscent of sweet, carefree childhood adventures. The fabric made me think of when I was little and would get caught up in the dramatics of running away. I distinctly remember one time that I was very concerned whether I would be able to pack up ALL my hair clips before I got caught running away. A girl’s got to have priorities, you know?
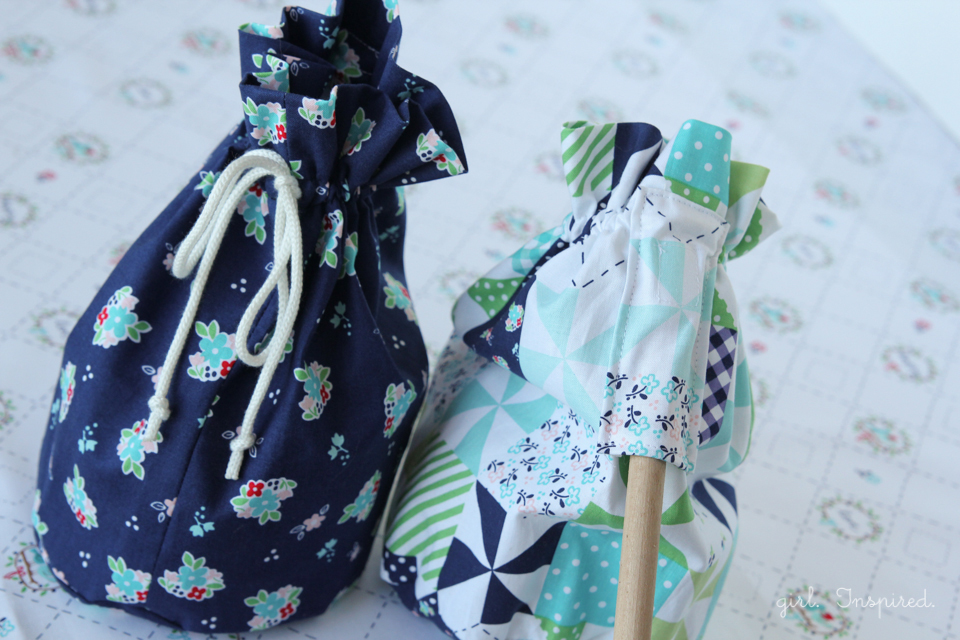
So, I created these darling knapsacks. They’ll take just a little time to sew together – I hope you enjoy making them for your little ones!
Supplies:
½ yard fabric
Circle Base pattern piece – click here to download and print
1 yard drawstring
½″ wooden dowel – 4 feet long
1″ piece of Velcro
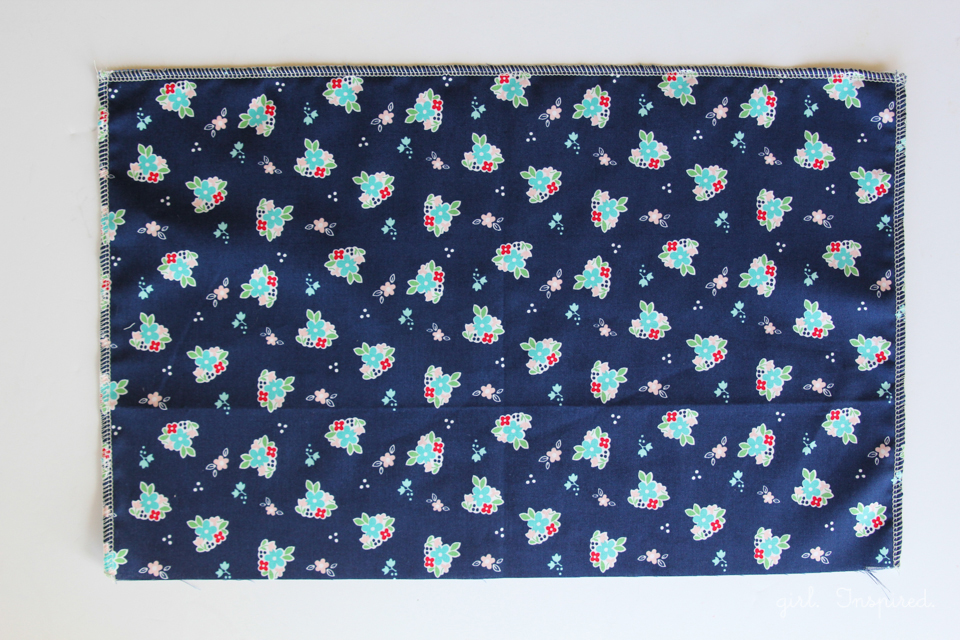
Cut one piece of fabric 19″ wide x 12″ tall. Finish the two sides and top edge by serging or trimming with pinking shears to prevent fraying.
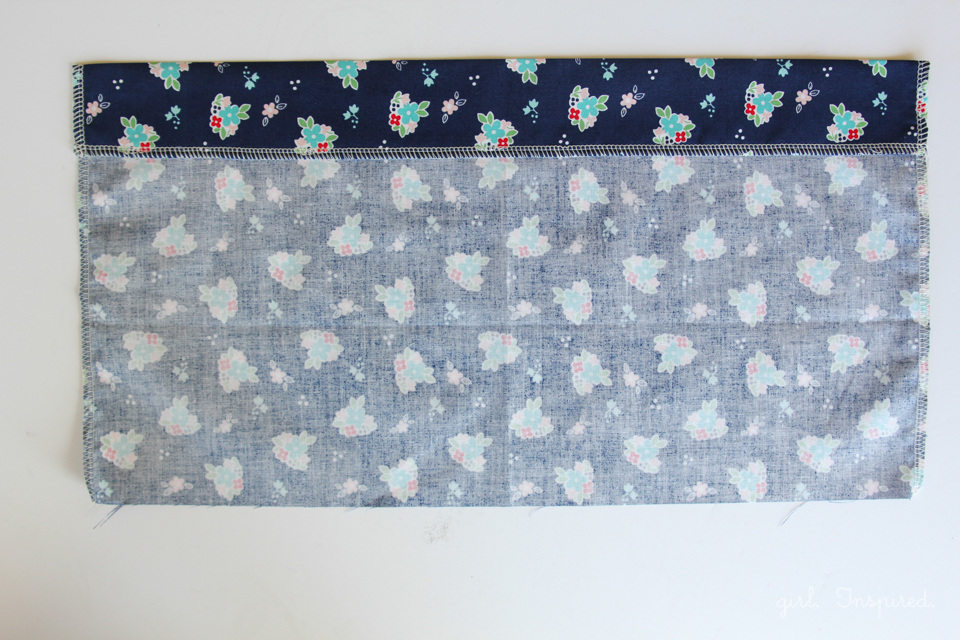
With the wrong side of the fabric face up, fold down the top edge by 2″ and press.
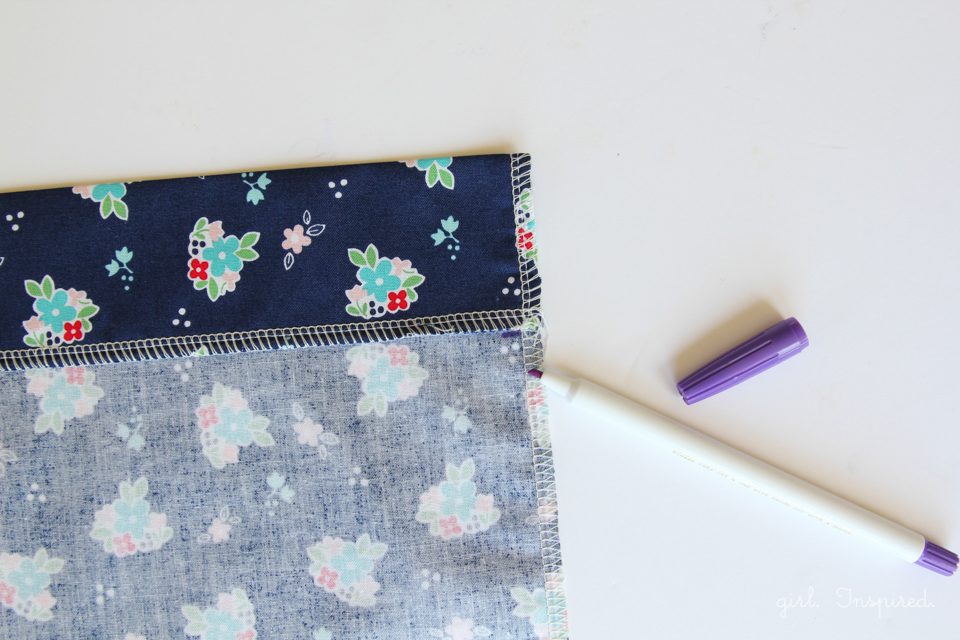
Make a small line with a disappearing fabric marker just below the folded edge .
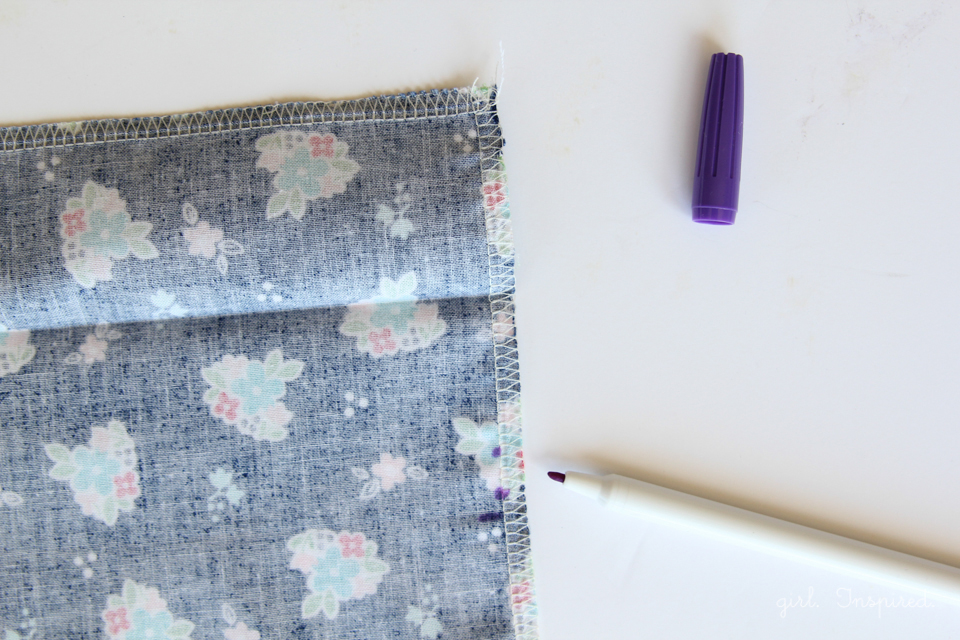
Fold the top edge back up again. Make a small dot approximately ¼″ above the line you made in the previous step. Make a second small dot ½″ above the first dot. This will indicate where NOT to sew in order to leave an opening for the drawstring on your knapsack.
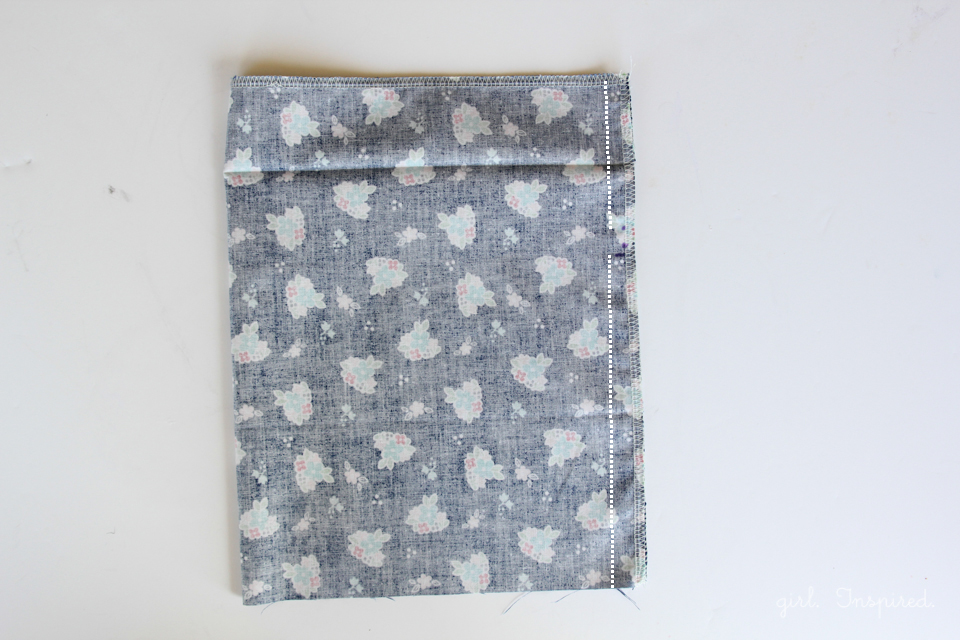
Fold the rectangle in half as shown in the picture above. Begin sewing using a ½″ seam allowance to join the two sides together. Leave an opening in your stitching between the two marked dots – when you reach the first marked dot, backstitch a few stitches to secure the thread. Cut the threads and move the fabric so the needle lines up with the second dot you previously marked. Continue sewing to stitch together the rest of the side seam.
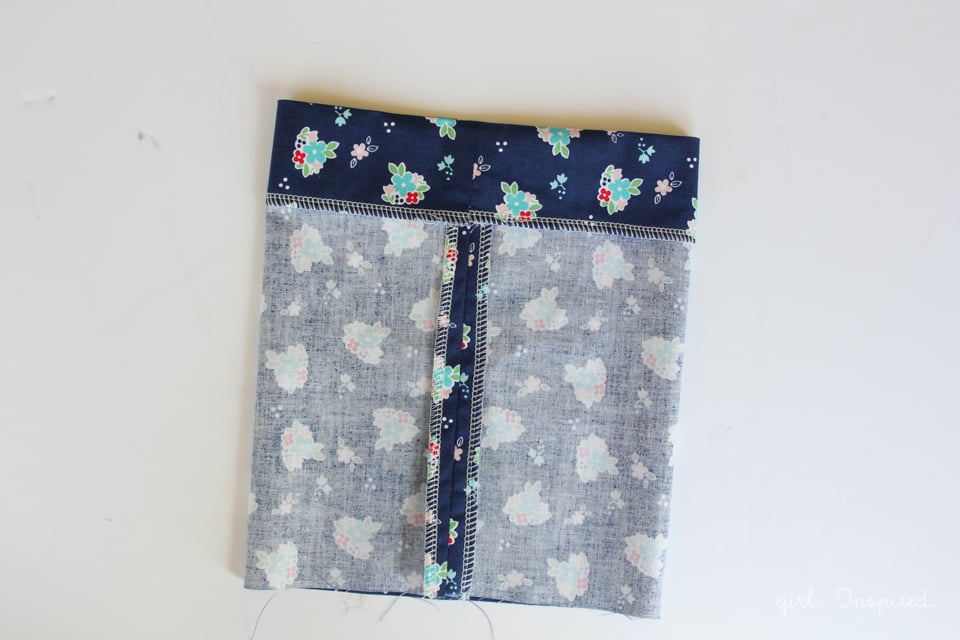
Press the seam open. Fold the top edge back down as you did previously.
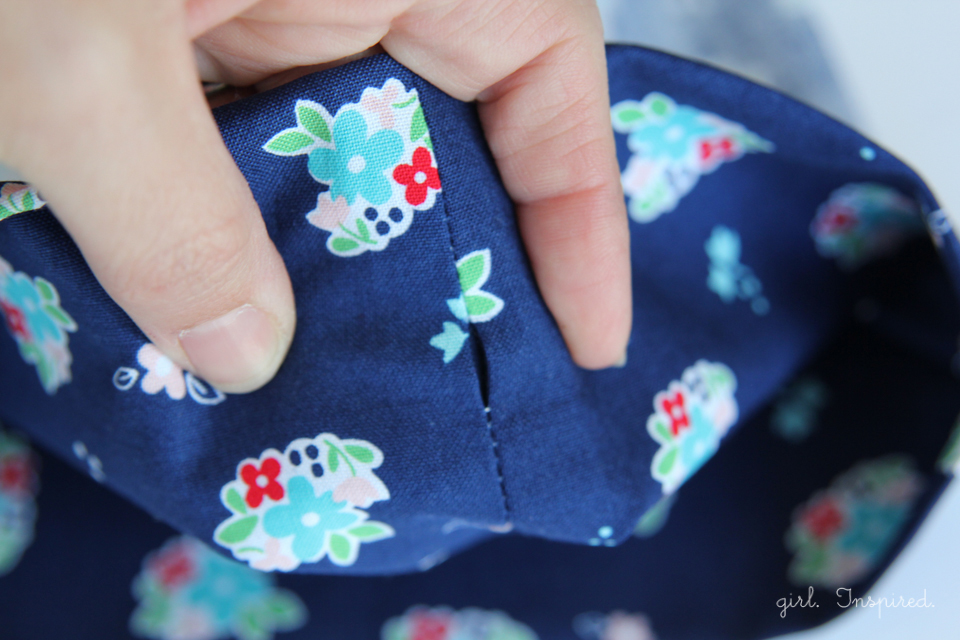
You will notice the small opening (approximately ½″) for the drawstring on the front side of the knapsack top.
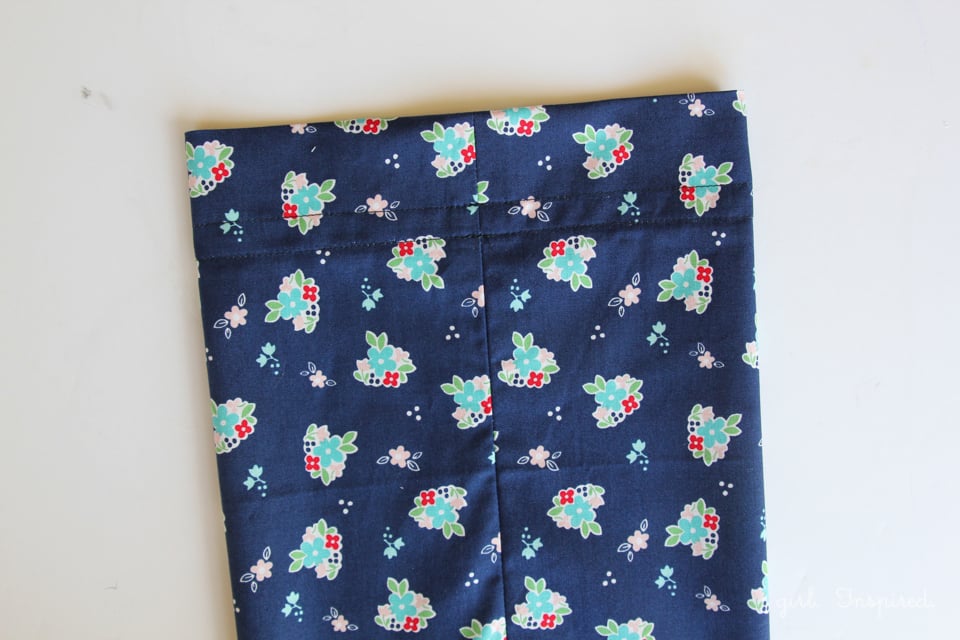
Sew two lines of stitching all the way around the top perimeter of the knapsack – one line of stitching should be at the base of that drawstring opening (or along the edge of the fabric folded to the inside). The second line of stitching should be ½″ above the first line of stitching and just above the drawstring opening.
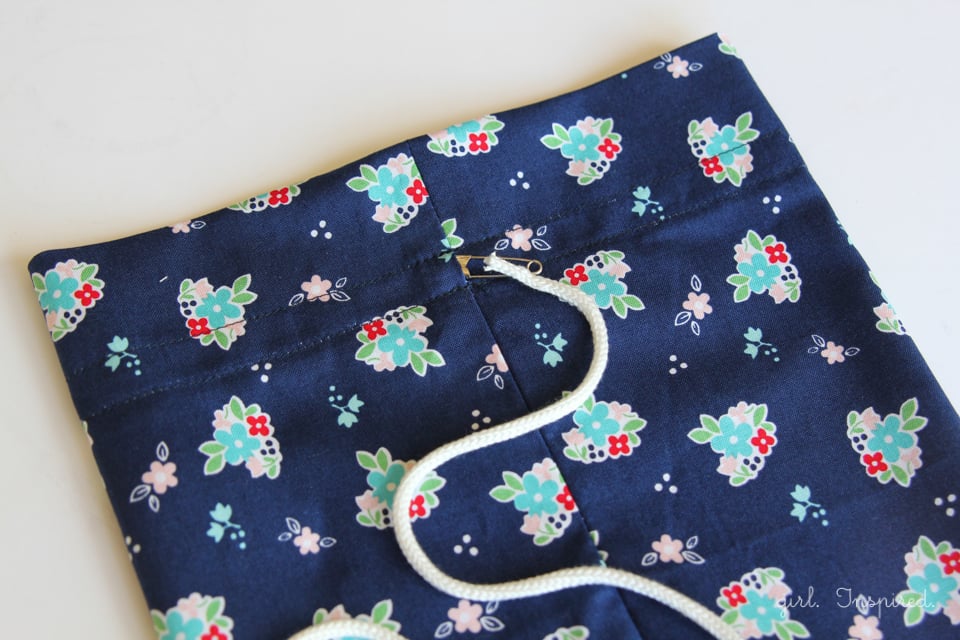
Use a small safety pin to pull the drawstring through the opening in the casing.

Pull the drawstring through the entire casing and back out the opening from the other side. Adjust the drawstring so that the ends lengths are even.
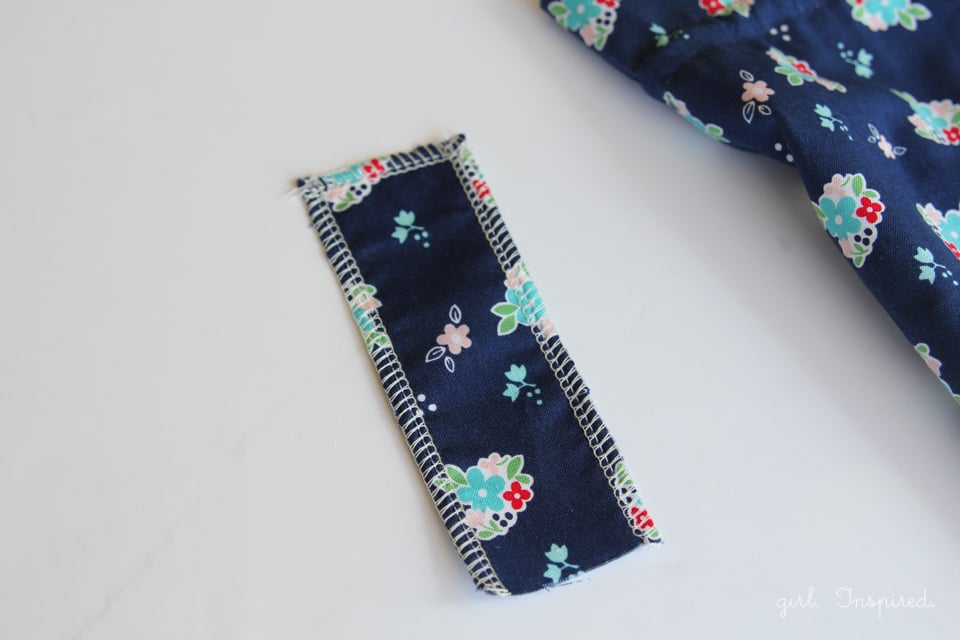
To make the stick pocket, Cut a small rectangle of fabric 5″ tall by 2″ wide. Finish the sides and top edge, if desired.
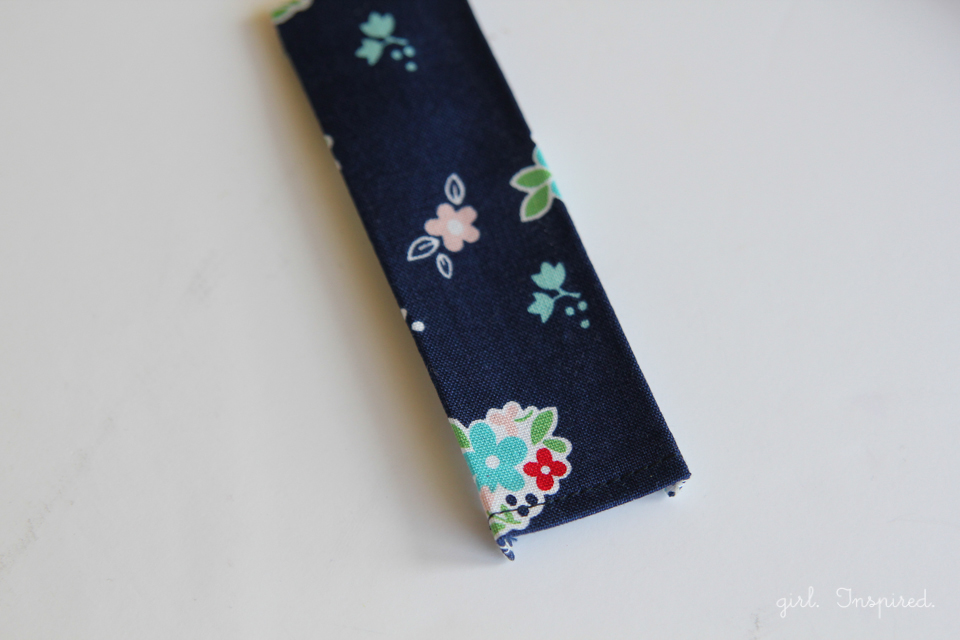
Fold and press under the bottom edge ¼″. Fold and press under ¼″ again and stitch to hem. Fold in each side and the top edge by ¼″ and press well.
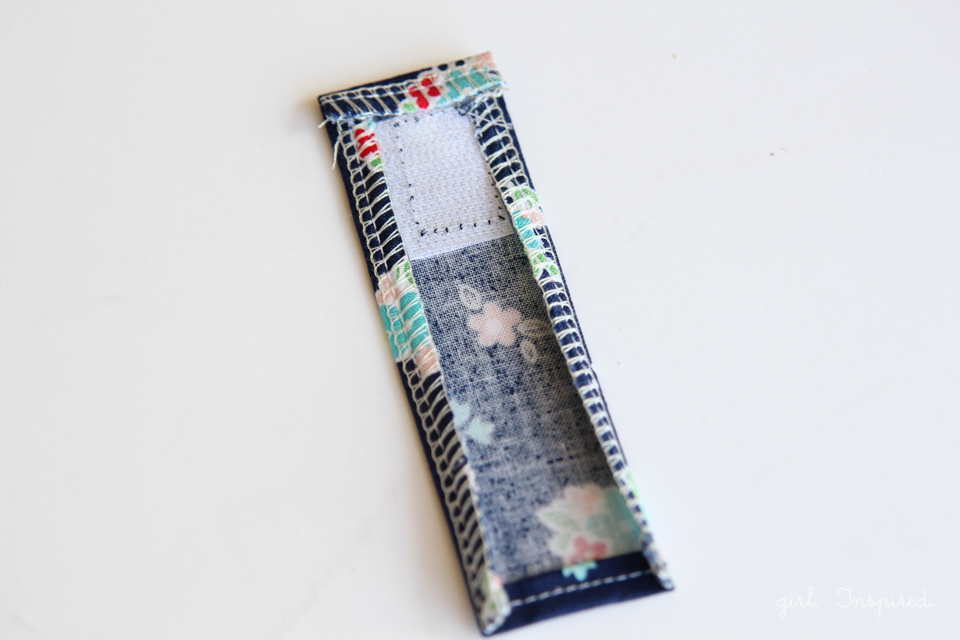
Sew the “scratchy” side of a small piece of Velcro on the inner (wrong side) top edge of the pocket piece.
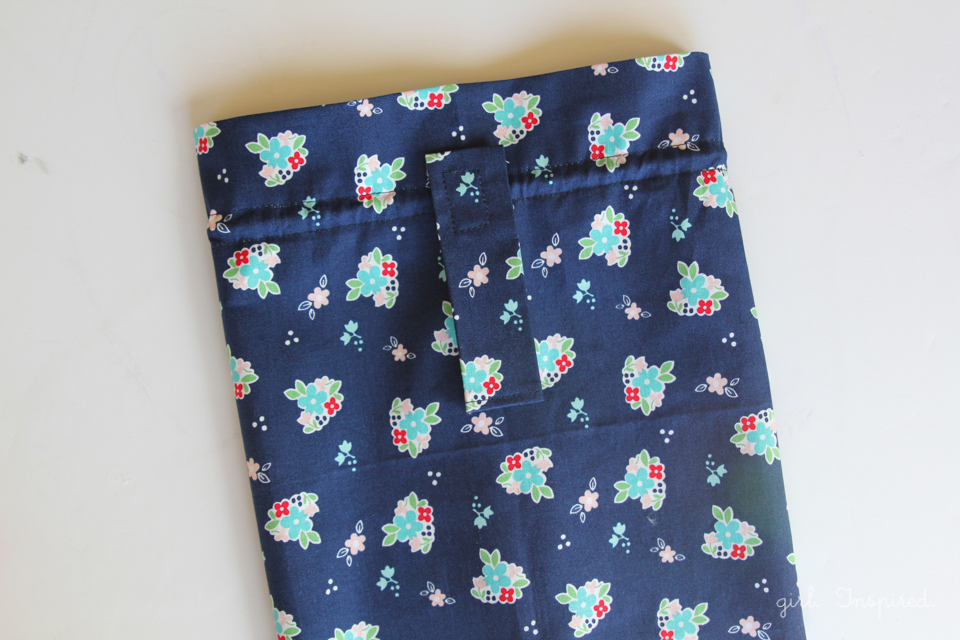
Position the pocket piece on top of the right side of the knapsack. The pocket should be placed on the side opposite the drawstring opening (as if the drawstring is center front and you’re placing the pocket center back.) Position the hemmed edge downward and the Velcro edge to the top. The top edge of the pocket should be above the drawstring casing (see picture above).
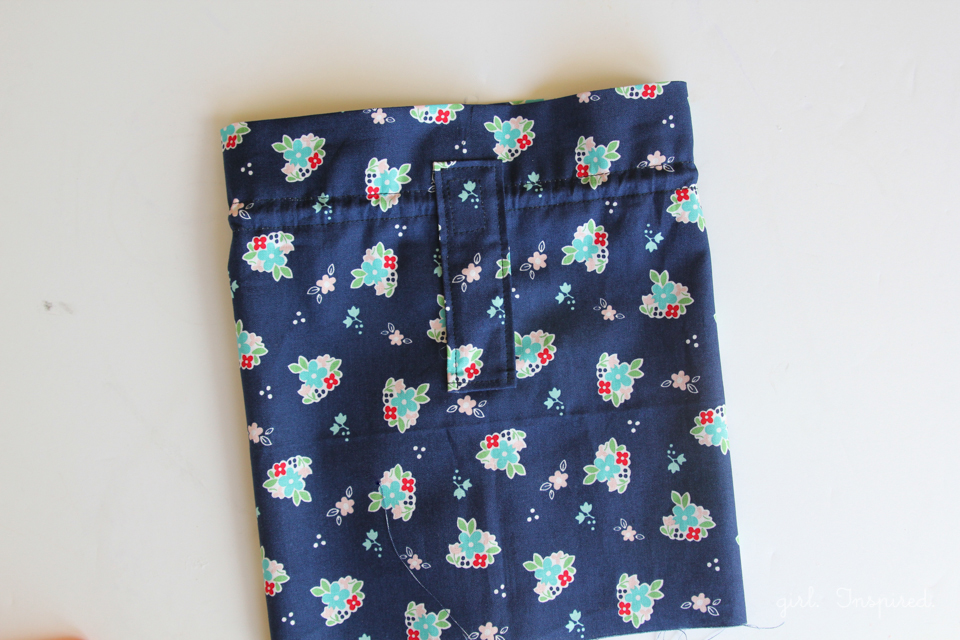
Stitch the pocket to the knapsack – sew down each side and across the top. Do NOT sew across the bottom. Make sure that you secure the pocket to just the one side of the knapsack by moving the other side out of the way of your sewing machine. Notice that your stitches along the sides of the pocket will secure the drawstring so that it can’t pull loose from the finished knapsack.
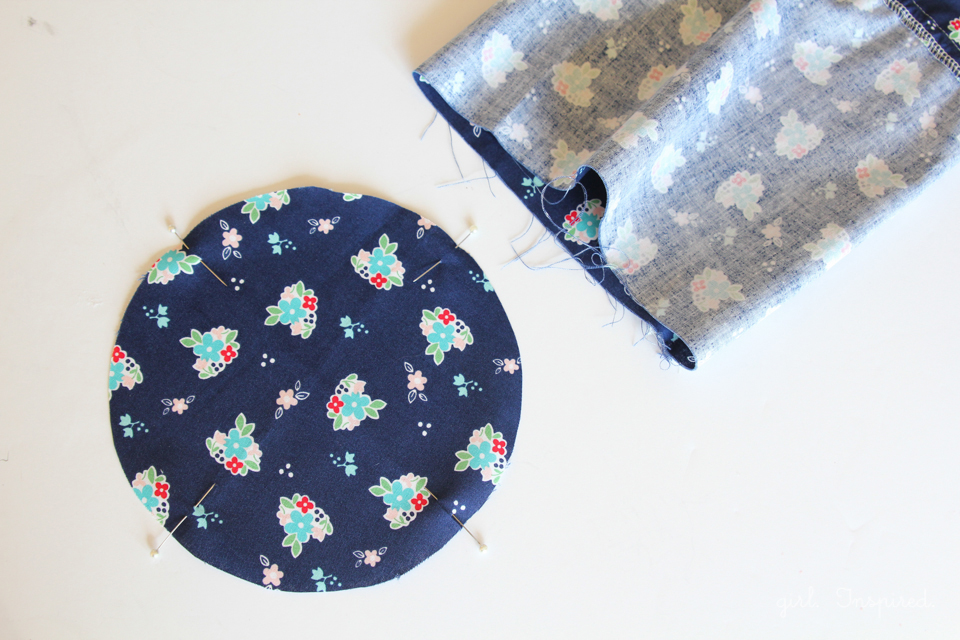
Next we will sew the bottom onto the knapsack. Use the printable pattern piece to cut out one 6.75″ circle for the bag bottom. Divide the circle into four evenly spaced points and mark with pins.
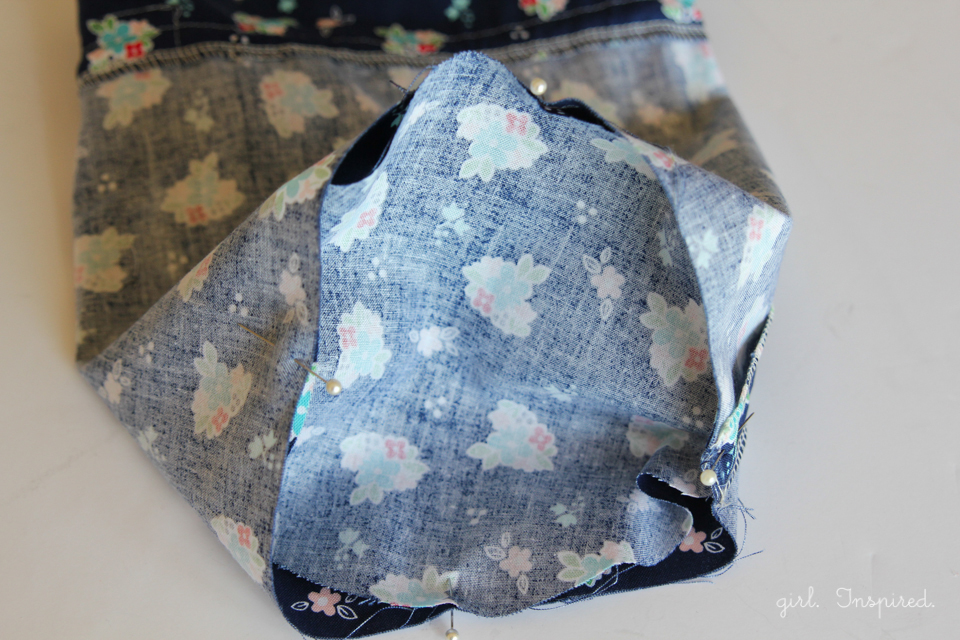
Match the pins on the circle base to the front, back, and two sides of the knapsack bottom, right sides together. Pin together.
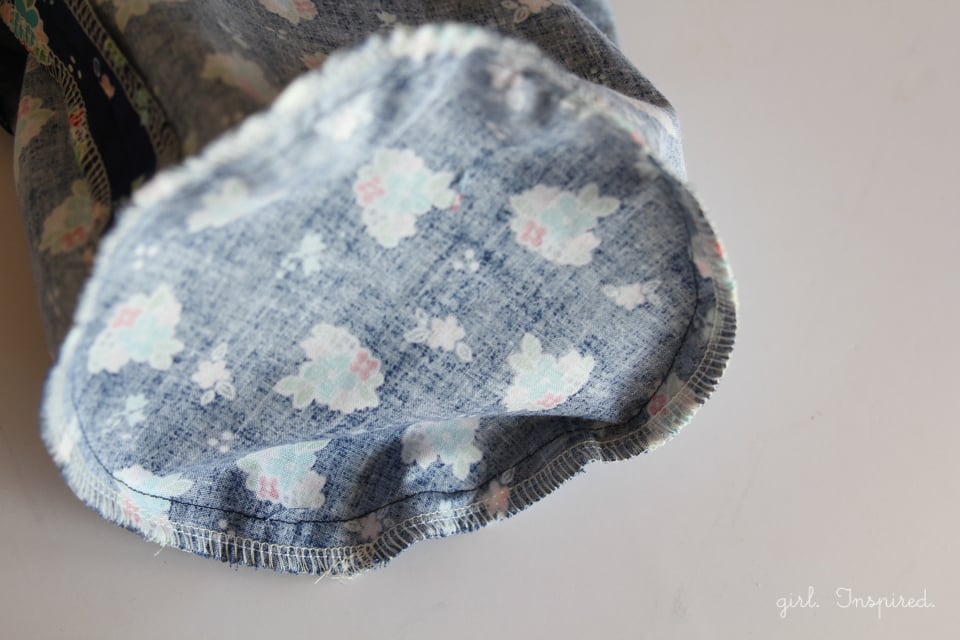
Sew the knapsack base onto the knapsack using a ½″ seam allowance. The seam allowance is important to ensure that the circle fits correctly. Work slowly for best results. Serge or use pinking shears to finish the edges of the bottom piece.
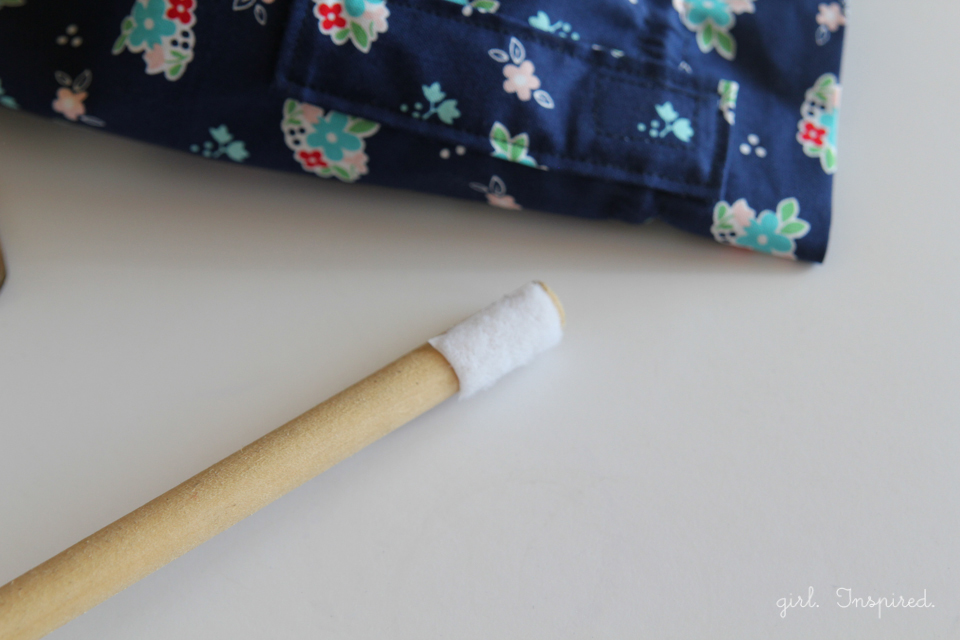
Use hot glue to attach the “soft” side of a small, piece of Velcro to the top side of a 4′ wooden dowel. You can cut the dowel down to your desired size if it’s too long for your child.
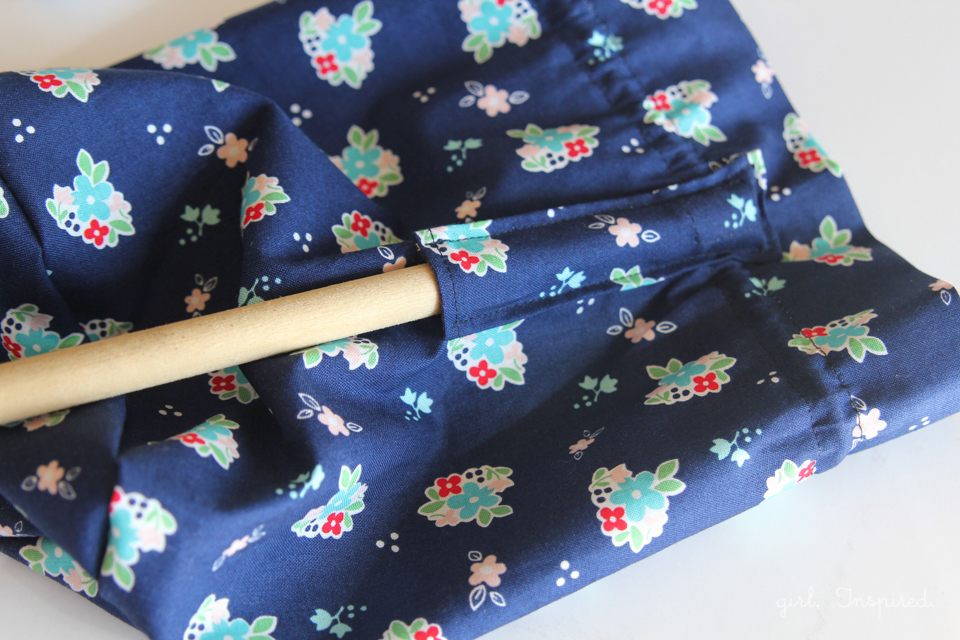
Insert the wooden dowel into the pocket on the knapsack, working the Velcro inside the pocket to attach to the dowel Velcro. Cinch the bag, tie a bow, and trim the strings as you like. You can pass a flame over the ends of the cording (if it is polyester) to keep them from fraying. Tie the tips of the strings into a knot. That’s it!
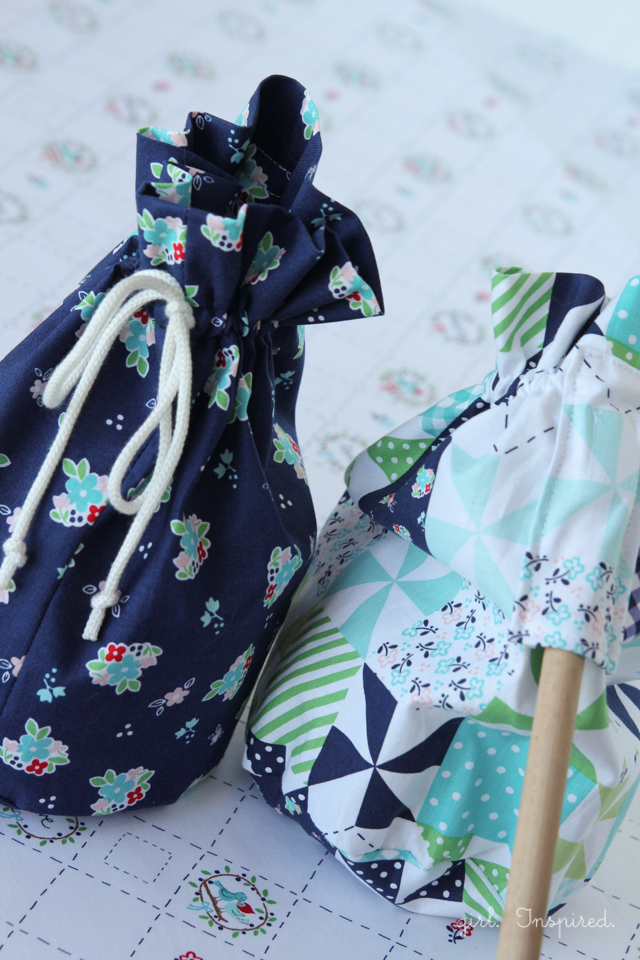
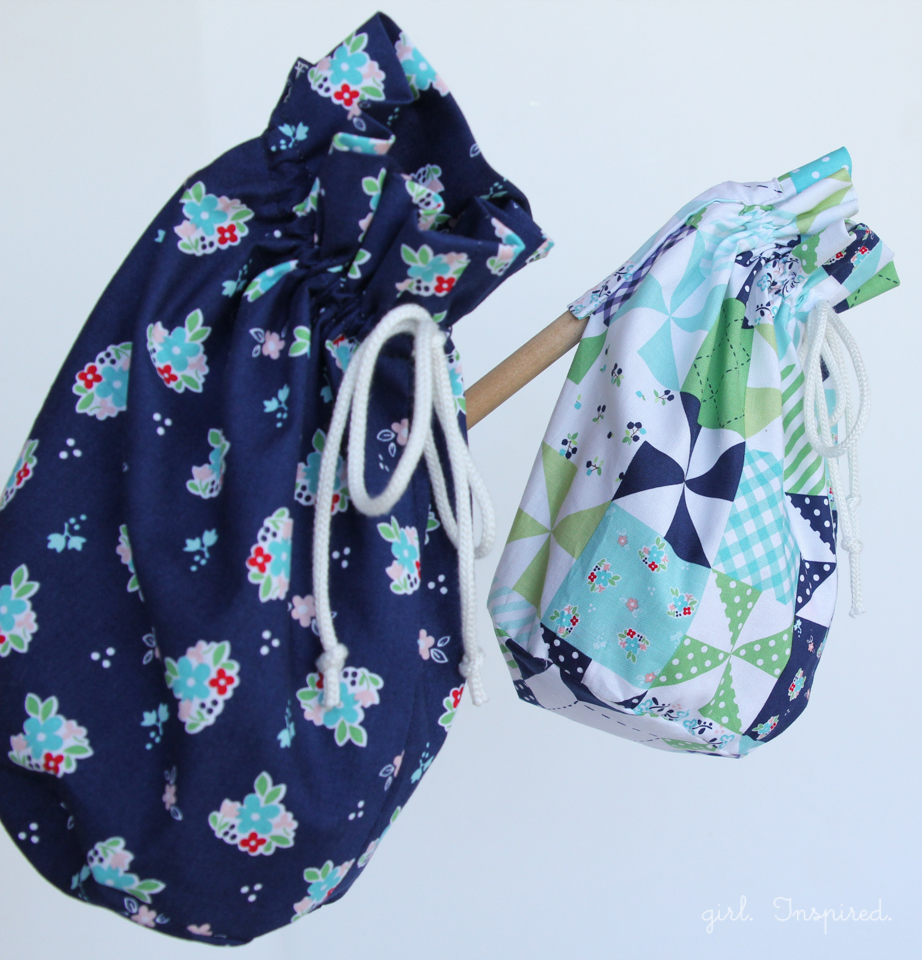
What do you think? Do you know someone that would have fun “running away?” I hope so!


Comments & Reviews
Alex W says
I know I’m late seeing this but I just wanted to say this is ADORABLE!! I love the dowel pocket for the knapsack to be carried hobo style! I would have loved one of these when I was making my dramatic decision to run away and live in the woods!