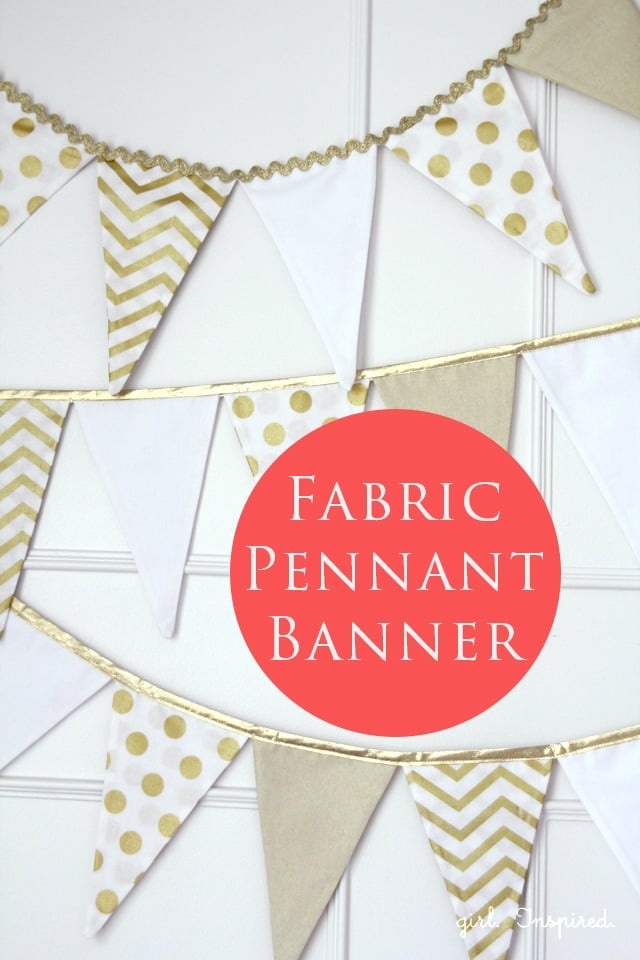
I was playing Pictionary with some girlfriends last week and it was my turn to draw. “Pennant” was my word. Surely, there is something called a pennant that is not a craft trend? But I didn’t relate it to sports until after I had drawn a fun little banner across the board. They didn’t get it until I followed up with a sad drawing of a writing “pen” and an itty bitty “ant.” That’s okay, though, they’re my laughing, reminiscing about high school girls. This week, I’m at the SNAP conference with my crafty girls – woo hoo! And I even got in on some of the sewing room setup fun. I made these awesome banners to add to the decorations and thought I’d share a fabric pennant banner tutorial here for those of you who don’t already have a favorite method for making these trendy decorations!
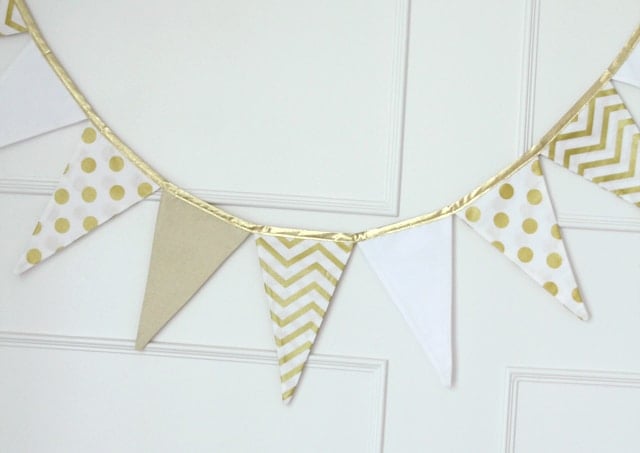 I made a whole lot of fabric pennants for my banners, so definitely adjust my method to suit the length of banner you’re wanting to make! Choose several fabrics for variety – I used four. Quilting weight cotton works great and makes a nice crisp pennant. I used two cottons from Michael Miller Glitz fabric line, and a Kona cotton and sparkly gold cotton, both from Jo-Ann Fabric and Craft Stores.

Take your (non-directional) fabric and fold it right sides together. Match selvage edges, then fold it in half again so that you have four layers of fabric. If you are using a directional fabric, you will need to adjust your folding (and cutting) so that your pennants have the pictures in the right direction. I find that you can get more pennants out of your fabric if you use a non-directional or solid print.
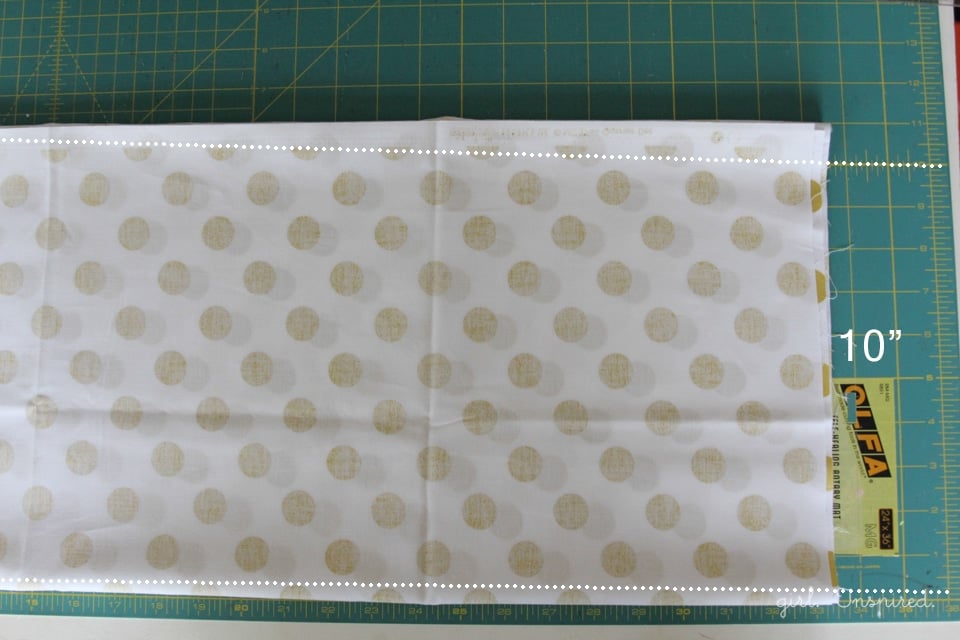
Cut along the top edge and bottom edge so that the “height” of your fabric piece is 10″. Your pennants will be 10″ long.
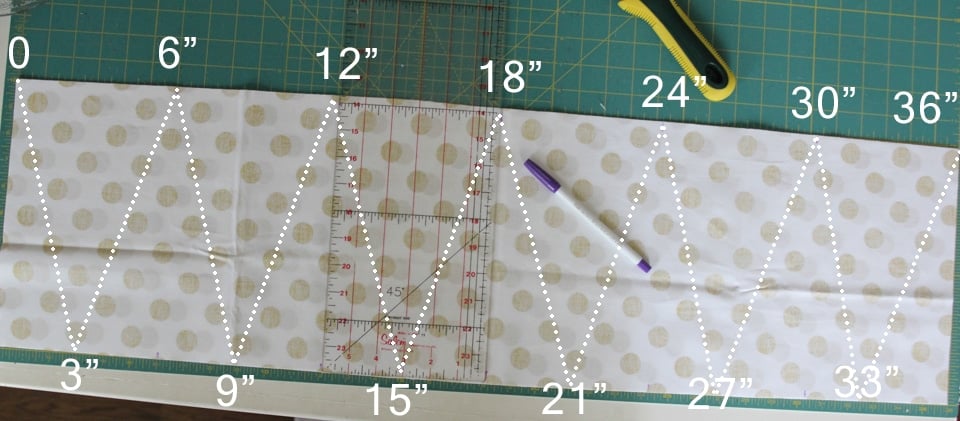 Next, mark along the top edge of your fabric, beginning at 0″ and making a mark every 6″. Mark along your bottom edge beginning at 3″ and continuing to mark every 6″. The dotted lines in the picture above will indicate the cutting pattern to make your pennants.
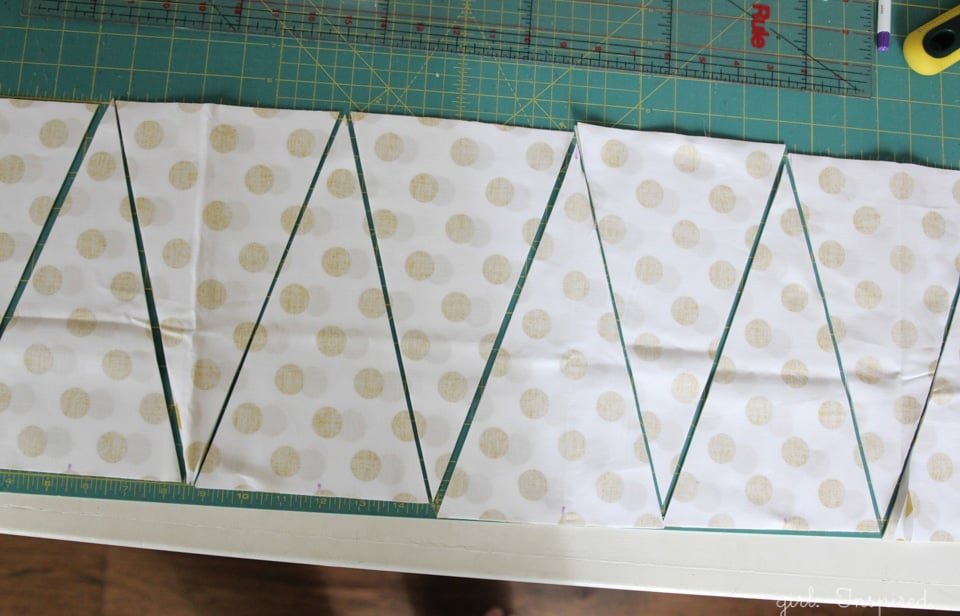 Connect the diagonal points with your ruler and cut along each line all the way through the four layers of fabric.
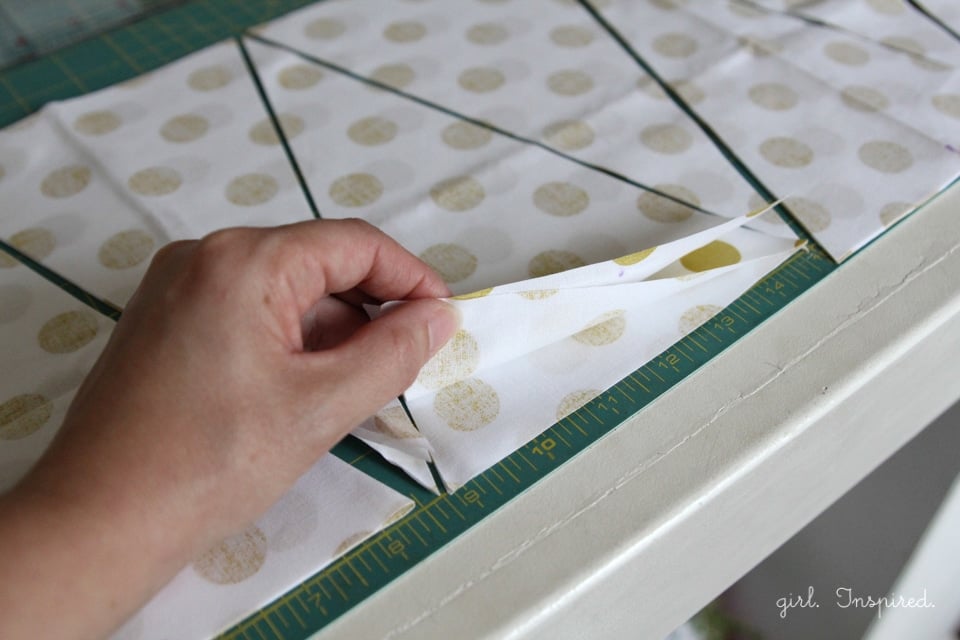 Gather up your pennants for sewing. Be sure that you keep right sides together for each pair – this makes it so much easier and quicker to sew!
 Stitch or serge around the two diagonal edges of each pennant. Do not stitch across the top, leave it open for turning. Use a ¼″ seam allowance. Run your stitch all the way down the edge and off the fabric, then start at the top of the other side and run your stitch all the way down and off the edge. Using a serger for this really makes the process much faster, but you can do it on the sewing machine if you don’t have a serger available.
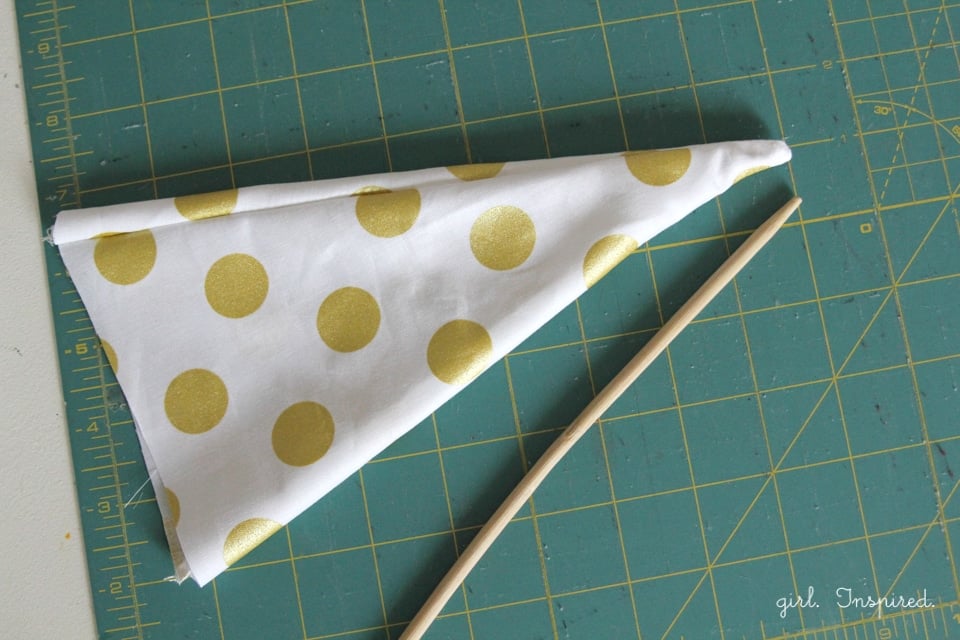 Use a chopstick to turn the pennants right side out. Be careful that you do not poke the bottom of the pennant to hard or you may break the delicate bottom stitches and create a hole.
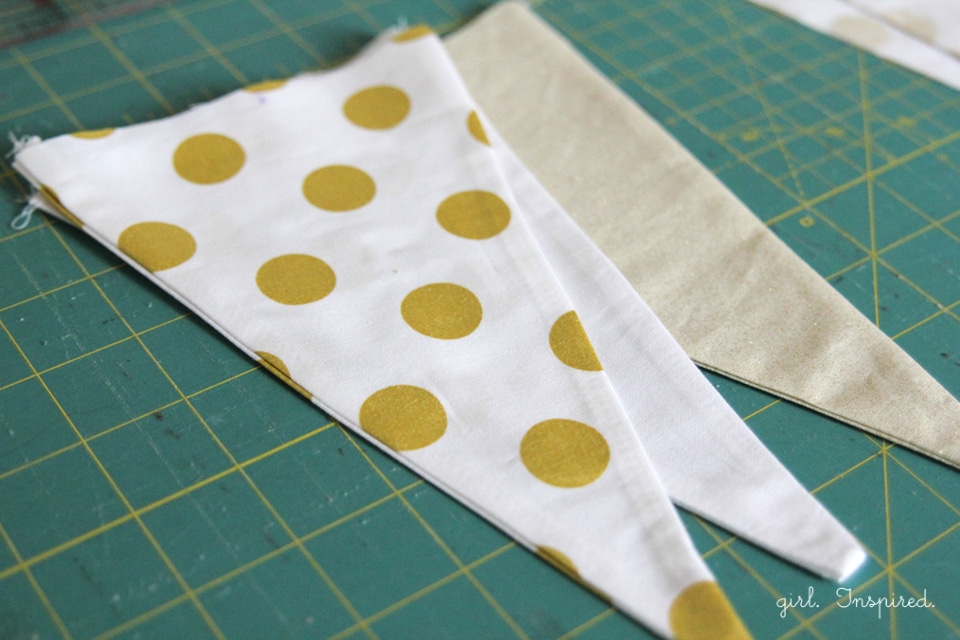 Now, drag your iron and ironing board and your huge pile of pennants in front of the television and press all of the pennants very well. You can use spray starch for extra crispness (I did not this time).
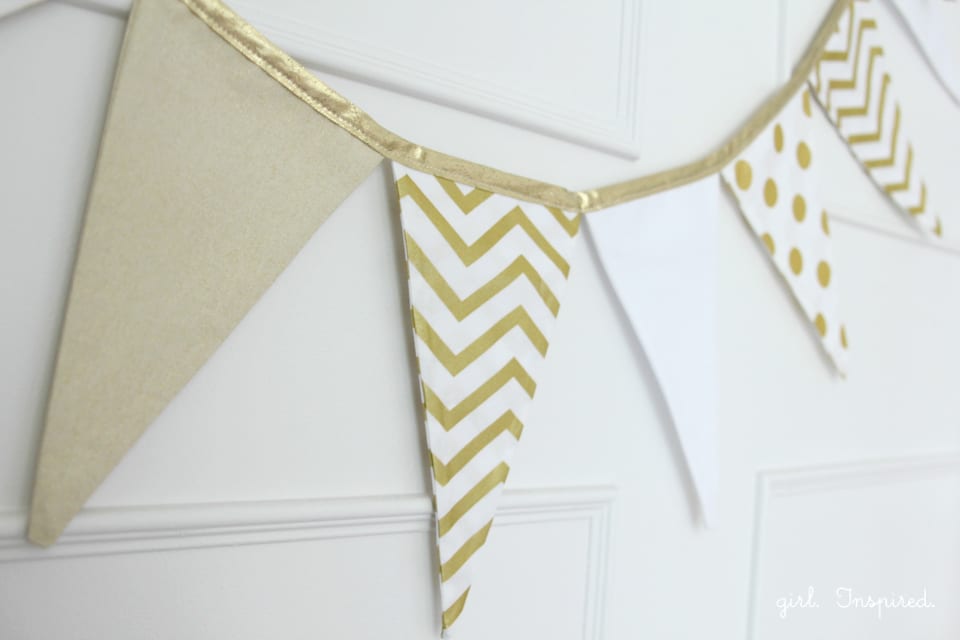
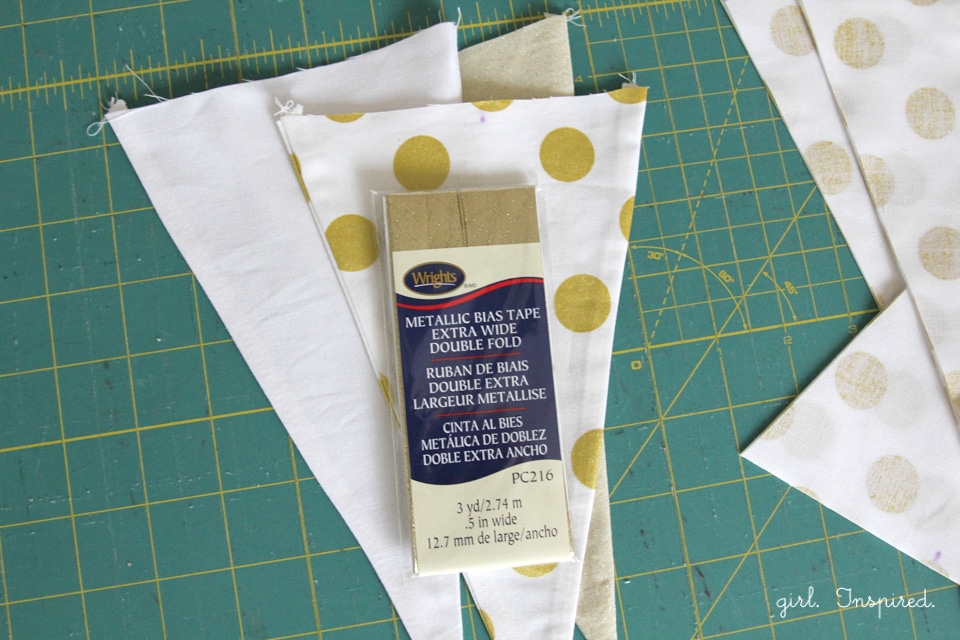 Now, it’s time to connect the pennants together into a banner. I like to use double fold bias tape (especially when it comes in metallic colors).
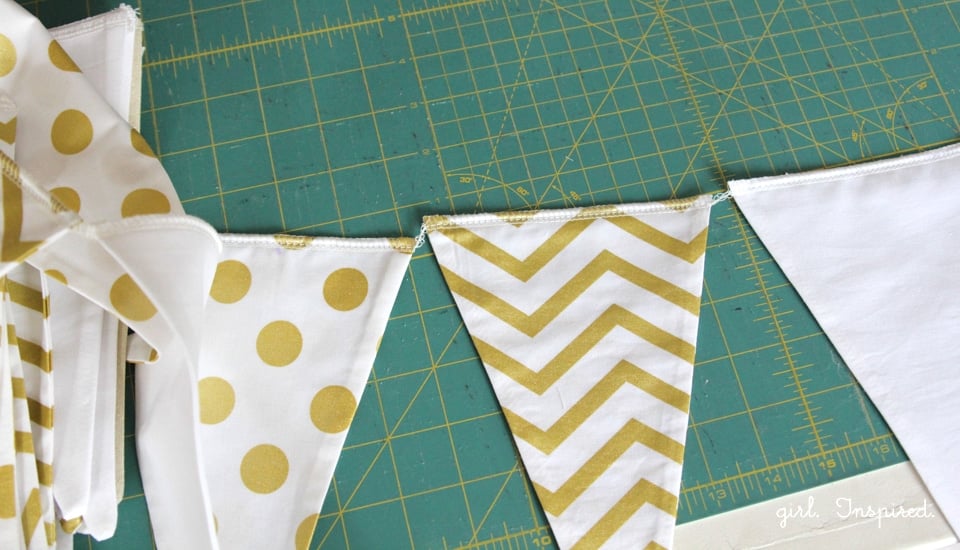 I find it easiest to run the pennants back to back through the serger to connect them all across the top and trim off any uneven edges or fraying edges. Do this prior to using the bias tape, if you wish. (I did one this way and one without and again, found it quicker and neater to serge together the pennants first).
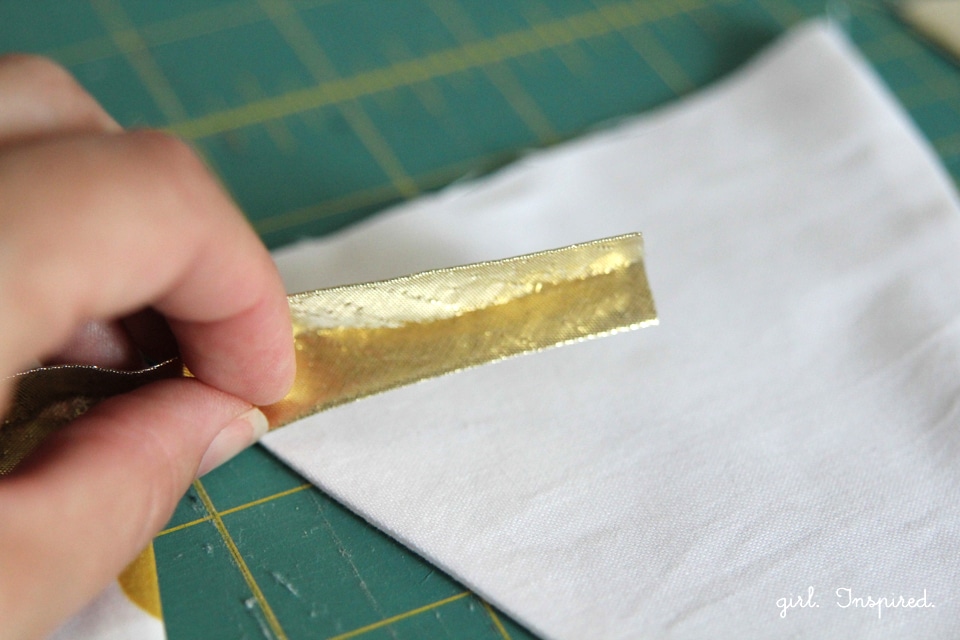 Anyway, then open up your bias tape and wrap it around the top edge of the pennants. Leave a 1-2 foot length of bias tape overhang for tying up the banner later.
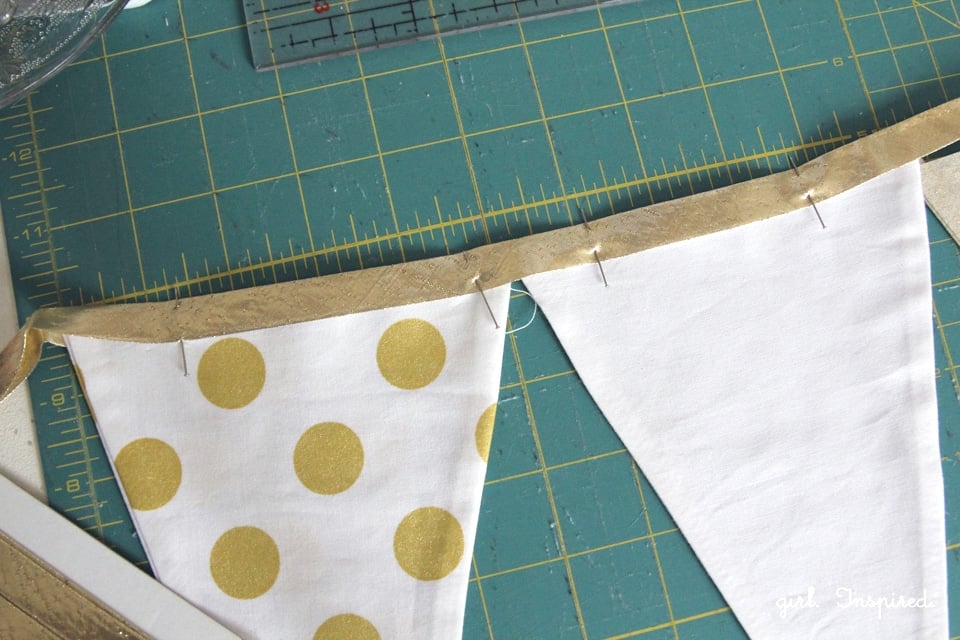 Pin the bias tape in place if you wish (I never bother to do this!). Now, sew along the bottom edge of the bias tape, making sure to catch the other side of the bias tape on the back side and enclose the pennants within the fold. Sew up the open edge of the bias tape along the overhang as well.
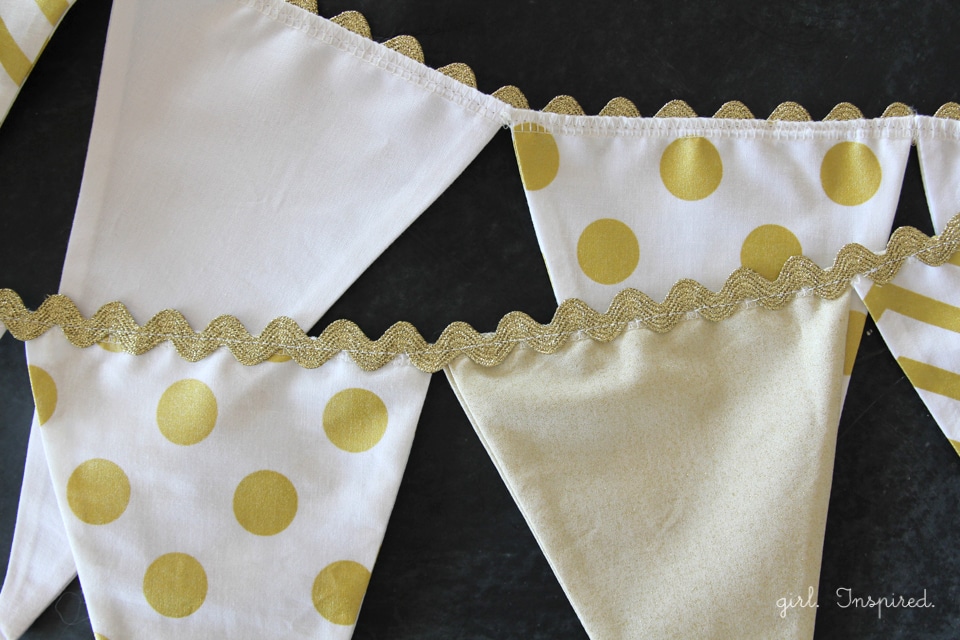 Alternately, you can just stitch ric rac along the top edge of the serged pennants – love this look, too!
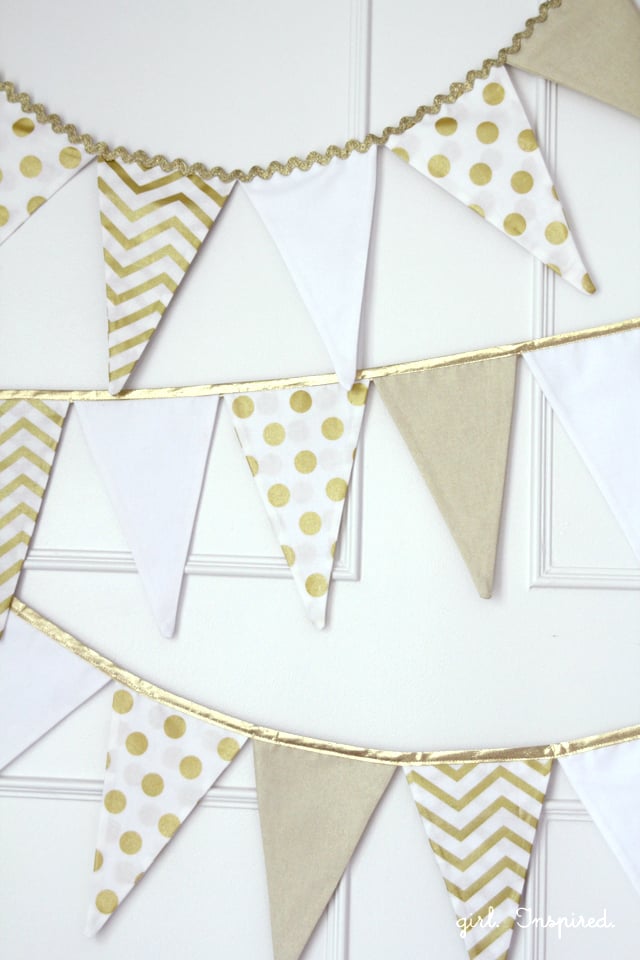
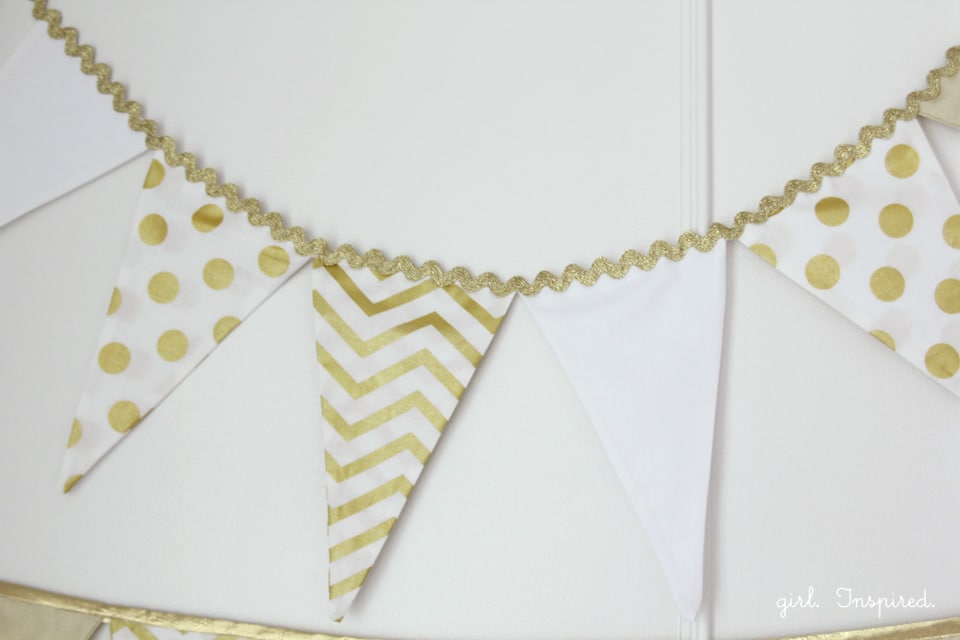 Either way, that’s all there is to it! Make some in every color! Follow the same cutting principle and make them out of paper – no doubling up, turning, or pressing needed! Remember that each pennant will be 6″ across – easy math here – you need two pennants per foot of banner – I made about 35 feet of banner from 3 ½ yards of fabric. Have fun!!


Comments & Reviews
Robin Hawkins says
This is just what I was looking for. I am going to make one of these for my dining room. Thanks for posting the info!
Charity says
I would have drawn this kind of pennant too! That gold is so fun