Happy Monday! Did you all get your materials together and your main pages cut out this weekend?
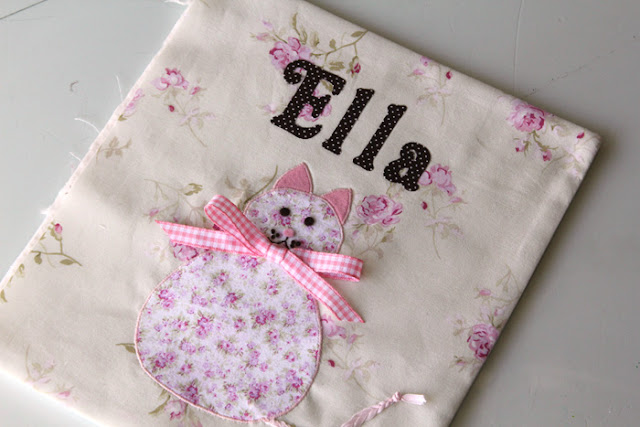
Today, we’re going to work on the front cover and talk about finishing each individual page. Throughout the book, we’re going to be doing a lot of appliques and we’re going to use basically the same technique throughout. Here’s the breakdown of what you’ll do to put an applique on the page.
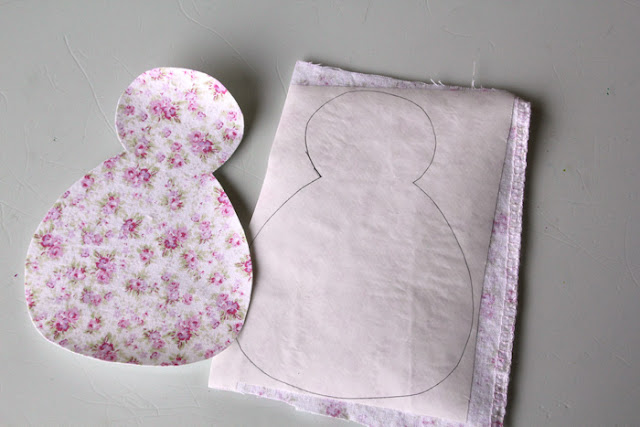
- First, cut a piece of fusible web and a piece of fabric slightly larger than the object you’ll be making. Iron LITE fusible web to your piece of fabric. Follow the instructions on your fusible web packaging. For people who purchased a kit, you have Heat’n’Bond LITE fusible web.
- With your iron on the WOOL setting and NO steam, quickly iron the web, paper side up, onto the wrong side of your piece of fabric – 2-3 seconds and then move your iron to another area. Allow to cool.
- Next, trace your object onto the paper and cut out your image. Peel off the paper backing and your object is ready to apply to the background fabric.
- Set the object in place, and iron down. For Heat’n’Bond users, apply heat for 10 seconds at a time and then move the iron to another area. Once your applique has cooled, check to make sure that it is completely bonded to the background fabric.
- Then, you’re going to stitch around the entire perimeter of the applique to keep it in place (and to give a nice finished look). You can do a straight stitch close to the edge of the applique all the way around OR you can do a tight zig-zag stitch around. I used a zig-zag stitch throughout most of this book. On MY machine, I set the length of the stitch to 0.3 and the width of the stitch to 2.0. Use some scraps to determine how you want to set your machine.
SO! Now that you’re comfortable with the applique basics, let’s move on to the front cover.
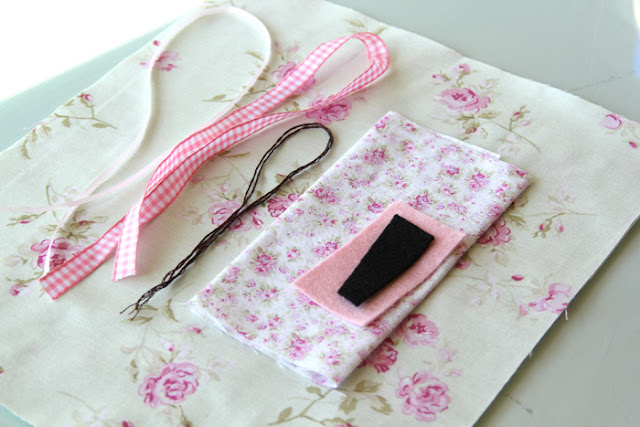
You will need: 10″ x 11 ½″ front cover and backside, scrap fabric for kitty body, pink and brown/black felt, embroidery floss, ½″ ribbon for bow, thin ribbon or yarn for tail, fabric letters for title (optional), lightweight fusible web
Set out your front cover background fabric. If you want a title on your book, now’s the time to apply it. For my books, I cut names using my Cricut. In order to do this, you will need to apply Ultrahold Heat’n’Bond (the red label) to a piece of fabric that fits your machine’s mat. Peel off the paper backing before applying the fabric to the mat. Be sure you have a nice, sticky mat or your fabric will not stay in place when the blade starts cutting. Cut letters to desired size.
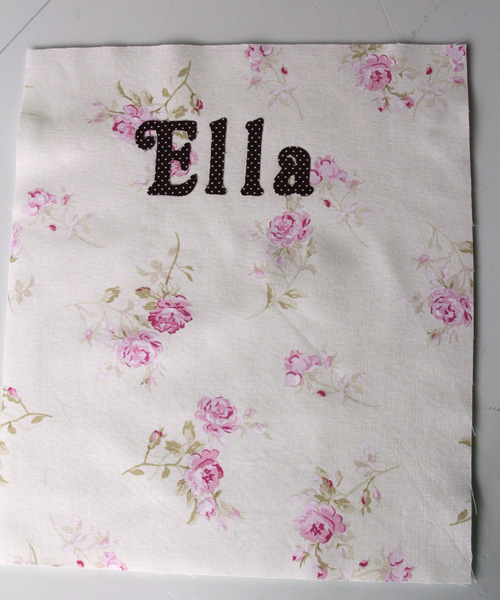
Use a press cloth between your iron and the letters and bond them to the background fabric near the top center. Remember that you’ll be adding a binding to the finished quiet book which will come in a couple inches from the lefthand side. You do not need to stitch around the letters if you’ve used the Ultrahold Heat’n’Bond (and actually, it doesn’t sew pretty, so don’t do it!!)
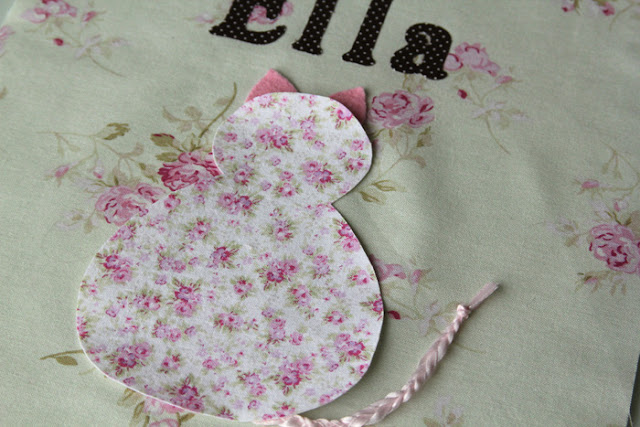
Now we’re going to work on the kitty cat. Apply fusible web and cut a kitty body and two ears. Braid some yarn or a thin ribbon and knot the ends to make a little tail. Lay out the ears, body, and tail to determine positioning for the kitty.

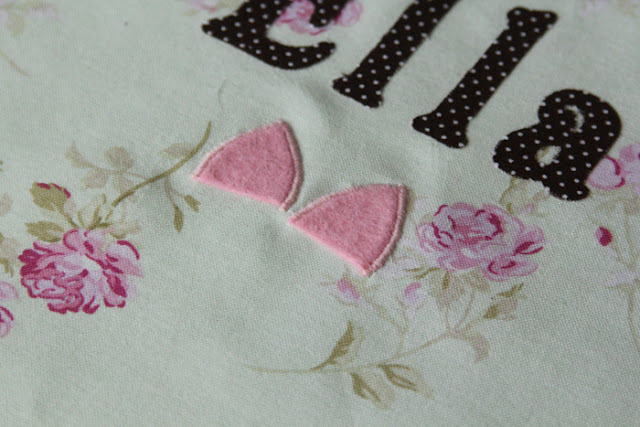
Start with the ears and iron them down. Because of the thickness of the felt, you may need to iron from the backside of the front cover. Stitch around the perimeter of the ears.
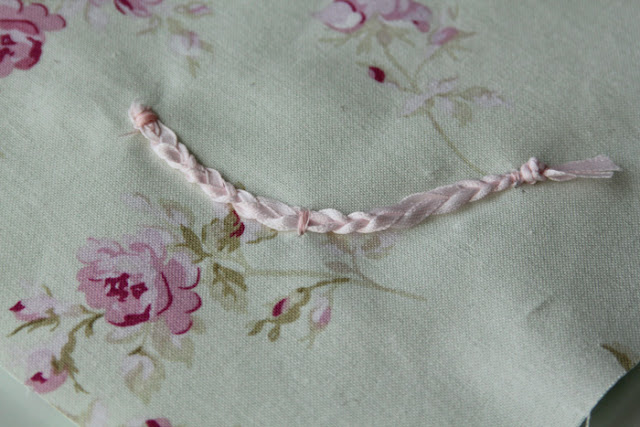
Next, place the tail and zigzag stitch over each end and a couple spots in between to make a curved tail and hold it in place.
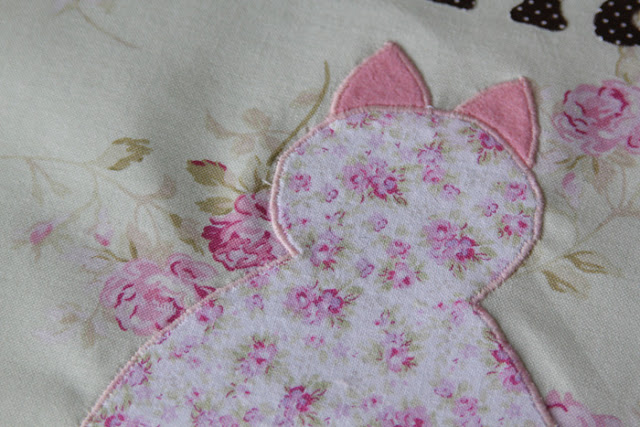
Next, iron down the kitty’s body and stitch around the entire perimeter.
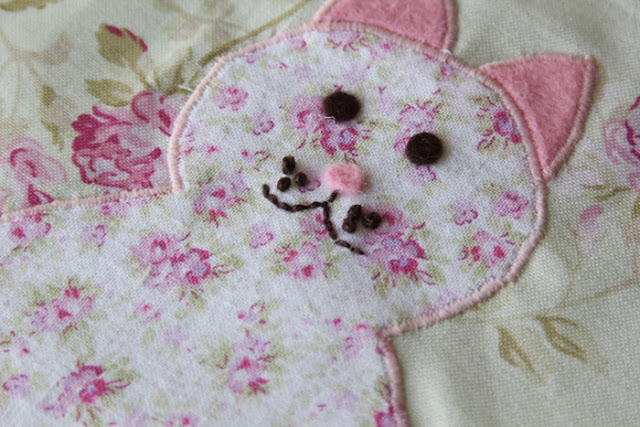
Use a hole punch to make two black or brown eyes and a pink nose. Hot glue them in place. Use a disappearing ink fabric marker to sketch a mouth and whisker dots.
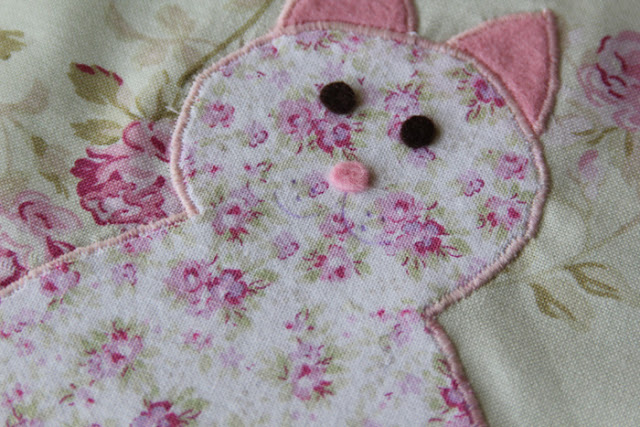
Using 3 strands of embroidery floss, stitch the mouth. Make french knots for the whiskers.
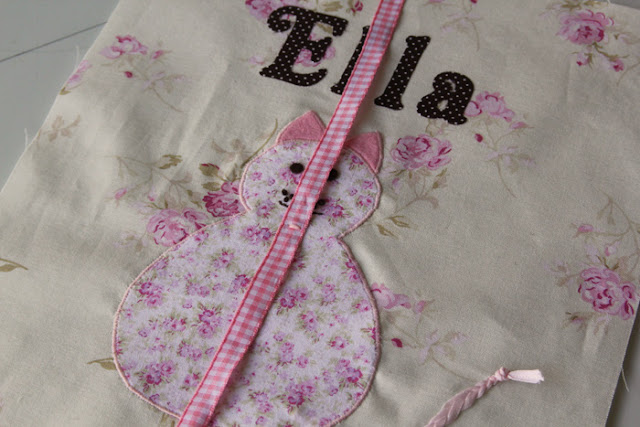
Place a 12″ piece of ribbon vertically over the kitty. Zig-zag stitch in place at the center of the neck.
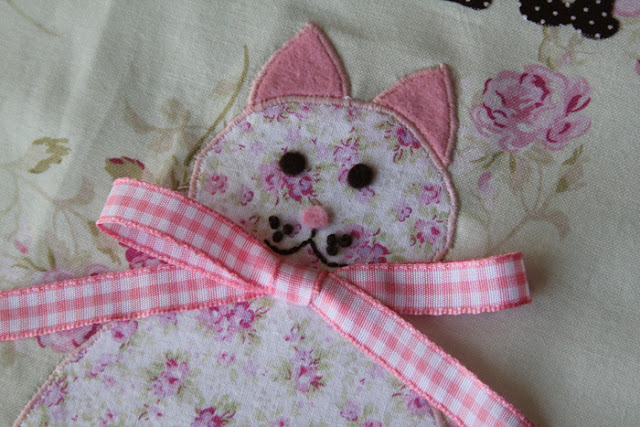
Tie the ribbon into a bow. Your kitty is done! (and SO cute!)
Now, I know this is a lot for one day, but I want to also show you how to put the two page sides and the batting together. Since you won’t have anything on the inside cover, you can finish the front cover now. Lay your front cover right side up. Next layer the backside of the page right side down (right sides together with the front cover).
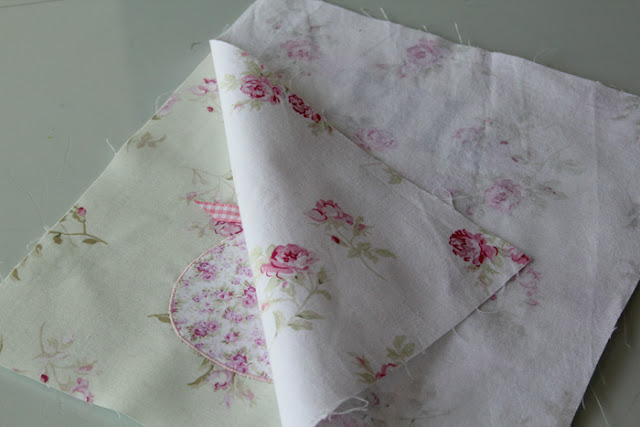
Place one sheet of batting on top and pin the three layers in place.
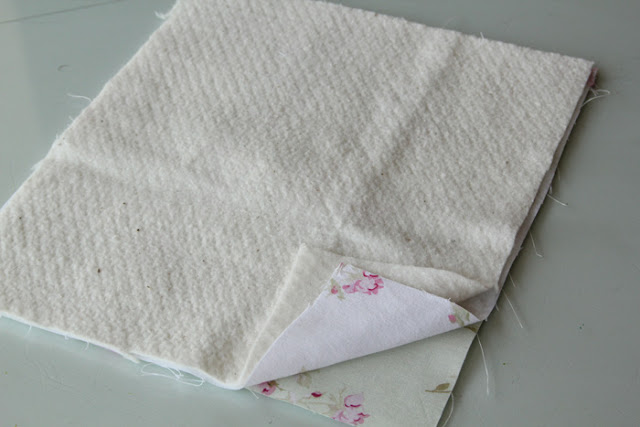
Stitch around the top, right-hand side, and bottom using ¼″ seam allowance. Leave the left-hand side open.
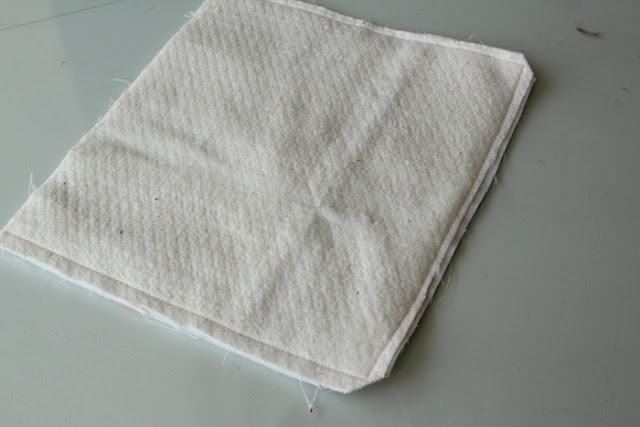
Trim your corners and flip your page right sides out.
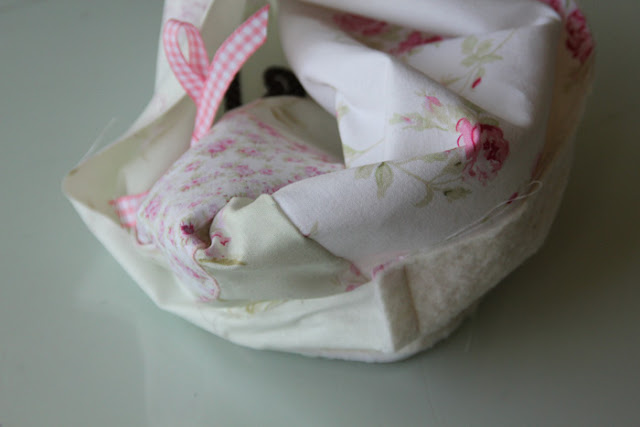
Press. Set aside!!
If you want to sew together the back cover and inside back cover (with batting), you can do that now, too. If you want to sign the quiet book on the inside of the back cover, “Love, Mom” or “Love, Grandma,” do that before you sew the page together.


Comments & Reviews
Shelly T. says
Hi,
I love your quiet book! It is by far my favorite that I have seen, and I’ve been searching the web and pinterest for months. I’m making these for my daughters, but can’t afford to buy the kits. However, I LOVE the paper dolls and all the background fabric that you used.
I was hoping that you might be willing to tell me where you purchased all the fabric and the paper dolls with their clothes in particular. The only paper doll fabric I’ve been able to find has dolls that are too small and look a little scary 🙂
Any information would be appreciated! You’ve already shared SO much!!
Thank you!
Shelly
girlinspired says
Hi Shelly,
Thanks so much! The fabric is Wyndham Fabrics Paper Dolls – it looks like it’s no longer available at Fabric.com; I found mine at a little quilting shop years and years ago. I was able to track some down on etsy, here: http://www.etsy.com/listing/62725013/1-yd-paper-doll-fabric-large-dolls-by?ref=shop_home_active AND HERE: http://www.etsy.com/listing/62318878/paper-doll-fabric-clothes-1-yd-by-sherri?ref=sr_gallery_10&ga_search_query=paper+dolls+fabric&ga_view_type=gallery&ga_ship_to=US&ga_page=2&ga_search_type=all . The main fabrics from the book were a line of fabric called Shabby Chic Treasures, which seems to be on its way out, too. I see they have a newer version available at fabric.com. I also found it at my local Beverly’s Craft Store, but again, this was a few years ago. Good luck! I know you’ll make books that your girls will love!
Kristin Kirch says
SO awesome!! I am going to make one for church!
Question: When you are sewing the binding on the book, will the stitch for the binding show through to the front and last page? Or did you hide it some how? Just trying to read through everything before I start. 🙂
Thank you!!! Great tutorial and website!!!
Anonymous says
ACK! It was my daughter’s birthday and party yesterday and I was so busy getting things ready that I FORGOT about the books!!! I guess I’ll be busy doing major catch up tonight!
toots2u says
I am making 2 books. One of the books has prints that might look better with certain page layouts. I was wondering if you could let us know what the next day “scene” will be so I can decide what print to sew to the back. Thank you!!
Audrey says
I did it! So excited. Thanks for writing it so that even a non-sewer could follow along. And the kits could not be any more organized. Thanks Stef! Great job!!
toots2u says
my pieces are cut and i am off to do todays portion of the project. Thank you!!
Julia says
Stef… this is THE cutest idea EVER! I wish I’d had the time to do the sew along with you! This is definitely going on my “to do” gift list, though. You are so very talented:).
Happy Holidays,
Julia
Connie @ Daydream In Color says
This is soo adorable!
DaCraftyLady says
that is the cutest book… 🙂
Lissa (Bellenza) says
Oh, how posts like this make me wish I could sew!!!