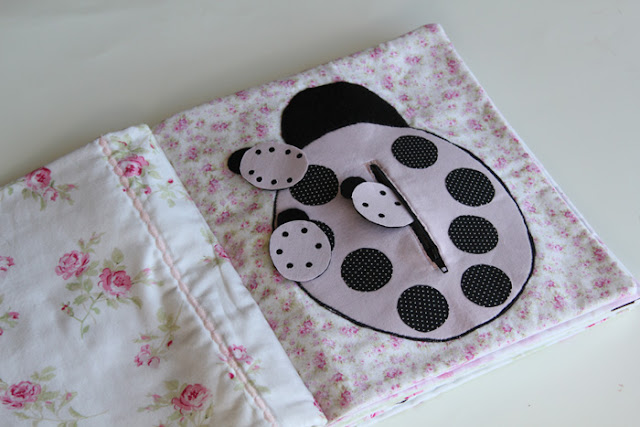
How are your quiet books coming along? It sounds like you guys are getting them put together. Very exciting!! Today we’re going to do the ladybug page, which will be the page opposite the inside front cover. I am also going to post pictures of the other pages so that those of you without kits can plan your color coordination! Tomorrow we’ll do the princess hair and laundry line spreads!
For the ladybug page, you will need: some good quality black felt, a colored fabric or felt (I used plain pink cotton here), a “spot” fabric or felt, a 4″ or 6″ black zipper, hole punch, and some lightweight fusible web.
Okay!
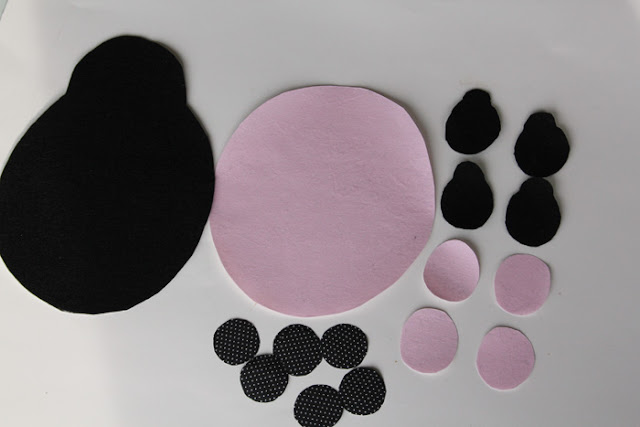
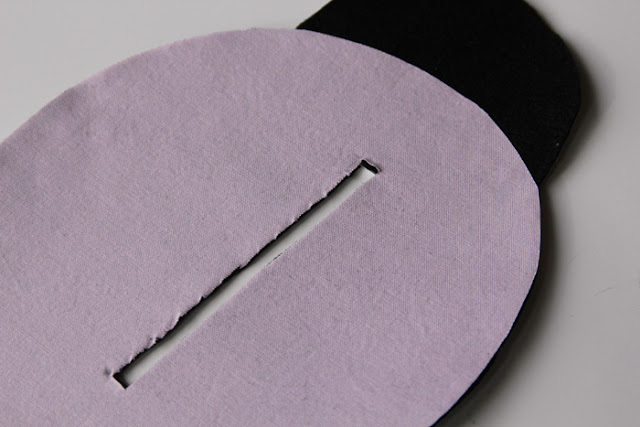
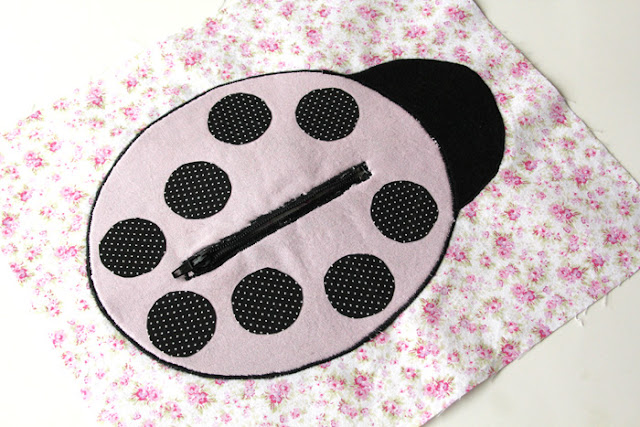
First, you’re going to cut out a large body/head combo from the black felt and a large oval body from the pink fabric. Apply lightweight fusible web to the pink fabric only and fuse the body top onto the body/head felt. Trim up any overhang. Next, cut a slit about 4″ long and ¼″ wide down the center for your zipper.
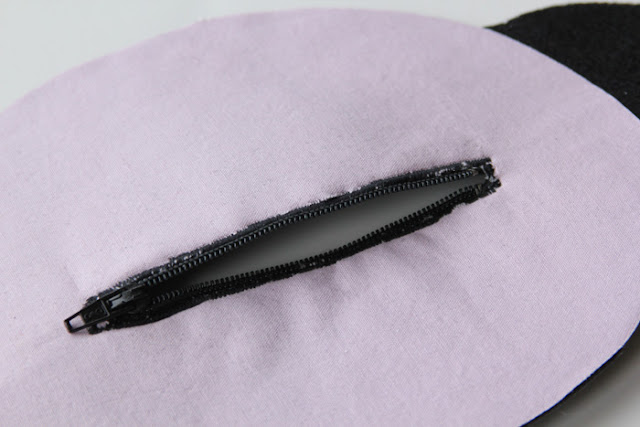
If you have a 6″ zipper, you will need to cut it down so that it fits completely under your ladybug body. Follow the directions on the package to do this – it’s quite simple, really. You just run a few stitches around the zipper where you want the new base and then chop the excess off below. Now, pin your zipped up zipper under the slit and stitch it to the ladybug. I found that pink thread and a tight zig-zag stitch looks the best; you could straight stitch it on, too (see the very top picture on this post for the pink zig-zag stitch finished look). The pictures I’m showing you here are with black thread and not so hot on the finished look. For this particular book, I actually cut small strips of fabric with fusible web and ironed them down over the stitching for a nice, finished look, but I don’t have a picture. Anyhow, get your zipper attached all the way around (use a zipper foot on your sewing machine if you have one).
Next, apply some fusible web to your “spot” fabric and cut circles. Iron them onto the ladybug. I did not stitch around the spots, but you can if you want! Place the ladybug onto your background fabric. I used a few small pieces of fusible web just to help hold the ladybug in place; you could use pins or put a few basting stitches in instead. Now, zig-zag stitch all the way around the perimeter of the ladybug.
Notice that when you unzip the ladybug, there is a pocket between the background fabric and the ladybug itself (which is why we don’t use fusible web on the black body). This is where the baby ladybugs will be stored. To make the babies, first adhere some fusible web to the pink fabric/felt. Cut small head/body pieces from black felt and small oval bodies from the pink fabric. Use a hole puncher to punch holes for the “spots” in the pink fabric (hint: this worked great when I left the fusible web paper backing on the ladybugs while punching). You can also hole punch or cut tiny spots from another fabric and fuse or hot glue them onto the little ladybugs.
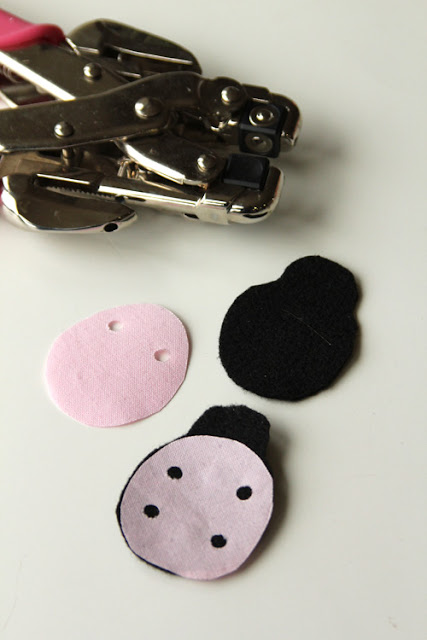
Iron down the top of the ladybug onto the black felt bodies. Trim off any excess. Place the babies inside the zipper pouch and you’re done! Set the page aside until you finish the backside of the page (laundry line left side) to sew them together.
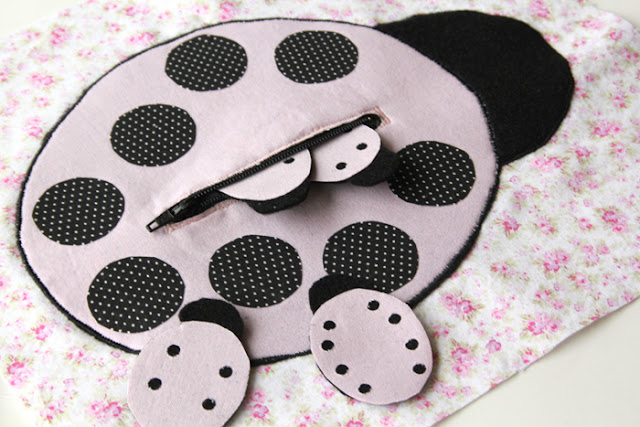
You can also embroider “Count the ladybugs,” or “Zip the ladybug,” or some sort of instruction like that. I didn’t because, well, I don’t like my handwriting.
The pages we will be completing are:
Count the Ladybugs

Braid the Princess Hair
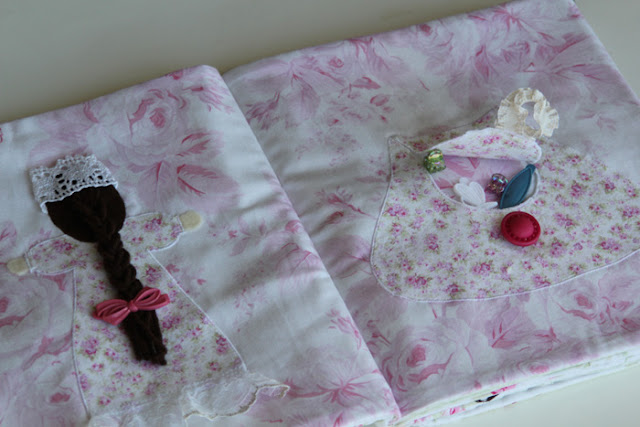
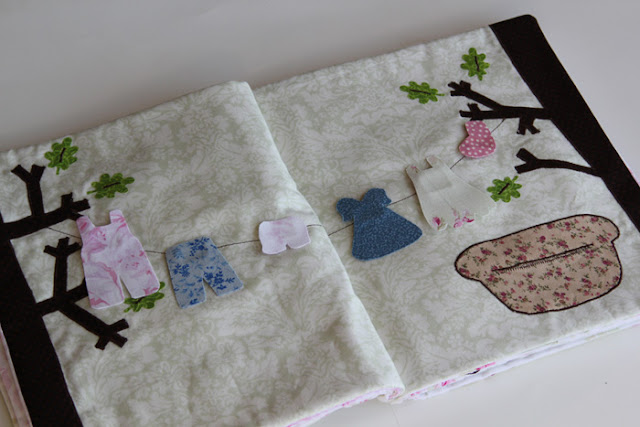
Hang the Laundry 
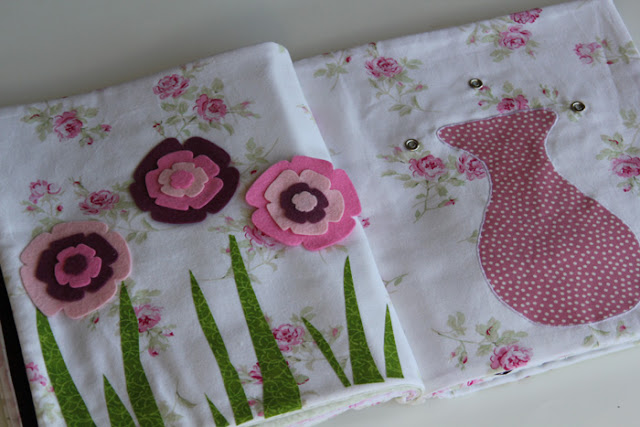
Pick the Flowers
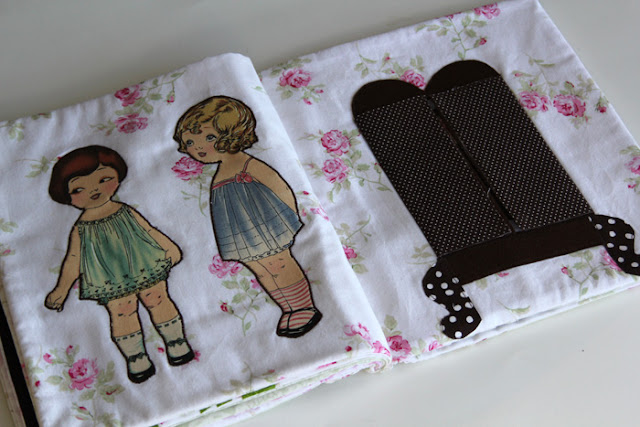
Dress the Dollies
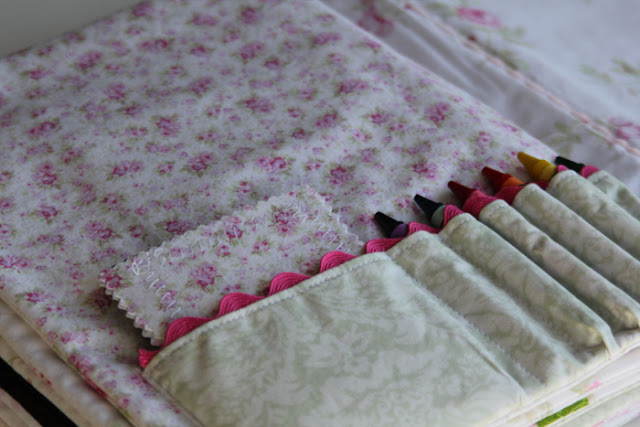
Color a Picture
Fun? Yes. Okay, tell me how you’re doing!


Comments & Reviews
suth2 says
I am loving this sew along. It is the first sew along I have done. As toots2u said, I wouldn’t be doing it without you. I am loving how my pages are looking but I am not sure how much space to allow on the left hand side. One inch or two inches or a specific measurement like 1/4 inch as on the right hand side?How do I share my photos of what I have done?Thanks again Stef for inspiring me.
☼Carolina Artesanías☼ says
………. /)
……… ( , )
….….|░░░|
……..|░░░|☆ Feliz _(♥)_
…..@|░░░|¸.¤“˜¨Navidad.
.¨˜“¤|░░ഐ¤ª@“˜¨¨y
…¨˜“გª¤.¸::¸.¤ª☆“˜¨¨Año Nuevo.
…¤¸*¸.¤ª“˜@¨¨¨***2012****.
*♥*.
Stef says
Emma – thanks! The books took a really long time to make, but most of the time was me staring at the page trying to figure out how to do it. Lindsay – woohoo! I found my original stash of the doll fabric at a tiny little quilt shop. Fun find!Toots – You are on a roll! Good job!Joanna – I think it’s a great idea to add pages of your own. Be sure to tell us what you do!!Audrey – You’re going to want to make your stitch length really really short – almost as short as your machine will go, and then make the stitch width pretty small, too. It sounds like your stitch width is set pretty high which is why you’re getting a wide stitch. And once you have your stitch length decreased, the stitches will nearly stack on top of one another. You shouldn’t have to go over it more than once if you get your settings right. If you get too frustrated, you can definitely just straight stitch all the way around – it would be a lot faster and will hold everything in place.
Audrey says
Ugh tonight did not go as smoothly as last night because my lack of sewing abilities are starting to show. I know this is a total novice question but how do I get my zig zag stitch to look like yours ? Yours is so small width wise. Mine turns out to look almost like 1/4″ and I set my machine to that 2 & 3 setting u mentioned. Also your zig zag is so thick. Mine is heinous. Do I need to just go over and over to make it full like that? Thanks so much!
Joanna says
Is it bad that I haven’t started? I wanted to see all of pages first before I started in case I wanted to come up with a couple of my own pages. I am really in love with the braiding, laundry, and dress up pages.
toots2u says
So much fun, yes! I took pictures of yesterday’s work and will put them in my flickr hopefully tonight. I am about halfway done with my ladybugs during my little ones nap and plan on finishing once all the kids are tucked in tonight. Thanks so much for the heads up on what is coming next and thank you for doing this sew along; it is an awesome project and I would not be accomplishing it without you. Thank you!!
Lindsay(PACountryCrafts) says
I found the paper dolls today! YAY!!! It was at an Amish fabric store in the middle of nowhere. Score!!!
Emma says
Oh my gosh, this is the cutest quiet book I have ever EVER seen! Wow. How long did it take you to make? My little girl would love this… Definitely on my to-do list now.