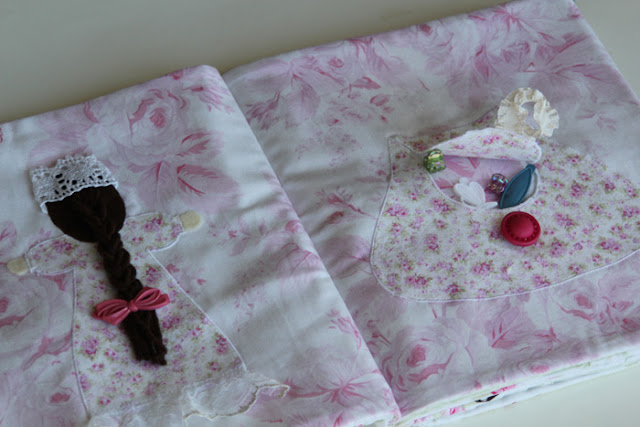
First off today, we’ll do the princess two-page spread. Please excuse the picture quality throughout this post, but sewing and taking pictures as I go does not lend itself to ideal lighting. Hopefully, you can still see what I did!
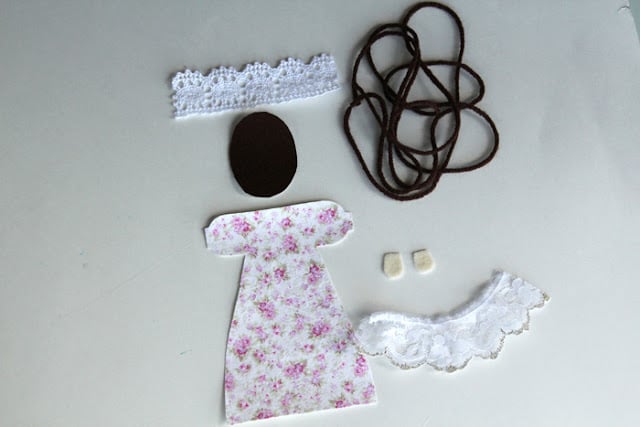
Apply lightweight fusible web to scrap fabric and a small piece of brown felt and tan felt. Cut a dress/gown shape from scrap fabric and two “hands” from tan felt. Layer the hands and gown onto the background fabric (centered) and iron down.
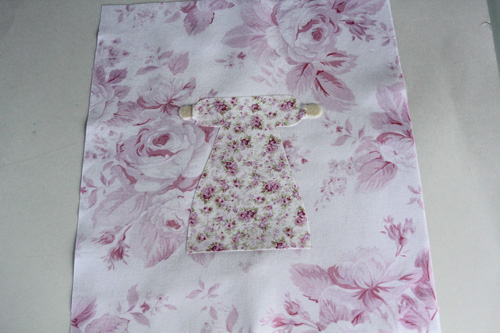
Use a zigzag stitch (or straight-stitch) around the perimeter of the hands and the gown.
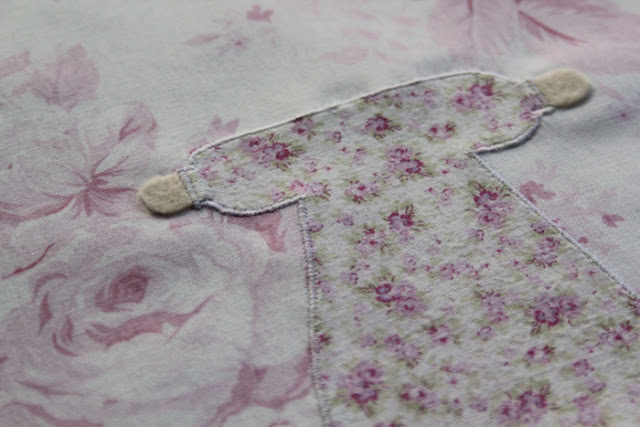
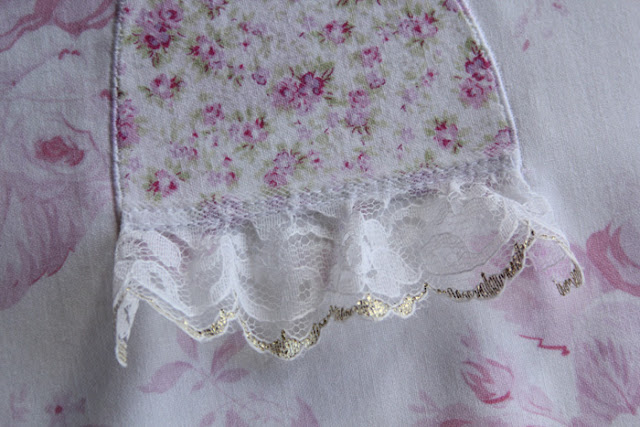
Cut a small piece of lace the length of the bottom of gown. Turn under each side slightly and stitch two parallel rows to secure the lace at the base of the gown.
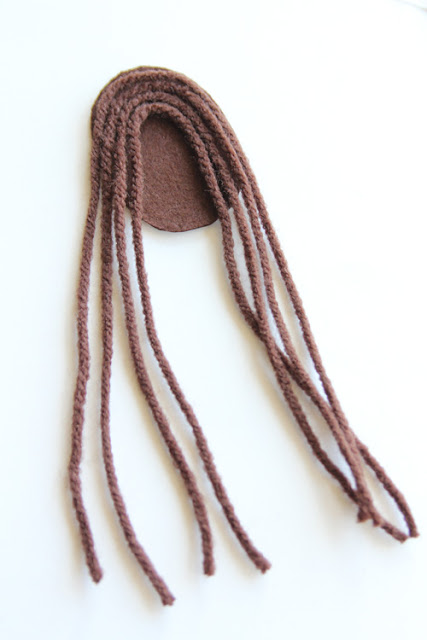
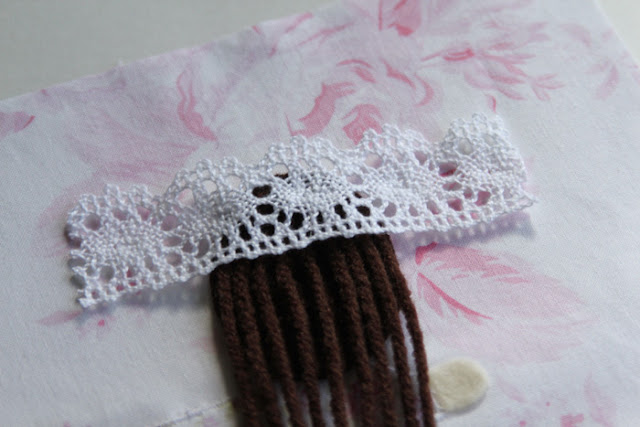
Cut a “head” oval from the brown felt. Cut four long pieces of yarn and place them like hair on the felt head.
Place one additional piece of yarn over the center “part”
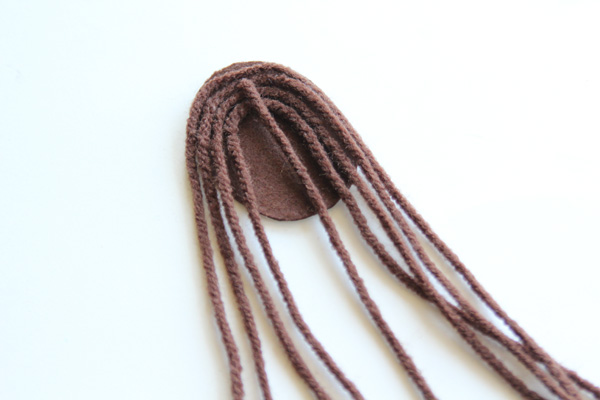
and zigzag stitch to secure all of the hair in place.
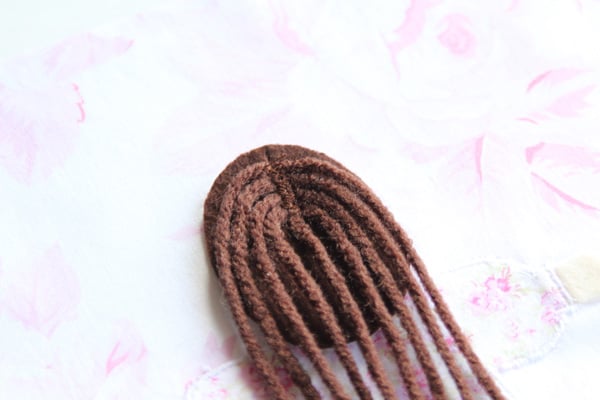
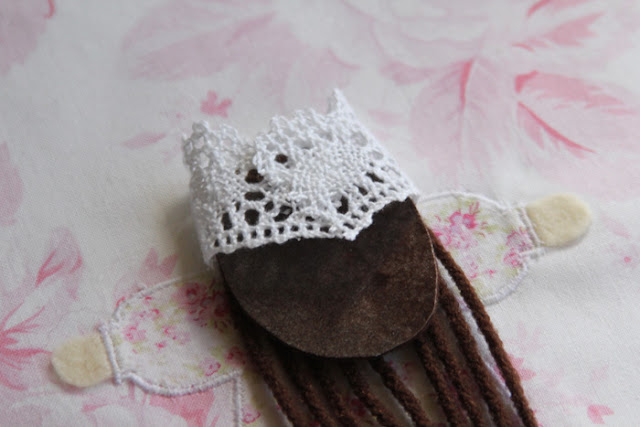
Take another piece of lace and wrap it over the top half of the head and around to the back.
Iron over the lace (with a press cloth) just a bit to secure the lace on the back of the head.
Apply another small piece of fusible web to over the backside of the lace
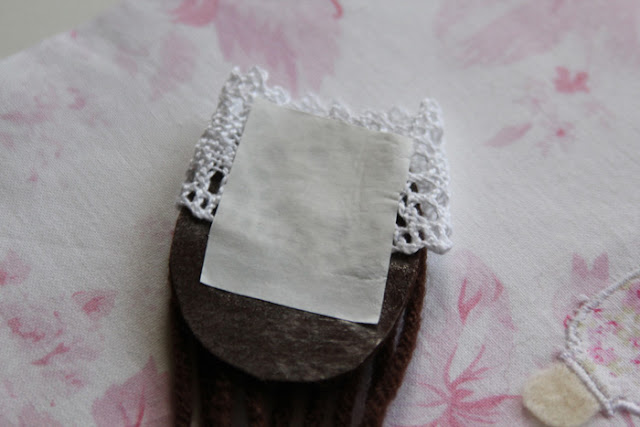
and set the entire head ensemble onto the princess gown/background fabric. Iron to fuse in place (you may need to iron from the backside of the background fabric).
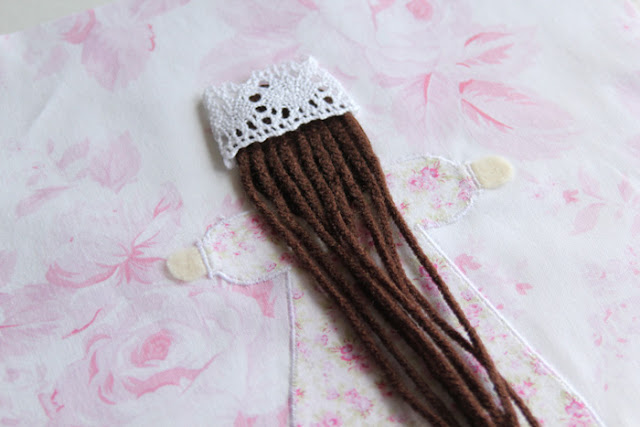
Zigzag stitch around the head. You will need to maneuver around the lace “crown” so that you don’t stitch over it.
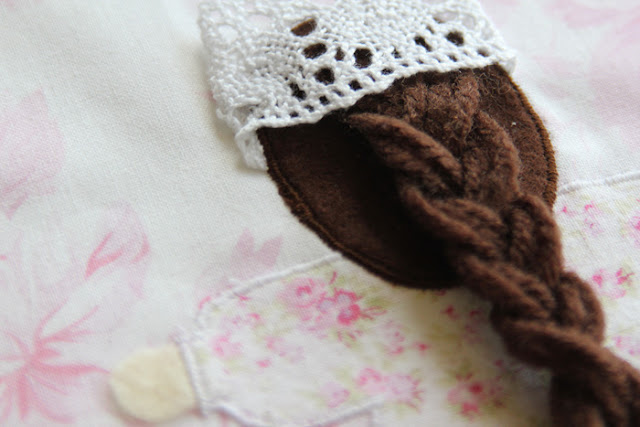
Braid and clip the hair. You are done with the left-hand side of the spread.
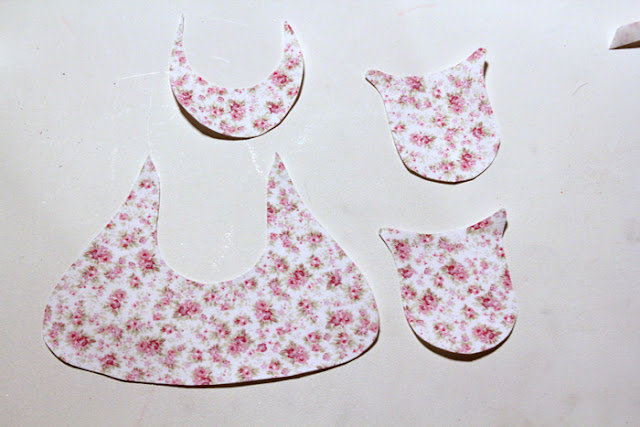
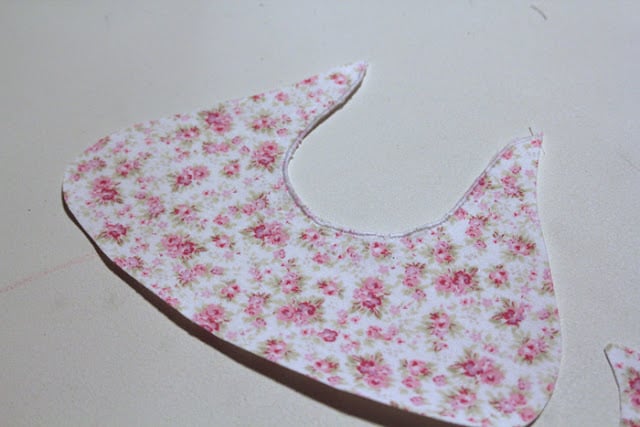
On the right-hand side, we are going to make a purse to keep the princess’ hair accessories. Apply lightweight fusible web to a larger scrap. You will need to cut a main purse piece, two flap pieces, and a small partial purse piece which will help to form the pouch.
Place the partial purse piece on the backside of the main purse piece and fuse the two together as pictured below. (Use a paper towel or press cloth so that you don’t get glue on your iron).

Next, zigzag around the top portion of the main purse.
Set the purse on the center of your background fabric and iron it down. Zigzag stitch around the perimeter, but NOT around the top edge (which you have already zigzagged).
Next, take your two flap pieces and cut about a ½″ off the top of one of them (this will allow you to adhere the flap to the background fabric in a minute; you can also just add a small strip of fusible web to the flap once you’re ready to iron it down). Set one flap wrong side up in front of you.
Place a small piece of elasticized ribbon in a loop at the bottom center of the flap
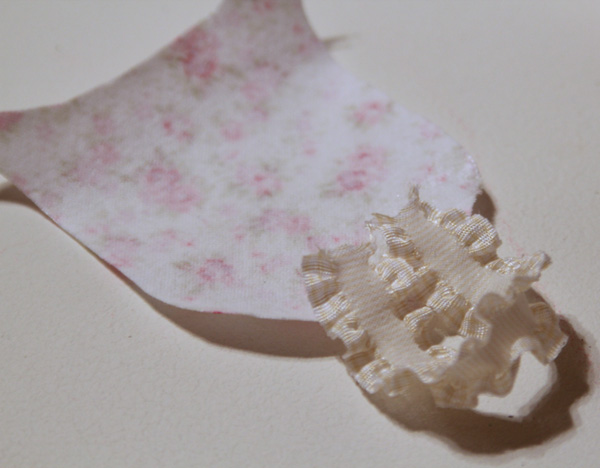
and sandwich it in by placing the other flap piece right side up on top.
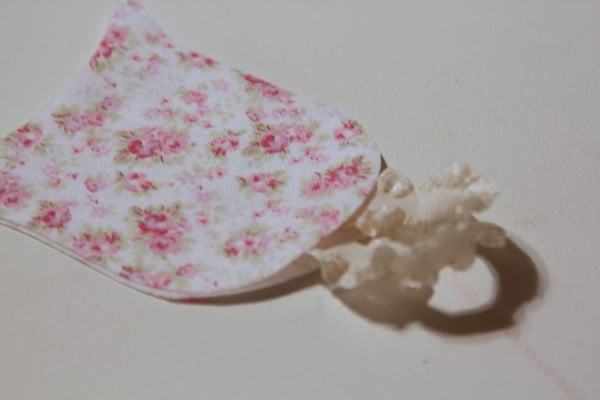
Iron to fuse the two flaps together (don’t iron the top ½″ yet). Zigzag stitch around down the side, around the bottom, and up the other side of the flap – do NOT stitch around the top of the flap. Next, set the flap in place on the background fabric – match it up with the purse like you’re fitting two puzzle pieces together. Iron down that ½″ portion to attach the flap to the background fabric and zigzag stitch across the top to secure it to the page.
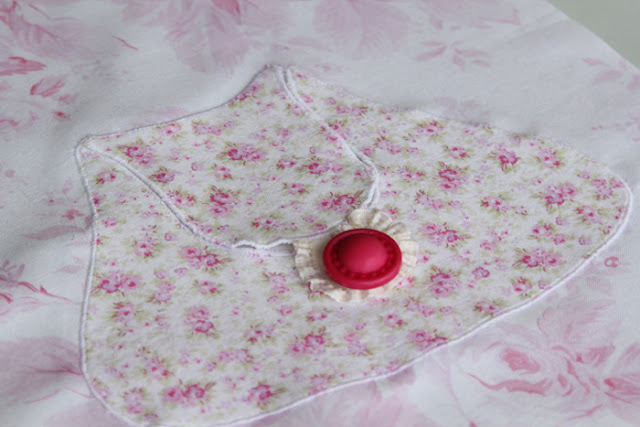
Sew a button onto the purse by hand and loop the elastic around to close the purse.
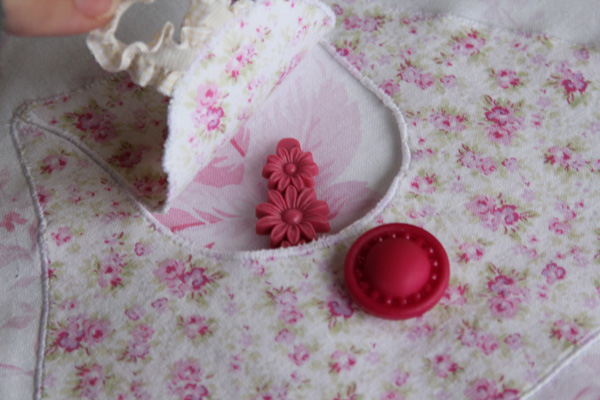
You can fill the the purse with hair clips, hair bands, ribbons, whatever you like. Your Braid the Princess Hair pages are done!
I know I said we were also going to do the Laundry Line pages today, but my computer keeps shutting down and this is pretty picture heavy already. I’ll try to put up a separate post Wednesday night with the Laundry Line. Until then, happy sewing!!


Comments & Reviews
Audrey says
Thank you – your response helped and I am back on track. Wahoo! Even though the machine showed the correct settings it hadn’t clicked in but now it’s giving that same stitch you have. So happy. Now I just need to learn to sew in a neat zig zag…
Audrey says
This comment has been removed by the author.