Did you finish your princess hair pages? How are things coming along? Someone asked about seam allowances for the pages – thank you so much for reminding me to talk about that!!! You’re going to need about ¼″ on each side – you might allow up to ½″ for the seams that will fall in the center of the book, just to be sure.
Also, some questions about IF I’ll be putting together additional kits. If you want them, then yes, I’ll put together more kits….let’s talk more about this after Christmas!! And boy quiet books? So out of my area of comfort, but I will make it a goal for next year. Let’s say before next Christmas…sound good?
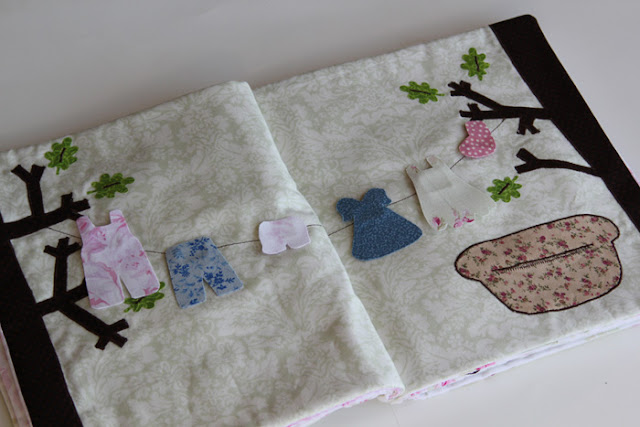
One of my favorite pages is next: the laundry line. We’re going to make a little set of clothes and a two-page spread with a laundry line stretching from tree to tree. The clothes can be stored in a little laundry basket and hung up on the velcro line.
SUPPLIES: You will need some brown fabric for the trees, a fabric scrap for the laundry basket, several fabric scraps for clothes, velcro (I prefer the Fabric Fusion, iron-on velcro), and green fabric for leaves if desired.
We’ll do the clothes first. I’ll show you how I did a set of pants and you can apply the same concept to complete a set of clothes. Use your imagination for the clothes – if you’re using the templates, please note that the overalls are not symmetrical on each side – you might want to fix that up before cutting your fabric – sorry!! Okay, onto the clothes. Take two scraps of matching fabric. Apply fusible web to the back of one scrap.
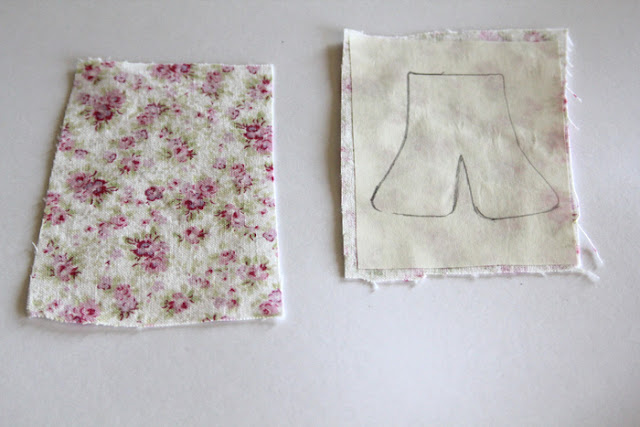
Trace or draw your piece of clothing onto the paper backing and cut your shape out. On the OTHER piece of scrap fabric, place a small square of velcro in the position which will become the top back section of the clothing piece (place velcro on right side of fabric). And I am SO sorry, but I don’t have any pictures of the velcro, so we’ll have to pretend, okay?
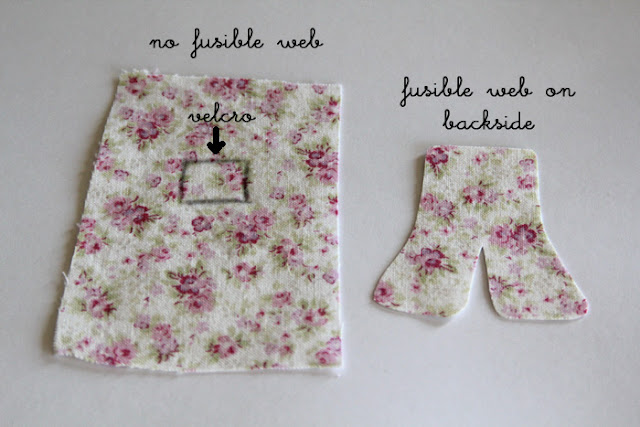
From the wrong side of fabric, iron the velcro in place – the directions say Cotton setting, with steam, for 90 seconds. I found that it does not take 90 seconds to secure the velcro on. Be sure that your fabric doesn’t burn. Let velcro cool and check to make sure it’s fully attached. Next, take your other piece of clothing and set it on top of the fabric with velcro, wrong sides together.
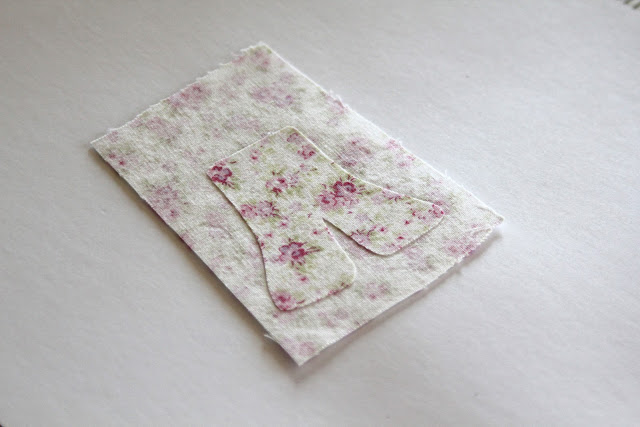
You are going to fuse the two pieces together and then cut around your shape so that you have a two-sided piece of clothing with Velcro on the back. Place your two pieces together so that the velcro will be in the correct position once you cut the shape. Does that make sense?? Fuse together (use a press cloth) and cut out.
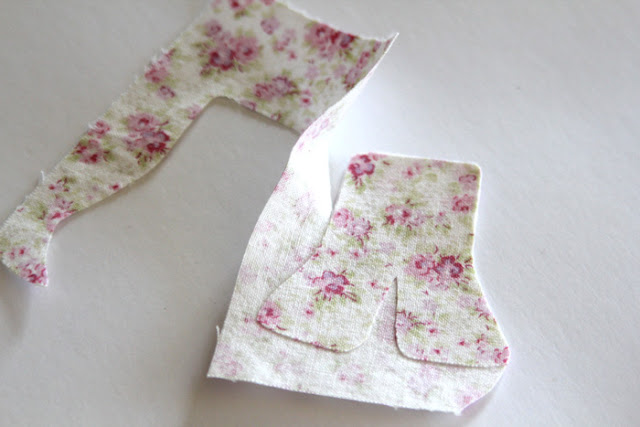
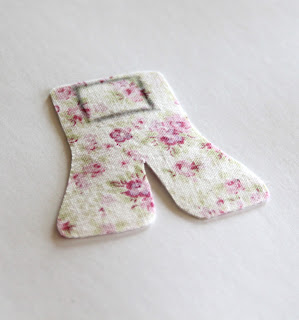
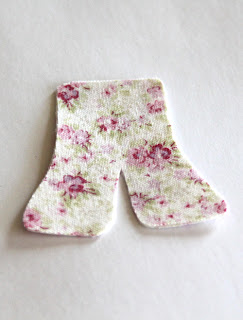
That’s it! Repeat for other clothing pieces. If you want to add a little scalloped edge to the bloomers or the dress, I would suggest you do that on the finished piece of clothing.
Now for the main part of the page. Take a large piece of brown fabric, apply lightweight fusible web and sketch or trace a tree and branch outline. If you are using the template, extend the top and bottom of the tree so that your tree will reach the full vertical length of the background page.
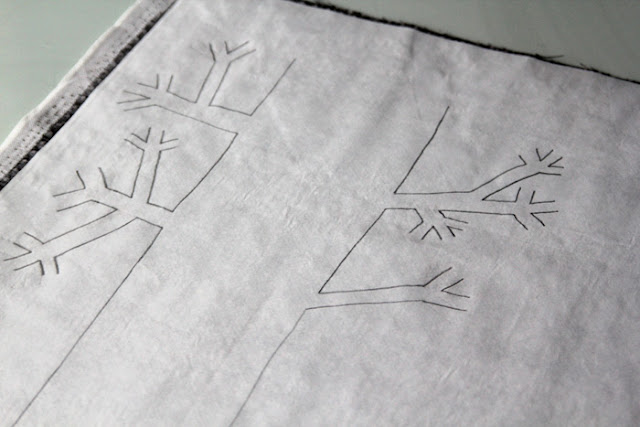
Cut the tree out.
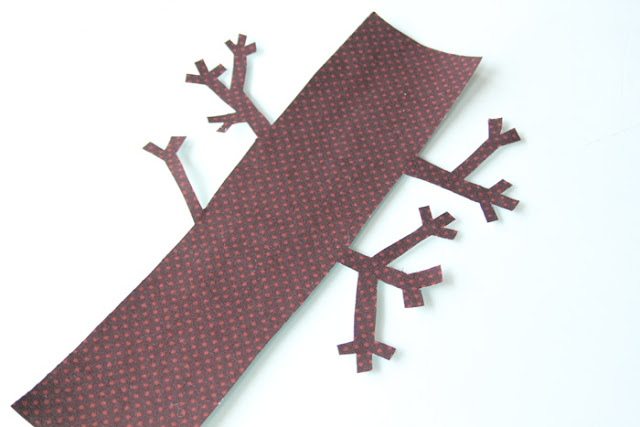
Then cut it straight up the center to divide it into two halves.
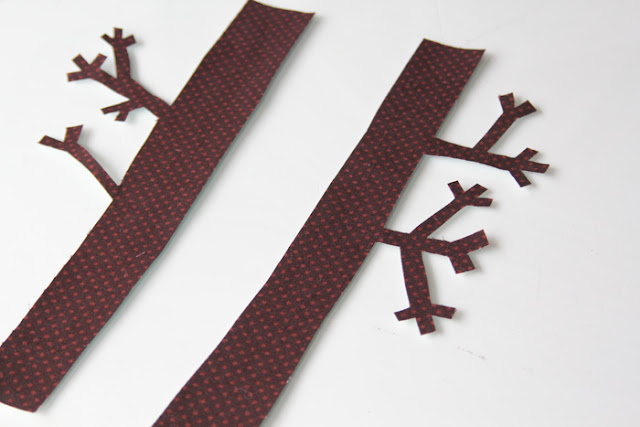
Align each half on the outer edges of your background page and iron them down.
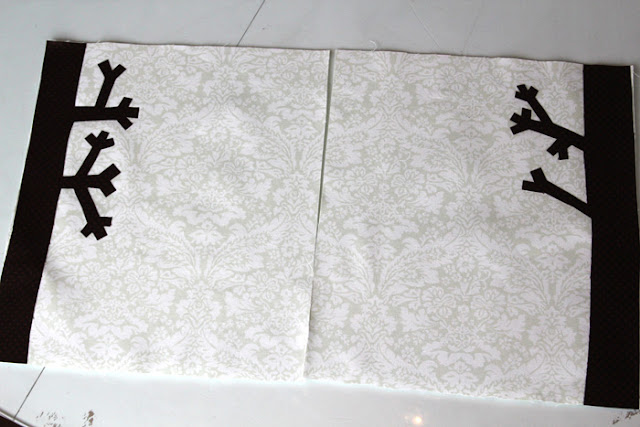
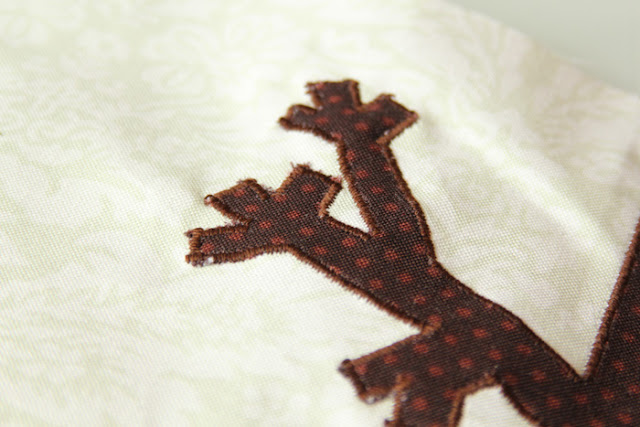
Zigzag stitch all the way around.
Now take another scrap of fabric and apply fusible web. Cut out a laundry basket and an additional “pocket piece.”
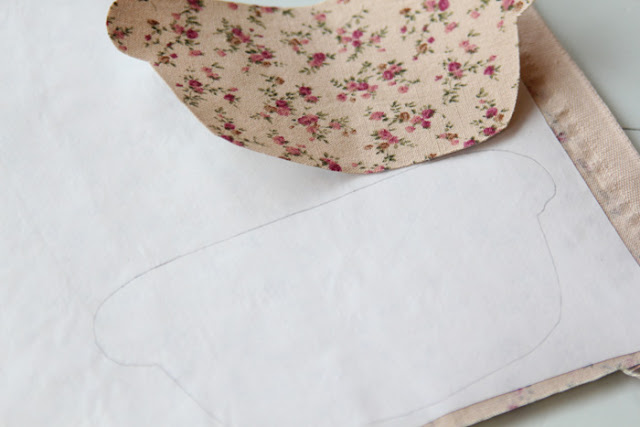
We’re going to do this much the same as the purse on the princess page. Working on the laundry basket, cut a horizontal slit in the laundry basket as shown. Place your pocket piece on the laundry basket, wrong sides together, with the top of the pocket piece aligned at the base of the slit. The tackiness of the web should hold them together for now. Stitch a horizontal line (or zigzag) along the bottom of the slit.
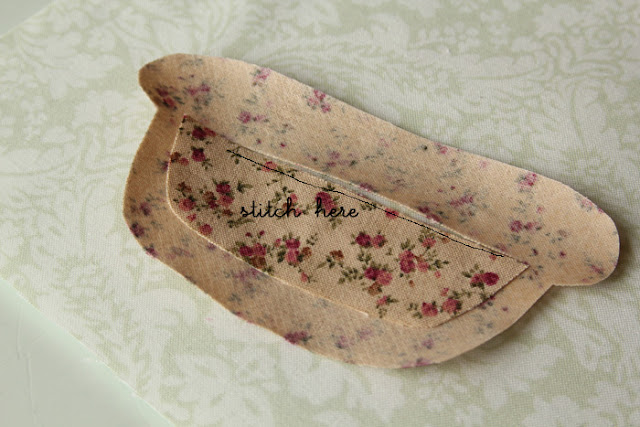
Place the laundry basket in the lower right side of the background pages and iron down.
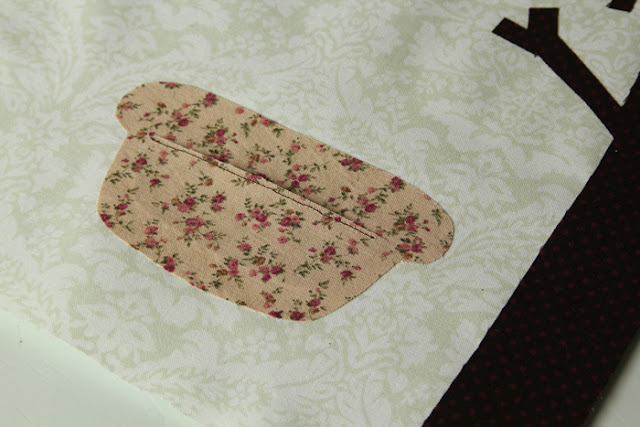
Zigzag stitch around the laundry basket. Next, stitch a “laundry line” from one set of branches to the other side. You will want the bottom of the drape to flatten out for a bit so that the two sides of the line will match up once the seam is sewn in (about ¼″ on each side).
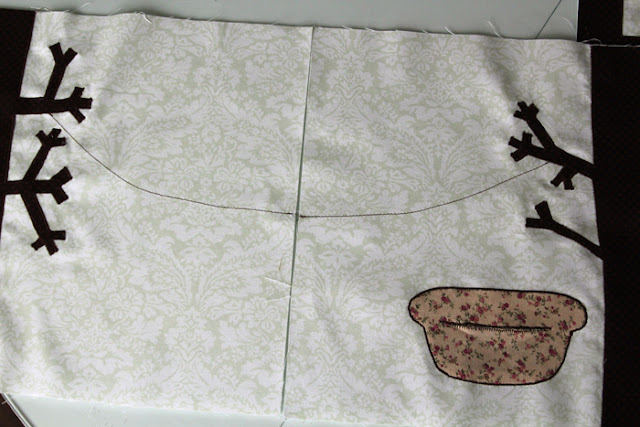
Apply leaves to the page, if desired, iron, and stitch down however you’d like. I cut my leaves using the Cricut so I can’t share that template, but I’m sure you can draw a leaf if you don’t have a kit.
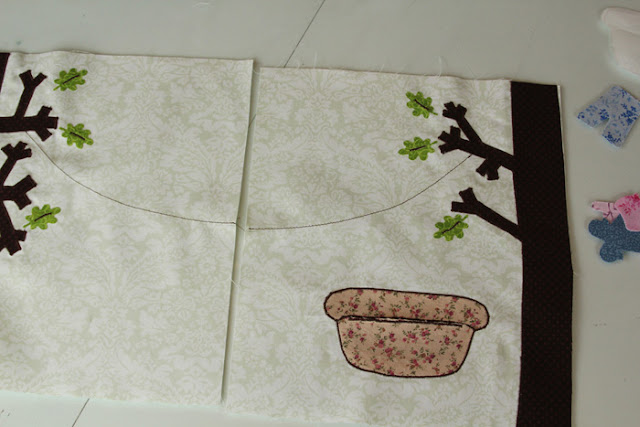
Almost done….
Space out your velcro pieces on the line (be sure you use the opposite side of velcro from what you put on your clothing pieces) and iron them down from the backside. Attach the clothes and you’re done!!
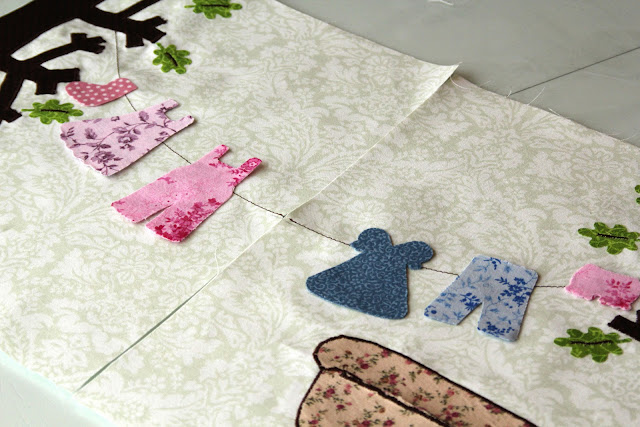
How are you doing? Ready for the next page? Want to slow down? You tell me!


Comments & Reviews
Skomagerhuset says
Helt fantastisk blog hvor er jeg glad for at jeg fant den du er super dygtig
toots2u says
I have found it to be just right. I start the pages during nap time then finish once the kids are tucked in. Yesterdays pages were fun and I learned some new tricks to use in the future. When you showed the previews, this laundry page was my favorite and probably was the deciding factor to do this project. I can’t wait to do these pages. Thanks again for the awesome tutorial… I love it! And can’t imagine how much time you have put into this project. Have a good day!