At last! We are ready to finish the quiet books. How are you doing? All caught up?
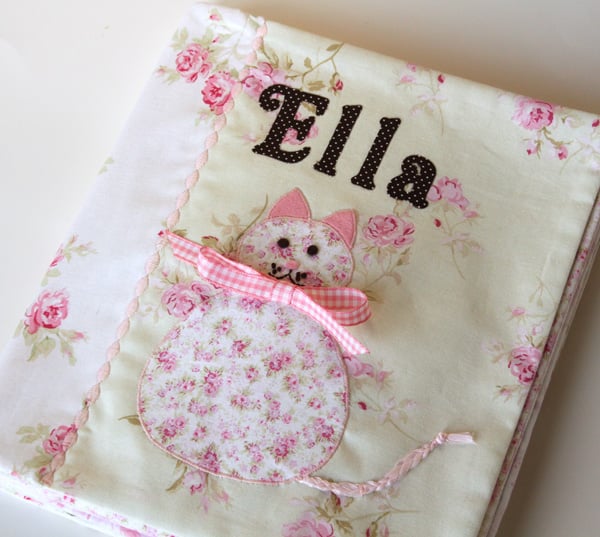
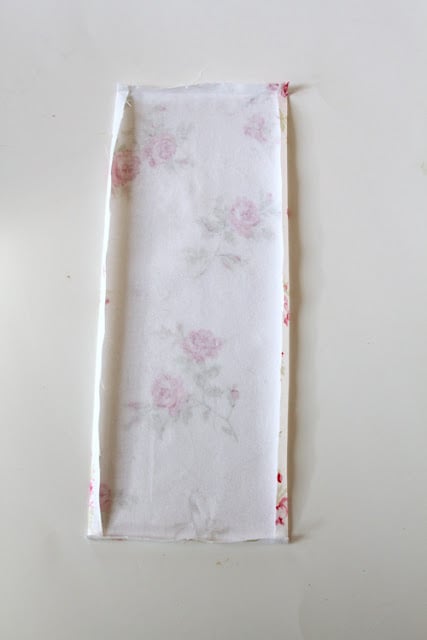
To finish the quiet books, you will need one piece of coordinating scrap fabric cut to 12″ tall by 5″ wide. I used 11 ½″ tall for these books here and I wished that it was just a bit longer. I also applied interfacing to the binding piece of fabric, but I forgot to include this in the kits. I did not use interfacing on my original quiet books and I honestly can’t tell the difference, so if you have some interfacing lying around, go ahead and cut it to size and iron it on. If you don’t have any, don’t stress! Turn in the side edges by ¼″ and press. Turn in the top and bottom edge by ½″ and press. Set this piece aside.
Now, pull out your seven finished pages. If you haven’t sewn together the front and back of each page with batting, do that now to get your seven pages. Stack your finished pages in the correct order and line up the top and bottom and right-hand side.
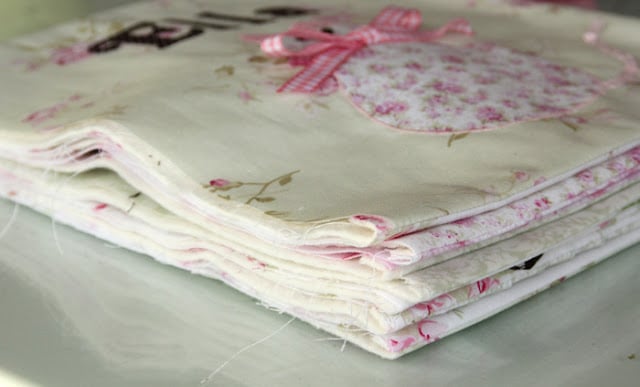
Split your stack in half and sew each stack together along the left-hand side (¼″ seam allowance).
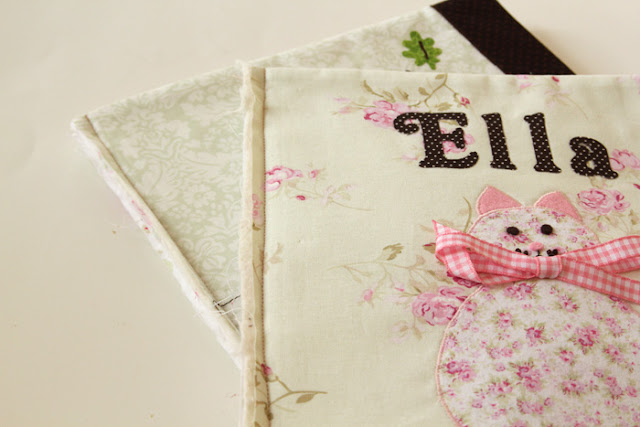
Next, stack your two sewn stacks on top of one another and line everything up again (top, bottom, and right-hand sides). Using just a hair over a ¼″ seam allowance, stitch the two stacks together. You want your stitching to fall on the inside of your already sewn lines so that they won’t show when you’re flipping the pages in your finished book. To sew through all the layers at once, I found it easiest to start in the middle and sew down to the bottom edge, remove the pages from the machine, flip the stack around, and sew from middle to the other edge (top). Down at the edge, your machine might have a hard time going through all the layers. Just go slow; I even did a little hand-crank/automatic pedal combo trick. Be sure you really secure the stitching at each end of the run – I back-stitched and forward-stitched a few times.
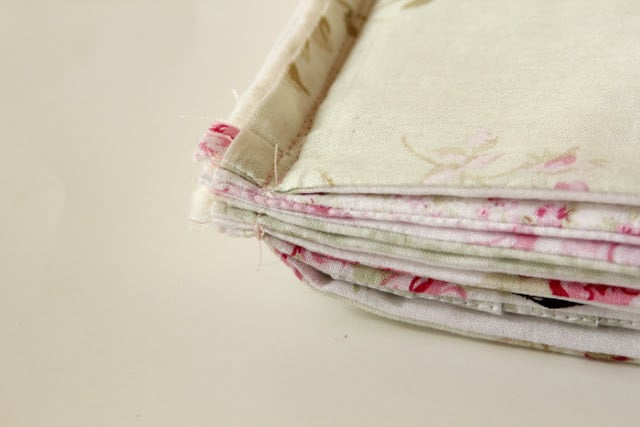
Everything secure and lined up?
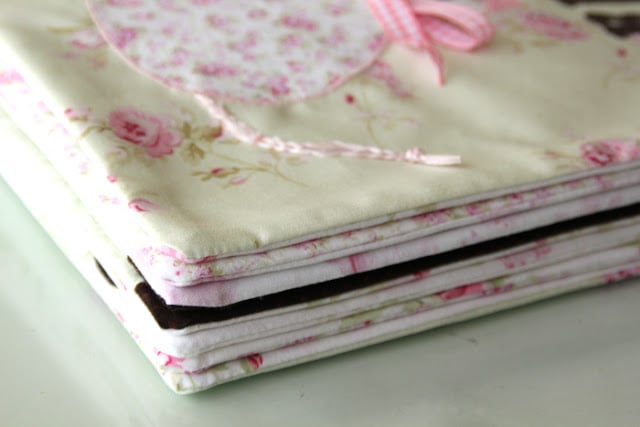
Don’t be afraid to seam rip and redo if your pages don’t end up lined up. In one of my girls’ books, there is one page that sticks out just a hair more than the others and I REALLY wish I would have taken the few extra minutes to seam rip and redo.
Now, to finish. Place your 12″x5″ piece of fabric on top of the front cover page, right side facing down. Line the left crease up at about 2″ from the left-hand side. Pin in place to the front cover page only.
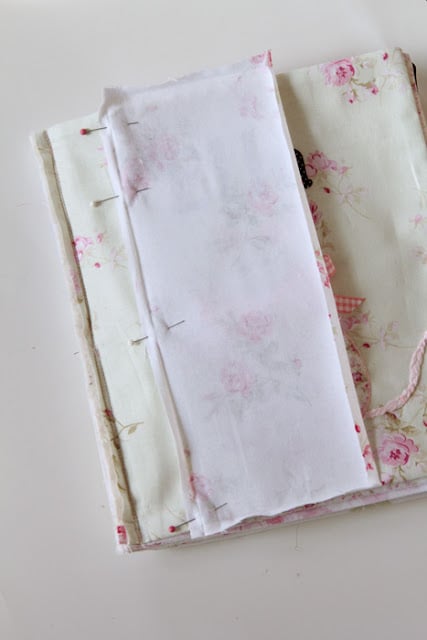
Open up your book and set in machine.
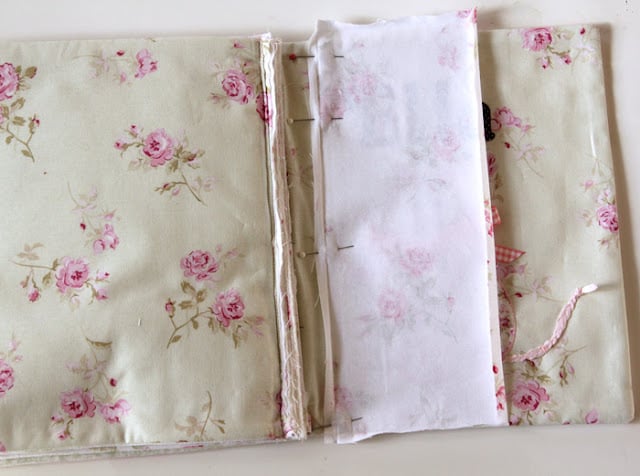
Stitch down the crease. Backstitch well at the beginning and end of the run.
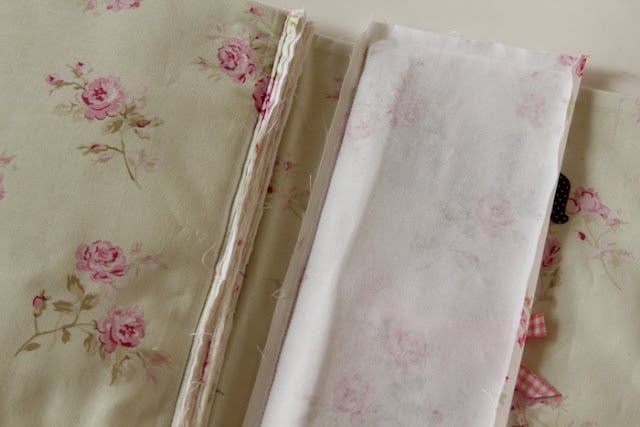
With the book still open, flip the binding fabric back so that it spreads over the bound pages.
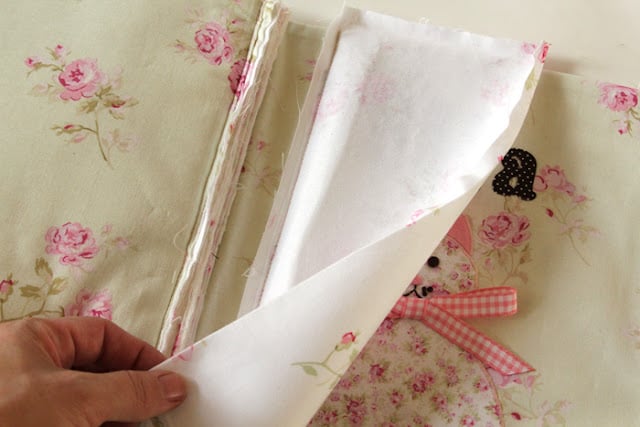
Pin in place with pressed edge tucked under on the back cover, about two inches in from the right-hand side.
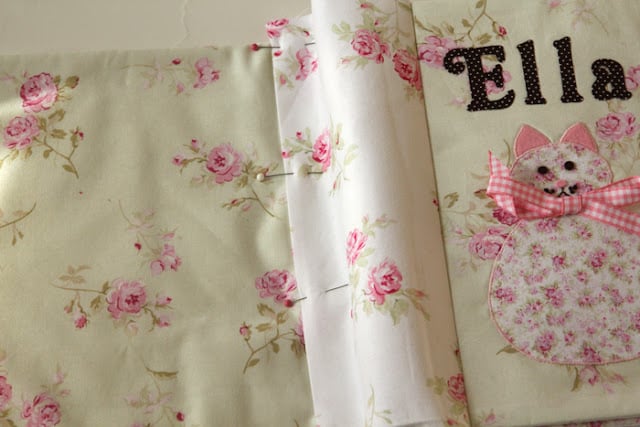
Before you stitch this edge down, open and close the book to make sure there is enough slack in the binding to lay flat when the book is closed – make sense? Adjust pinned edge as needed. Open the book back up and place the back cover in your sewing machine. Topstitch along the edge of the binding. I used a decorative stitch to do this and LOVE the results. I think it really finishes the book beautifully, especially since it leaves a lovely stitch along the inside of the covers as well.
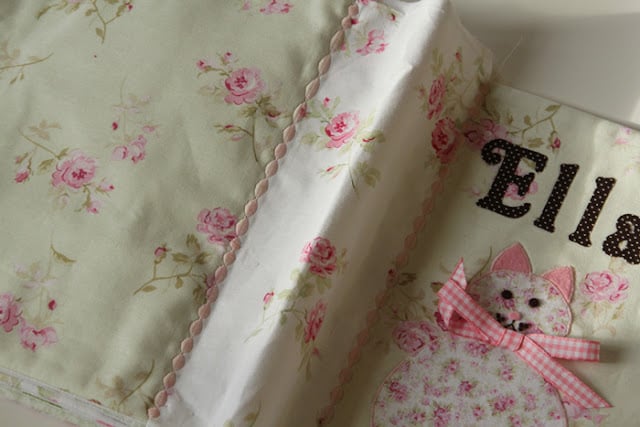
Now, you just need to slipstitch the top and bottom closed. This was not the easiest moment for me, but I couldn’t come up with a better way to bind the book – if you want to share an easy trick, I’m all ears! But anyway, what I did is just tuck in along the creased edge and slipstitch all the way across (open the book up along the center when you’re stitching).
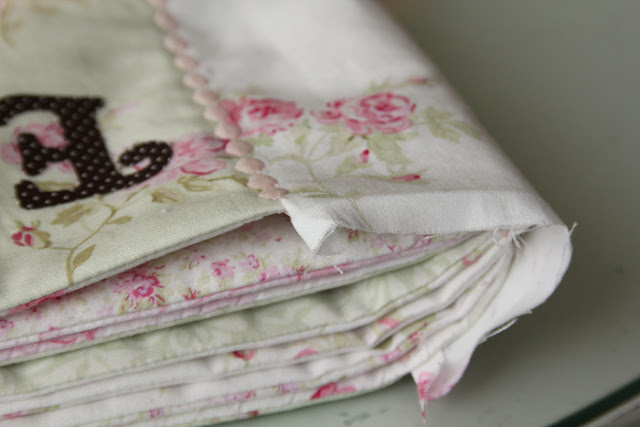
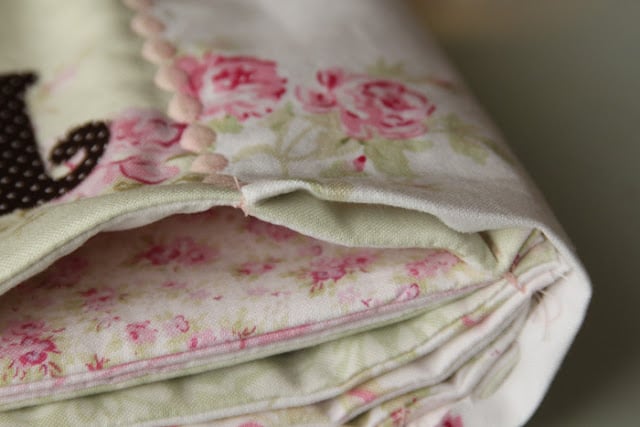
The specific tricky part is encasing the seam in the center – I just wrapped the edge until I could stitch and pull it closed to cover the ugly raw edges.
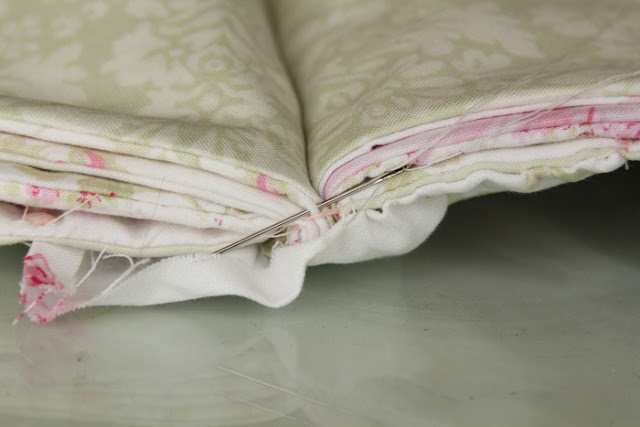
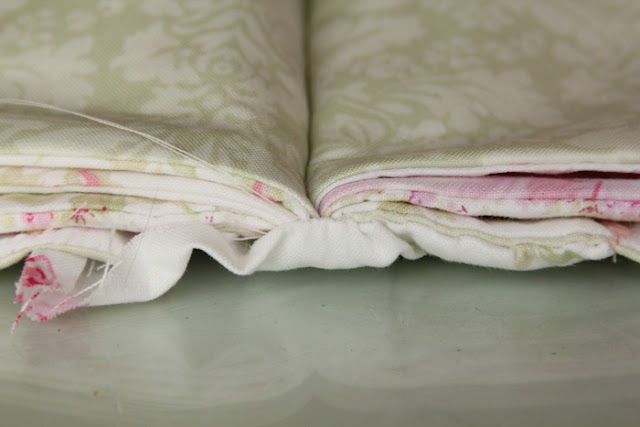
For me, it seemed pretty lame while I was doing it, but once it was all sewn up, I think it looks fine.
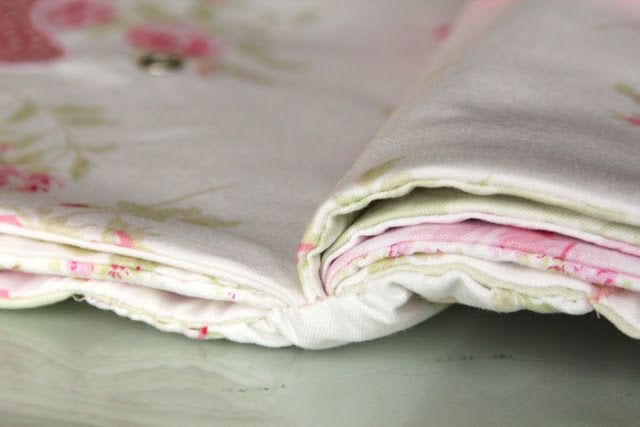
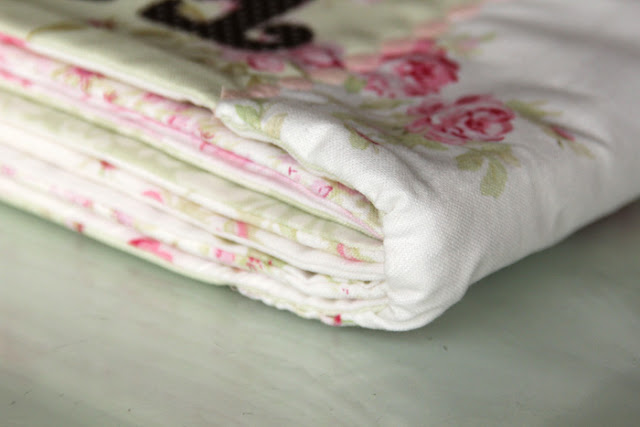
So, that’s it!!! We’re done! If this felt a tad rushed, it was just because I wanted to fit it all in so that you can give the quiet books for Christmas.. I’m giving Addie hers that I’ve had tucked away for the last two years. I think she’s old enough now and it’s such a relief to have a handmade project that’s been completed for a while and ready for the giving!
I have created a flickr group for picture sharing and I do hope you’ll join and upload your pictures. I really want to see what you’ve been working on! Pretty please… Here’s the link to the group:


Comments & Reviews
Vera Catlett says
Love your quiet book. I have 2 little great granddaughters I would love to make this for. I would like to purchase the pdf pattern. I wish I had see n this when you gave the sew along. It is one of the best I have seen. I have made lots of pages for my great grandson, so have seen lots of quiet book patterns on the net. Hope to hear from you soon.
Kathy says
Could you tell me what age child this is for? My granddaughter is now two. Thanks!
girlinspired says
Hi Kathy, I think anywhere from about 2 1/2-3 is a good age for starting on this quiet book. You can cater it to the younger kids with easier activities that don’t involve snapping, but they can also grow into it!
Morgane @ Bear,Dolly and Moi says
This has been a great tutorial for a great book!
I followed your directions and made my own.
here is the link if you are interested.
http://beardollyandmoi.blogspot.com/2012/03/fabric-book-part2.html
thanks again for a great projet.
Whitney says
I saw this on pinterest and fell in love! I know the kits are sold out, but are you going to continue to sell the templates? I’ve tried the paypal button and it is not working. Thank you!
Cakes by Erin says
Thank you so much for this tutorial. I got every page done except one, but put it all together, wrapped it up and gave it to my 20 month-old niece for Christmas. She took to it right away and sat for a whole hour moving the pieces around. It was wonderful!
I could not find the doll kit anywhere, so I changed your wardrobe to a kitchen cupboard, and found these felt cupcakes to move from the cupboard to a picture of a table. Since I own a cake business it was a perfect present from me!
Thanks again,
Erin
Lemon Lane Cottage says
Thank you for this beautiful tutorial. I plan on making one or two at a leisurely pace over the new year. I pray a wonderful Christmas for you and yours. Patty
Audrey says
Finished! So excited. This has been an incredible lesson in sewing for me. I am giving to my niece with a promise note to remake it for her birthday now that I get the just of sewing! I have two questions. Where should I be putting those googly eyes that came in the kit and can I ask what make / model sewing machine you have? I had been borrowing my sisters and would love to get my own. I loved that fancy stitch you used. Stef, you are amazing. Thanks for such an incredible tutorial and the most gorgeous quiet books I have ever seen. I will try to post a picture after the holidays Happy holidays and thanks a million
Sandy says
That looks beautiful Stef! To love and cherish!
suth2 says
Thank you so much for doing this sew-a-long. I would never have completed this project without group participation and a timetable. Thank you also for the gorgeous “dress the dolls” I have had a great deal of fun completing this quiet book and I hope my granddaughter has lots of fun too.Thank you again for making it possible. Best wishes for a happy festive season.
toots2u says
I will finish my books tonight and post the pictures to your flickr group in the next day or 2( crazy, busy Christmas happenings here). Thank you so much for all your good instructions, templates, and step by step photos; I really appreciate it all and am sure my girls will love their books for years to come!! Here’s hoping I will be able to fit my book in my machine. They are thick books but I will start in the middle and see what happens. Have a good day!!
Ruby Jean says
Oh I LOVE this little book… Even for myself.. 🙂 I would love for you to link up it up here http://shoprubyjean.com/2011/12/sew-crafty-tuesday-linky-2-and-highlights/