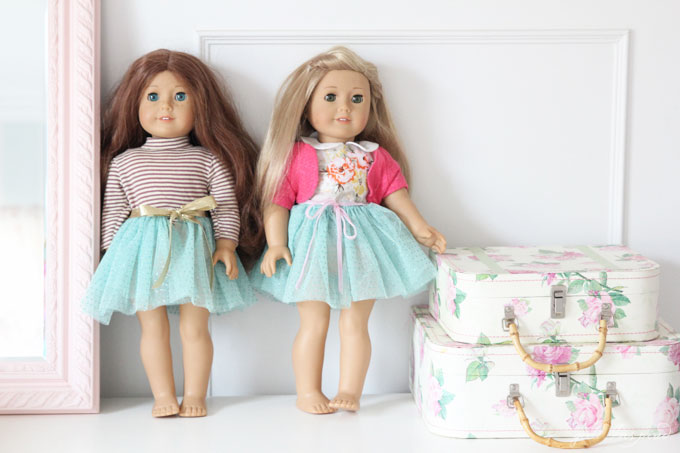
 Well! We are completely moved out of our home and temporarily set up until we move into our next home. Things are going to be a bit sporadic here while I navigate a new city, summer schedules, and having most of my things in storage!! The girls and I are trying to do lots of exploring and creating new traditions and routines, but we will surely continue to spend time doing crafting at home! These darling doll tutus are the perfect summer craft to do with your kiddos – they’re simple and require just a few supplies! Kids can sew these tutus mostly on their own, but they will need a little assistance with the hot glue gun from an adult!
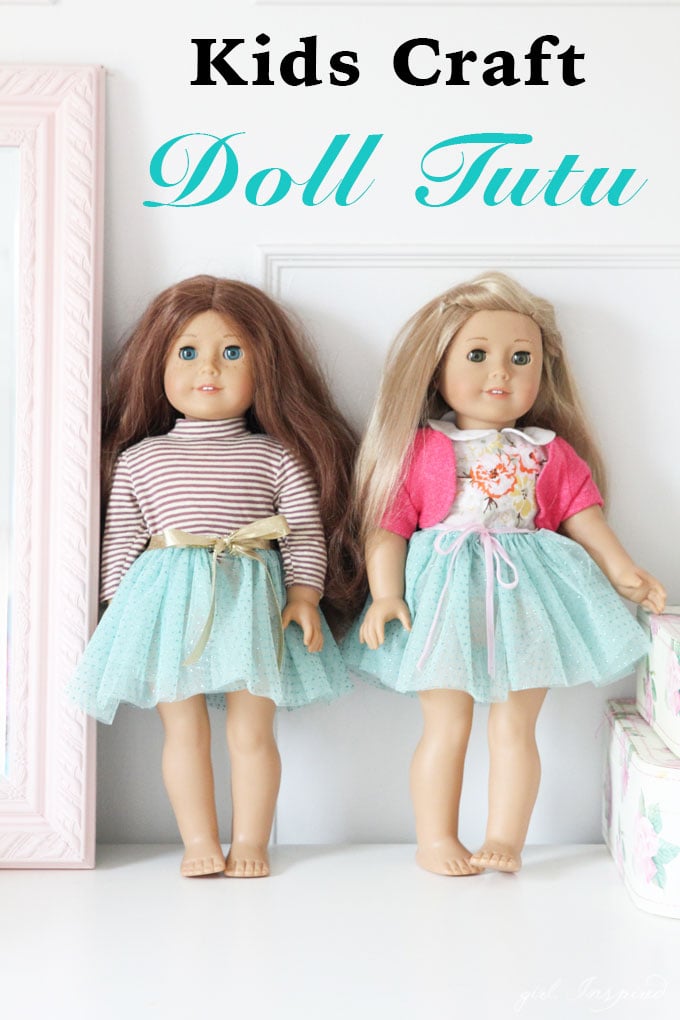
Let’s get started! For one doll tutu, you will need:
⅓ yard tulle
embroidery needle and floss
1 yard double-fold bias tape or ribbon
hot glue gun and gluesticks
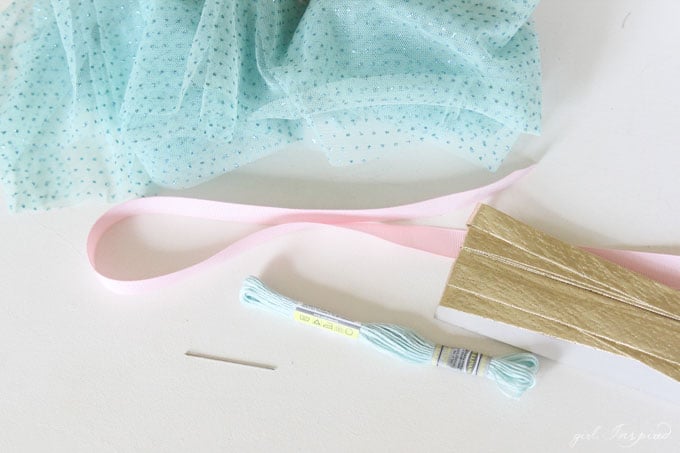
We are going to work on a tutu sized for an 18″ doll, but you can easily adjust your measurements to create a tutu for any size doll. Cut one piece of tulle 10″ wide by the entire length of the tulle from selvage edge to selvage edge.
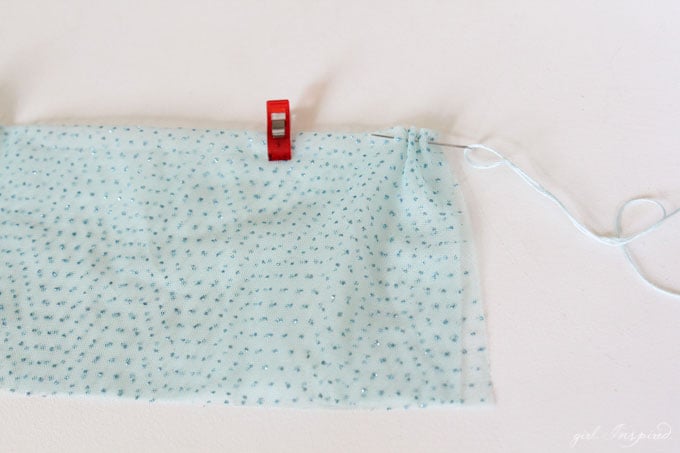
Next, fold the strip of tulle in half, lengthwise and clip/pin along the folded edge to ensure that the raw edges are even across the length. This will give the tutu a double layer and result in a fuller finished skirt. Cut a 20″ length of embroidery floss, thread one end through the embroidery needle and tie a knot in the other end. Now, it’s time for the kids to start sewing! About ¼″ away from the folded edge, begin sewing up and down through the layers of tulle. Take a few stitches and then pull the thread all the way through to the knot.
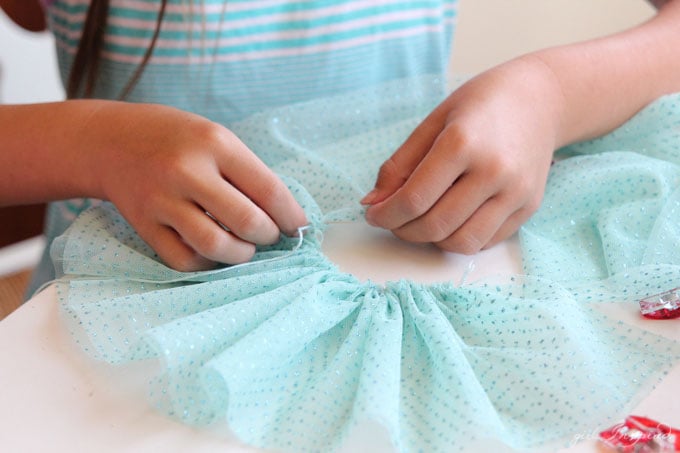
Continue sewing and scrunching the tulle down the embroidery floss. Setting the tutu on the table to work on it made the task a bit easier.
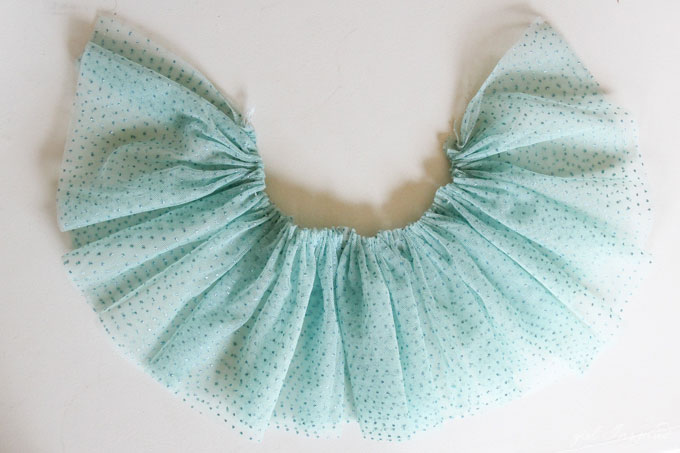
Once the entire length of tulle has been stitched onto the embroidery floss, even out the gathers. Measure the doll’s waist measurement. You will want to tie the loose end of embroidery floss into a knot to form a gathered length that is about the same as the doll’s waist measurement. When you have your floss knotted off at the correct length, even out the gathers once more.

To attach the tie/waistband, an adult can hot glue a strip of ribbon or bias tape to the top edge of the skirt. Match the center of the skirt with the center of the ribbon and glue. If you wish to use double-fold bias tape (not pictured), open it up and glue the skirt in between the fold of the bias tape. Sandwich the bias tape over the top edge and glue it shut for a nice finished top. For single fold bias tape or ribbon, simply glue the skirt to the wrong side of the ribbon.
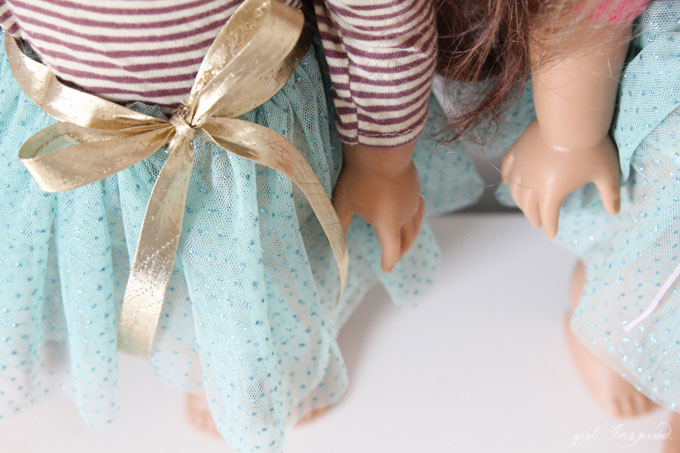
That’s all there is to it! Wrap the skirt around the doll’s waist and tie the ribbon into a bow!
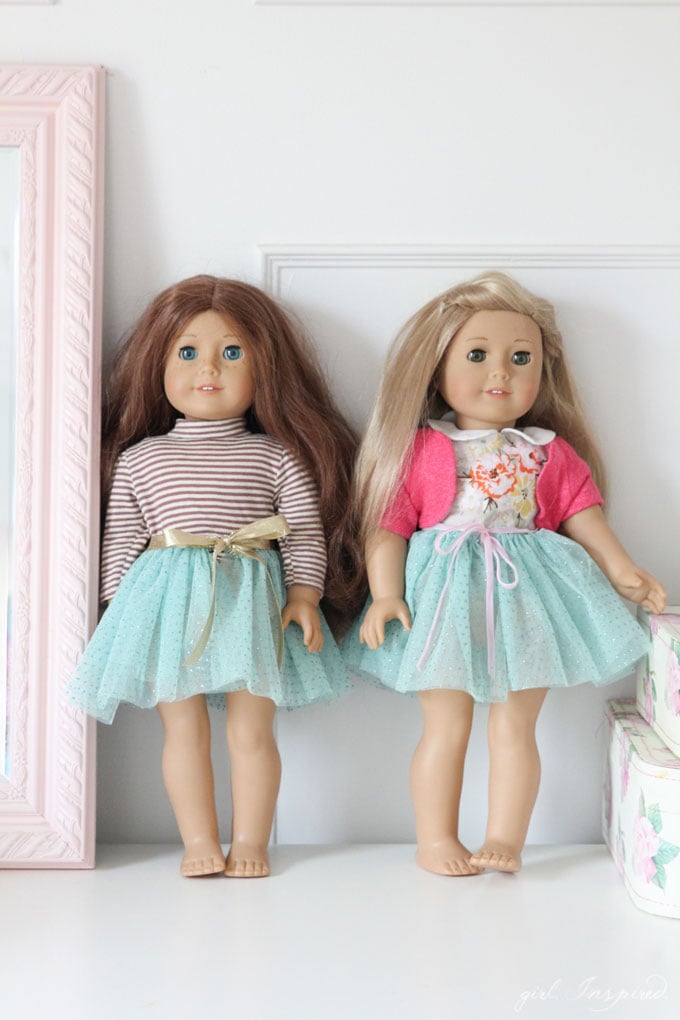
Congratulations! Another successful kids craft session is complete! Happy Sewing!
Love sewing doll clothes? You’ve got to see this doll clothes sewing panel!
If you’re ready to get your own sewing project going, you can use this complete tutorial to learn how to make a tutu for your kiddos or for yourself!


Leave A Reply!