Do you love mercury glass as much as I do? I have paid quite the pretty penny over the years for a few small pieces to set around my home, but I hate to pay for something if I can make it myself. Today we’ll learn how to DIY mercury glass and you’ll be all set to turn any clear glass into a stunning antique look-alike.
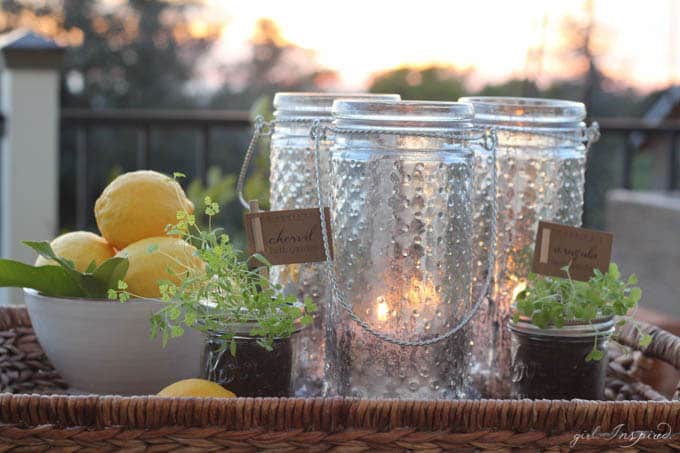
I experimented with several different techniques that I had come across, but what I discovered is that getting a gorgeous mercury glass effect couldn’t be easier and is practically fool-proof. I’m ready to transform ALL the clear glass I can find! All you need is a few supplies and you can tackle this project, too!
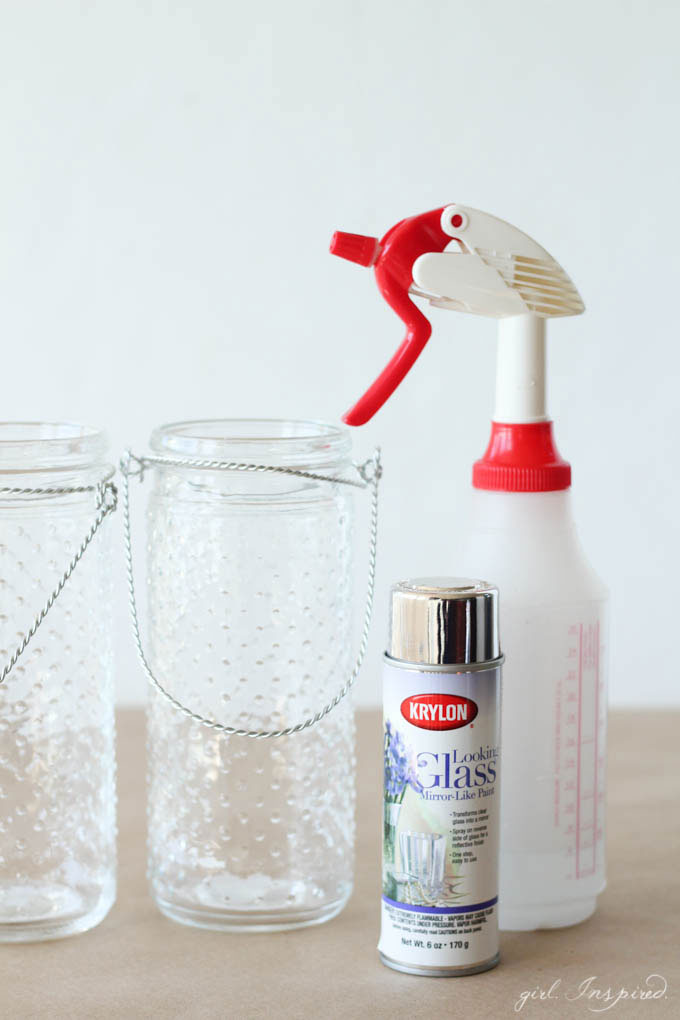
Supplies:
- water bottle with light mist spray function
- Looking Glass spray paint by Krylon
- clean clear glass lantern, vase, tray, votive, etc.
- Gather your supplies and find a well-ventilated, protected work area. Be sure the glass is clean and free of tags, labels, or dirt. Remove handles or other components that you won’t be painting. Cover the outside of the container if you’re concerned the paint will spread to unwanted areas (I didn’t cover these and they were fine!) We’re going to be working on the inside of the glass container (or bottom side if you choose to paint a tray or platter).

- Shake the can of Looking Glass spray paint for several minutes to get it well mixed. We will first add a light layer of spray paint to the inside of the lantern and will immediately follow with a quick mist/spray of water. Spray the paint in short bursts and try to spray lightly enough that the paint doesn’t pool and run.
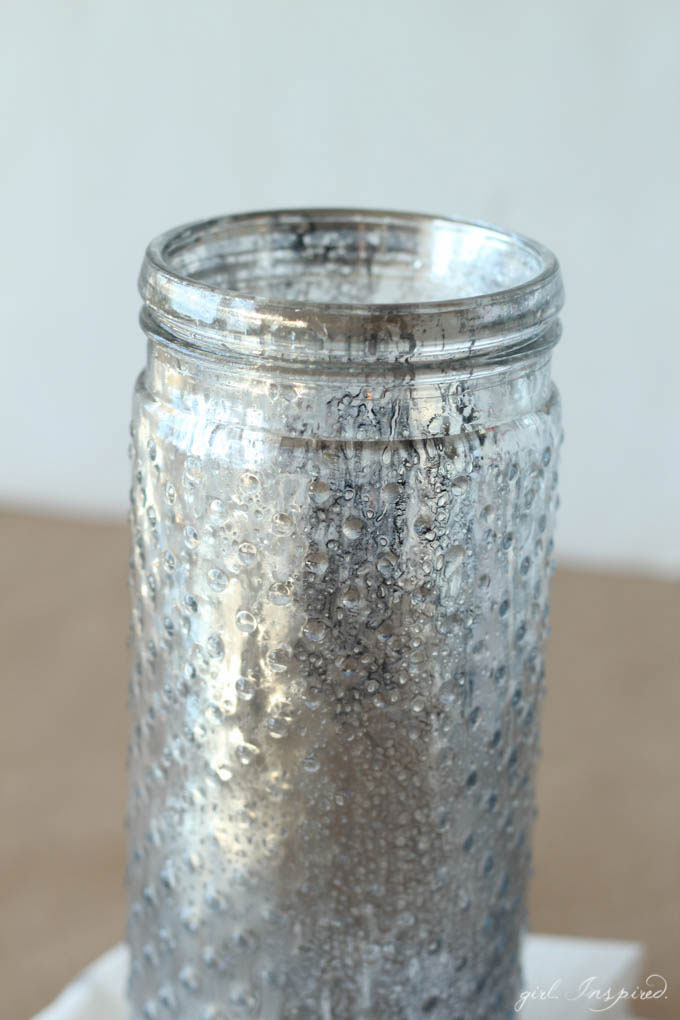
- As soon as you’ve sprayed the paint into the lantern, shoot it with a quick mist of water. When the water droplets hit the damp spray paint, they will form the spots and bubbled effect that makes mercury glass look so aged and cool. Allow the paint and water to dry completely – 30 minutes or so.
- Repeat layers of spray paint and water droplets until you have the look you desire. I added 2-3 layers for each lantern.
- Don’t be alarmed if your paint does pool or run – try to tilt the container to spread the run-off so that it adds to the overall texture of the paint rather than drying as a streak running straight down the lantern. You can also tip the glass upside down on some paper towels to remove excess water/paint.
- I experimented with using a vinegar/water solution and did not find much, if any, difference from using plain water. I also experimented with sponging some areas with metallic gold/bronze paint, but ultimately couldn’t see any difference in the finished lantern. Because we’re layering the paint and water while the paint is still wet, it doesn’t matter if you spray the water first or the paint, but I seemed to have less running and streaking when I started with the paint as outlined in these instructions.

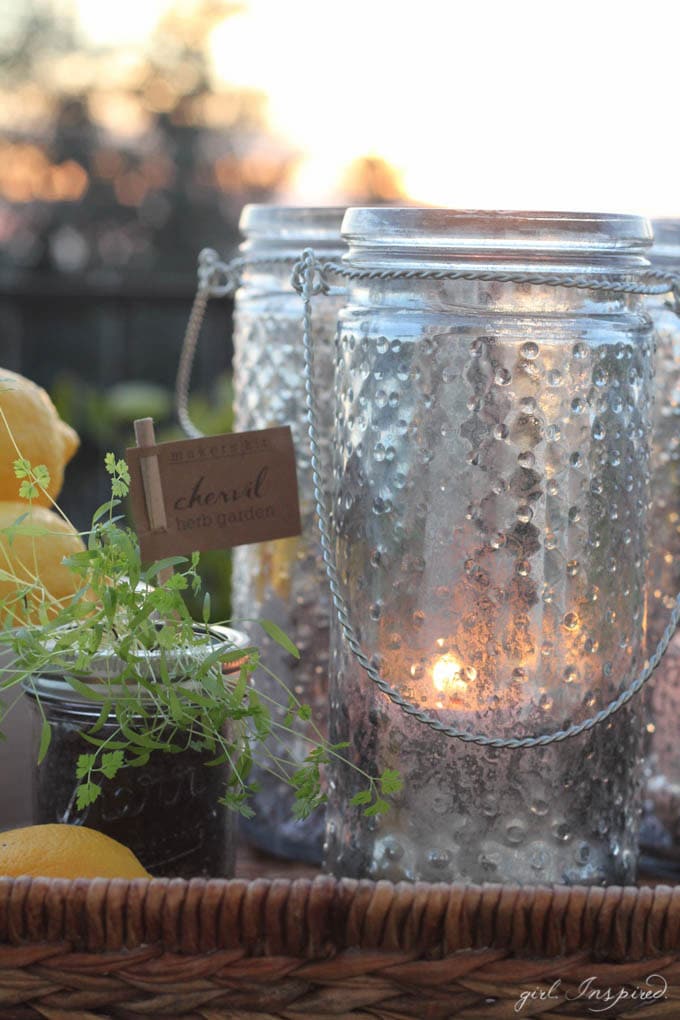
So there you have it! DIY Mercury Glass Lanterns for the win! Don’t they look so good? I’m really happy with how they turned out. Why did I wait so long?
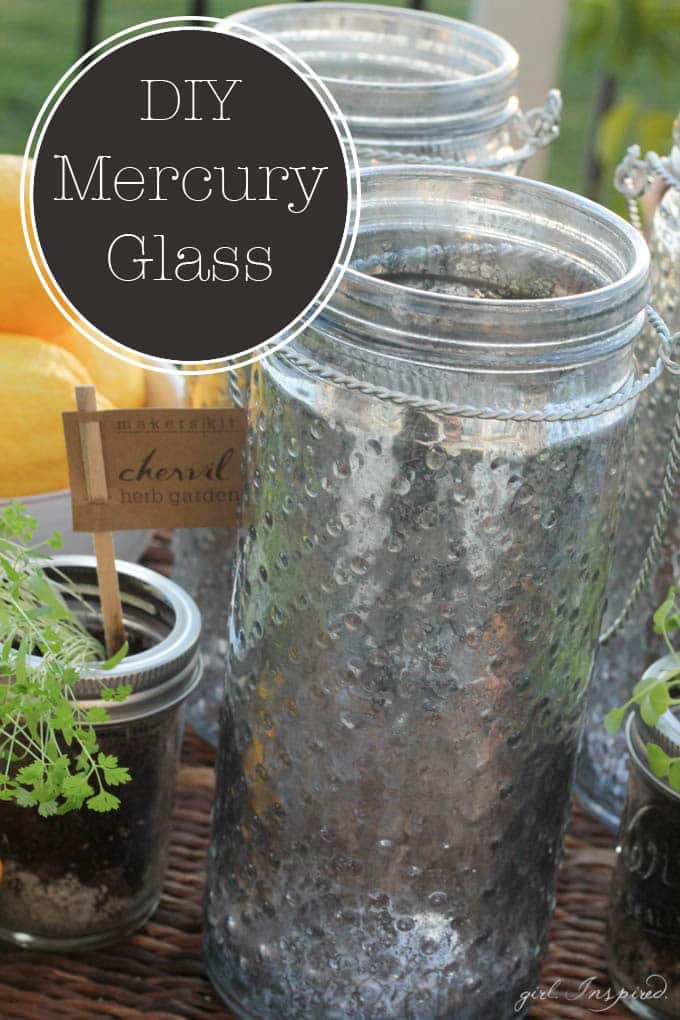
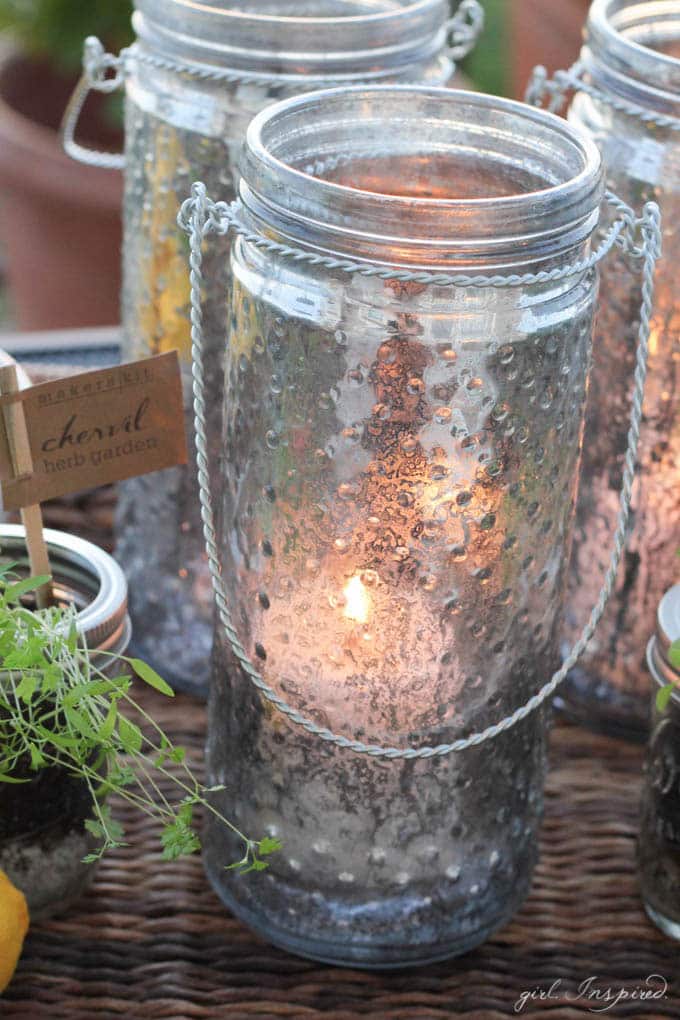
These lanterns are gorgeous in the home or as part of your outdoor decor (keep them protected from wet weather). They also look beautiful glowing with candles in the evening! As soon as the weather evens out, they’re going to live on my deck tables!! What else will you make now that you know how to DIY mercury glass?


Comments & Reviews
Kris says
Oh my goodness! We tried it! Krylon isn’t exactly available where I live but our local hardware store had an excellent alternative. Even the 7 year old was delighted with her creation. I can’ thank you enough. We now have the supplies for some awesome hand made gifts for the years/