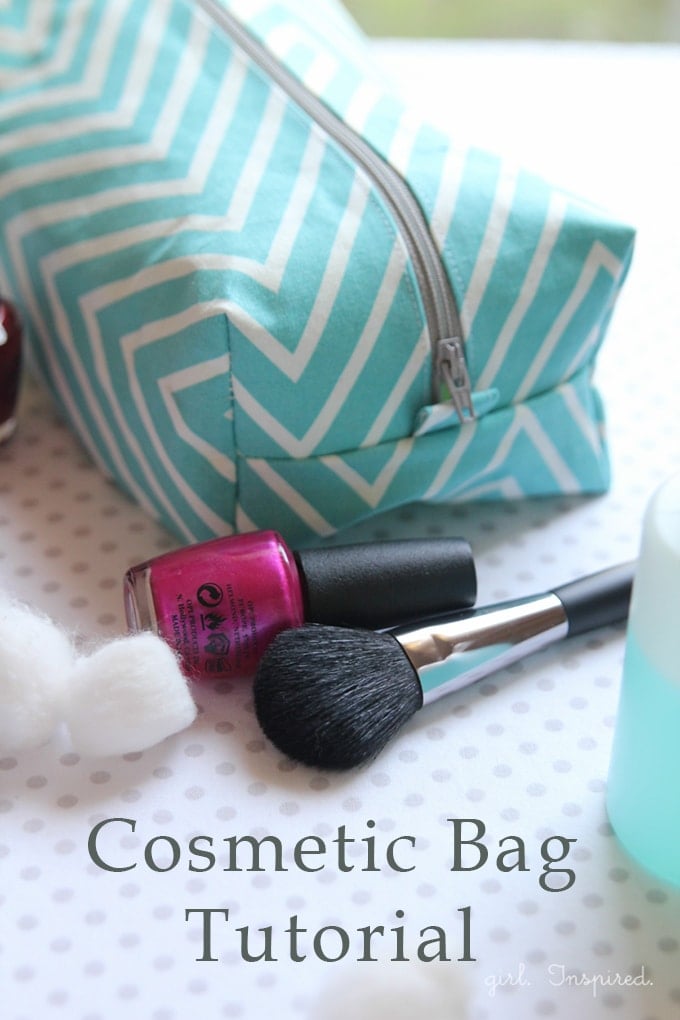

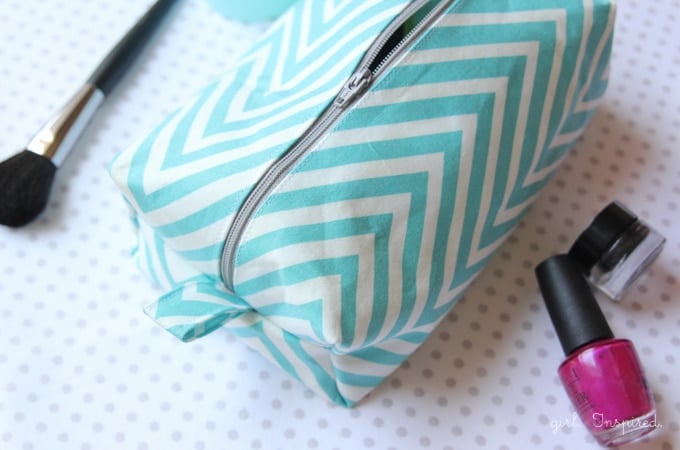
Let’s start with the super simple cosmetic bag tutorial! You will need:
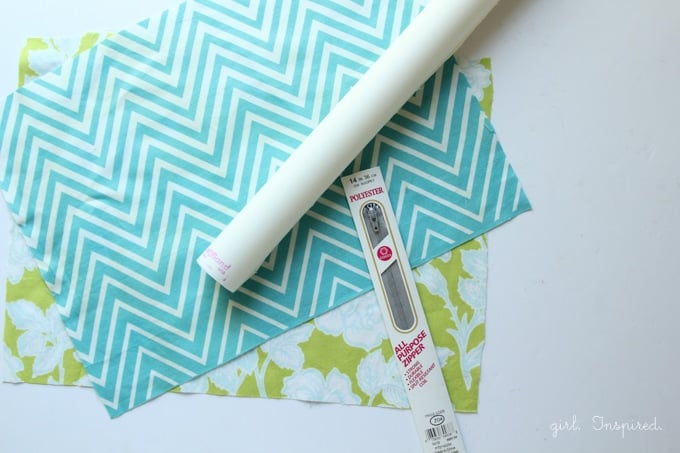
- main fabric – 12″ x 16″
- lining fabric – 12″ x 15.5″
- two-sided, sewable fusible web such as Heat ‘n’ Bond Lite – 12″ x 16″
- 14″ zipper
- small piece of remnant fabric – 7″ x 3″
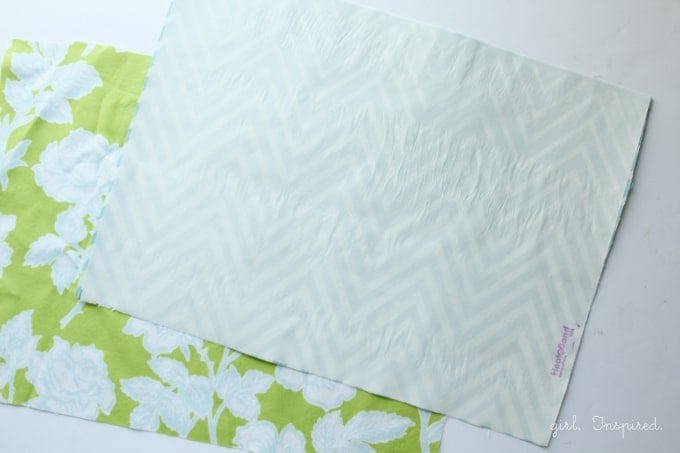
Step 1: After cutting your fabric pieces to size, follow the package instructions to fuse one side of the fusible web to the wrong side of your main fabric piece. Peel off paper backing.
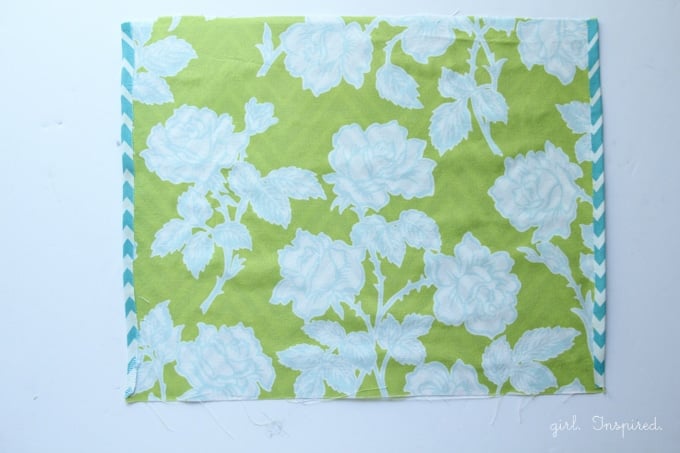
Step 2: Place lining fabric, wrong side down, onto the fusible web/backside of main fabric. Center the lining fabric – you should have about ¼″ excess of the main fabric on each side. Fold the excess main fabric/webbing over the side of the lining fabric and iron (following package instructions) to fuse the two pieces of fabric together. Be sure no excess fusible web comes into contact with your iron. Fuse the two brics across their entire width.
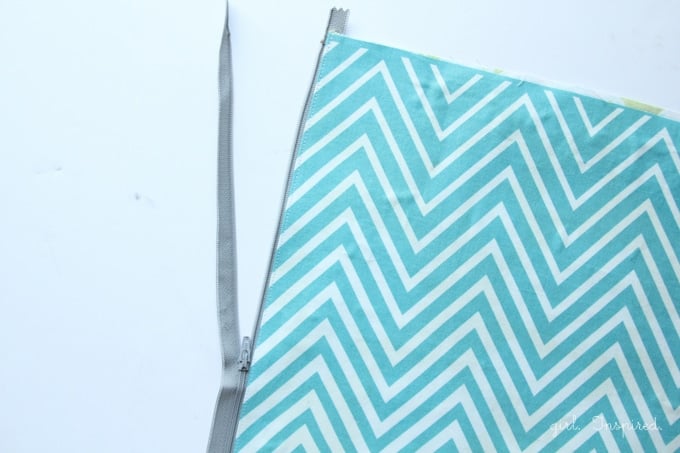
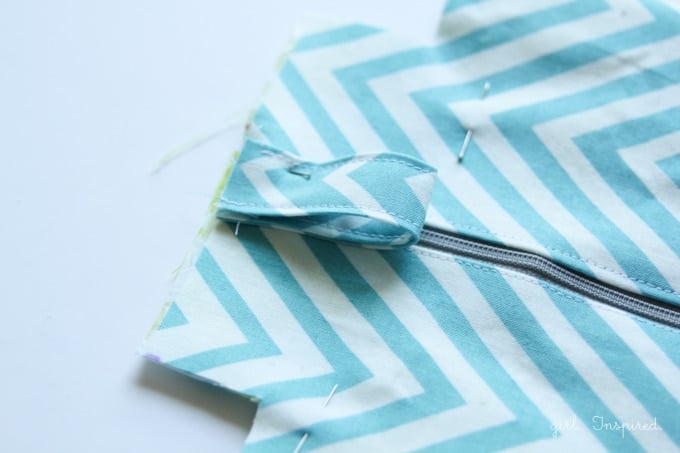
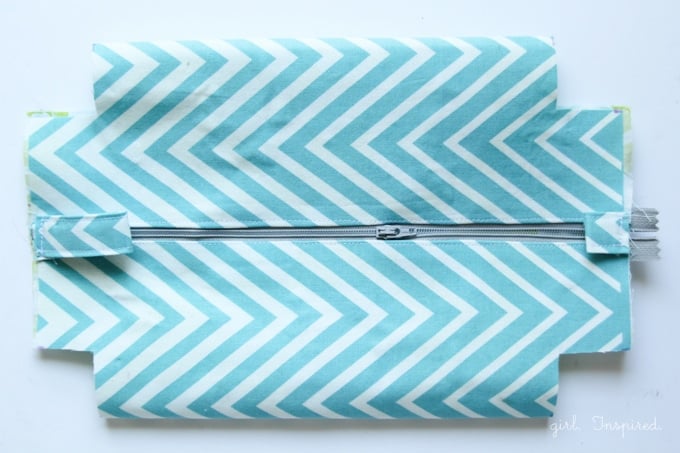
Step 3: Open the zipper. Place the zipper stop approximately ½″ from the top edge of your fused rectangle. The folded edge should lie close to the zipper teeth. Pin in place if desired (I just held it and sewed). With a zipper foot on your sewing machine, sew the fabric piece to the first side of the zipper as shown above.
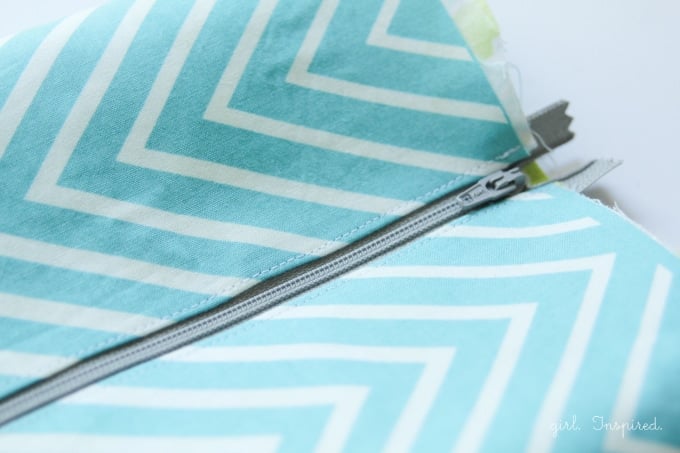
Step 3: Wrap the fabric piece around to form a tube and sew the other folded edge to attach it to the other side of the zipper. You will likely need to have the zipper open to maneuver the project in your sewing machine. Be sure that the top edge of the both sides align so that the zipper is straight.
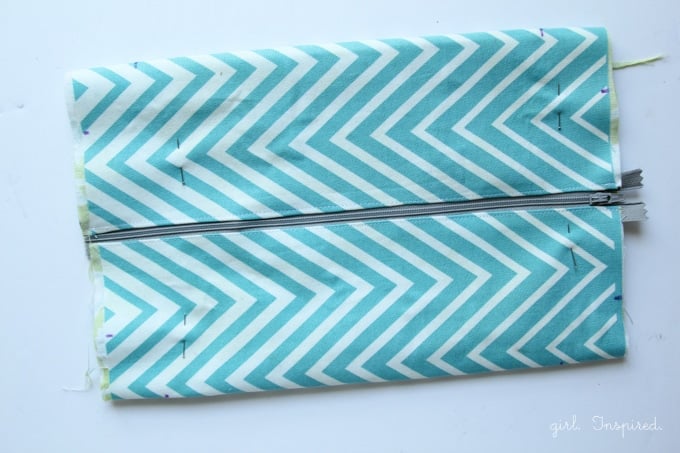
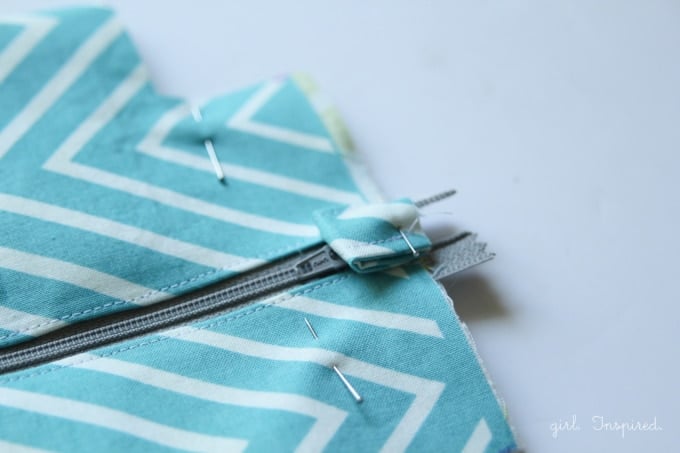
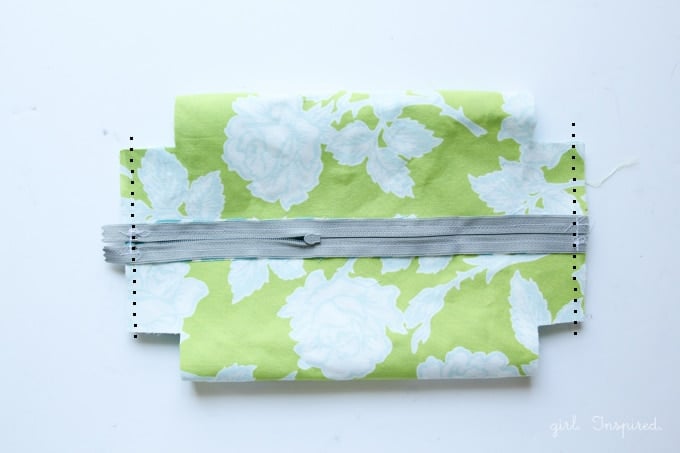
Step 4: Lay your project flat in front of you as shown above. Measure to center the zipper exactly. Pin the project together to hold the zipper centered in place. Measure 1.5″ along each side from the corresponding corner and make a mark.
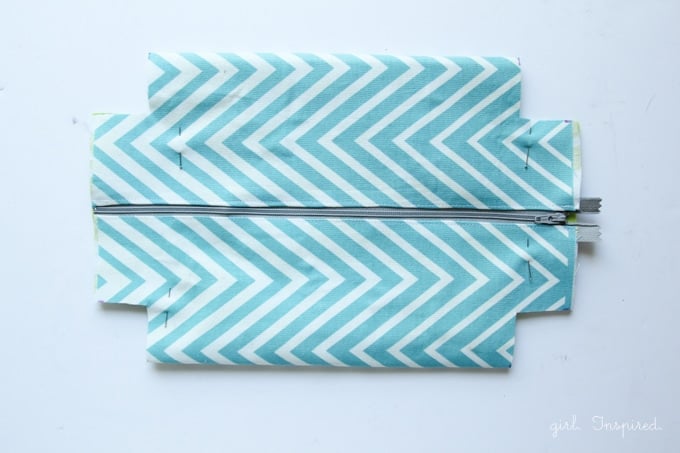
Step 5: Using your marks as a guide, cut through both layers of fabric to remove a 1.5″ square from each corner. Set aside for a moment.
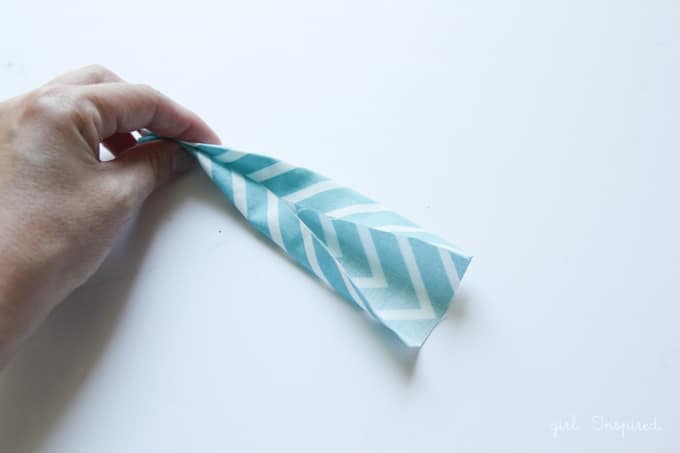
Step 6: With your 7″ x 3″ fabric remnant, fold and press it in half along its length. Press each side in to the center crease and refold to form a strip with no raw edges along its length.
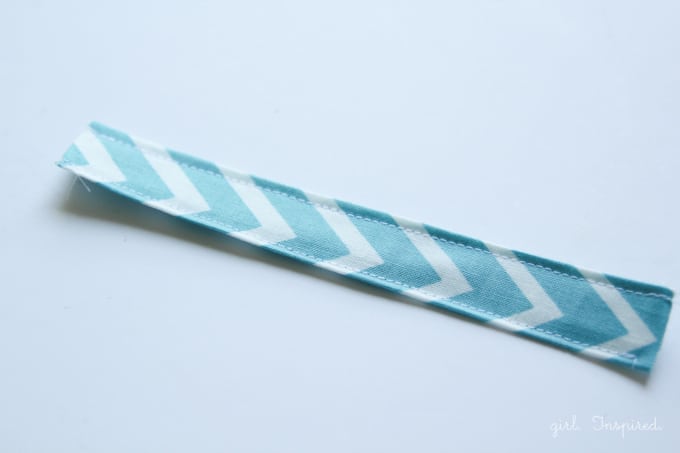
Step 7: Edgestitch down each side as shown.
Step 8: Cut the strip into two pieces – one measuring 2.5″, the other measuring 4.5″ in length. Fold the longer strip into a loop and pin it to the top layer of your cosmetic bag, centered over the zipper, and at the end opposite the zipper pull (when closed). Baste in place using a ⅛″ seam allowance. Be sure you sew the loop only onto the top layer with the zipper.
Step 9: Pin the smaller strip in a loop centered over the zipper pull as shown. (Your loop will be slightly larger than the one shown.) Baste in place using a ⅛″ seam allowance. Be sure you sew the loop only onto the top layer with the zipper.
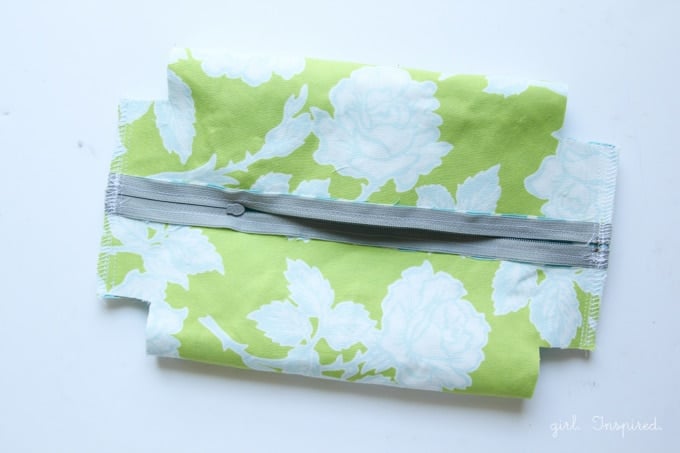
Step 10: Almost done…here’s your bag with the tabs basted in place. Now, turn your bag inside out and trip any excess fabric or zipper.
Step 11: Recenter the zipper. Sew using a ⅜″ seam allowance through both layers of the bag along each of the open ends.
You can serge to finish the raw edges neatly as they will be visible on the inside of the bag.
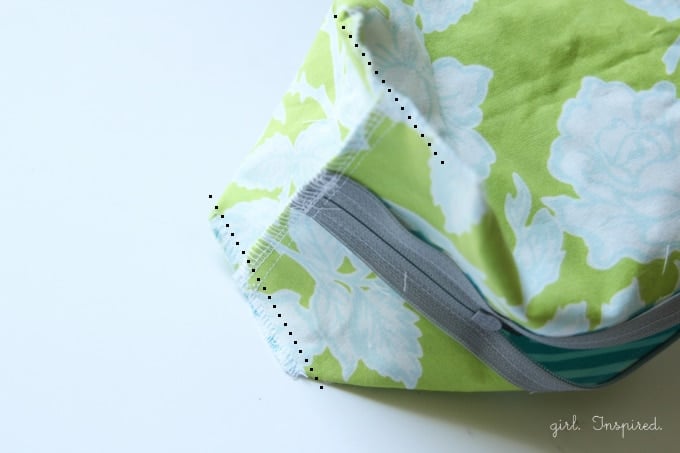
Step 12: Lastly, open up each cut square around the corners and match the raw edges to form a straight line (they will actually be a tiny bit off because of the seam from the previous step, but it works just fine). Sew to form the boxed of corners. Serge these seams if you wish.
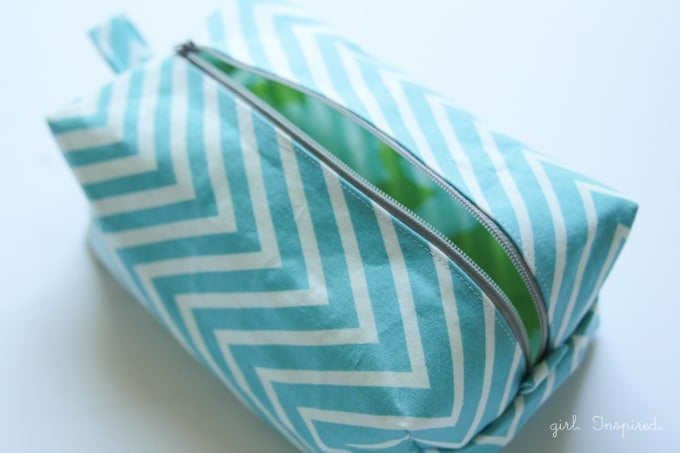
Turn the bag right side out through the open zipper and get ready to fill it up!!


Comments & Reviews
Anna G says
My favorite Up & Up items would have to be their diapers and coated paper plates. Up & Up diapers were the only off brand diapers that any of my littles could wear. Their heavy duty coated paper plates are awesome too and are on my monthly Target rotation list.
Rachel says
I don’t grocery shop at target much, so I don’t currently have a favorite Up and Up product, but I’ve heard great things! Especially about their diapers.
Stacie Aho says
The Up & Up bandaids are awesome, such cute patterns, my son is demanding bandaids for the smallest boo-boos!
Sharon J. says
https://twitter.com/smjudd8/status/509043759645200384
Sharon J. says
I love up & up’s diapers! (well, I love using them for my kids…)
Kelly D says
tweet
https://twitter.com/Kellydinpa/status/509041815174266881
Kelly D says
I like the Up & Up brand mouth wash. I would also like to try their disinfecting wipes.
Kelly Jo says
I haven’t found an up & up product I don’t like! I like their kids vitamins especially – the same stuff as the name brand, but way cheaper and no artificial dyes or flavors!
Cheryl says
One of my favorite up&up products are the lavender bloom scented dryer sheets. I love the fragrance! I also use the paper towels and the Ibuprofen and tissues & more! Cute zip bag-I plan to try it today-my day off;)
LINDA says
HI, really like their SPF 30 facial moisturizer.
Thanks for sharing a great tutorial (it’s a keeper!) +Giveaway too!
Jane says
I keep Up & Up towelettes in my car. When grandkids are around towelettes are used often!
TIna says
I know it is totally lame, but my favorite up&up product are the disinfecting wipes.
I use them to wipe my kids lunch bags, so I basically use them once a day…
I prefer the yellow ones with lemon scent.
Rosellen Ralph says
I haven’t used any up and up products but would love to!
Elena says
https://twitter.com/ElenaIstomina/status/509010414009462784
Elena says
I like UP& Up paper towels