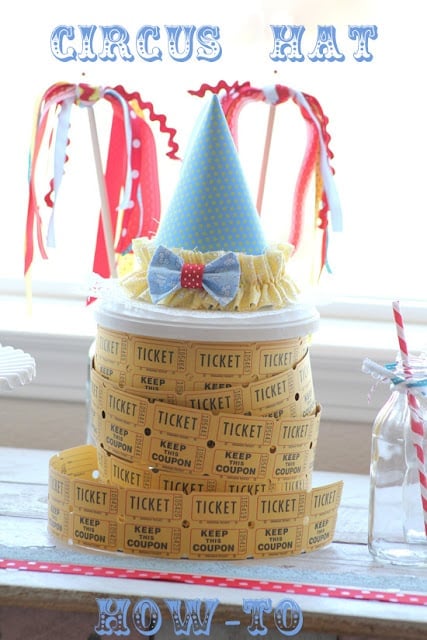
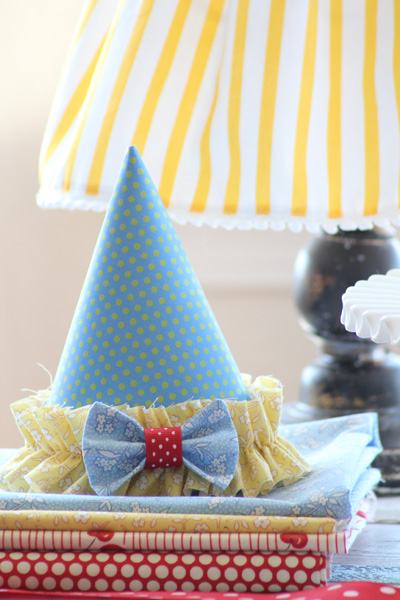
Party hats add just an extra bit of fun to any celebration. You can make one in a matter of minutes.
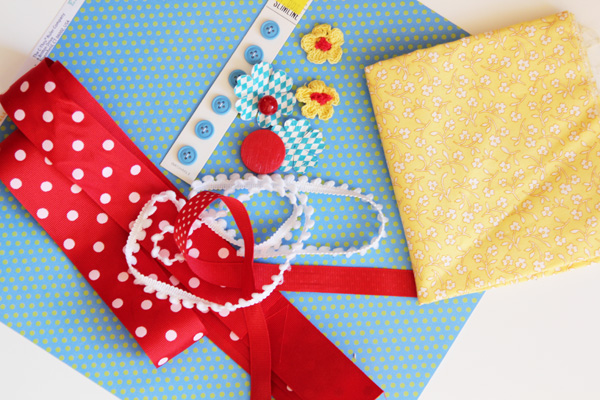
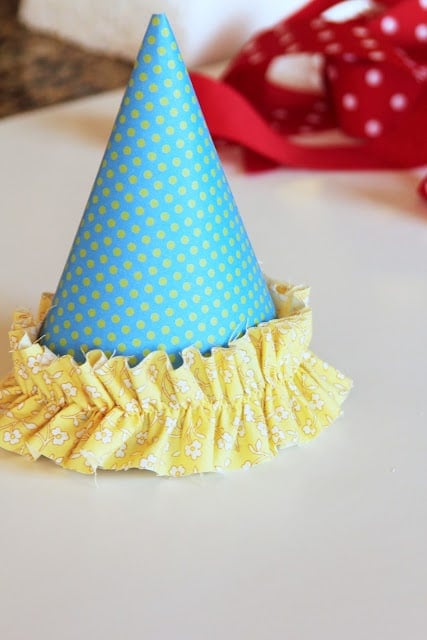
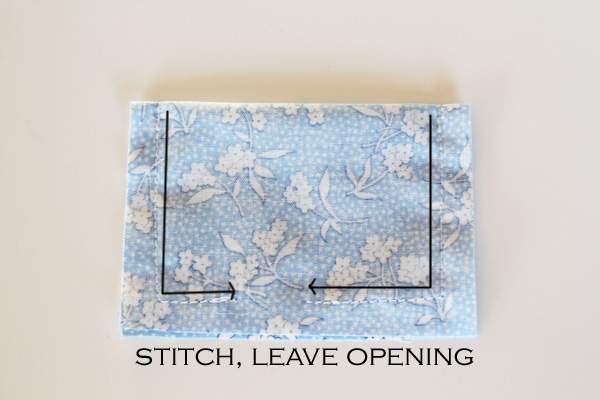
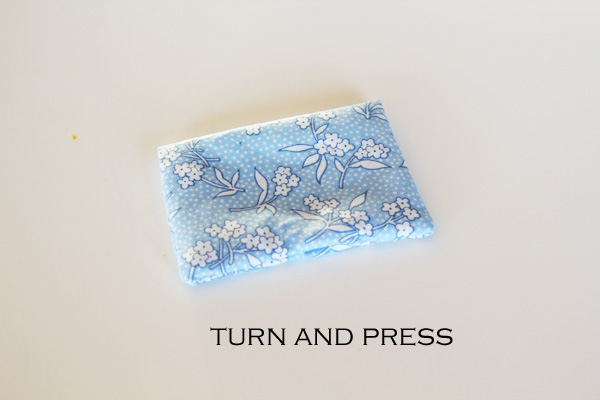

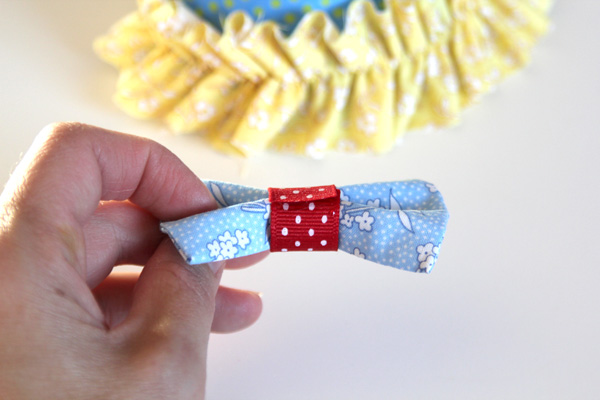
Gather some supplies. I like to look through my ribbons, paper, and doo-dads, and grab everything within my color scheme. Then, I can choose which items to use and which to scrap as the hat comes together. Following the DIY Party Hats instructions, cover your party hat with heavy cardstock and a ruffled strip of fabric. Add a bow by cutting a 5 ½″ x 2 ½″ piece of fabric – fold it in half and stitch around each side and across the bottom, leaving an opening in the bottom center for turning. Turn and press the triangle. Then, fold it into a bow and wrap a small piece of ribbon around the center, hot gluing to secure it in the back. Hot glue the bow onto the ruffle in the center front of the hat. All set!
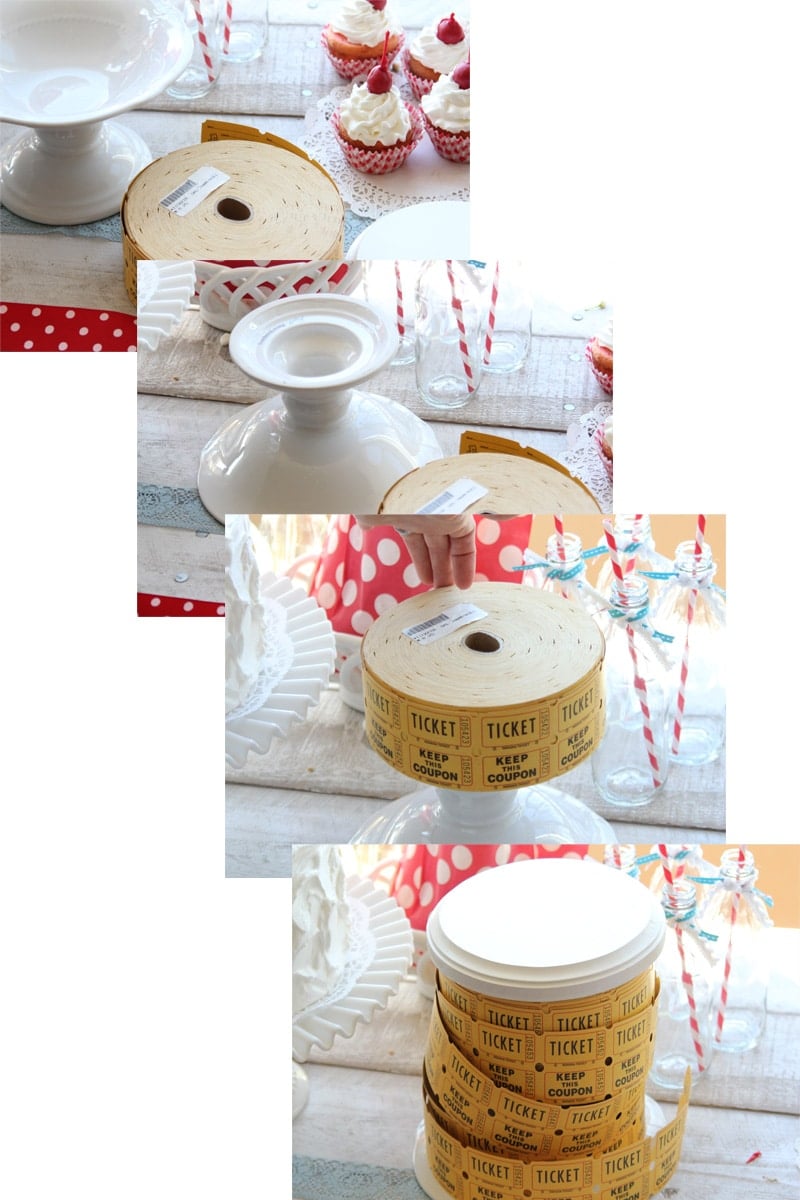
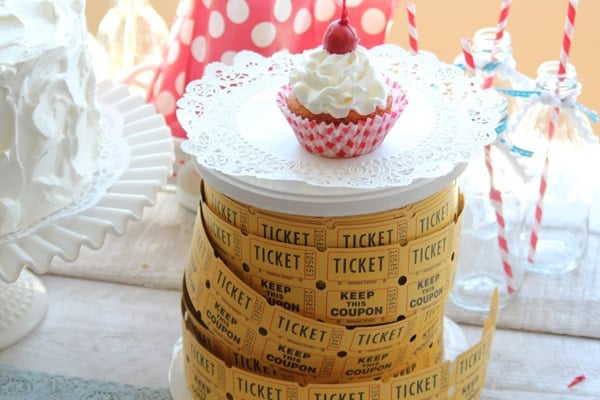
Also, a quick picture run through for making a cute, ticket display stand for cupcakes or a cake or whatever:
Other posts for Vintage Circus Party include:
Comments on all posts this week will be entered for a chance to win a little box of circus fun – hat, definitely included!


Comments & Reviews
Family Times says
fun!
Nichole says
Beautiful! I think that ticket cake stand is amazing, too! 🙂
Liz says
Love it, your fabric selections are spot on!
Laura says
Your party hats are way cuter than anything you could buy in the store. I love how everything is color coordinated.
Little Ella Lu says
I love the bow on the hat!