Add a little nostalgic whimsy to your holidays with these fun and festive caramel apples. Biting into a crisp juicy apple covered in a sweet buttery caramel coating is a crowd pleaser for both kids and adults alike!
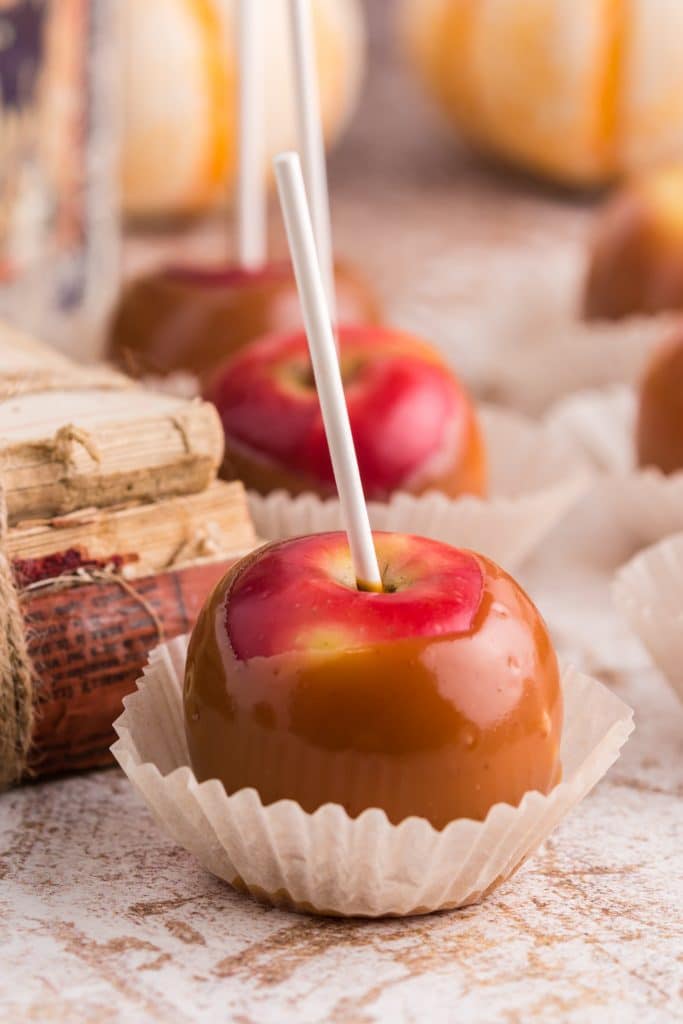
‘Tis the season for all things fall flavors and winter delights. Caramel and apple have built a relationship based on texture and taste, much like its cousin the candy apple, and what better way to celebrate this relationship than making homemade caramel apples!
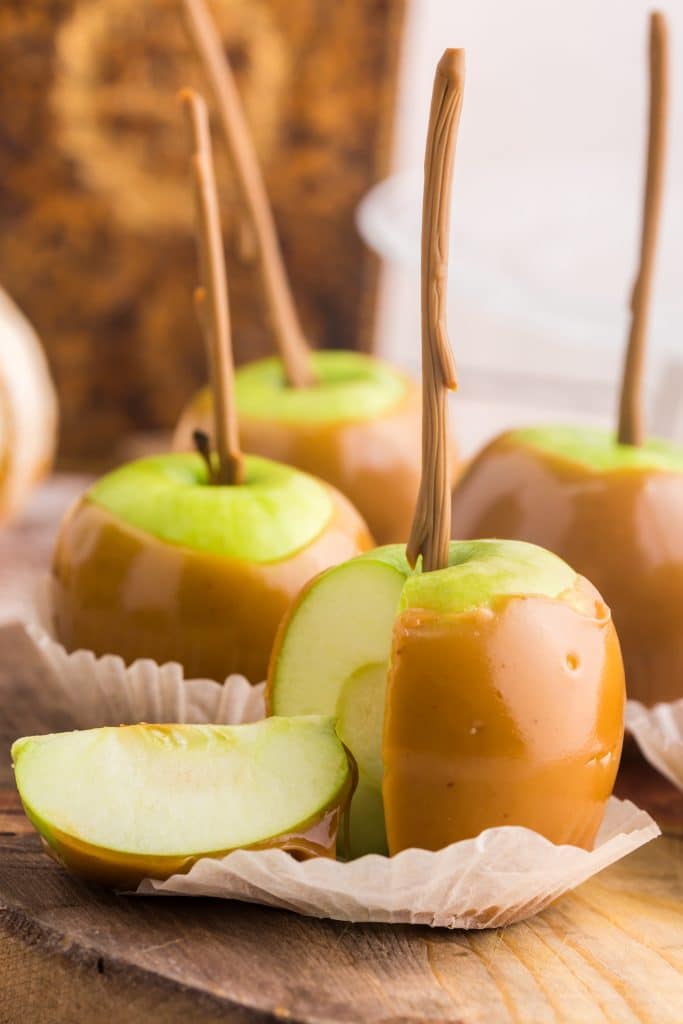
What are Caramel Apples?
This recipe provides a fool proof method of making buttery, silky smooth caramel right from scratch. For convenience sake some people may use caramel candies, but believe me when I say, it is well worth the extra steps.
There is something totally nostalgic about easy caramel apples. A crisp apple on a stick coated with a delicious caramel dip combined with the balance of sweet and tart brings us all back to the good ol’ days of summer carnivals and fall fairs.
With the holidays around the corner, we all look forward to carrying on childhood traditions with our own kids!
Set up a DIY decorating station for the kids. As soon as they’re dipped in caramel hand them off to your kids for the finishing touches.
Put out bowls of sprinkles, and chocolate chips, chopped nuts, or a chocolate drizzle. Other than eating them, decorating taffy apples is the next best thing!
Serve them on a platter at your next gathering, or package them nicely and you’ve got the perfect gift for your friends and neighbors. And if you have any caramel dip left, get fancy and make your own candy!
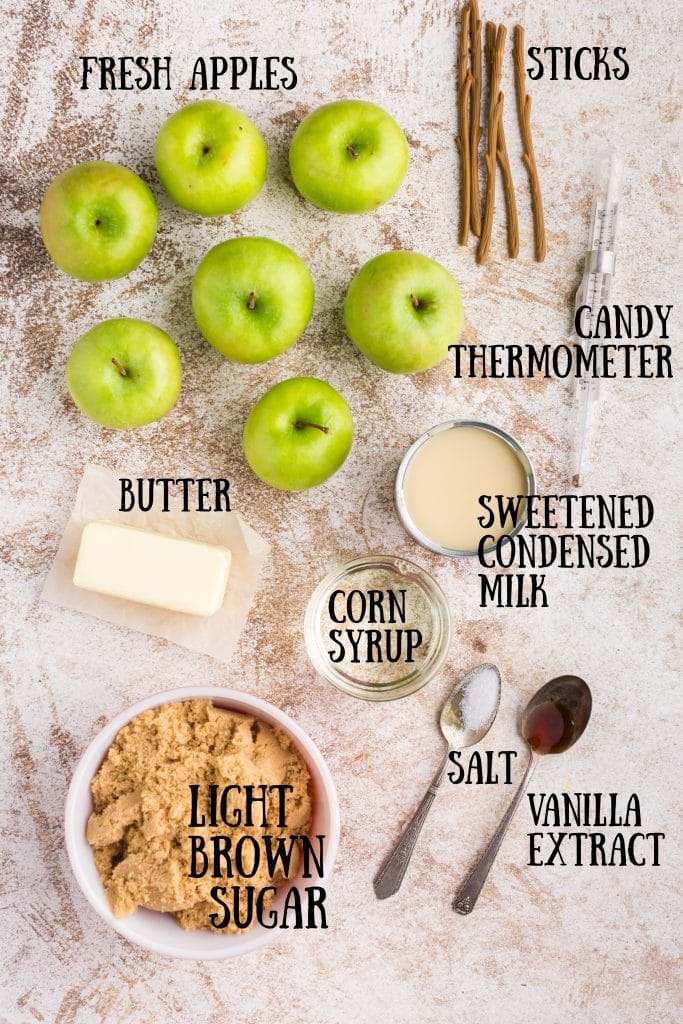
What You Will Need:
Candy thermometer – If you have one, it’s highly recommended that you use one. It’ll make your life easier and is a great way to avoid burning your caramel and keeping it at the right temperature and consistency.
Sticks – You can use bamboo sticks, these cute plastic “sticks”, or even cookie/lollipop sticks. (referral links here)
Ingredients:
- Salted butter – A major component of creating a silky smooth and buttery caramel coating. The salt adds another element to the sweet caramel, especially if you choose not to add any sea salt.
- Light brown sugar – Has a lighter flavor than its darker counterpart and gives way to that lovely light brown caramel color. Using darker brown sugar will result in darker caramel but will also have a bit of a different taste.
- Light corn syrup – This is what helps prevent the sugar from crystallizing and becoming too hard or grainy. It leaves the coating smooth and shiny and chewier rather than solid.
- Sea Salt – This is completely optional but a way to bring out all of the flavors, as salt tends to do.
- Sweetened condensed milk – Condensed milk is the result of all the water being removed from milk. Sugar is then added to it. It’s thick creamy milk used for candies, caramel, fudge, and many baked goods!
- Vanilla extract – Use whatever you have on hand.
- White vinegar – You’ll need a bit of white vinegar and hot water to give your apples a thorough clean. It’ll help get any residual wax off the skin as well as any dirt hanging around.
How to Make Caramel Apples:
Step 1: Making caramel apples is really easy, but the trick is to work quickly once you start dipping. A way to help with that is to have yourself set up properly from the beginning. Start by preparing your baking sheet with parchment paper and then cleaning your apples with the water and vinegar mixture. Wipe them down, place the stick in them and allow them to completely dry on the cookie sheet.
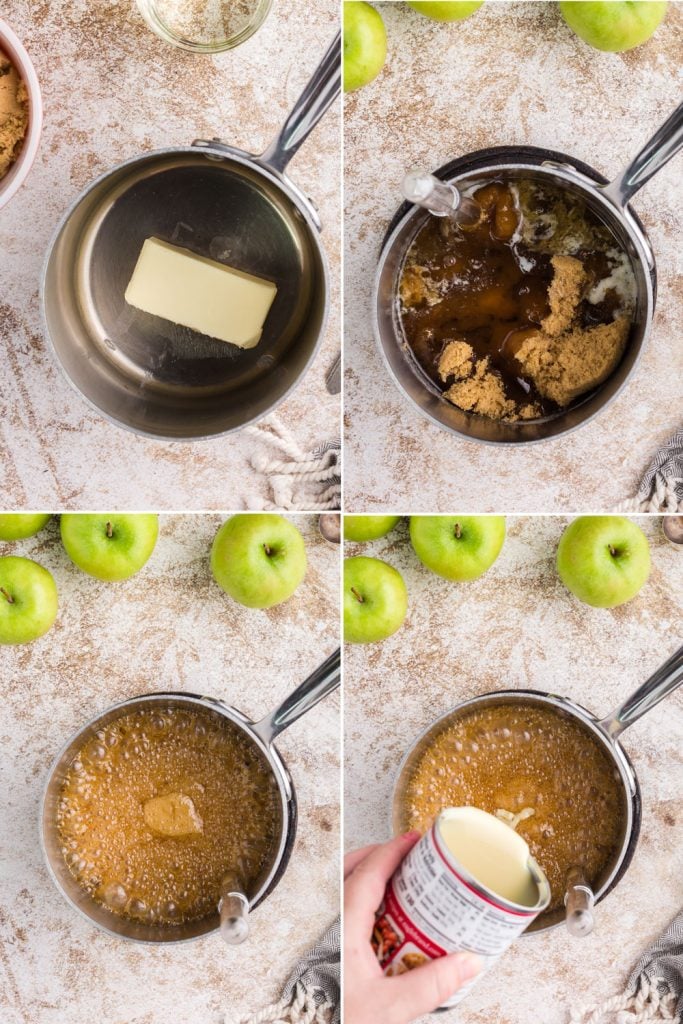
Step 2: While the apples are drying, grab a sauce pan and melt the butter over medium heat. Then add the brown sugar, corn syrup and optional salt. Stir and cook until it’s reached a full rolling boil. This is where you’ll want to get your thermometer to keep a close eye on the temperature.
Step 3: Add the sweetened condensed milk to the mixture and continue cooking until it has reached exactly 248 degrees on the thermometer. Any higher than that you risk overcooking and it may scorch and you’ll end up with a burnt taste. No one wants that! Remove from heat and stir in vanilla extract.
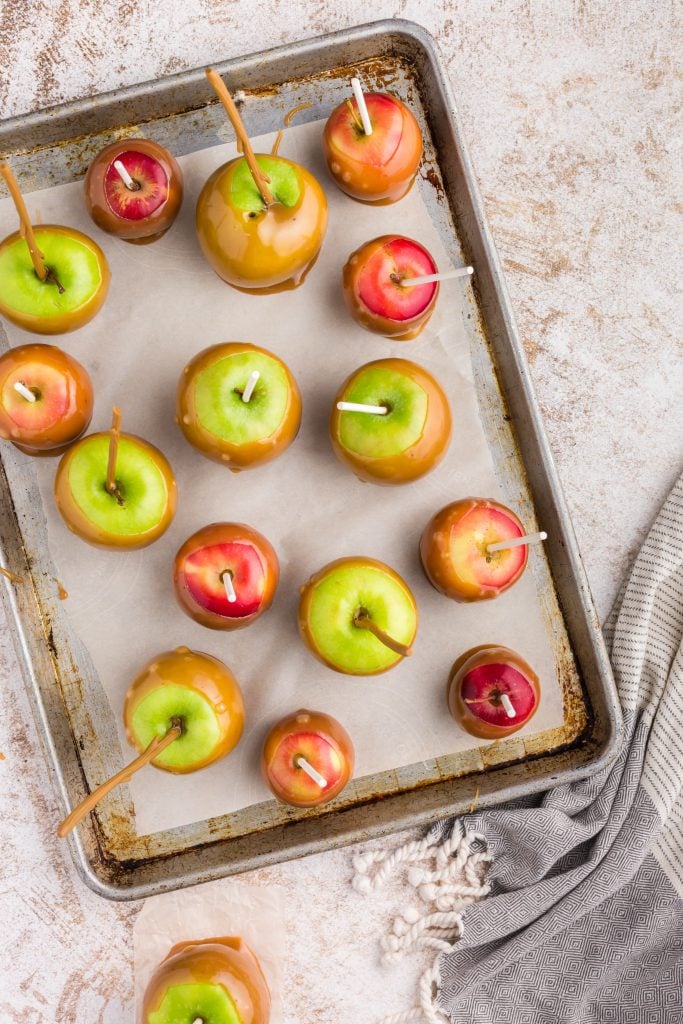
Step 4: Now is the fun part! Being very careful, because the caramel is still quite hot, grab an apple by the stick end and dip it into the caramel mixture. Swirl it around to coat the exterior and allow excess to drip off. If you plan on adding any extra decorations, now is the time to do it! Place back onto the parchment-lined sheet to cool.
Repeat with each individual apple. They will cool within minutes at which time they’re ready to be devoured. Eat right off the stick or for smaller hands, cut them up into slices. Either way, you’re about to enjoy a sticky bite of heaven!
Love Fair Food? You’ll love our funnel cake recipe, our fried cheesecake, fried cheese balls, or making a whole rainbow of jello popcorn!
What’s great about this recipe is you really can use whatever apples you have on hand, especially if you’re making them at home for your family. If you’re serving them to a crowd or will be gifting them to a loved one, you might want to spend a little extra time picking out the perfect apple. Medium to small apples works best. Make sure they’re as close to “perfect” looking (no bruising if you can help it). Granny Smith apples are nice because they are tart and add a nice balance to the sweetness.
Caramel Apples
Equipment
- candy thermometer
Ingredients
- ½ cup salted butter
- 2 cups light brown sugar
- 1 cup light corn syrup
- sprinkle of sea salt optional
- 14 oz. sweetened, condensed milk
- 1 teaspoon vanilla extract
- 12 apples Granny Smith, Gala
- 2 tablespoons white vinegar
Instructions
- Line a cookie sheet with parchment paper and set aside.
- Wipe down apples with a mixture of the white vinegar and 1 cup of hot water. Insert one cookie stick parallel to the stem of each apple. Place apples on prepared cookie sheet to dry completely.
- In a medium saucepan, melt the butter over medium heat.
- Add the brown sugar, corn syrup, and salt (if using.) Stir and cook until mixture reaches a full rolling boil.
- Place a candy thermometer into the saucepan and clip to the side so that you can monitor continually.
- Add sweetened, condensed milk to the mixture and continue cooking and stirring until mixture reaches exactly 248 degrees on the thermometer.
- Remove from heat and stir in the vanilla extract.
- Working quickly, dip each apple into the caramel and swirl gently to coat. Allow excess caramel to drip off the apple; then, place apple onto the parchment paper/cookie sheet to cool.
- The caramel will cool within minutes and the apples are ready to eat! Bite into apples right on the stick or slice and serve.
Would you like to save this?
Nutrition
Make this recipe?
Share it with me on Instagram @girlinspired1 and follow on Pinterest for more!




Comments & Reviews
Norma says
I make caramel apples in a candy store where I work. I loved your recipe for homemade caramel. I would say that it works best if you have the heat very low. My stove was on medium. I got some “chunks” in my caramel. I was able to remove them by using an immersion blender. Also I would let the caramel cool to about 180 degrees before dipping my apples. That is the recommendation with the caramel that I use in the store. That temp allows the caramel to stick better to the apple. If you use the caramel right away when you turn off the heat, It is so thin in viscosity that most of the caramel falls off the apple. I am saving this recipe and will use it with these modifications in the future.