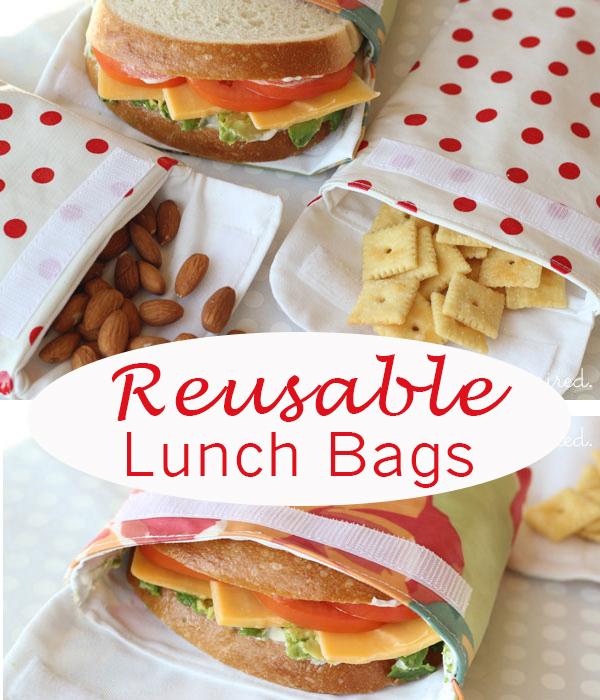
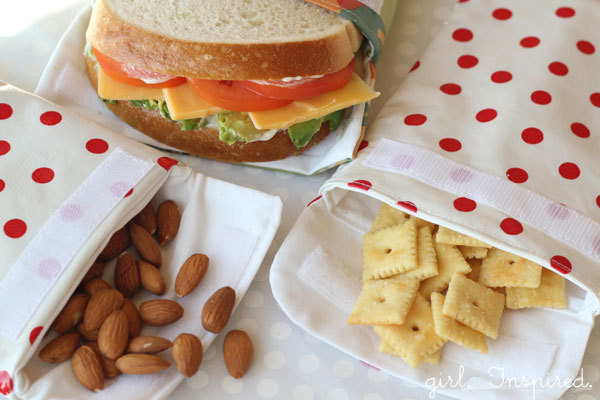
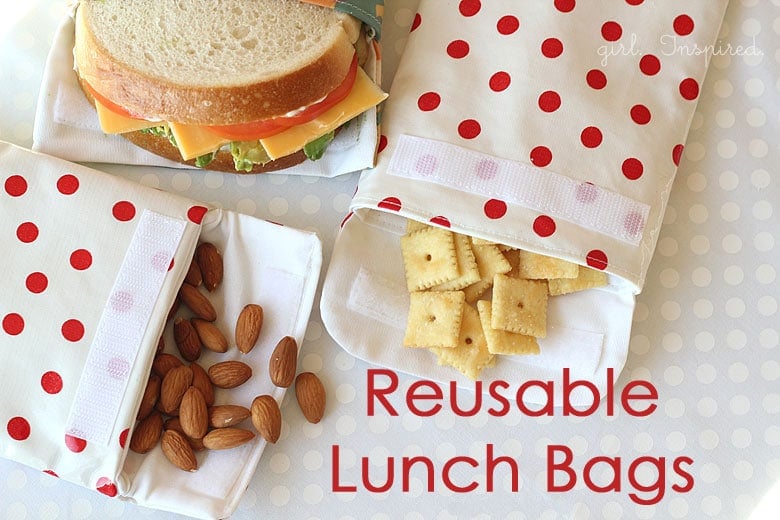
My littlest munchkin headed back to preschool this week and the school year is in full swing! Along with the morning hustle of brushing three sets of tangles and finding clothes and shoes, there are also lunches to be made. We’re working on a routine where the kids pack their dry snacks the evening before so that I can concentrate on making sandwiches, cutting fruit, and filling water bottles in the morning. I’ve pulled out some of the reusable snack bags that I sewed up back in the spring and we’re putting them to good use once more. Not only are these baggies cute, but I like the earth-friendliness of reusable bags. You can make them in less than 30 minutes and the crumbs shake out easily or you can wash them in your dishpan.

Go gather your supplies. I used oilcloth/laminated cotton for the outside/main fabric – it wipes off with a damp cloth, repels water, and just makes a really nice outer layer for these bags. Note: oilcloth will melt if you touch it with a hot iron – choose a piece that is as wrinkle-free as possible; if you must iron it, use a very low heat setting and work on the back of the fabric, be very careful! For the lining fabric, I used a thick canvas material that is 100% cotton. I wanted a natural material since it would be physically touching our food. (I have read mixed opinions on the safety of using various fabrics to store food – please choose a material that you feel comfortable with for your family.) You will also need a strip of velcro 1″ shorter than the width of your bag pieces. Machine sewing with oilcloth can be tricky because the outside of it typically sticks and the machine requires a Teflon foot to pull the fabric through. For this project, you will not need any special tools as the main side of the oilcloth does not come into contact with the sewing machine/sewing foot. You can also place your hands in front and behind the sewing plate while stitching to help guide the oilcloth through.
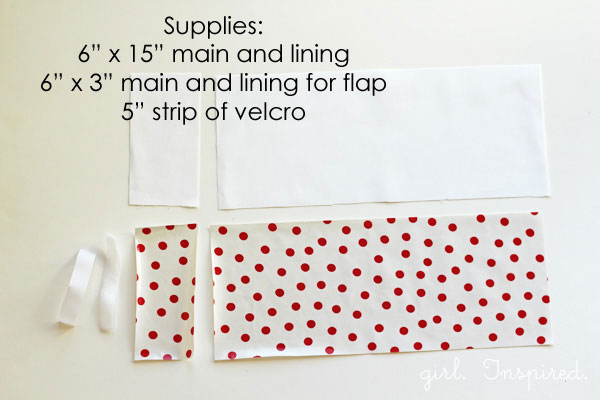
Begin by cutting your fabric. You can make your bags in any size. You will want to cut your fabric ¾″ wider than the finished size and 2 x finished height + ¾″ (for seam allowance). Cut one piece of the main fabric and one piece of lining. We also need a flap; for the flap, cut one piece of main and one piece of lining. The flap pieces should be the same width as your bag pieces and 3″ high. For this specific bag, you can reference the measurements in the image above.

Next, attach the velcro. Sew the rough piece of Velcro 1″ down from the top edge of the main BAG piece, center it on the outside. Sew the soft, corresponding piece of velcro 1″ from the edge of the lining FLAP piece, centered on the right side of the fabric.

Sew the flap. Place the two flap pieces, right sides together, and sew around three sides, using a ¼″ seam allowance, and leaving the top edge open. You can round the corners by tracing a round object and sewing along the curved line as shown (you can also leave the corners square!) Trim corners and seam allowance and turn the flap right side out. Set aside.
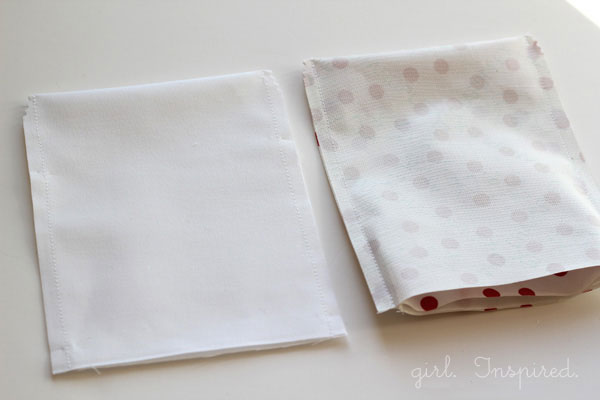
Sew the two bag pieces into pockets. Working on the main bag piece and the lining bag piece separately, fold the length of the bag in half, right sides together. Stitch down each side; be sure to backstitch at the beginning and end to secure the stitches. Trim the bottom corners.
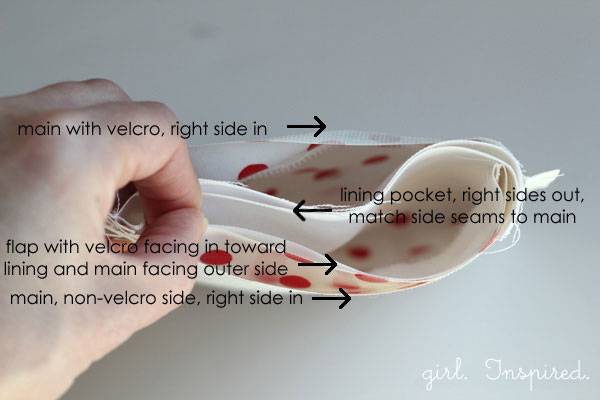
Now we’re going to stitch the bag and lining together. Press the seams of the lining pocket flat, then turn it right side out. Slip the lining pocket inside the main pocket (which is still right sides in); match the side seams and place a couple pins just along the top edge (so that pin holes don’t show in the finished oilcloth). Now, you will need to insert your flap piece. See the diagram above to place the flap correctly. You will want the lining pocket between the two velcro pieces, and the velcro pieces should be facing each other. Raw edges for all pieces should be matched at the top.
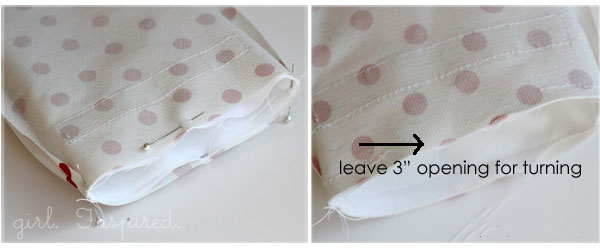
Stitch all the way around the top edge of the pocket, using a ¼″ seam allowance. This small project will take a little maneuvering to get it under the needle of your sewing machine, but should be fine once you get going. Leave at least a 3-4″ opening at the center, opposite the side with the flap, for turning.
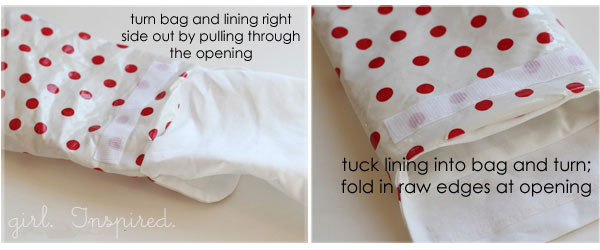
Turn the pocket right side out. Work slowly and carefully – you don’t want to tear your oilcloth by pulling too hard. Once you have the whole bag turned right side out, push the lining into place as the inside of the baggy. Fold the raw edges of your opening in and finger press in place.
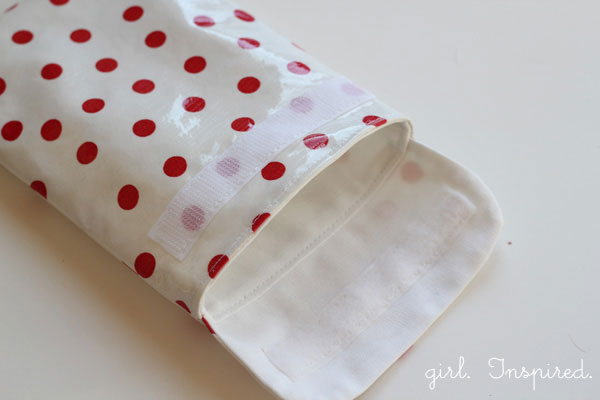
Finally, top stitch around the bag, right along the top. This gives the bag a finished appearance and closes up the opening at the same time. You may want to press the top of the bag before stitching, but use a cool iron, try to press the lining only, and work carefully! Also, you can turn the bag so that the lining faces out if your machine has trouble pulling through the oilcloth.
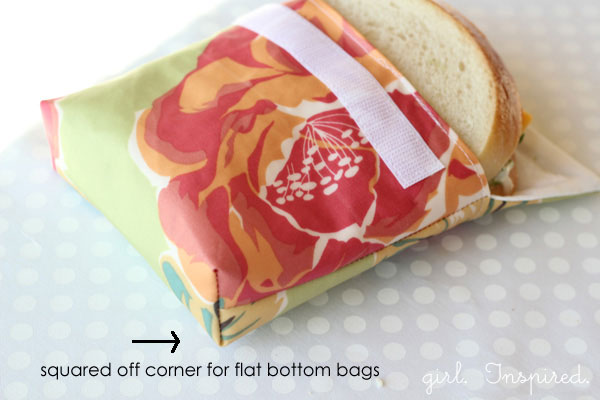
Alternate Option: If you would like to make a sandwich baggy or something with some extra room inside, you will need to add another 2″ to your bag measurement width. Then, after step 4, you can make the bottom corners squared off by pinching the bottom so that the bottom seam pressing up against the side seam, then sew a line straight across that corner as shown below.
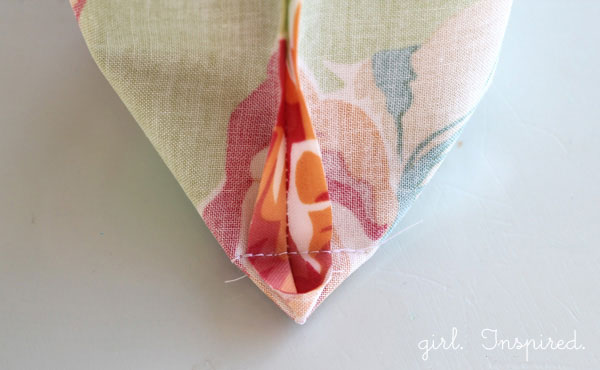
Do this for both corners, on both the main bag and lining bag pieces; trim excess fabric. Then continue with stitching the two pockets together as described above.

And there you have it! Super cute reusable snack bags ready for school lunches or your purse or the gym bag!
**This tutorial was originally published at I Heart Naptime.**


Comments & Reviews
kerstin says
How do you wash these?
girlinspired says
I hand wash them in hot sudsy water, rinse, and set out propped open to dry.
Mary says
Don’t you want the oil cloth on the inside so you an remove the food residue lie jelly easily?
girlinspired says
I think that would be ideal if you use a food safe fabric like PUL.
Peg says
I love the idea of reusable lunch bags. These are made with such fun fabrics.
Joanie Dorsey says
I use rip stop nylon for the lining. Easy to clean. Great instructions!
Veronica says
Do you wash and dry your duck cloth before making these because I thought duck cloth was dry clean only? I’ve only ever used duck cloth for purse linings and bean bags which didn’t require me needing to wash it before use. Thanks, Stef!
girlinspired says
Hi Veronica, I’m not sure that I used duck cloth specifically – it’s been so long now that I can’t remember the exact material, but I did pre-wash and dry it and I wash the finished bags in the dishpan. I don’t think you’d want to use anything that you couldn’t wash. Hope that helps??!
Mary says
A little talc powder makes the oil cloth slid along. I like the cotton canvas liners too so will get right on this for all the grand kids!
girlinspired says
Oh!! Thanks for the tip on the talc powder – good one!!
Erin says
I bought some PUL a while back to make some of these then read about the food safety concern. I like the idea of using canvas for the inside. Thanks for the tip!
Star Phifer says
PUL is food safe. https://www.wazoodle.com/fabrics/pul-fabric/food-safe.html
Shannon says
Luuuuhhhhhhvve, these! You’ve inspired me to try “crafty”. I can do these! Thank you.
kristin says
I need to make some of these!!!!! Thanks for the tute!
Rachel of OddModicum says
Wow… super cute little guys! Hoping I can modify these for some other uses…. Line em with sunshine clothes to keep jewelry in so it doesn’t tarnish.. that sort of thang. 😉 And yeah, never thought of it, but with a few ziplocs per kid per day… that is a LOT of plastic! Good for you coming up with an alternative! Pinning this one!
Thanks for the inspiration!
Rachel of OddModicum
http://www.OddModicum.etsy.com
marissa | Rae Gun Ramblings says
Ooh my sister was just asking me about making some of these. Perfect timing. Pinning!