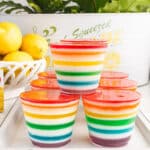
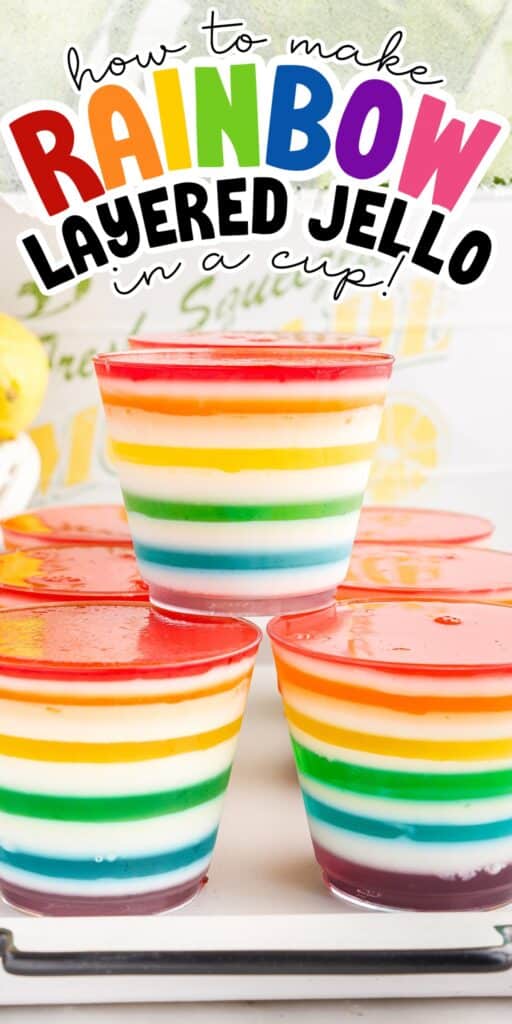
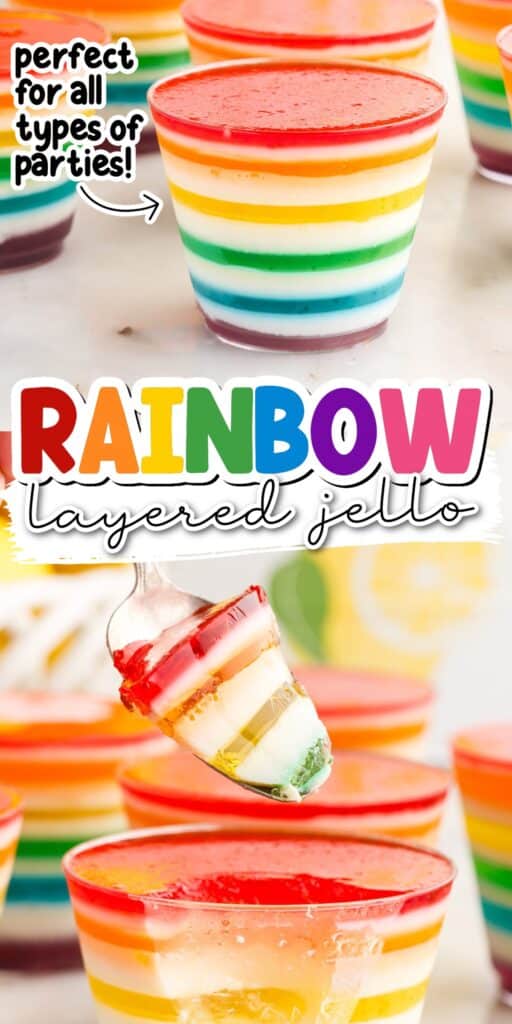
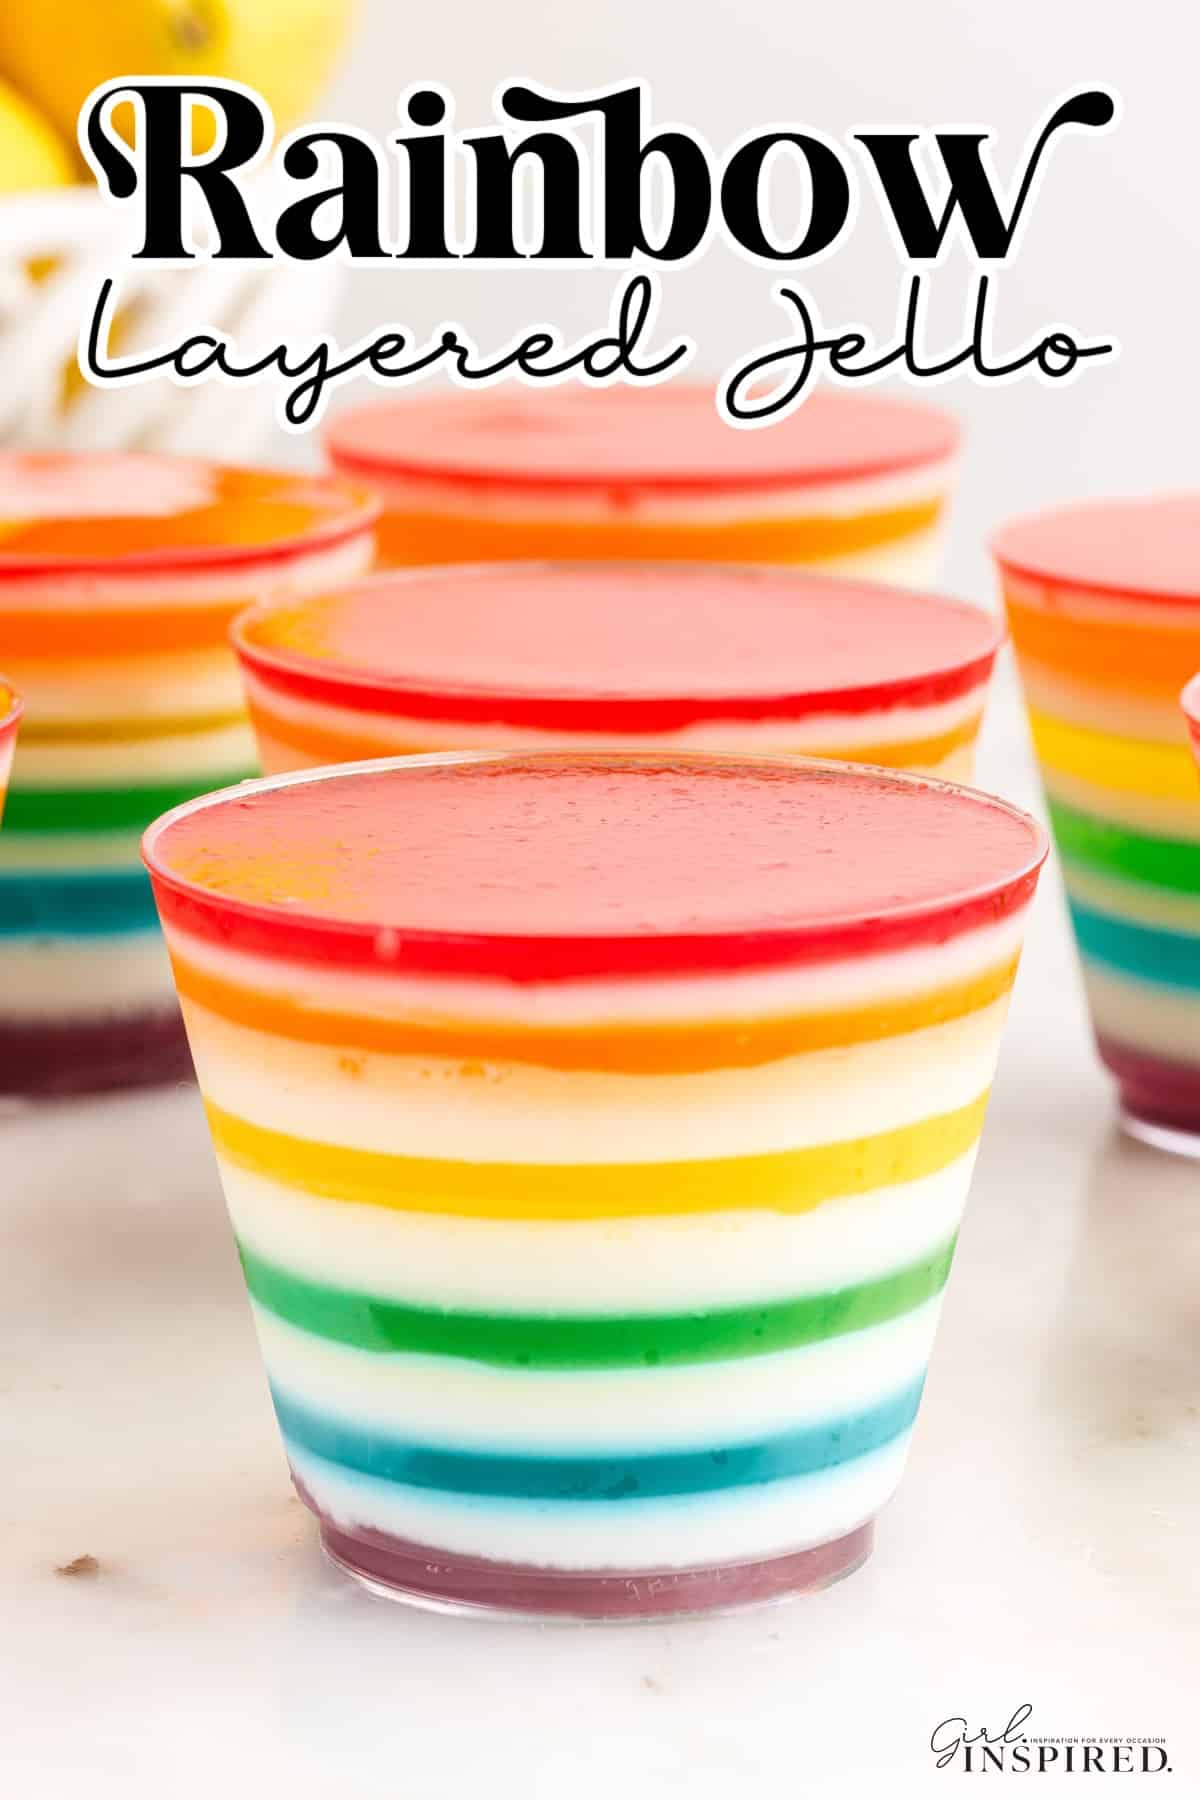
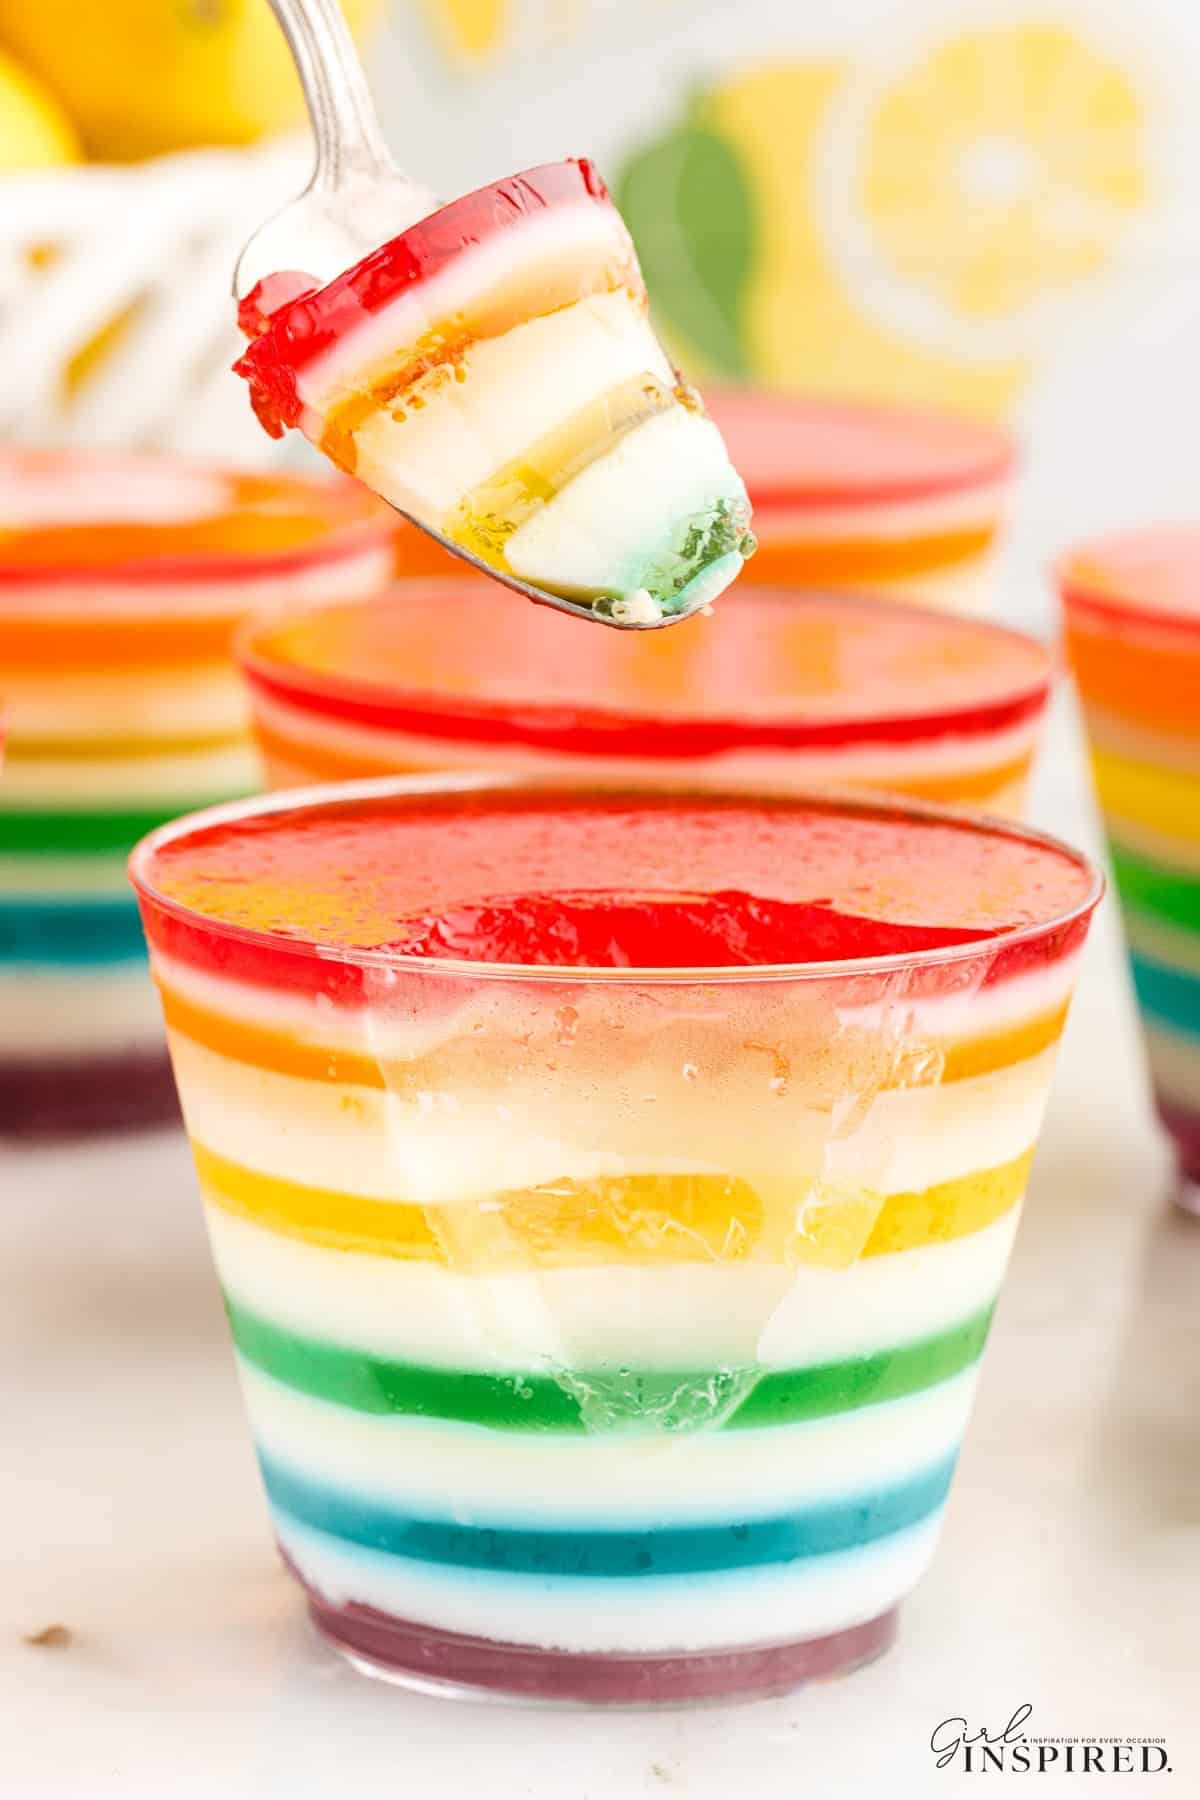
Rainbow layered Jello cups are whimsical, eye-catching treats with vibrant fruity layers of box Jell-O and creamy sweetened condensed milk jello for pretty contrast. With no baking required, an endless rotation of colors, and an optional topping of whipped cream, they’re the perfect make-ahead dessert for birthdays, parties, or any celebration that calls for a splash of color!
I recently made a generous batch of Rainbow Jello Shots which where a huge hit with the adults, but it’s a cinch to adapt the recipe slightly into this non-alcoholic dessert that everyone could enjoy. But don’t worry – just one splash of your favorite spirit can turn these rainbow Jello cups back into a boozy grown-up treat!
These rainbow layered Jello cups do require a bit of patience, as each layer needs time to chill and set before adding the next. But don’t let that put you off – they’re surprisingly simple to make, requiring just three main ingredients. You can even get a head start by preparing some of the layers the day before.
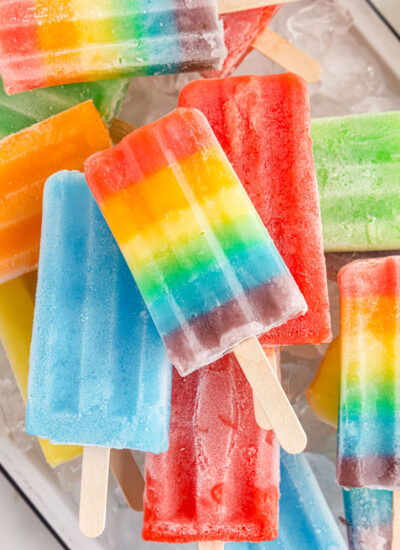
Serve your colorful rainbow layered Jello cups alongside Homemade Orange Julius, chocolate Fudgesicles, or Mini Ice Cream Sandwich Pops for summer gatherings by the pool or as an fun dessert option for the family, topped with whipped cream, sprinkles, or your favorite rainbow-inspired candy.
Jump to:
🌈 Ingredients:
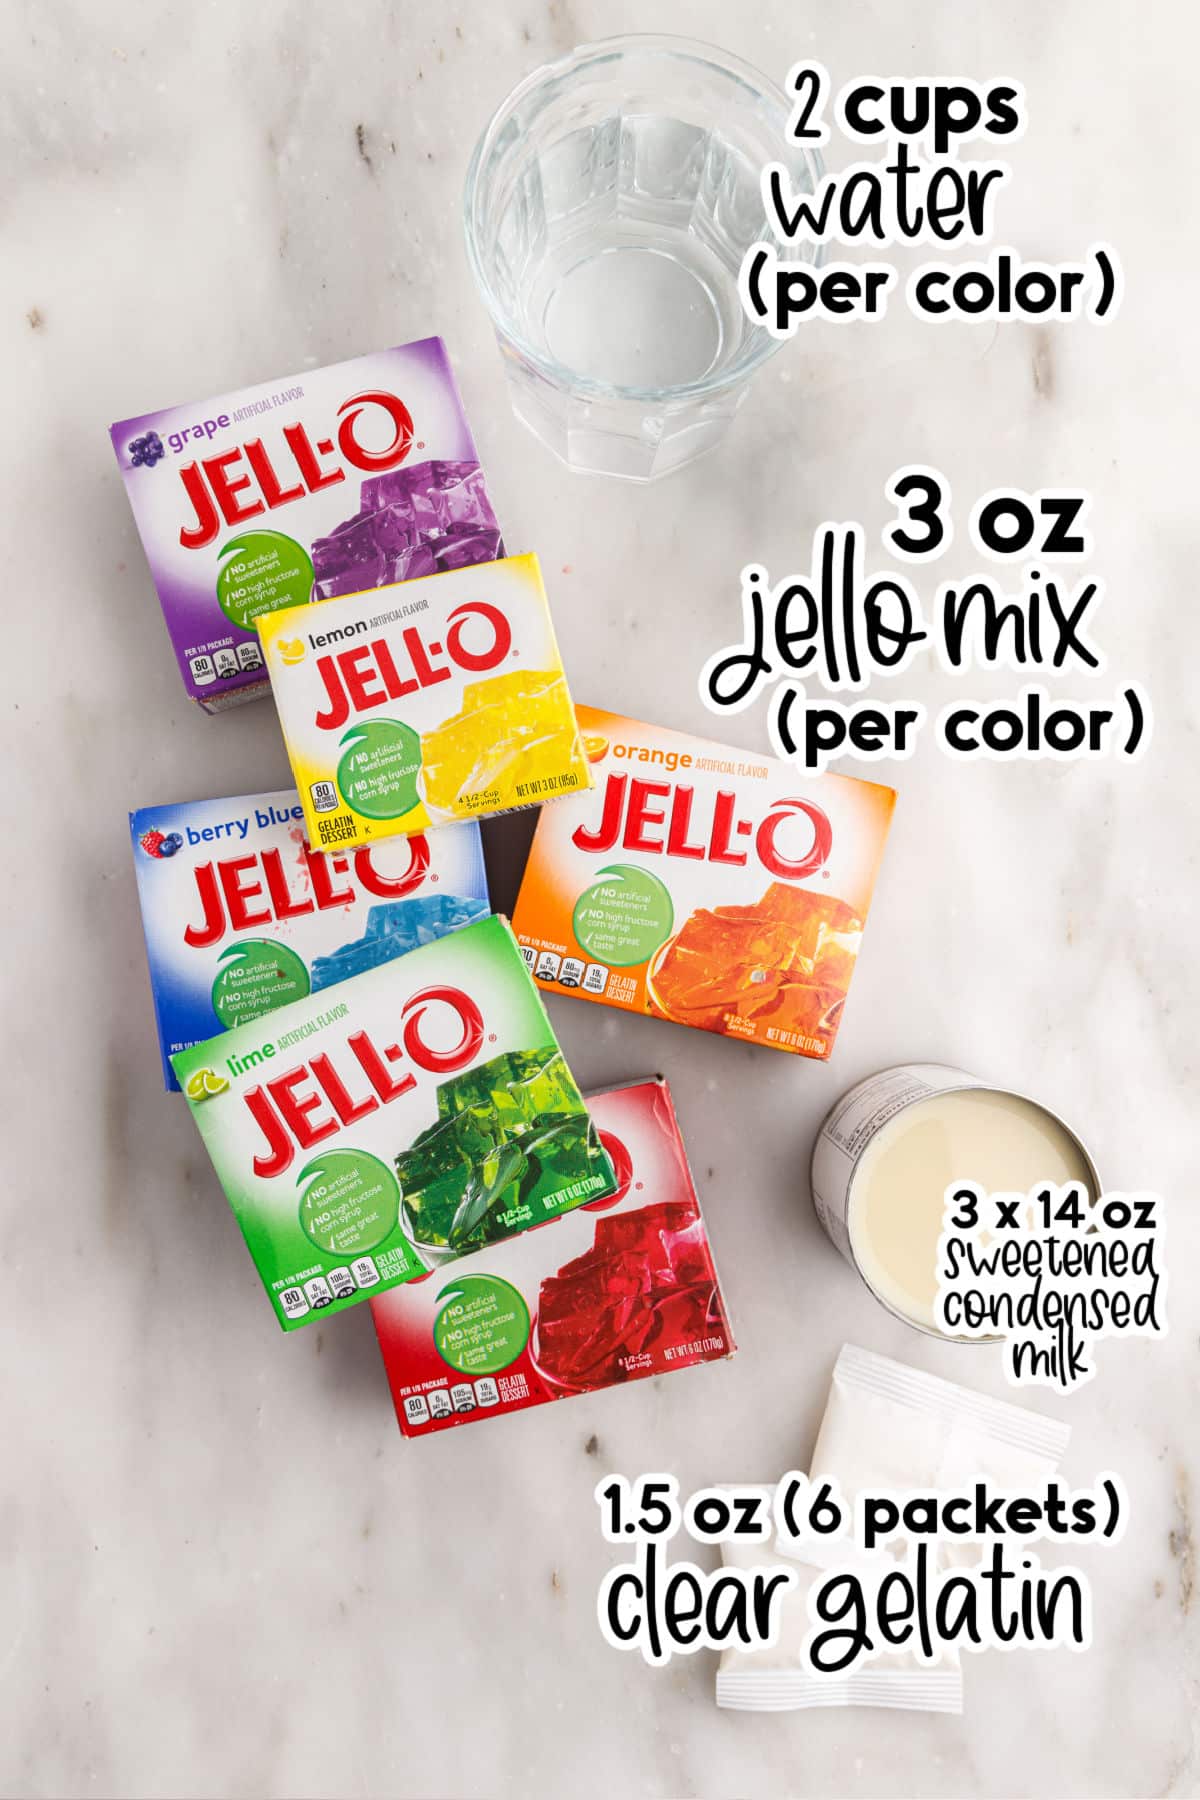
These rainbow layered jello cups contain a number of basic ingredients, and all of them are easy to find at your local grocery store. Let’s talk about the most important ingredients.
- Box Jell-O – I’ve used 6 colors of box Jell-O for these rainbow layered Jello cups (cherry, orange, pineapple, lime, blue berry, and grape). You can make up to 21 Jello cups if you use all of the Jell-O. Remember, you’ll need to make more white Jello mixture if you choose to make all 21 cups so that you have enough white layers between all the colored layers.
- White Jello – It’s super easy to make your own white Jello with a combination of clear gelatin, sweetened condensed milk, and cold water.
For a full list of ingredients and their measurements, 📋 please view my printable recipe card at the bottom of the post.
Optional Garnish:
Top these rainbow jello cups with canned or fresh whipped cream JUST BERFORE SERVING! You could also have some fun and garnish these desserts with rainbow-inspired candies and sprinkles.
Substitutions and Variations
- Colors/flavors – You can use different colors or flavors to make layered rainbow Jello. You could even alternate between 2-3 colors, if you wanted. Instead of cherry Jell-O, use strawberry. Use peach Jell-O instead of orange. Lemon-flavored Jell-O would be a good substitute for the pineapple.
- Vegan-friendly- Vegan gelatin can be used instead of traditional box Jell-O. You will also need to use coconut milk with sugar and clear vegan gelatin to make the white layers since condensed milk consists of dairy. Almond milk will offer a lighter dairy-free alternative.
- Molds – The Jell-O mixtures can be layered in a 9×13-inch baking dish instead of plastic cups and sliced into squares. You could also have fun with this and use silicone molds, such as hearts or stars for holidays and special occasions. Or cut out shapes with cookie cutters.
- Boozy twist – Add rum, flavored vodka, or silver tequila to these layered Jello cups as a delicious adult version. Easily adjust the amount of alcohol added to each colored jello layer depending on how strong or weak you prefer your boozy rainbow Jello cups to be! ½ cup rum and 1½ cups total water in each of the colored layers of jello will provide enough boozy flavor without it overpowering the flavors of the box Jell-O.
- Fun toppings – Leave these rainbow layered Jello cups as is or top them with whipped cream, sour belts, gummy bears, candied fruit slices, edible glitter, maraschino cherries, or sprinkles.
🔪 Instructions:
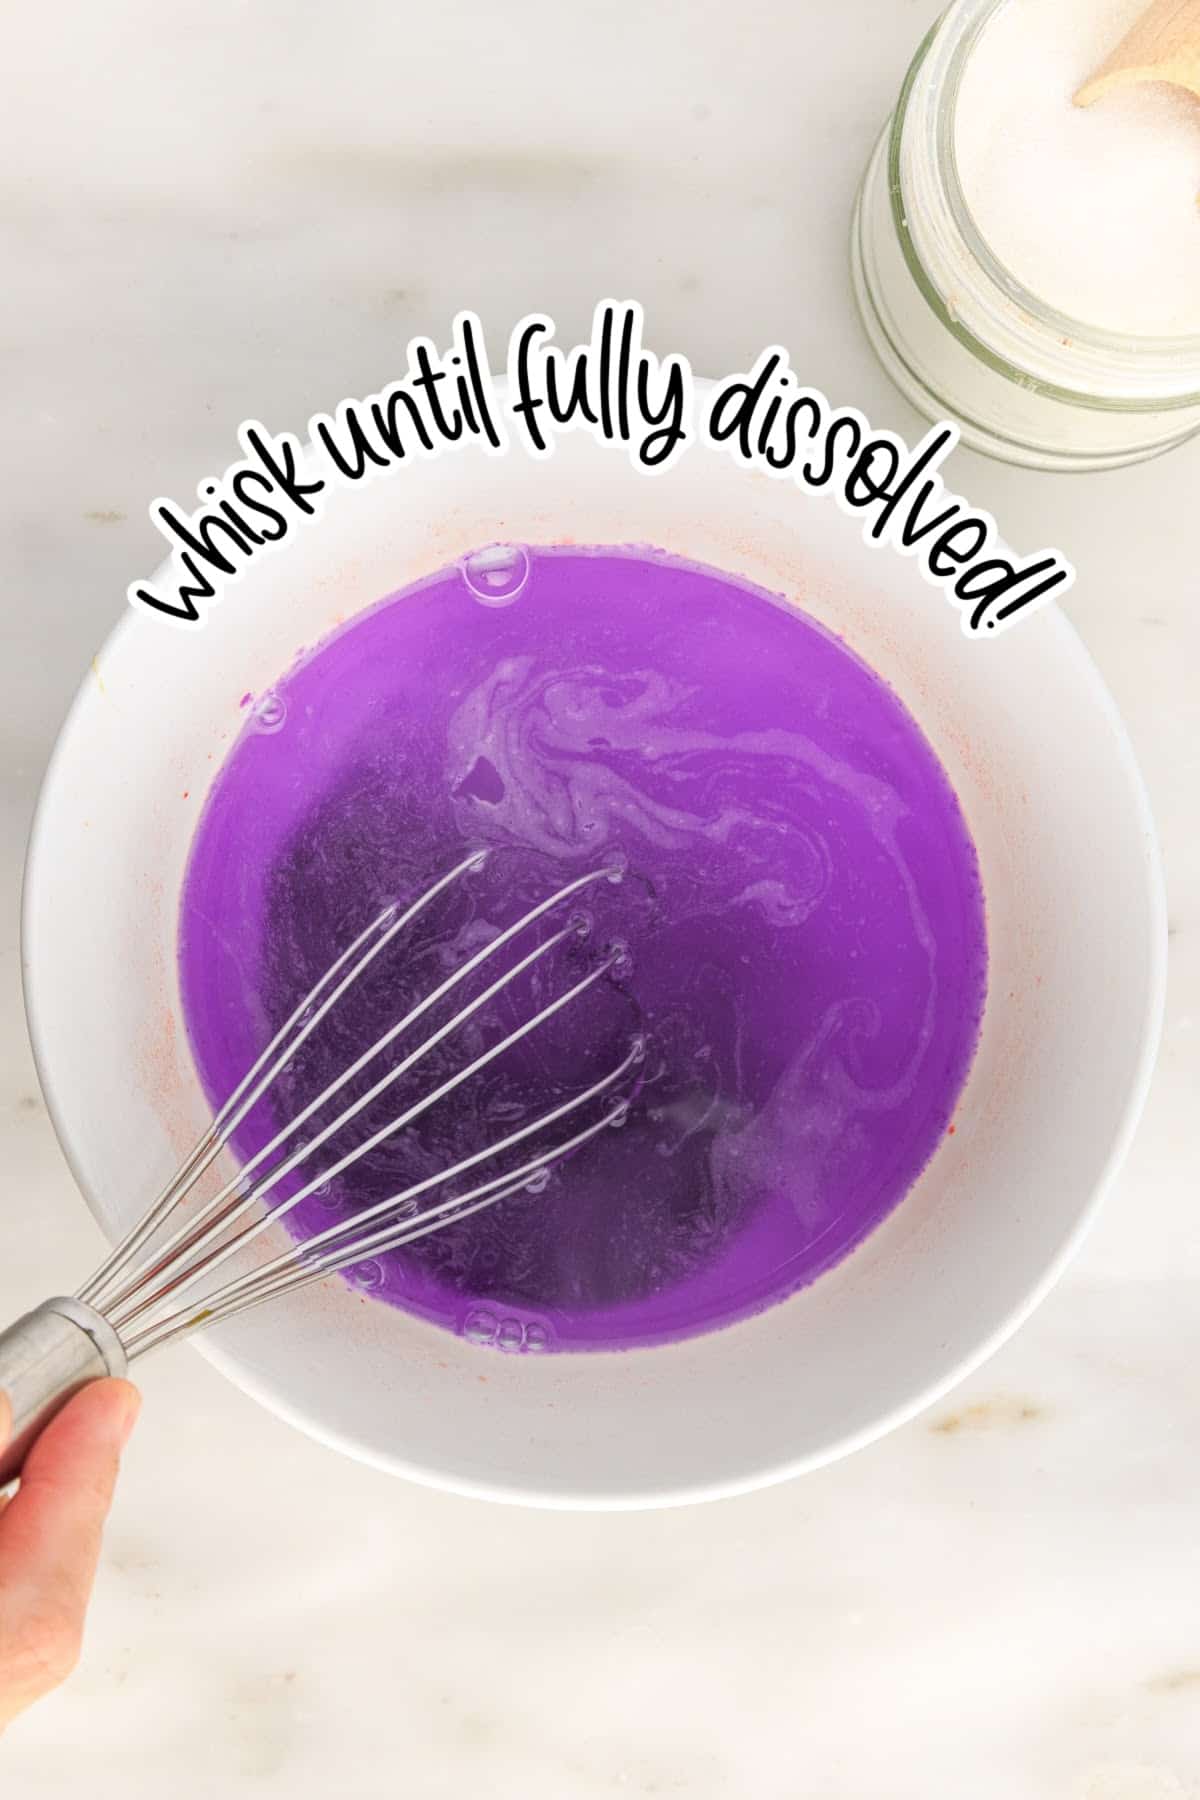
Step 1: Combine the packet of purple Jell-O and 1 cup of boiling water in a bowl. Whisk until Jello is fully dissolved in the boiling water. Add 1 cup of cold water and stir to combine.
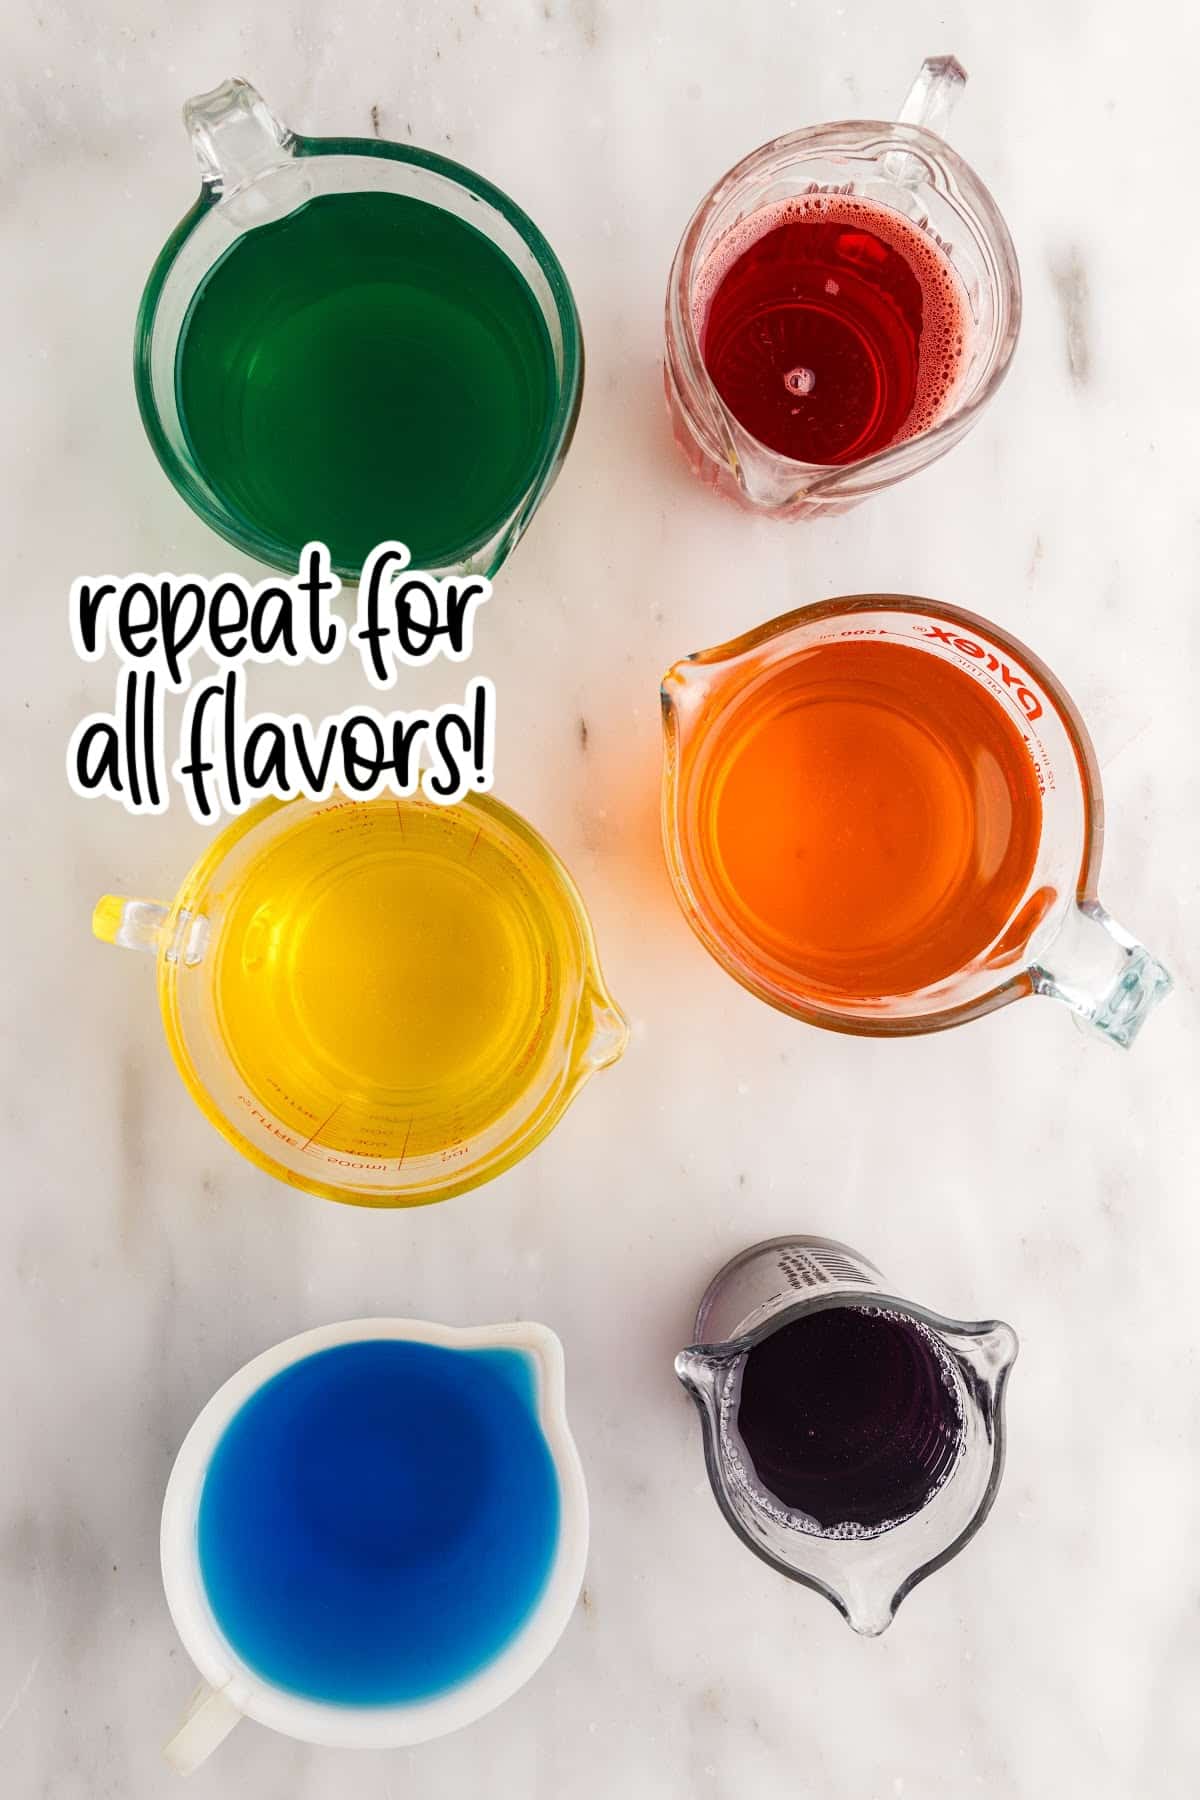
Step 2: Repeat this process for all of the colors/flavors of Jello. You can mix them now or do each color as you are ready to pour. If the Jello starts to solidify, simply pop it in the microwave for a few seconds and stir.
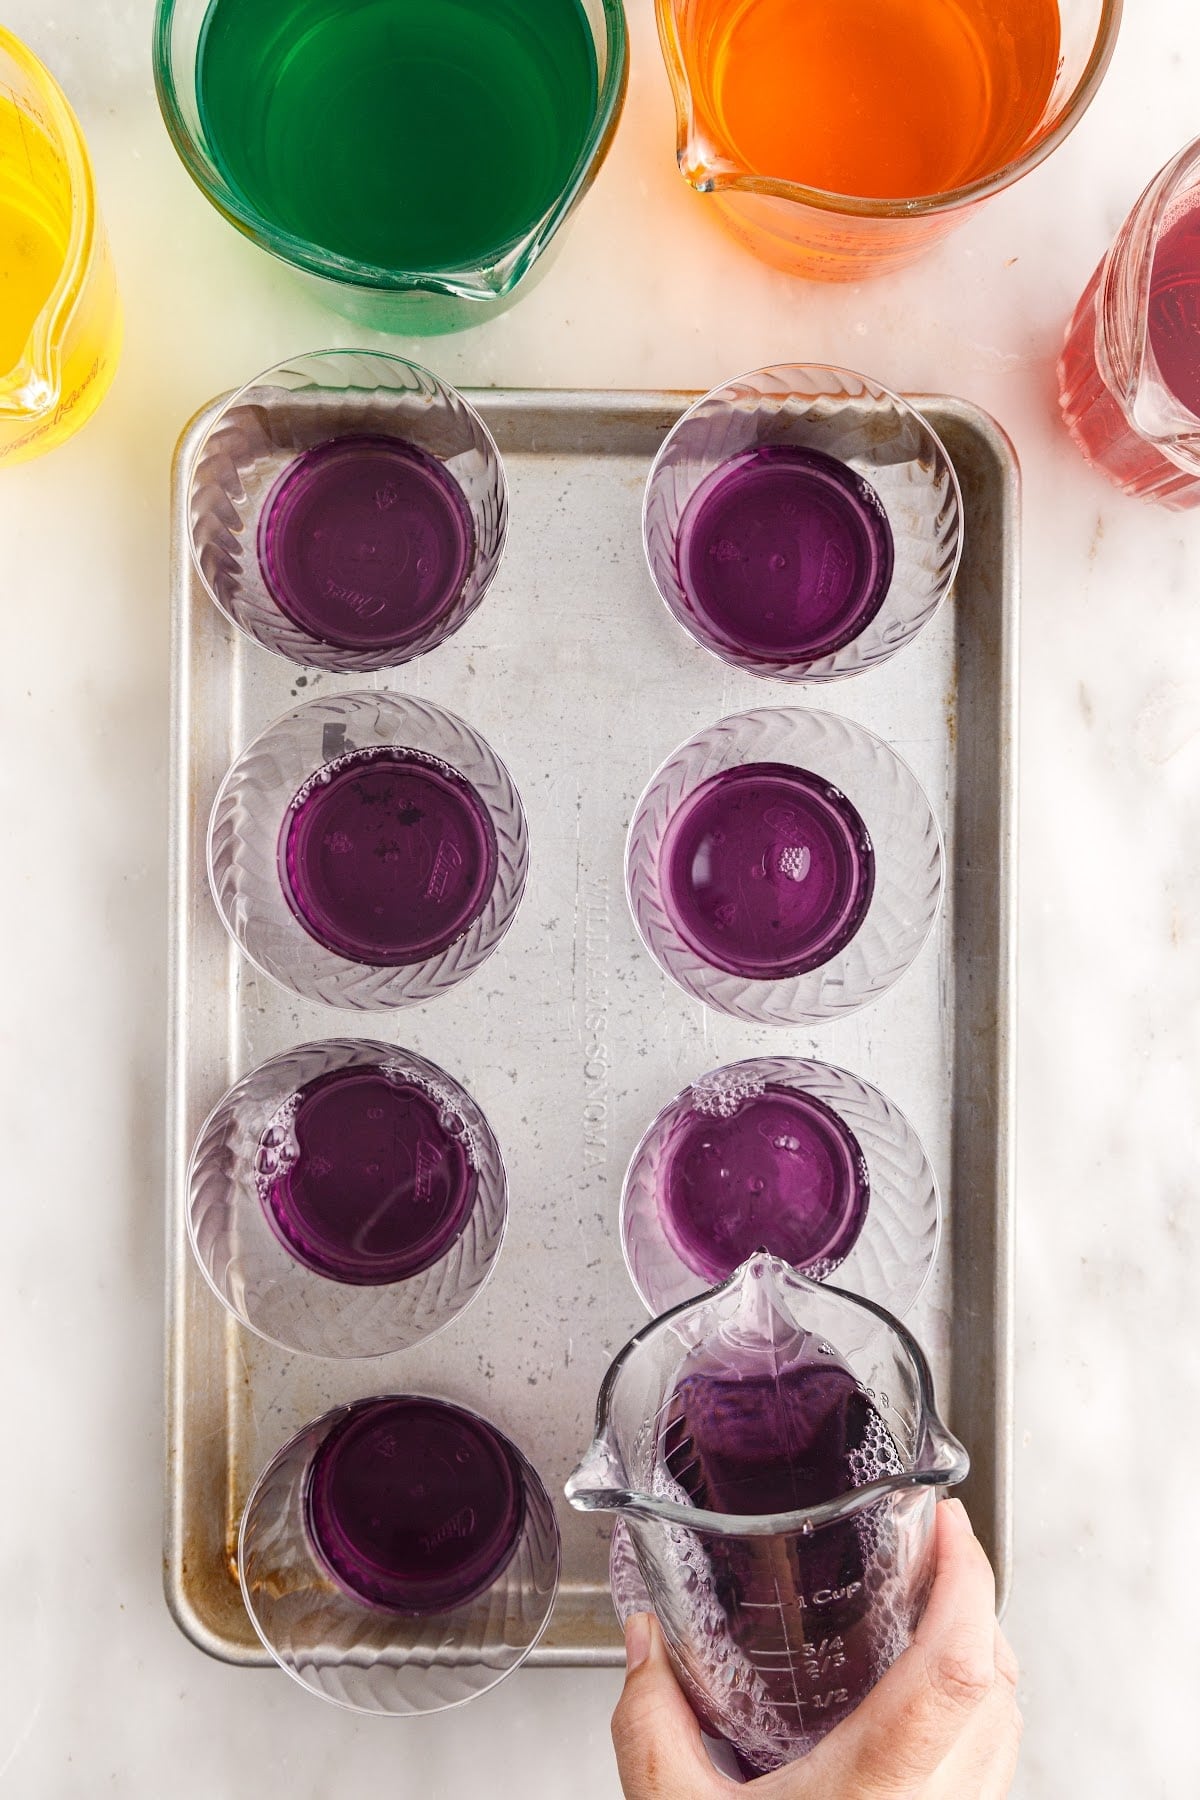
Step 3: Pour the Jello mixture in the bottom of plastic cups (about 1.5 tablespoons per layer). Add less to create the same visual thickness of layer when using tapered glasses. In this instance, you probably only need 1 tablespoon for the first couple layers and then gradually increase for the final layers.
Set the cups inside the refrigerator for about 30 minutes to chill and set. The Jello layers set quickly because they are so thin.
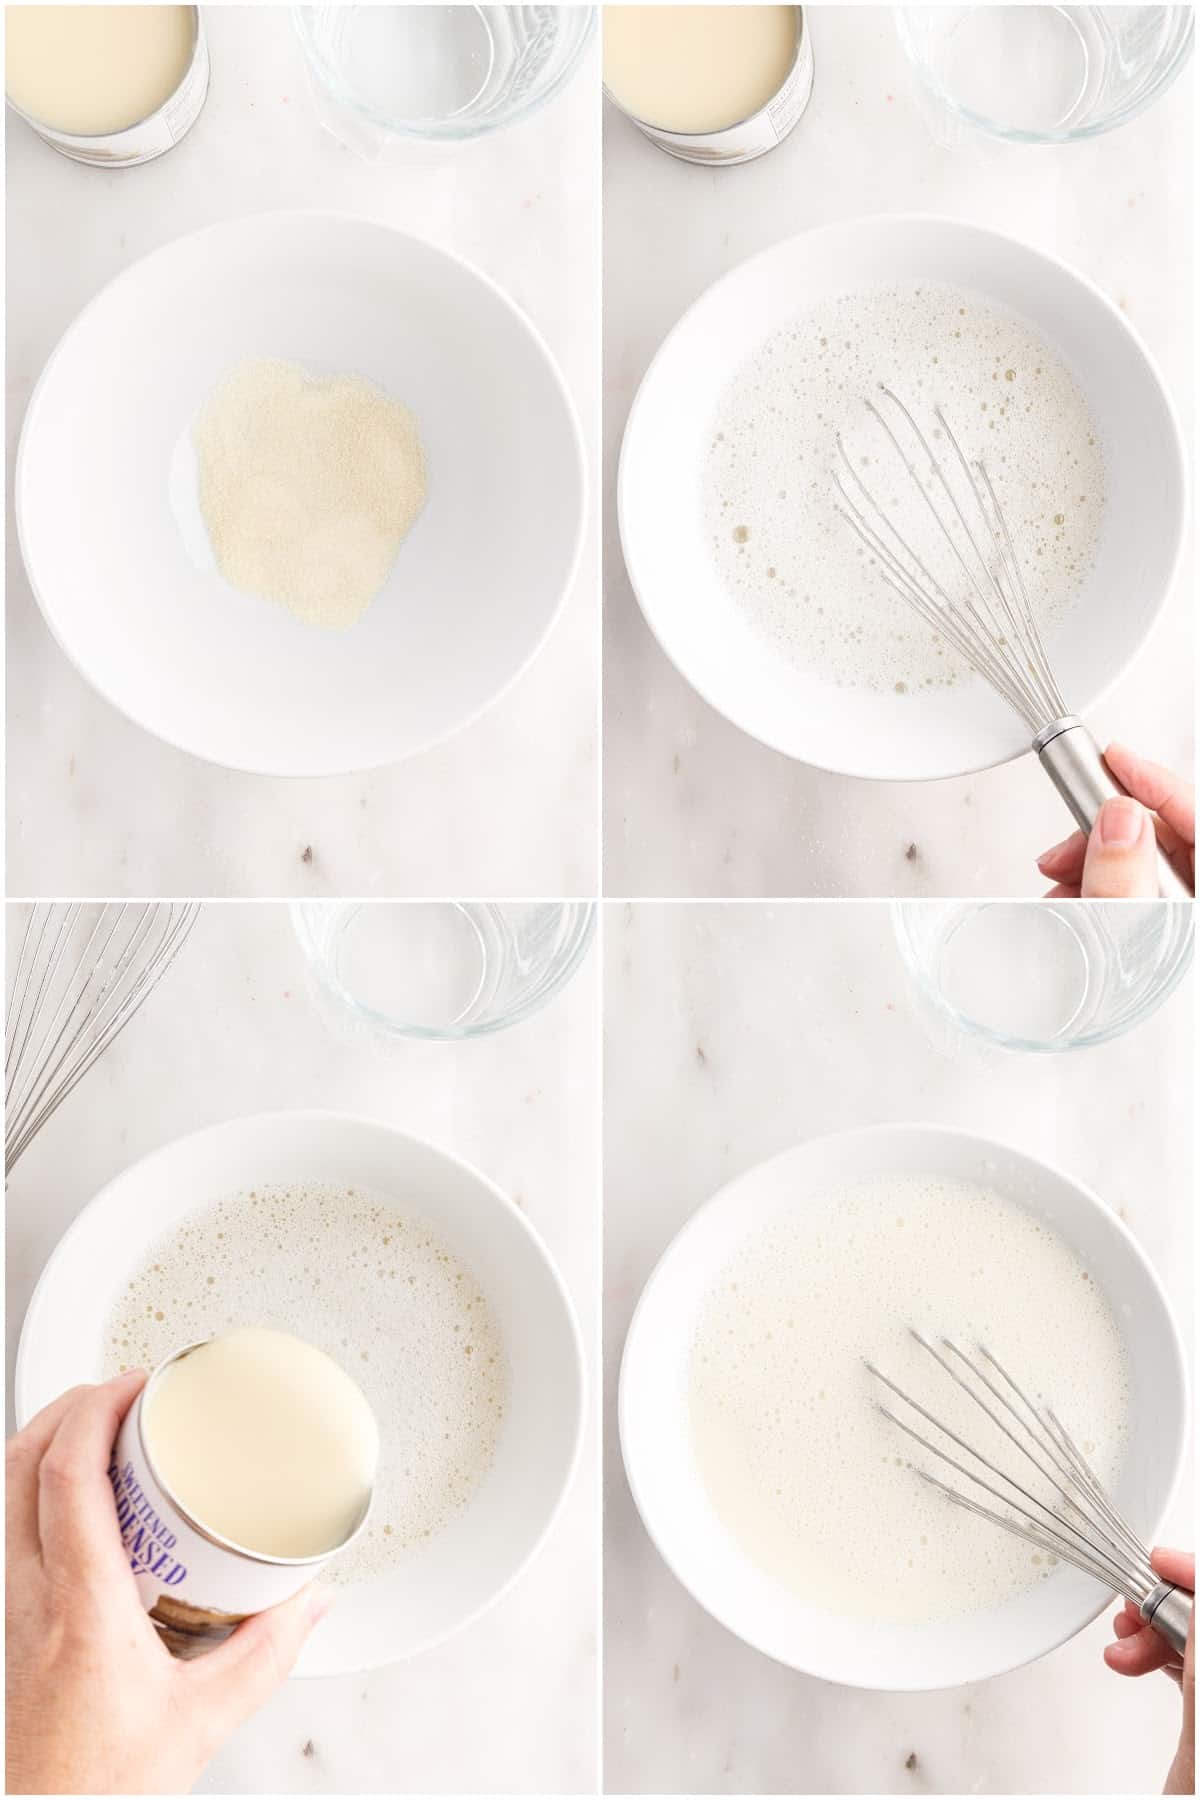
Step 4: After about 30 minutes, make the white Jello layer mixture. It’s best to only make ⅓ of this mixture at a time so that you don’t have to mix it up all at once and manage such a large quantity.
To make ⅓ of the total white Jello, sprinkle two packets of clear gelatin over 1 cup of cold water in a heat-proof bowl or measuring cup. Whisk together and set aside for 5 minutes to allow the gelatin to bloom. Place in the microwave for 15 seconds and then whisk to dissolve the gelatin completely. Add 1 cup of cold water and 1 full can (14 oz.) of sweetened, condensed milk. Whisk to fully combine the ingredients. Check that the mixture is room temperature. If it is warm at all, place the white Jello mixture into the refrigerator or allow to cool to room temperature. (If you pour warm mixture over the set layer, it will melt the layer beneath.)
Step 5: Add a thin layer of the white Jello mixture over the purple layer. Return the plastic cups to the refrigerator to chill until set (another 15-30 minutes).
Pro Tip: It’s really important that all the colored Jello mixtures, including the white Jello mixture, are cooled completely before pouring the next layer. Any heat from uncooled Jello layers will melt the layer underneath it and the colors will bleed together!

Step 6: Repeat Step 3 above for each Jello color, if you haven’t already mixed them up. Continue adding white layers of Jello and colored layers until you finish with the final red layer of Jello. As you use up all of the white Jello mixture, follow the same process in Step 4 to make another batch. IF you use all of the Jello from each color (which makes 21 cups), you will need about 3 batches of white Jello.
GARNISH: Whip heavy cream or use canned whipped cream to top the rainbow jello cups JUST BEFORE SERVING.
Recipe Tips for Layered Rainbow Jello
- It’s super helpful to place the plastic cups onto a rimmed baking tray for easy transfer and zero risk of the cups sliding off as loaded in and out of the refrigerator!!
- You will get a total of 21 rainbow Jello cups if you use all of the colored Jello sachets and a standard 9 oz. plastic cup. This quantity will vary depending on the type of glass or cup that you use since tapered glasses require less mixture for the first few layers. If you want to make fewer Jello cups, discard the extra Jello or repurpose it.
- Jello melts in hot temperatures, so it’s best to keep these rainbow Jello cups inside or in a cool location and only garnish with whipped cream just before serving.
- You need less of the Jello layers at the bottom of tapered glasses/cups than towards the top. I’ve used a Sharpie in the past to divide 1 cup into 11 sections when using 6 colors of Jello, and use that as a visual guide to get started. Don’t get too stressed over making the layers perfect – the layered rainbow Jello still tastes just as good and looks stunning!
- You’re welcome to make fewer rainbow Jello cups than what this recipe makes – there are no rules here! Any excess Jello (colored or white) can be poured into a baking dish and cut into rainbow layered squares. You could also skip the white Jello layers and just layer the colored Jello to make fewer Jello cups.
Fun Fact
Jell-O was first invented in 1845 as a tasteless, odorless gelling agent, but was a complete market failure. It only grew to being a popular fruit-flavored dessert after a change of ownership and the use of creative advertising! – Thoughtco.com
Recipe FAQs
Store leftover layered Jello cups in the refrigerator, covered and without topping, for up to 3 days. Only add the whipped cream or any other toppings just before serving. Do not leave these Jello cups at room temperature for long.
No! You will need to chill these layered Jello cups every time a new layer is added to ensure that the Jello sets properly and you don’t have the different colors bleeding into each other. These in-between steps are really important and will significantly affect how your layered rainbow Jello looks.
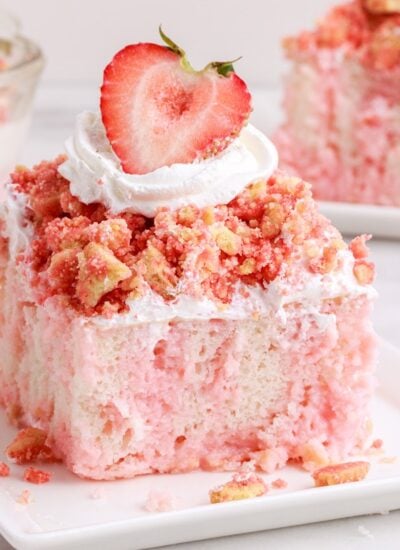
Excess box Jell-O can be used in desserts, such as Peach Pretzel Salad, Cranberry Jello Salad, or a colorful holiday cake like this 4th of July poke cake! There are so many uses for Jell-O, adding flavor and structure to your sweet treats, so don’t toss it out!
More Jello-Inspired Desserts
If you tried this Rainbow Layered Jello or any other recipe on my website, please leave a 🌟 star rating and let me know how you liked it in the 📝 comments below.

Rainbow Layered Jello
Ingredients
Colored Jello Layers Ingredients
- 1 – 3 oz. box jello mix for each color we used 6 colors: cherry, orange, pineapple, lime, blue berry, and grape
- 1 cup boiling water per flavor
- 1 cup cold water per flavor
White Jello Layers Ingredients
- 6 .25 oz packets clear gelatin
- 3 – 14 oz. can sweetened condensed milk
Garnish
- Whipped cream optional
Instructions
- Combine the packet of purple jello and 1 cup of boiling water in a bowl. Whisk until jello is fully dissolved in the boiling water. Add 1 cup of cold water and stir to combine.
- Pour the jello mixture to fill a thin layer in the bottom of plastic cups (about 1.5 tablespoons per layer. Please note: if you are using tapered cups, you will use less liquid in the bottom layers to create the same thickness of layer. Set the cups inside the refrigerator for about 30 minutes to chill and set. (These jello layers set quickly because they are so thin.)
- After about 30 minutes, mix together the white layer. We’ll do the ingredients for the white jello ⅓ at a time so that you don’t have to mix it up all at once and manage such a large quantity. The jello will stay liquid at room temp or with a few seconds in the microwave, so you CAN mix it all at once, but we prefer to do ⅓ at a time.
- Sprinkle two packets of clear gelatin over 1 cup of cold water in a heat-proof bowl or measuring cup. Whisk together and set aside for 5 minutes to allow the gelatin to bloom. Place in the microwave for 15 seconds and then whisk to dissolve the gelatin completely. Add 1 cup of cold water and 1 full can (14 oz.) of sweetened, condensed milk. Whisk to fully combine the ingredients. Check that the mixture is room temperature. If it is warm at all, place the white jello mixture into the refrigerator or allow to cool to room temperature.
- Add a thin layer of the white jello mixture over the purple layer. Return jello cups to the refrigerator to chill until set (another 30 minutes.)
- Mix the next layer of jello just as you did with the purple. Dissolve blue jello in 1 cup of boiling water. Mix in 1 cup cold water. Once cooled to room temperature, add your thin layer of blue jello over the white layer.
- Continue adding white layers of jello and colored layers until you finish with the final red layer of jello. As you use up all of the white jello mixture, follow the same process as Step 3 to make another batch. IF you use all of the jello from each color (21 jello cups), you will need about 3 batches of white jello.
- Whip heavy cream or use canned whipped cream to top the jello cups JUST BEFORE SERVING.
Would you like to save this?
Notes
- The white Jell-O mixture needs to be cooled COMPLETELY before pouring over the colored layers or it will melt the layer underneath and the colors will swirl together.
- Be sure each subsequent color of Jell-O is cooled to room temperature also before pouring over the white layer underneath.
- If you use tapered cups/glasses, you will need slightly more Jell-O for the top layers than the bottom layers. I took a Sharpie and drew lines to divide one cup into 11 sections (adjust if you’re not using 6 different colors of Jell-O). This gave me a good idea of about how much Jell-O to pour for each layer. It’s not much. Using a tablespoon works well to maintain control and not overpour. Remember, these don’t have to be perfect. They taste good whether the layers are perfectly even or not.
- Because we’re pouring such thin layers of Jell-O and using so many colors, this recipe will make about 21 rainbow layered jello cups!! If you want to make less, simply fill the number of cups you want to make with each color Jell-O. Then, pour the remaining Jell-O into a greased square baking dish. Refrigerate the baking dish (be sure it is completely level) as you refrigerate the Jell-O cups. Skip the white layers in between each color (which will save you ingredients) and just add the leftover subsequent Jell-O as you work to fill the cups. Then, you will have a pan of rainbow layered Jell-O as well.
- One batch of white jello (2 packets gelatin, 2 cups water, 1 can of sweetened, condensed milk) will make about 7 jello cups when a layer of white is poured between each colored layer.
Nutrition
Make this recipe?
Share it with me on Instagram @girlinspired1 and follow on Pinterest for more!


Leave A Reply!