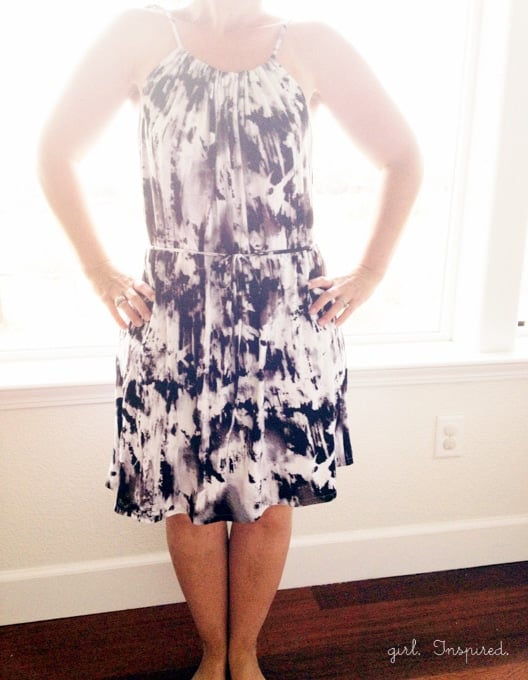
Last week, Olivia came to me and said, “Let’s make something.” We went into the sewing room and a short time later, she walked out wearing a new shirt. We went with a pillowcase dress style and used a cotton jersey blend knit from Girl Charlee.
 I loved how Olivia’s top turned out so much and I had some similar fabric in this black tie dye-ish print; I decided to make a swim cover-up out of it for myself and I took some pictures along the way so that you can make one, too! This project shouldn’t take you more than an hour – you can adjust the same techniques to make a top for yourself or a child. The design makes it hard to mess up!! I’d recommend using a really lightweight knit that has some good drape to it; heavier-weight and less fluid knits will work, too, but will have a much bulkier look to them.
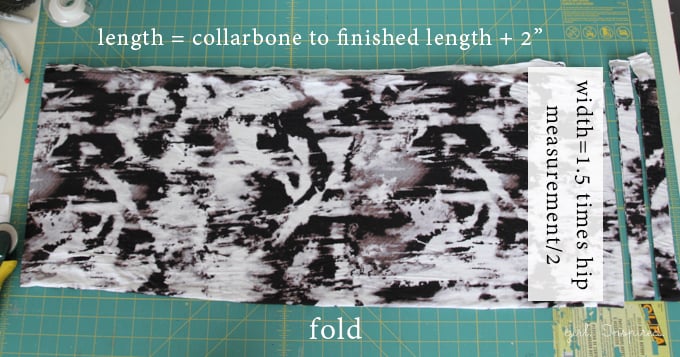
Step 1: Let’s get started. Begin by cutting two rectangles from your fabric – one for the front and one for the back. For the length, measure from your collarbone to where you want the finished shirt/dress and then add 2″ for hemming. The width for each piece should be 1.5 times the hip measurement divided by 2. I cut my piece on the fold so that I can speed along the process at the next step. Also cut two strips 1″ wide and from selvage to selvage – these will be used for the straps/waist tie.
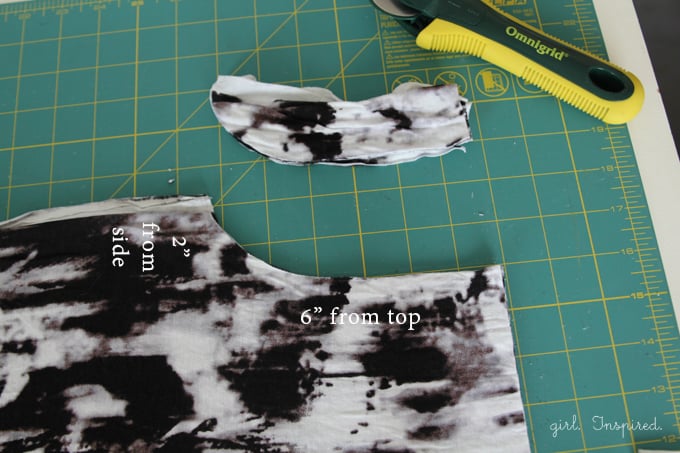
Step 2: Cut out armholes. On the open side (opposite the fold) and at the top, cut an armhole shape that is approximately 2″ in from the side and 6″ long as shown. (This is a good measurement for an adult size. Try 1.5″ in and 4-5″ from the top for kids – use one of their ready-made shirts to estimate and be sure to add in the extra 1″ you’ll be folding over for the casing). If you stack both the front and back pieces and then fold them in half, you will be able to cut all four armholes at once and they will be identical.
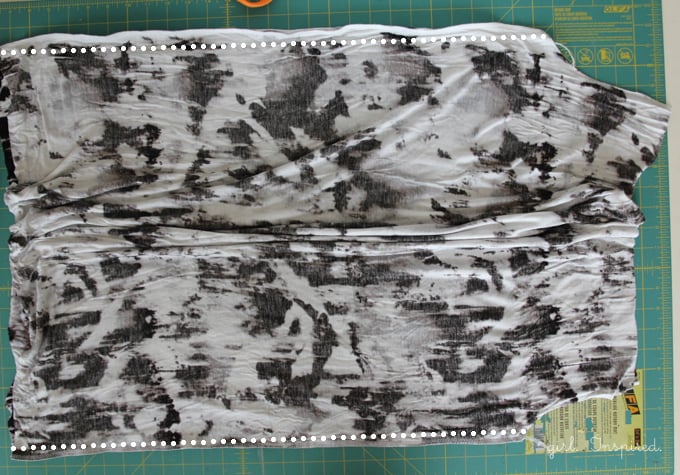 Step 3: Open up the two pieces of fabric and match them at the armholes, right sides together. Stitch from the base of the armhole down to the hem. A serger makes really quick work of this!
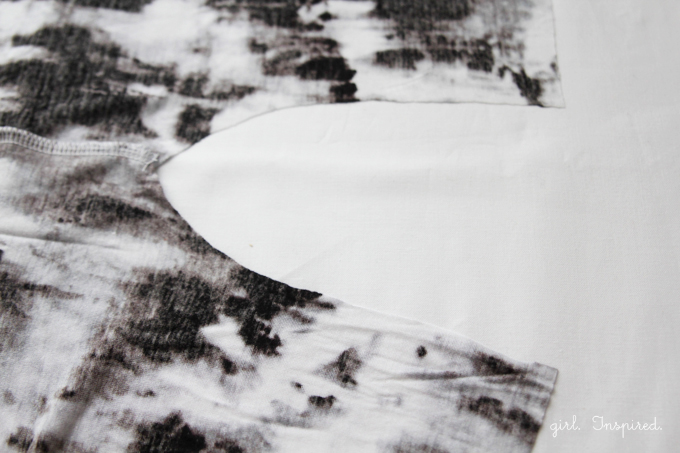 Step 4: Now, open the two sides up at the armhole and place the right side of the fabric face down.
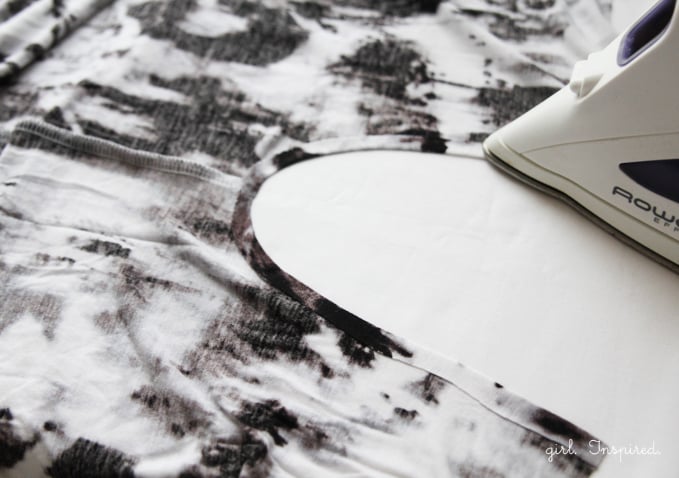
Step 5: Press the edge of the armhole toward the wrong side by ¼″ all the way around the armhole.
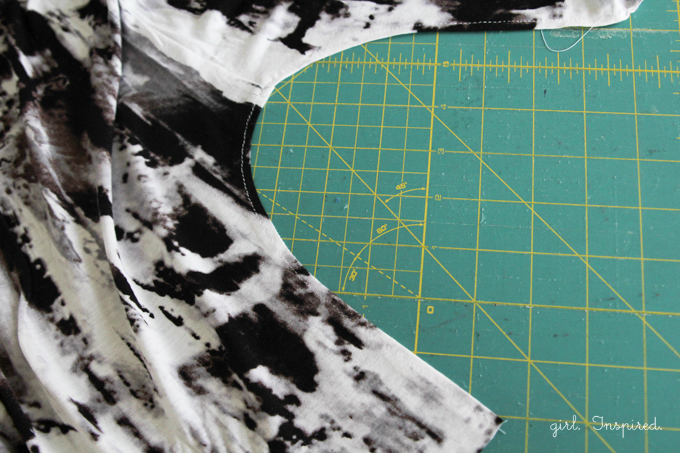 Step 6: Use your regular sewing machine to stitch close to the edge of the armhole, finishing it neatly. Use a longer stitch length or some tissue paper underneath the fabric to stabilize it while you sew. Repeat steps 4-6 for the other armhole.

Step 7: Turn the top edge of the front of the dress toward the wrong side by 1″ and press in place. Repeat for the back top edge.
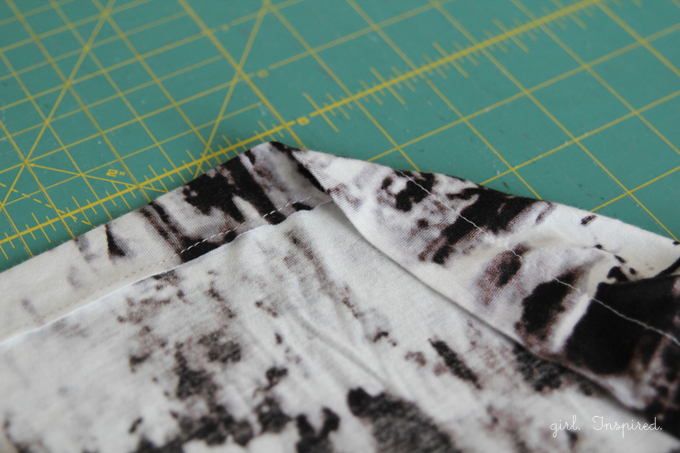
Step 8: Use a 6/8″ seam allowance to stitch across the top edge, creating a casing for your straps.
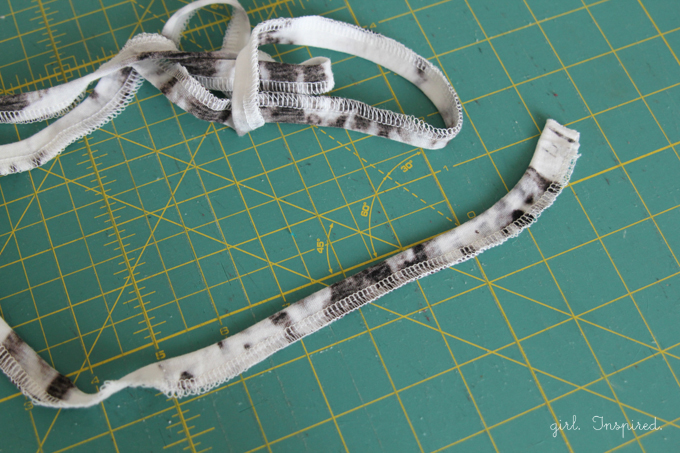
Step 9: Press the 1″ strip in half along its entire length, right sides together. Serge or sew with ¼″ seam along the open edge.
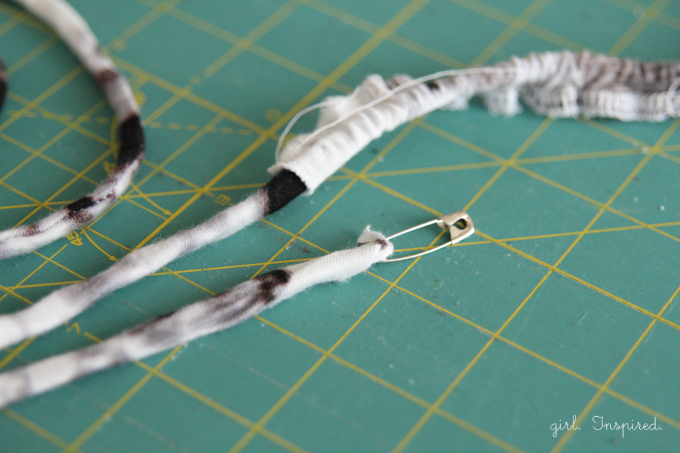
Step 10: Use a small safety pin to turn the tube right side out.

Step 11: Tie a knot in each end of the string and use a safety pin to feed it through the front casing and the back casing on your shirt/dress.
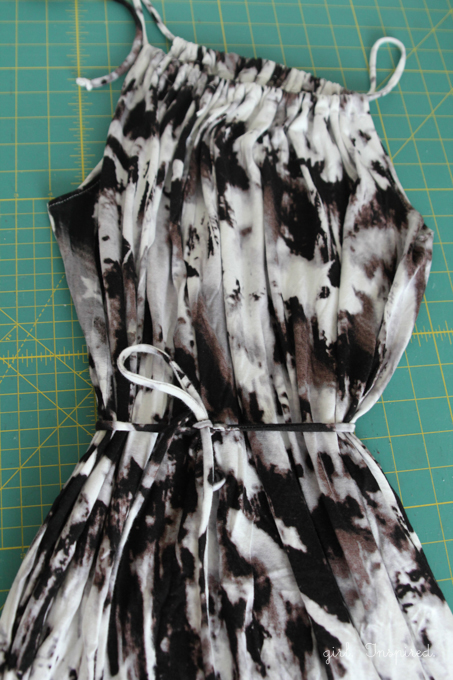
Step 12: Create a second string for a waist tie if desired. Press the bottom edge toward the wrong side by 1″ and hem using a double needle or long, narrow zig-zag stitch. All DONE!!
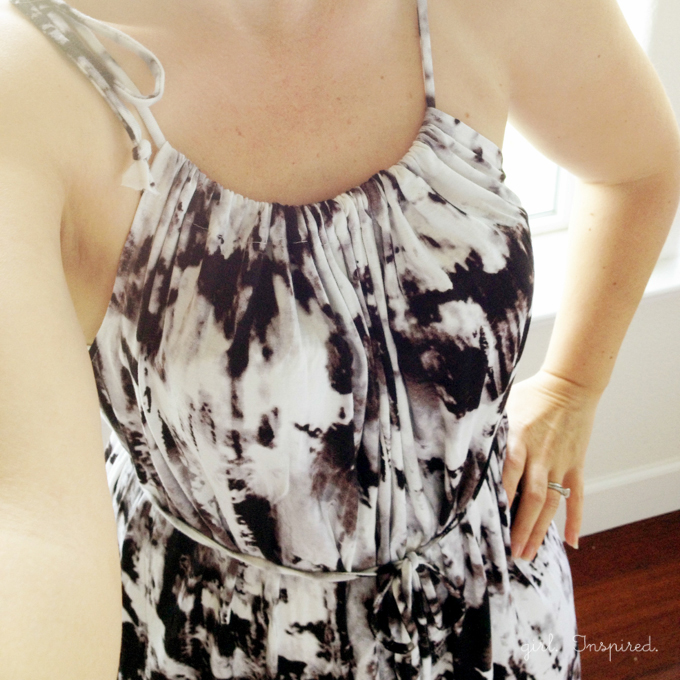
Congratulations! Now throw that comfy dress on and head to the pool!!


Comments & Reviews
Mayra says
Yay! I’m happy to have found you, I want to make me this summer dress, thank you so so much. It’s an easy one… hello from Indiana 💐💐💐😊
Stefanie says
Yay! Would love to see it when you’re done! Perfect for hot days when you don’t want fabric sticking to your skin!
Juliana says
Thanks! That’s very easy to follow and exactly what I was looking for.
Cheers from Brazil.
Annette says
Looks great and sew easy.
Barb Miller says
…going to try this with a couple of yards of silk a friend brought back from Japan ! For a nightgown ! Hope it turns out…am using my trusty 1950’s Singer…so will be double hemming !
Jen says
It looks amazing! I love how it turned out. Perfect swim cover up. I need one 🙂
Charity says
I would not have thought a pillowcase dress on an adult could look so good! It’s really graceful and I love the simplicity.
Mary L says
Amazing! They both came out so pretty! The fabric you chose is beautiful. Nice job!