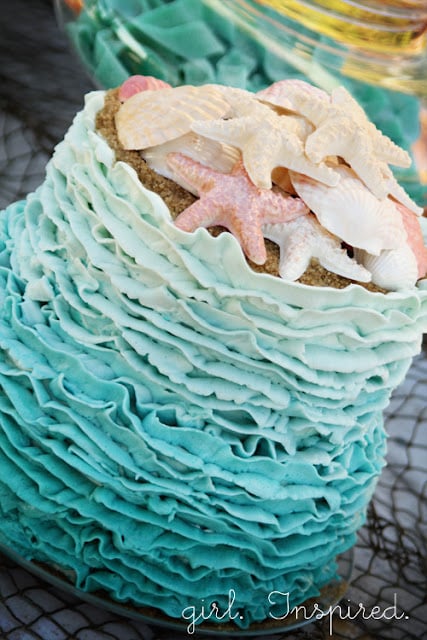
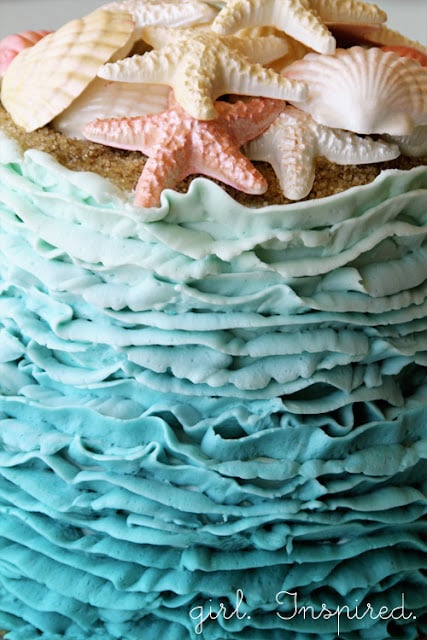
Supplies:
- cake, filling, and dowels to support upper tier
- 2 recipes Swiss Meringue Buttercream (link will take you to my favorite recipe)
- food coloring (I used AmeriColor in Turquoise and Electric Blue)
- 16-inch pastry bag, large coupler set
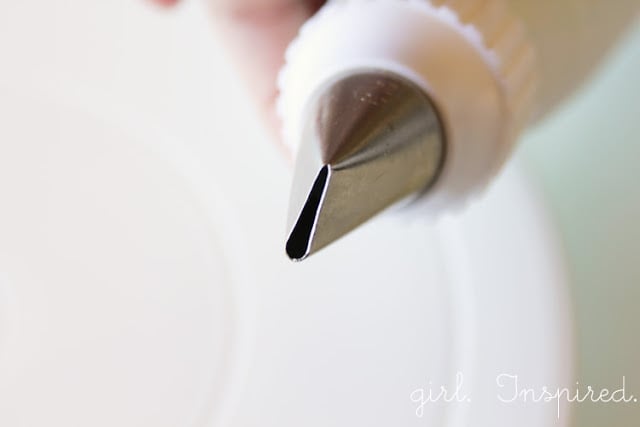
- Tip #124
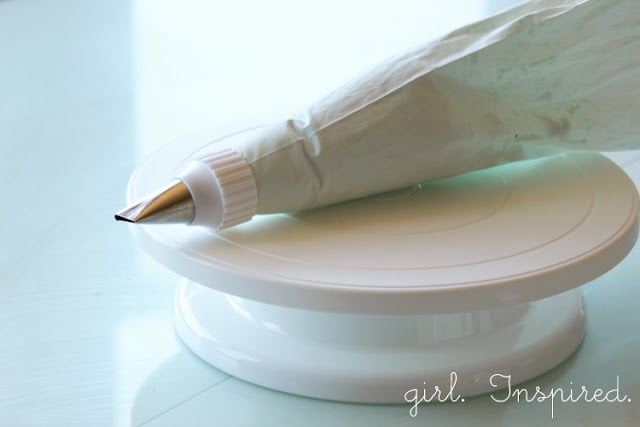
- Turntable for cake decorating
Specifics:
- 2 tier cake – 9-inch layers on the bottom and 7-inch layers on the top
- Rasberry filling (purchased from a cake supply store)
- One batch of buttercream frosting for crumb coating + base coat
( I tinted the base coat of frosting a light blue, but in retrospect, the base coat did show between some of the ruffles and I wish that I would have tinted the base coat of frosting darker for the bottom tier.)
- Second batch of buttercream frosting for the “waves” to cover the whole cake
- To Frost: Large piping bag, 16 inch, large coupler set, piping tip #124
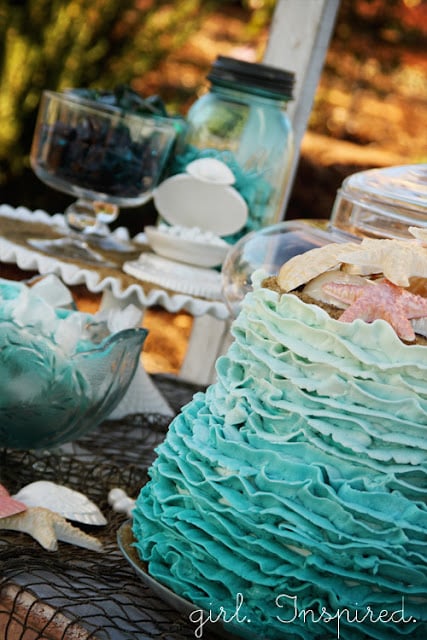
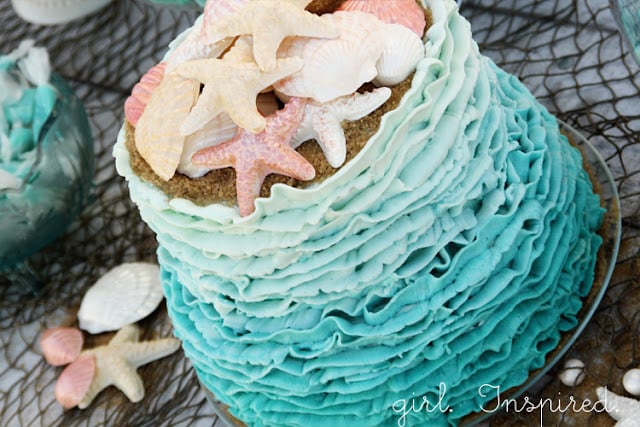
- Ombre effect: After mixing up the buttercream, I added a few drops of color to get a light aqua tint, then scooped one large spatula full into my piping bag. Then, I mixed in a few more drops of color, another large spatula scoop into the bag, and so on, adding the same approximate number of color drops for each scoop. If you could see into the piping bag when I started frosting the cake, you would see an ombre color effect with the lightest frosting at the tip and the most saturated color at the top of the bag – make sense?
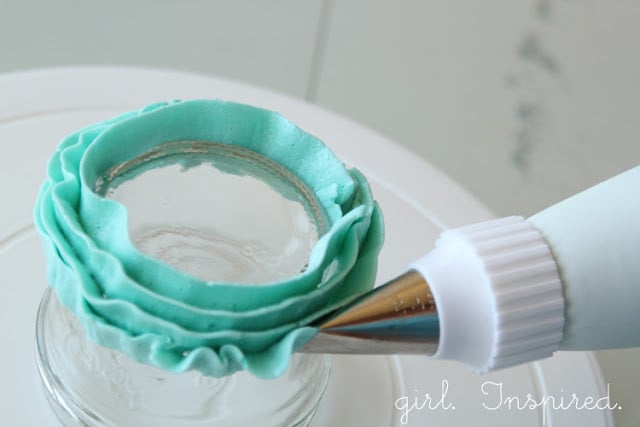
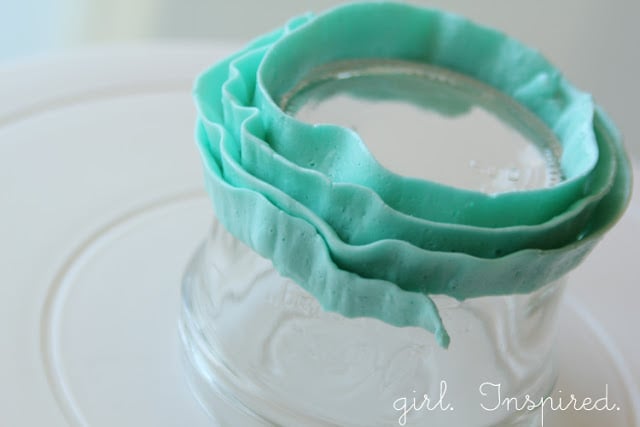
- Now, to pipe: Hold the bag perpendicular to the side of the cake with the narrow end of tip #124 pointed down and resting on the top edge of the cake. Steadily squeeze the frosting through the tip while turning your cake (a turntable is pretty much a must for this one!!). Turn and squeeze until you reach the bottom of the cake and that is it!!

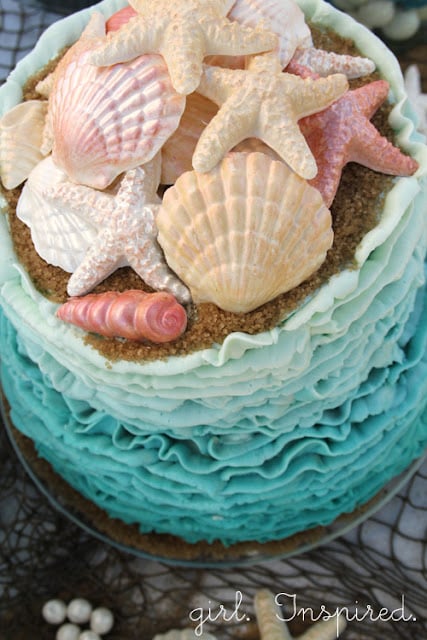
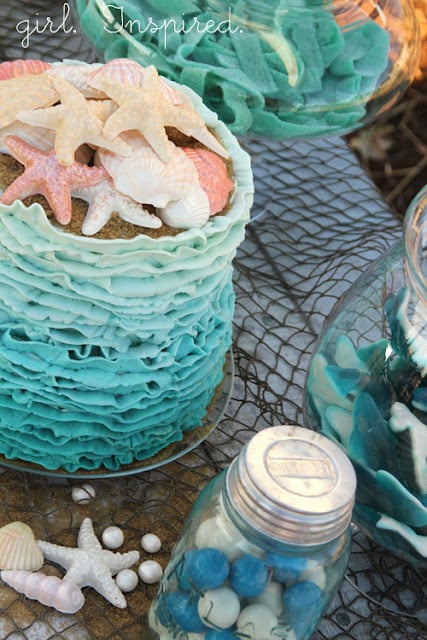
- Oh, yes, and then you can sprinkle the top with some raw sugar “sand” and molded candy seashells.
Other Tidbits:
- I typically see this type of ruffle cake done with fondant. I was too scared to try fondant, plus I wanted the cake to taste good. The buttercream ruffles are definitely not as “perfect” as I envisioned, but I think the cake as a whole turned out fun and cool!
- It was warm when I frosted the cake – maybe 80+ degrees in the house – not ideal, so if you can work in cooler temps it will be easier. However, if it’s warm, don’t hesitate to stop for a bit here and there to pop your piping bag into the fridge and firm up your frosting a little.
- This buttercream recipe really holds up well in warm weather. It was around 90 degrees during the outdoor party and the cake held up fine until slicing time. I refrigerated the cake overnight and up until the party. (The candy seashells, on the other hand, will definitely melt in the heat/sun.
- Follow the recipe directions to beat out the air bubbles before piping – you’ll be glad.
- Anything else? Questions? Okay! Have fun!


Comments & Reviews
cakes&bakes says
Awesome Informative Article
Laura says
Beautiful cake! Did you mix both of the colors together with the same buttercream or did you use two separate batch of buttercream frostings?
girlinspired says
I used one large batch of buttercream, tinted it all lighter and then add color to the remaining batch as I went along.
Cindy says
Thanks for the tutorial and I love the cake! Hugs and blessings, Cindy
Mercedes says
Genial!!!!
Una tarta preciosa.
Gracias por el tutorial y un beso !!!!
Mercedes.
Lorelie says
Very sweet little cake. Love your tutorials. Thanks for sharing!
Anonymous says
I tried this cake….. I’ve never even baked a cake from scratch 🙂
It’s not nearly as nice as yours but it will do. I have a question about the consistency of the icing. Mine was the same consistency of the soft butter. I missed the let it cool part and started adding butter to the warm egg and sugar mixture. Could this make it less likely to keep its shape? I am going to have order that 124 tip I used a 104 and it wasn’t thin enough to make those pretty ribbons. Any advice welcomed 🙂
I’m trying to make this like a sky for my sons 2nd birthday with airplanes as the theme!
Stef says
What a fun idea for an airplane theme!! I would say that two things can make or break this frosting recipe: 1. that the butter is soft enough that you can make an indentation in it if you press gently with your thumb, but not so soft that it totally squishes, and 2. that you let the egg/sugar mixture beat with the whisk attachment until the outside of the mixing bowl is completely cool. After it has cooled and then you whisk in all the butter, switch out the whisk for the beater and beat it until it’s nice and creamy thick. When you’re piping it out from the bag, if it starts to get too runny, stick your bag in the fridge for a few minutes to harden up just a bit (not too long or it will be too hard to pipe out). Good luck! I think it’s super awesome that you gave it a try and you are going to be your own worst critic – your son is going to love that cake no matter what!!
Jules says
i’ve been wanting to try an ombre cake for a while with buttercream. i was just wondering if this buttercream tasted good. i took a class, and their buttercream was awful. please let me know:) thank you.
Twinkle Star says
Hi, just wanted to let you know that I have used a pic of your cake on my blog as inspiration for the mermaid party / cake I just had for my daughter. I have linked back to you, but if that is a prob let me know and I will remove it.
Thanks, Estelle xx
Twinkle Star says
http://twinklestutustwirls.blogspot.co.uk/2012/09/vintage-mermaid-faded-pirate-party-part_3.html
oops here’s the link!
Danielle says
Maybe the cutest cake ever. You are a really fun mom!
Danielle says
Maybe the cutest cake ever. You are a really fun mom!
Joanna says
My new business launches today (www.cakesinspired.com) and last night I baked and iced cupcakes for the photos. I totally had you in mind when I was icing! Because yours always look so great. Oooh and I’ve just noticed – girl.inspired & cakesinspired!
Betsy says
Can’t wait to try! Just to let know. . .I kept checking back at your blog waiting for this tutorial. So thanks!
Charity says
It’s so pretty! I actually love how it’s a little irregular in places, it makes it more ‘ocean-y’ And you make it look so easy! =)
Kim says
Awesome cake, thanks for the tutorial! I will be trying this one out 🙂
jillian bertz says
i know me too its my 13Th birthday!!:)