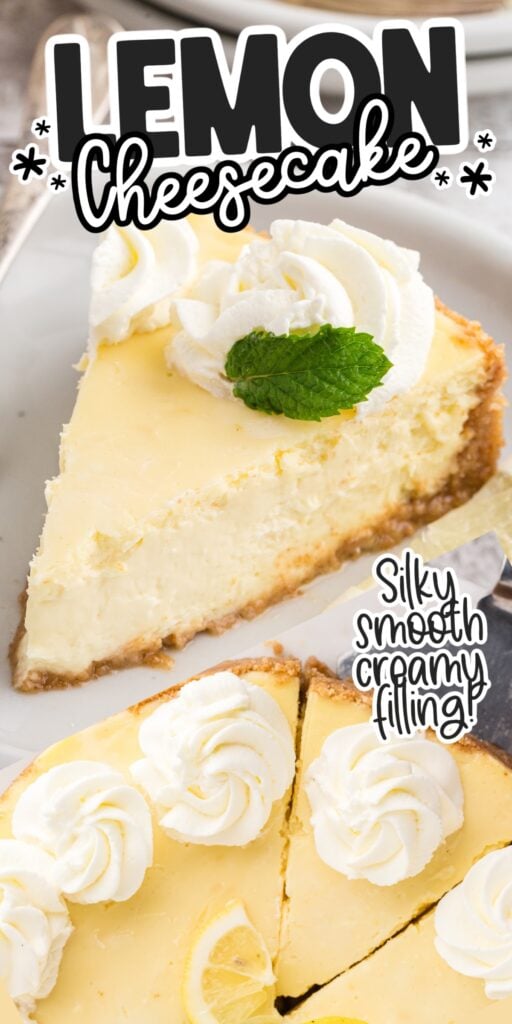
Lemon cheesecake has the perfect balance of tart and sweet. It’s full of lemony flavor and the luscious cheesecake is thick and creamy, so you get the best of both worlds. It sits on a buttery, sweet graham cracker crust, and we like to top it with fresh whipped cream.
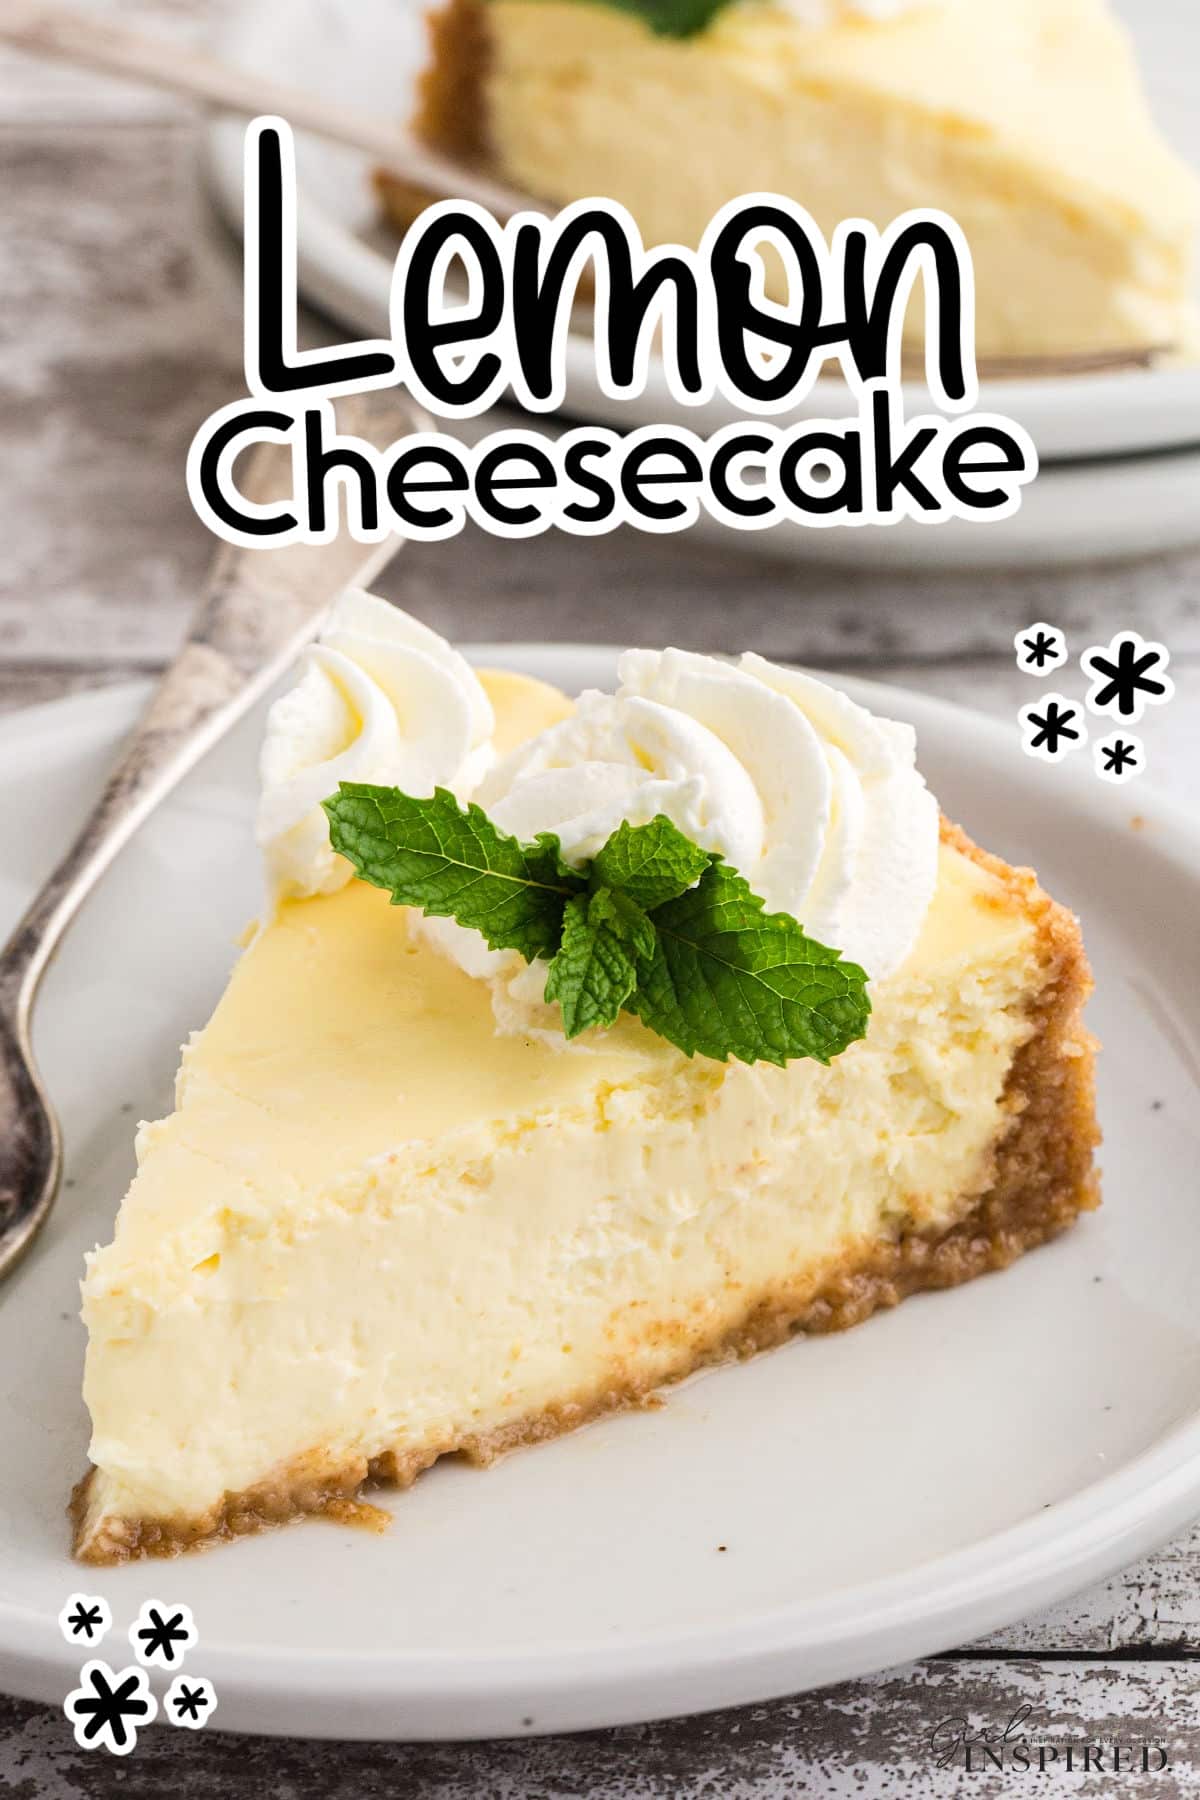
The first time I ever made a cheesecake I thought I would go crazy! It seemed like such a process and everyone always talks about how finicky they are. Normally I would whip up no bake cheesecake bars and call it a day, BUT the creaminess, flavor, and texture doesn’t compare to a classic cheesecake recipe. People freak out when they hear water bath, but as long as you have a larger pan, there is nothing to be scared of and you will come out with a smooth cheesecake and the perfect dessert every time…just trust me!
If you are a lemon lover like me, you will definitely want to save the recipes for these cute lemon blueberry bites and my lemon pie bars. Both are super simple and are great for special occasions. For those who like a little booze with their citrus, you’ll love these pink lemonade jello shots and whipped lemonade (can also be made without alcohol).
Jump to:
🍋 Ingredients:

This lemon cheesecake contains a number of basic ingredients, and all of them are easy to find at your local grocery store. Let’s talk about the most important ingredients.
Graham Cracker Crust Ingredients:
- graham cracker crumbs, granulated sugar, and melted salted butter – the sugar and butter melt together to make a “glue” that binds the crust together.
Lemon Cheesecake Ingredients:
- cream cheese – softened cream cheese mixes better and reduces the amount of air bubbles in the batter, which is very important.
- all-purpose flour – you don’t have to use flour in the cheesecake recipe, it does help bind the filling ingredients together and help it to set properly. Simply omit if you wish.
- vanilla extract and lemon extract – adds a ton of flavor without have to use additional liquid.
- sour cream – adds tanginess and moisture to the cheesecake.
- heavy whipping cream – bring to room temperature.
- lemon zest – be sure when zesting you do not get down to the white rind, it is very bitter. Zest packs a lot of flavor.
- fresh lemon juice – ditch the kind from the grocery store and squeeze your own! The flavor is much fresher. We don’t want to add to much liquid to the batter so we combine fresh juice with lemon extract in the recipe.
- large eggs – make sure to read the notes about the best way to add the eggs into the batter.
For a full list of ingredients and their measurements, 📋 please view my printable recipe card at the bottom of the post.
Optional Garnish:
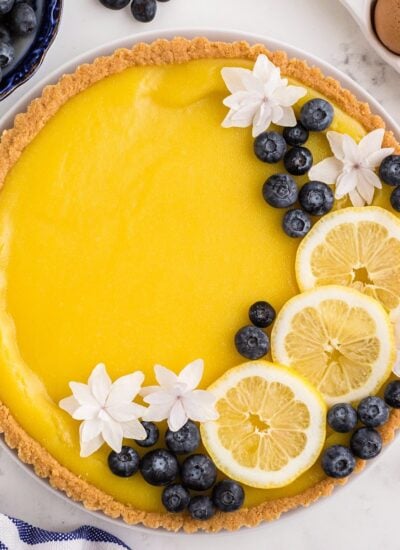
Creamy lemon cheesecake can be garnished with fresh blueberries, whipped cream, and/or some edible flowers – add these once the chilled cheesecake has been removed from the fridge! You can also keep it simple and just add a few fresh lemon slices.
Substitutions and Variations
- Lemons – While I’ve used regular lemons (Eureka) for the cheesecake batter, you could certainly use Meyer lemons instead which have a slightly sweeter taste.
- Crust – My go-to crackers for a cheesecake crust are graham crackers but you could use a different cracker or biscuit such as digestive biscuits or shortbread cookies. Some also like to use brown sugar in the crust for more flavor.
- Gluten-Free – use gluten-free graham crackers for the crust and omit the flour in the batter.
- Tart Lemon curd – add a thin layer of homemade lemon curd on top of the cheesecake once cooled. Just be sure the curd has cooled as well.
- No bake lemon cheesecake – follow my no bake cheesecake bar recipe and add lemon extract to the batter.
🔪 Instructions:
PREP: Grease a springform pan with nonstick cooking spray. Line the bottom of the pan with parchment paper. Preheat the oven to 325°F. Pulse the graham crackers into fine crumbs using a food processor.

Step 1: In a large bowl, combine the graham cracker crumbs, sugar, and melted butter.

Step 2: Press the crust firmly in an even layer in the bottom of the springform pan. Make sure it goes about halfway up the sides of the springform pan.

Step 3: In the bowl of a stand mixer, beat the cream cheese until it’s light and fluffy using the paddle attachment.

Step 4: Add a cup of sugar and beat for 1 minute on medium speed. Scrape down the sides of the bowl as needed using a spatula.

Step 5: Add the flour, vanilla, and lemon extract into the cream cheese mixture. Stir to combine.

Step 6: Beat in the heavy whipped cream, sour cream, lemon juice, and lemon zest. Don’t overmix! Just mix until incorporated.

Step 7: By hand, mix the eggs in one at a time.

Step 8: Transfer the cheesecake batter into the pan. Spread evenly over the crust using the back of a spoon or offset spatula.
Pro Tip: We recommend stirring the eggs in by hand because this prevents too much air getting into the batter. It also keeps it from puffing and cracking during the baking process.
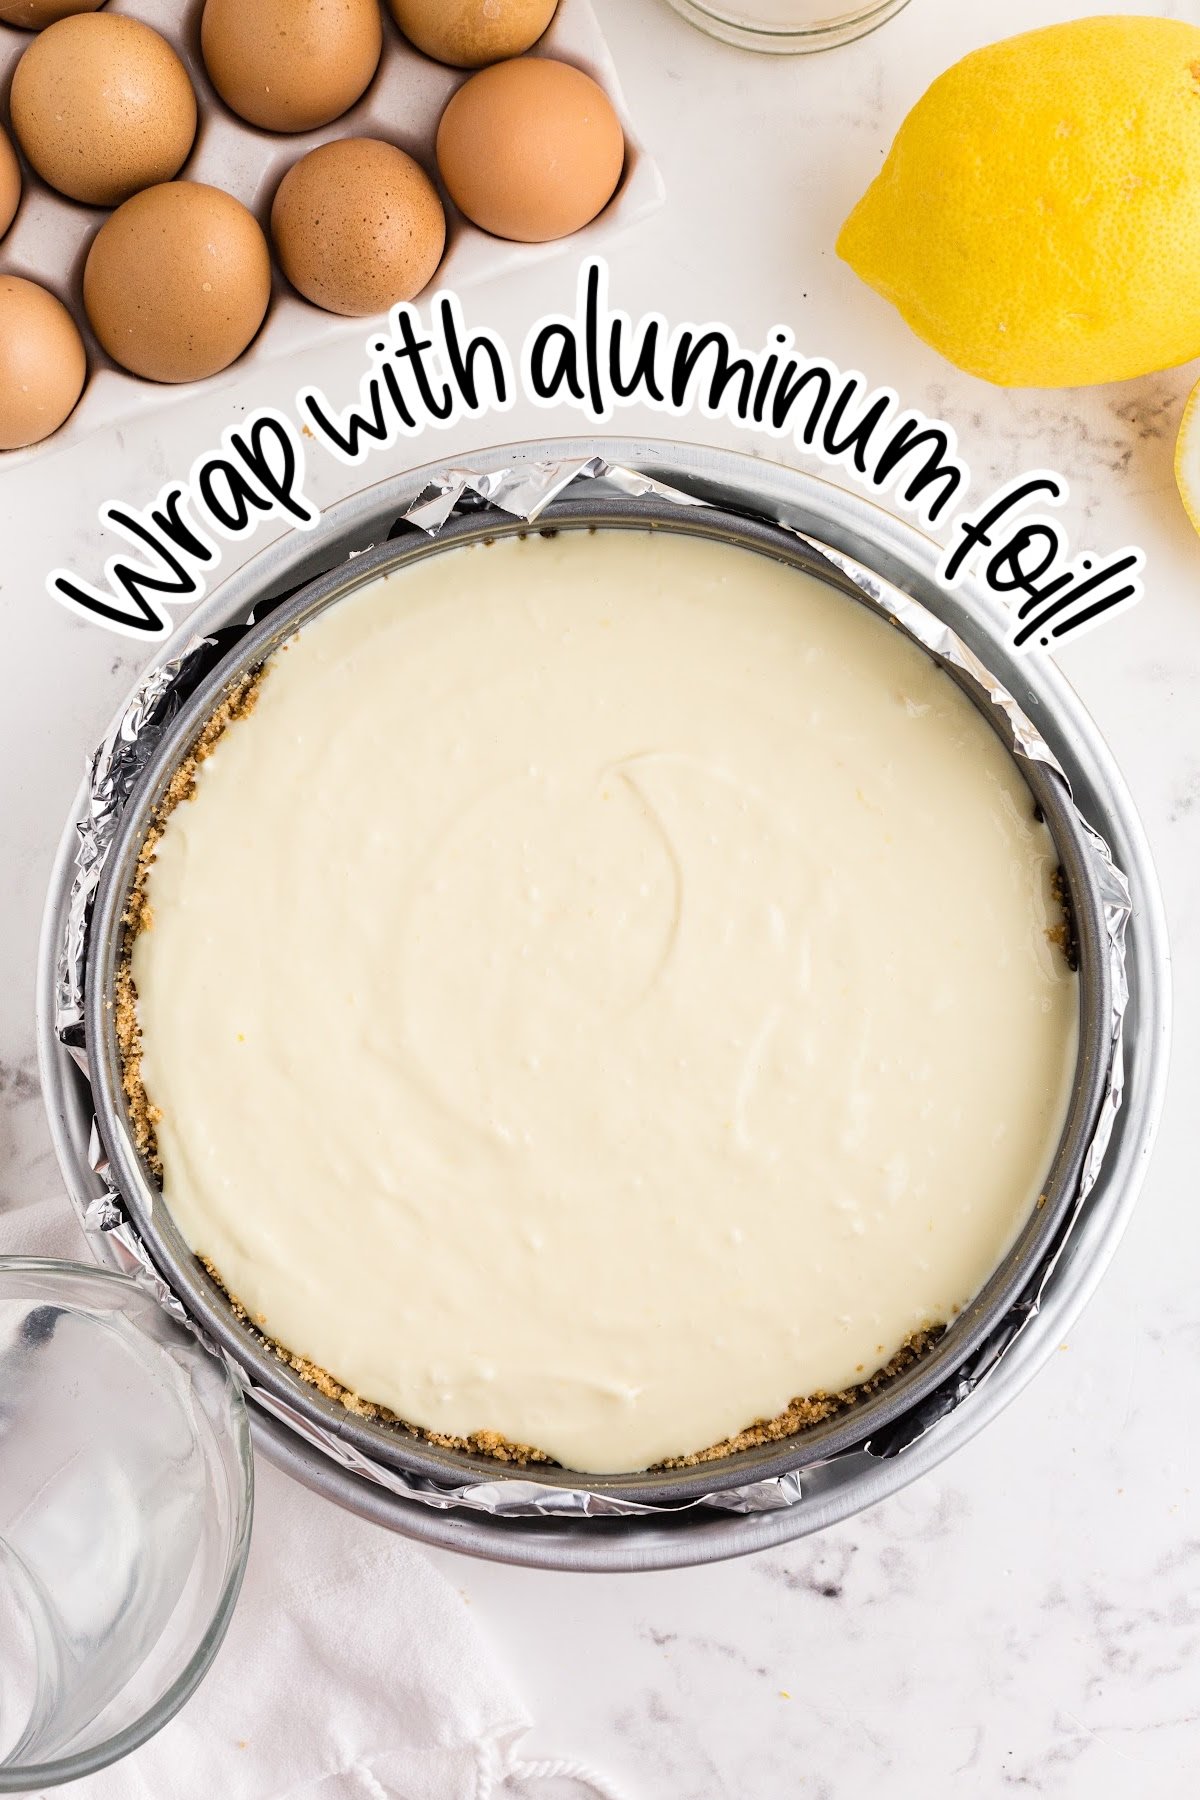
Step 9: Wrap the pan in aluminum foil and place into a larger vessel (such as a large roasting pan). Bake for 45 minutes. Then turn off the oven and let it rest in the oven for 20 minutes (door shut). Afterward, crack the oven door, and wait another 20 minutes. If you are making fresh whipped cream, do so while the cheesecake bakes.

Step 10: Remove the lemon cheesecake from the oven. Let the cheesecake cool completely, then transfer to the refrigerator for 2 hours or until set. Decorate as desired.
SERVE: Top with whipped cream, berries, or lemon slices and serve.

Recipe Tips for Baked Lemon Cheesecake
- If you don’t have a larger roasting pan that the cheesecake will fit in, fill another pan with warm water and place it on the rack below the cheesecake in the oven.
- It’s important to cook at a lower oven temperature to keep the creamy texture, which makes for the best cheesecake.
- For best results, use room temperature ingredients.
- Do not rush the cooling process. Leaving the oven shut then cracking the door the second time allows the cake to gradually cool. Do not place a hot cheesecake directly in the refrigerator or it will crack.
- For more lemon flavor use a little more extract, but do not increase the lemon juice. Lemon oil could be used as well, but remember it’s much more potent.
- While this recipe doesn’t call for it, you can certainly blind-bake your crust for about 8-10 minutes to ensure that it holds up and remains firm against the wet cheesecake filling.
- Form your crust halfway up the sides of the springform. This helps to seal the cheesecake and will also result in a lovely thick crust base per cheesecake slice when it comes to serving your lemon cheesecake.
- Full fat dairy products helps to give the creamy texture and aids in the filling setting up. Sometimes if a cheesecake is runny, it’s because low fat products were used.
Fun Fact
With proper care, lemon trees can live to be 100 years old! -Feast and Field

Recipe FAQs
Lemon cheesecake can be stored in an airtight container or covered with plastic wrap in the refrigerator for up to 5 days or in the freezer for up to 1 month. Serve your stored cheesecake straight from the refrigerator or allow it to first thaw from frozen in the refrigerator before enjoying a slice (or two!).
Great question! While I love no-bake cheesecakes due to the simplicity of the process, my heart has always belonged to a baked cheesecake. Yes, it may take extra time before you can enjoy it, but man…it’s so worth it!
So what are the main differences between the two methods? A baked cheesecake includes eggs in the cheesecake filling, requires being baked in a water bath, and then cools before being refrigerated for a period of time before being served. On the other hand, a no-bake cheesecake does not include eggs and effectively sets in the refrigerator before being served.
If you ask most cheesecake lovers, the smooth and creamy texture of a baked cheesecake always trumps a no-bake cheesecake. That’s not to say that no-bake cheesecake doesn’t have its benefits – it’s a great option if you need to whip up a delicious dessert without adding any baking time!
More Refreshing Lemon Desserts
If you tried this Lemon Cheesecake Recipe or any other recipe on my website, please leave a 🌟 star rating and let me know how you liked it in the 📝 comments below.
Lemon Cheesecake
Ingredients
Graham Cracker Crust
- 1½ cups graham cracker crumbs
- ⅓ cup granulated sugar
- ½ cup salted butter melted
Lemon Cheesecake
- 3-8 oz. packages cream cheese, softened 24 oz. total
- 1 cup granulated sugar
- 1½ tablespoon all-purpose flour
- 1½ teaspoon lemon extract
- 2 teaspoon vanilla extract
- 1 cup sour cream room temperature
- ½ cup heavy whipping cream room temperature
- 1-2 tablespoon lemon zest
- ¼ cup lemon juice freshly squeezed
- 3 large eggs room temperature
Optional Toppings
- whipped cream
- berries
- lemon slices
Instructions
- Grease a 9” springform pan and line the bottom with parchment paper.
- Preheat the oven to 325°F.
- In a medium mixing bowl, stir together graham cracker crumbs, melted butter, and ⅓ cup granulated sugar until thoroughly combined.
- Press graham cracker mixture into the springform pan, creating a thick, even layer across the bottom and about halfway up the sides of the pan. Pack down the crumbs so that the crust holds together. Set aside.
- In a medium mixing bowl, beat the cream cheese with a hand mixer (or standing mixer) until light and fluffy.
- Add 1 cup of granulated sugar and continue beating for 1 minute.
- Add flour, lemon extract, and vanilla extract to the mixture and combine.
- Beat in sour cream, heavy cream, lemon zest, and lemon juice. Mix just until combined.
- By hand, mix in the eggs, one at a time. Stir gently to prevent extra air from getting into the mixture.
- Pour cheesecake mixture into the prepared graham cracker crust and spread the top smooth.
- Wrap the springform pan in aluminum foil (to prevent water from getting in) and place the pan into a larger vessel that can hold water at least 1” up the sides of the pan.
- Fill with water to create a water bath for the cheesecake.
- Bake for 45 minutes. After 45 minutes, turn off the oven, keeping the door closed for 20 minutes. After this 20 minutes, crack the oven door and leave the cheesecake in place for another 20 minutes.
- Remove the cheesecake from the oven. Allow to cool the rest of the way and then transfer to the refrigerator to chill for at least 2 additional hours.
- Top with dollops of whipped cream and/or berries or lemon slices and serve.
Would you like to save this?
Notes
- Store any leftovers covered in the refrigerator for up to 5 days or freeze for up to 1 month.
- Mix the eggs into the batter by hand; mixing too vigorously adds air to the batter which will result in the cheesecake rising during the bake and subsequently cracking while cooling.
- The springform pan isn’t water-tight, so wrap it well – you must use a double layer of aluminum foil – to keep the water from the water bath out.
- Instead of layering aluminum foil and placing the springform pan in water, set a pan of warm water on the shelf beneath the cheesecake throughout baking.
Nutrition
Make this recipe?
Share it with me on Instagram @girlinspired1 and follow on Pinterest for more!





Leave A Reply!