 Last week, I showed you the darling set of dresses that I made with the Four Corners fabric line and the 5&10 Volume 1 dress pattern (no longer available). For one of those dresses, I made a knit version by modifying the pattern just a tad. It turned out so cute and comfortable that I wanted to show you how to alter the pattern with this knit twirl dress tutorial so you can make one, too!
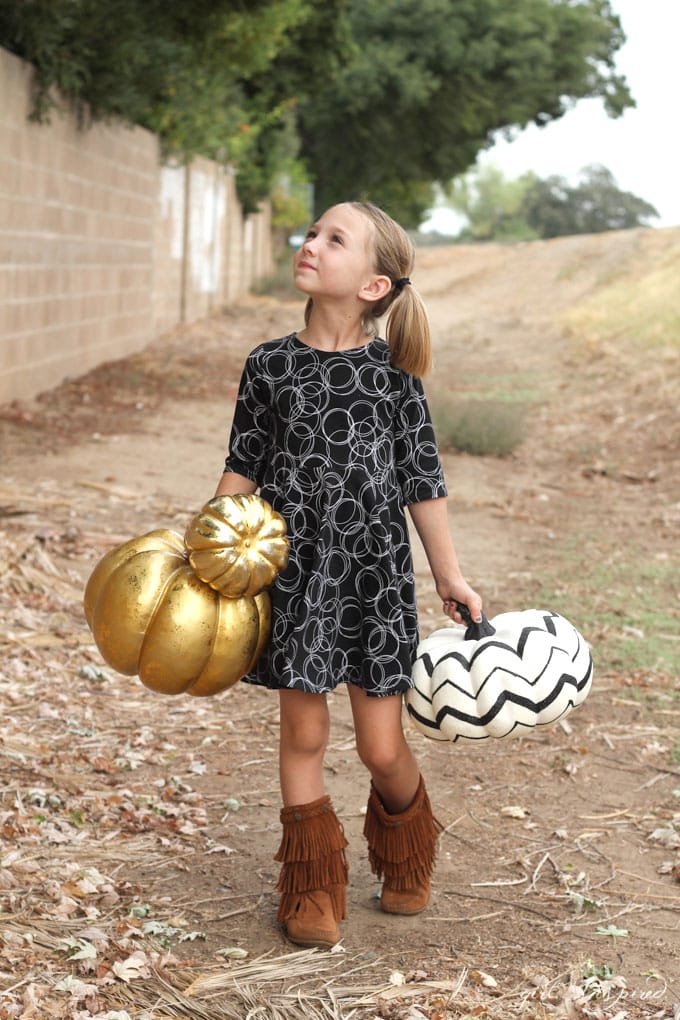
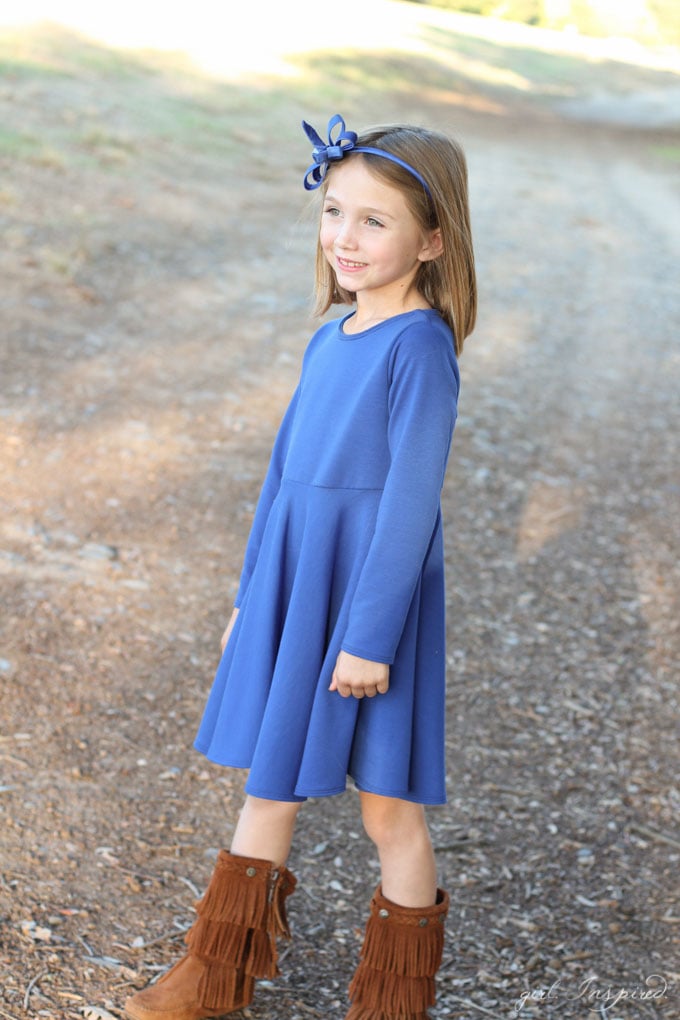
I made the blue version here using a really plush knit from Jo-Ann – it made the perfect “Madeline” Halloween costume, actually, when I added a removable white Peter Pan collar and red sash to the ensemble. And now, it can be worn throughout the year.

To make this dress, we’re going to use a basic bodice pattern. Since I’m making this dress from a knit instead of a woven fabric, I cut out the bodice one size smaller – so, since her measurements would point to a size 6, I cut the size 4 bodice. I need two front and two back bodice pieces and I cut both patterns on the fold (no need for a button up opening!)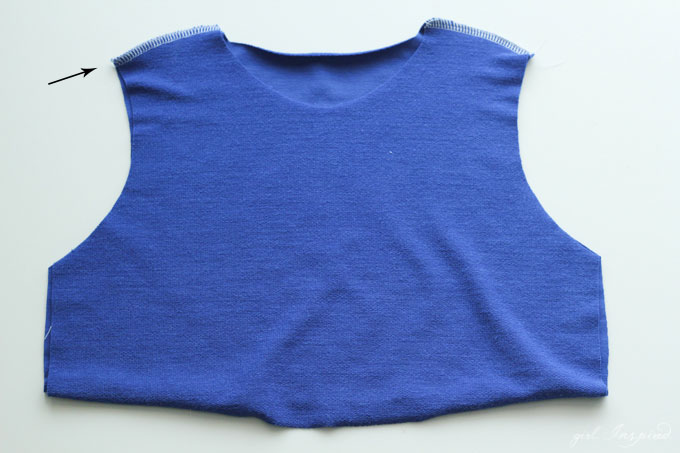
Step 1: Serge the front and back bodice pieces together at the shoulders, right sides facing. (Note: I used the serger and coverstitich to assemble the entire dress, which brings it together in a snap, but you can also use your sewing machine with a ballpoint needle and a stretch stitch.) Sew together (serge) the front and back bodice lining pieces together at the shoulders as well.
Continue with the tutorial below…
More Dress Tutorials you might like
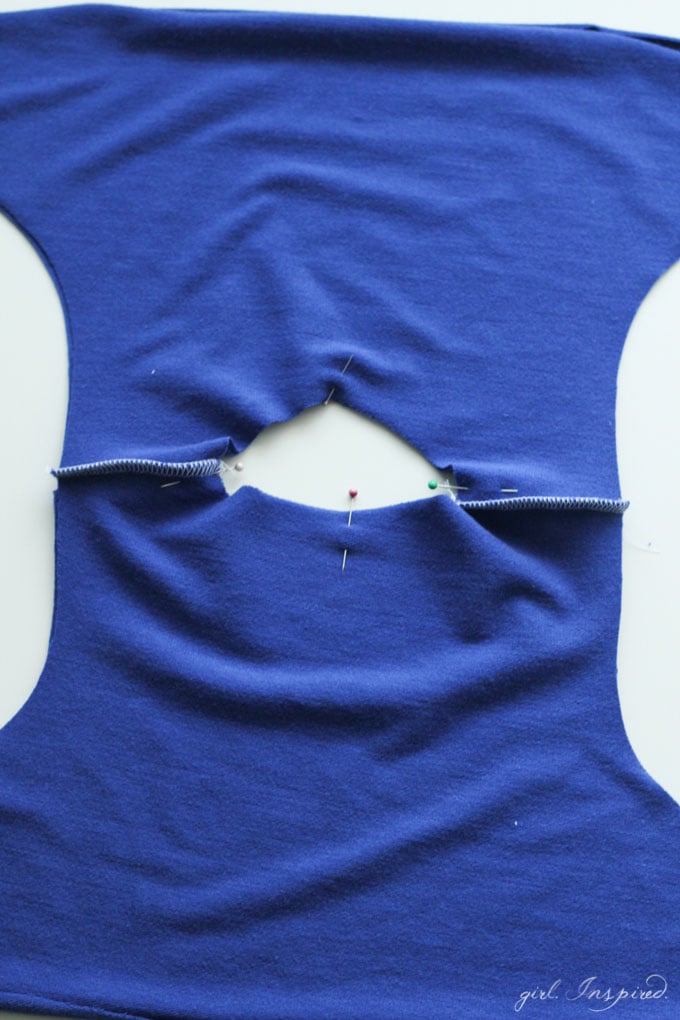


Step 2: Right sides facing, pin the bodice to the lining at the neckline, matching front center, back center, and the shoulder seams.
Step 3: Sew completely around the neck opening to join the bodice and lining.
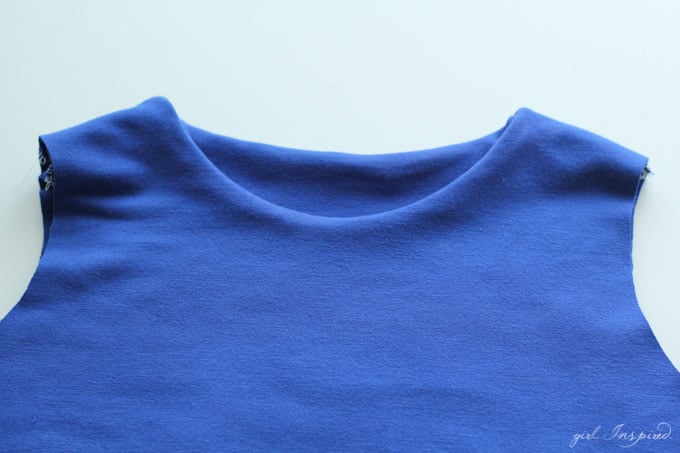
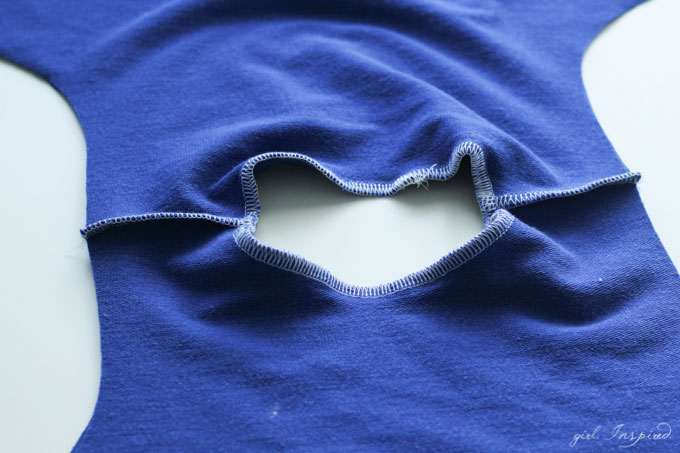
Step 4: Turn the bodice right side out and fold the lining to the inside. Press the seam along the neckline so it lays correctly in place.
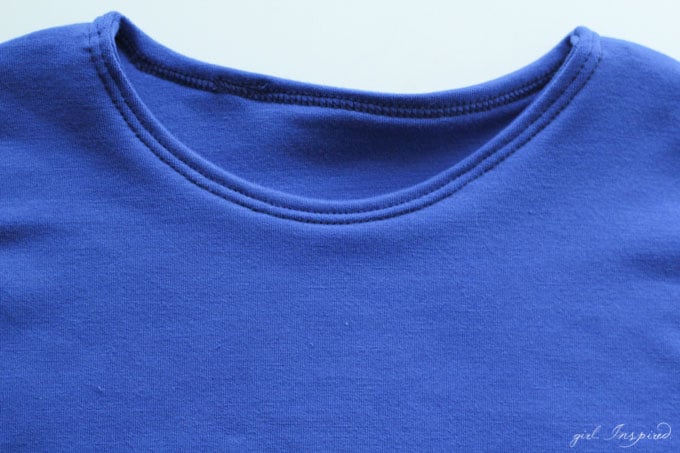
Step 5: Cover stitch around the neckline for a neat finish and to hold the neckline in place.
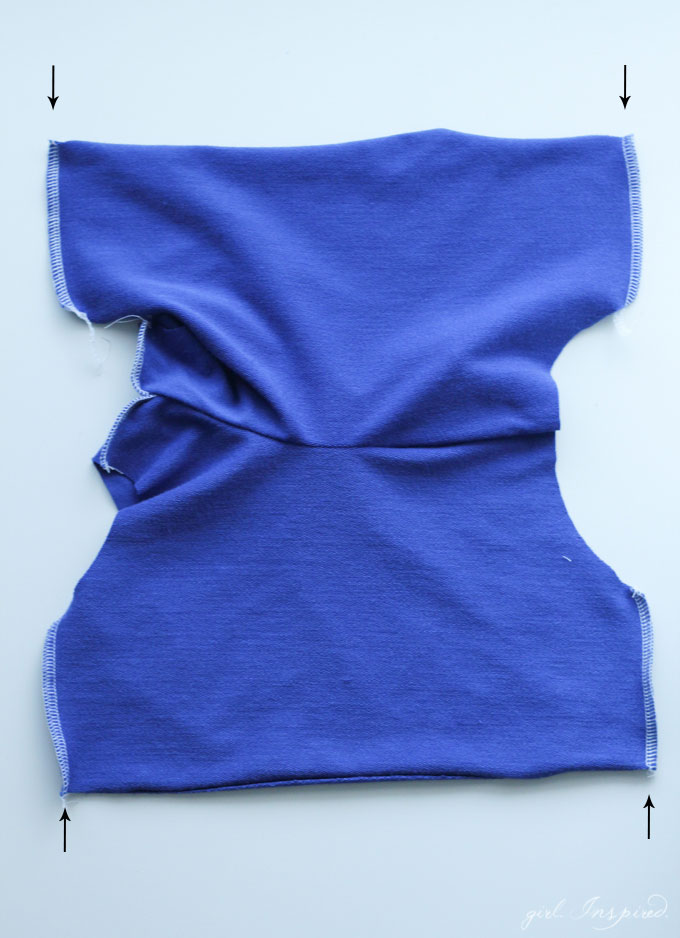
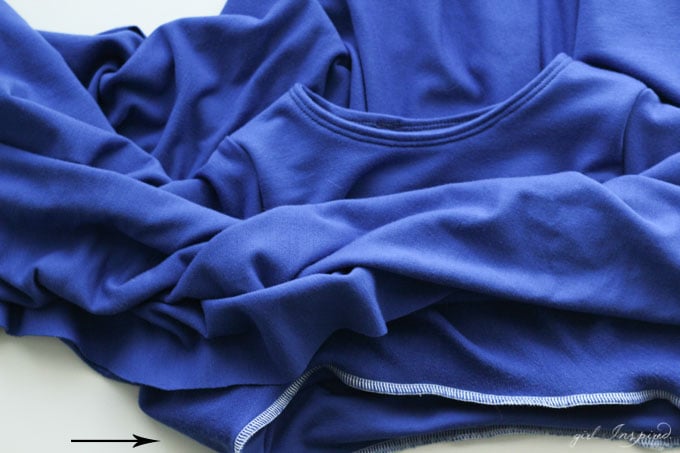
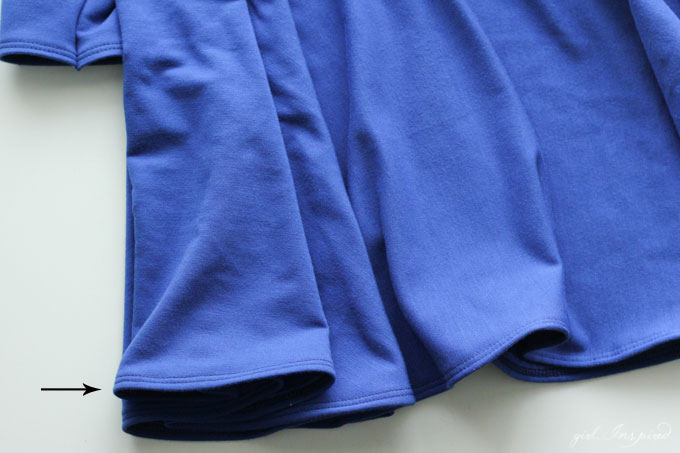
Step 6: Separate the main bodice from the lining, matching the side seams of each, right sides together. Sew together the side seams, as indicated by the arrows in the picture above.
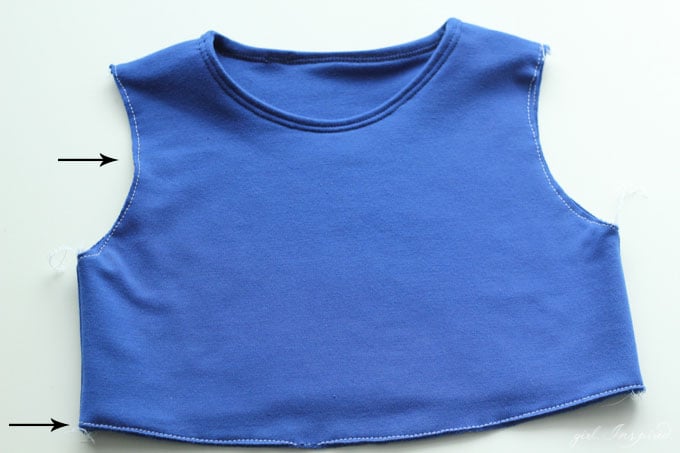
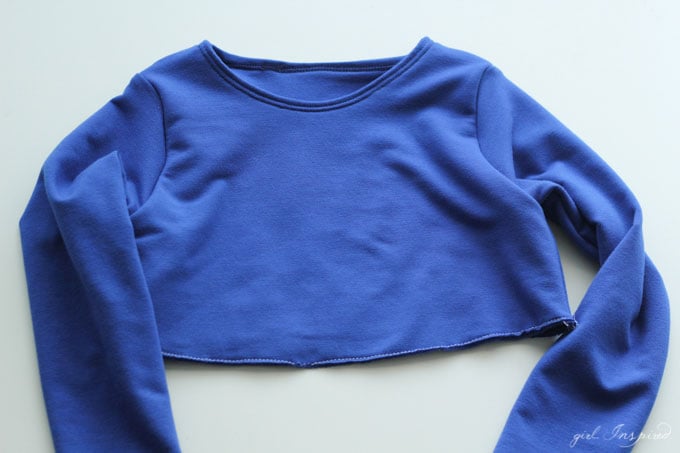
Step 7: Fold the bodice back into place. Baste the bodice to the lining around each armhole and around the waistline.

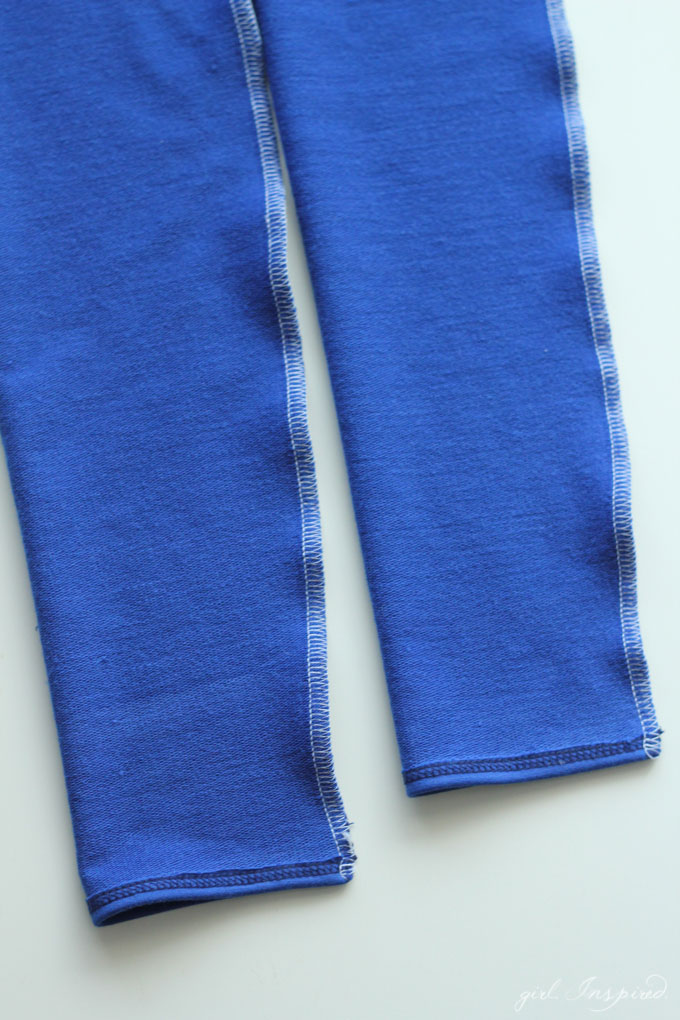
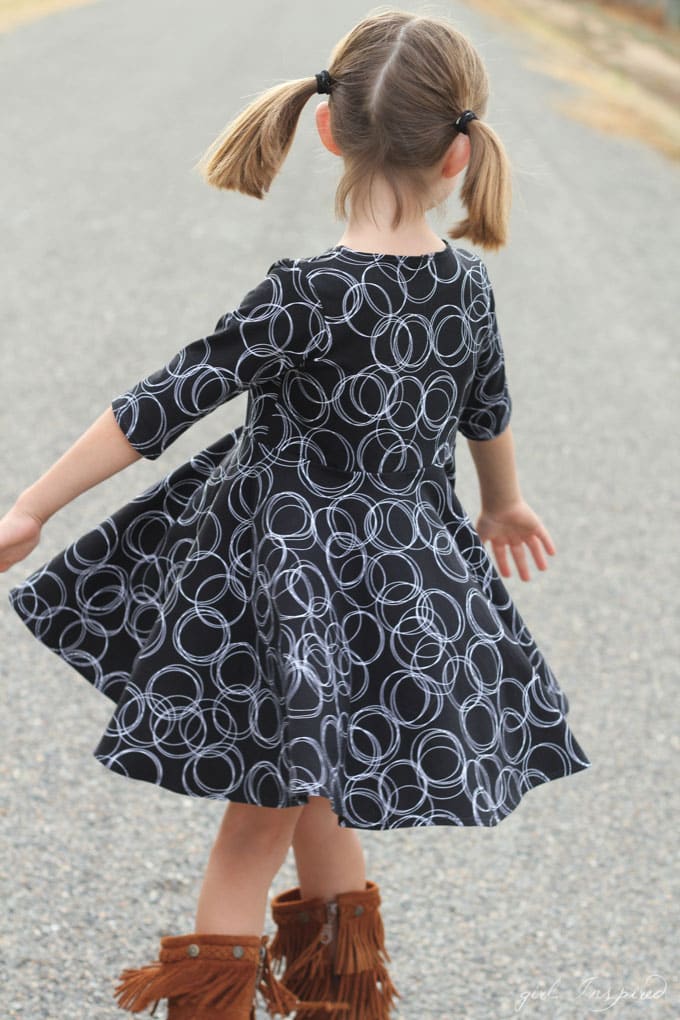
Step 8: Using the 5&10 Vol. 1 pattern, cut two sleeves. The pattern includes short, ¾ length (shown in the black dress above), and long sleeves (shown here in the blue dress). Be sure to cut the smaller size pattern (a size 4, in this example), but continue the sleeve length down to the actual size of the child. Here, I cut a size 4 sleeve, but extended the length down to where the size 6 sleeve length ended. Fold under the raw edge of the sleeve hem and cover stitch or hem.
Step 9: Fold the sleeves right sides together along the length and sew together to form the sleeve.
Step 10: With the bodice inside out, match the sleeve to the armhole, keeping right sides together. I like to mark the top center of the sleeve to the shoulder seam and the underarm seams, and then adjust the sleeve to fit evenly in the opening. Sew the sleeve into the armhole.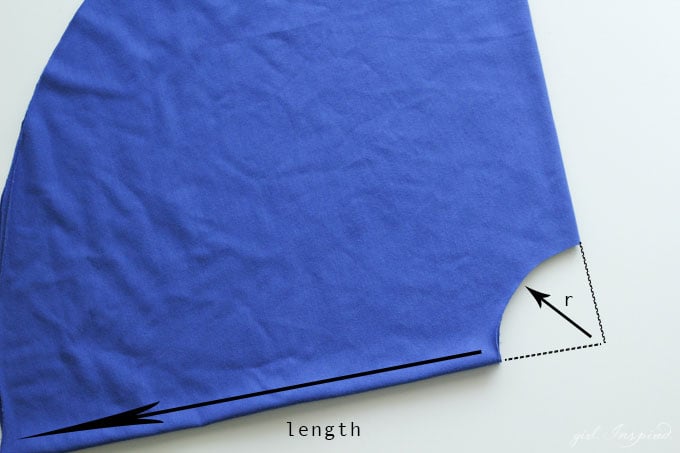
Step 11: The only thing left is to add a skirt! A circle skirt is perfect for this dress because it keeps the waistline nice and streamline, but gives your little one just the flare they love for twirling! To determine how big your “r” measurement should be, simply measure the circumference of the bodice waist. Then divide by 2, then divide by 3.14. You’ll probably get somewhere in the 3-4″ range. Cut the waist of the circle skirt. Then measure from your child’s natural waist down to the desired length. Add about ¾″ of an inch for seams and hemming and use that measurement for the “length.” Measure out from the waistline to mark the circle and finish cutting out the skirt.
Step 12: With your bodice right sides out, flip your circle skirt up over the bodice, matching the raw edges of the waistlines. Pin together evenly. (Tip: Mark the center front and back of the bodice with a pin. Mark off the skirt into four quarters – front center, back center, side, other side. Then, match up the front center pins of bodice and skirt; match back center pins of bodice and skirt; match side seams of bodice with side pins of skirt.) Once the skirt is pinned evenly to the bodice waist, stitch the two together.
Step 13: Hem the skirt (I used a cover stitch once again!) and YOU’RE DONE!! So great, right?
This dress is going to be such a versatile garment in the closet. It’s comfortable for the kids and looks adorable, too. Layer it with a sweater and tights or wear it as is. If you don’t already have a cover stitch machine, add this dress to your list of reasons to invest in one – they make sewing with knits neater, more professional looking, and a thousand times easier! I love my Baby lock Evolution!


Comments & Reviews
Charity says
I love twirly skirts on little girls! This is really cute. =)