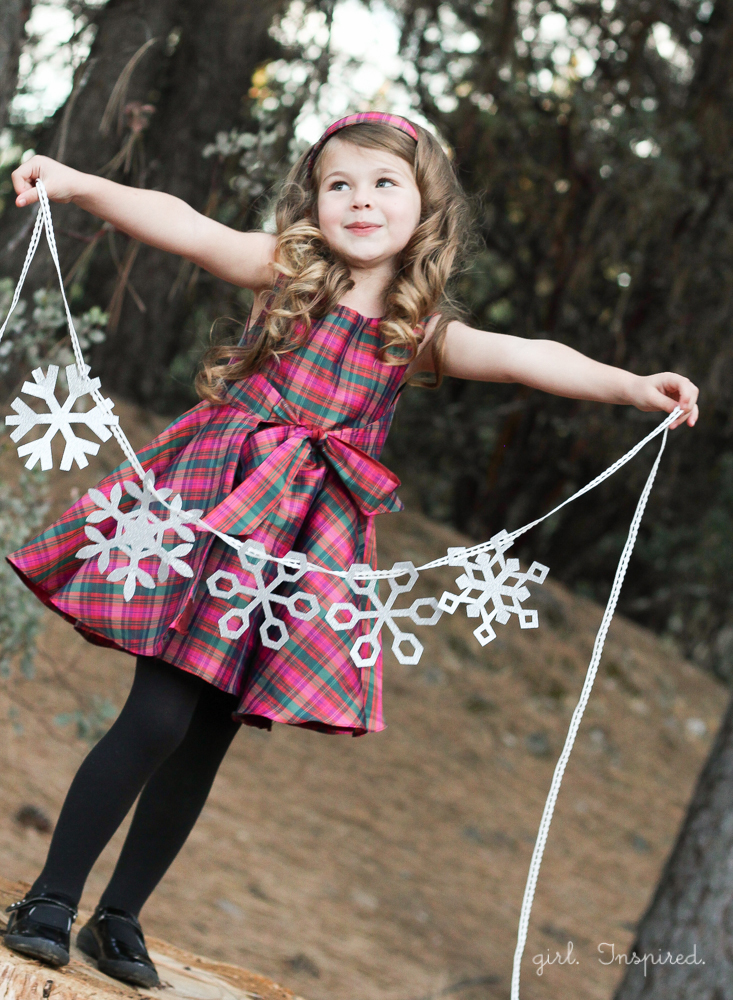
Photography has become just as much a part of my everyday creative routine as sewing, baking, and crafting. As the writer of a creative blog, improving my photography is an absolute necessity. And as a mom, I treasure the photographs that I’ve captured of my children that have come from the picture-taking demands of blogging. I have no professional training in photography, but I’ve taught myself some tricks that work for me over the years. Sewing new patterns and sharing pattern reviews here has become the primary drive behind most of my girls’ “photo shoots” around here. Along with Pattern Anthology’s newest release of their Winter Wonderland Pattern Collection, they asked me to review a new dress pattern and give some holiday photo tips. So, today’s post is a two-for-one – you get my holiday version of the Amaryllis Dress Pattern AND my latest and greatest tips for getting that perfect holiday picture of your little one(s).
Photo Tip #1: Plan your Outfit (and fabrics) Carefully. Things that I find more difficult to photograph – shiny fabrics, the color red, and busy high-contrast patterns. I chose a taffeta for this Christmas dress. It has just enough shine and structure to give the dress a nice, holiday feel, but the fabric is not going to give my camera lens a funky glare or make exposure difficult. I also loved the plaid pattern and the subtle mix of colors makes it easy on the eye (and camera) while still feeling festive.

Photo Tip #2: Consider shoes and accessories that will complete the scene. Be sure to plan the full outfit, not just the main pieces. Shoes should match the feel of the picture – nothing says fancy like black patent leather, nothing says summer casual like bare feet – you get the point. For girls, a nice pop of color up in the hair goes a long way in making a photograph look professional. I made the headband that Addie is wearing here in about five minutes. I simply ironed a piece of the dress fabric, layered some Phoomph onto it, wrapped it around a plastic headband, and hot glued the backside to secure the fabric in place – presto! Take the time to make a hair piece for your photo shoot – you won’t regret it! I have several hair accessory tutorials under the Crafts tab if you’re looking for ideas or how-to.
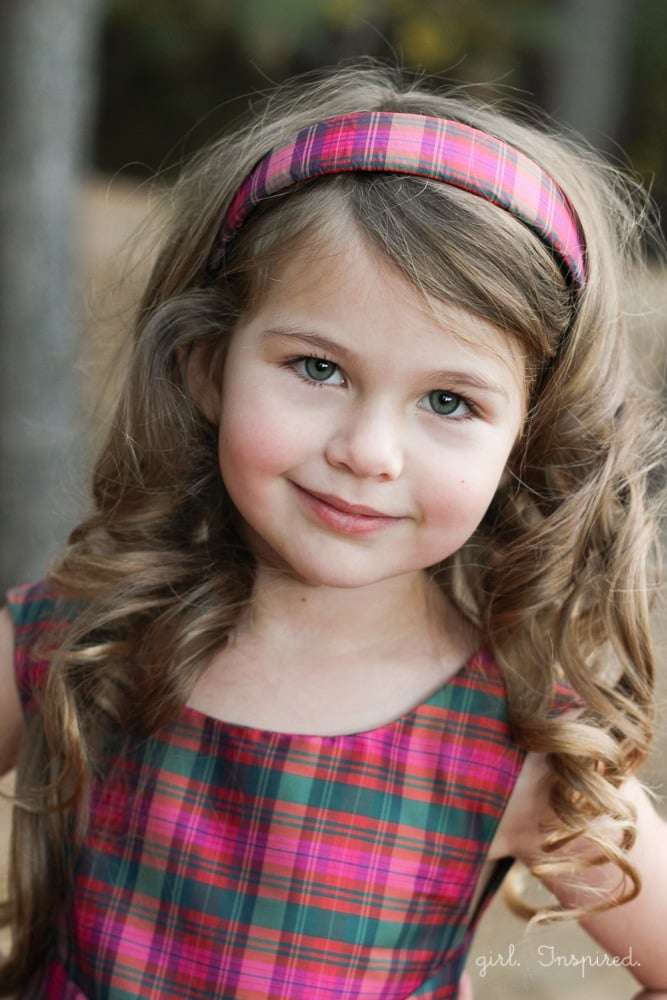
Photo Tip #3: Location. Sometimes, you step outside your front door or kick the clutter out of the way and shoot a quick picture. But for those special occasions and keepsake pictures, take the time to pack up and travel to a place that has the feel you want. Where I live, everything looks very Autumn right now (or maybe even summer), but I needed a Christmas-y setting for these pictures. I hadn’t scouted out any Christmas tree farms in advance, but I knew that if we hopped on the freeway and started driving towards Lake Tahoe that it wouldn’t take but 15 minutes to reach some good forest land. Once the landscape changed to mostly evergreens, we pulled off the freeway at a rest stop – and bam! perfect photo shoot setting. Also, even when you’ve chosen a location, try a few different settings and lots of angles for your pictures. You never know where the light is going to fall just perfectly or how the background will look until you start shooting.
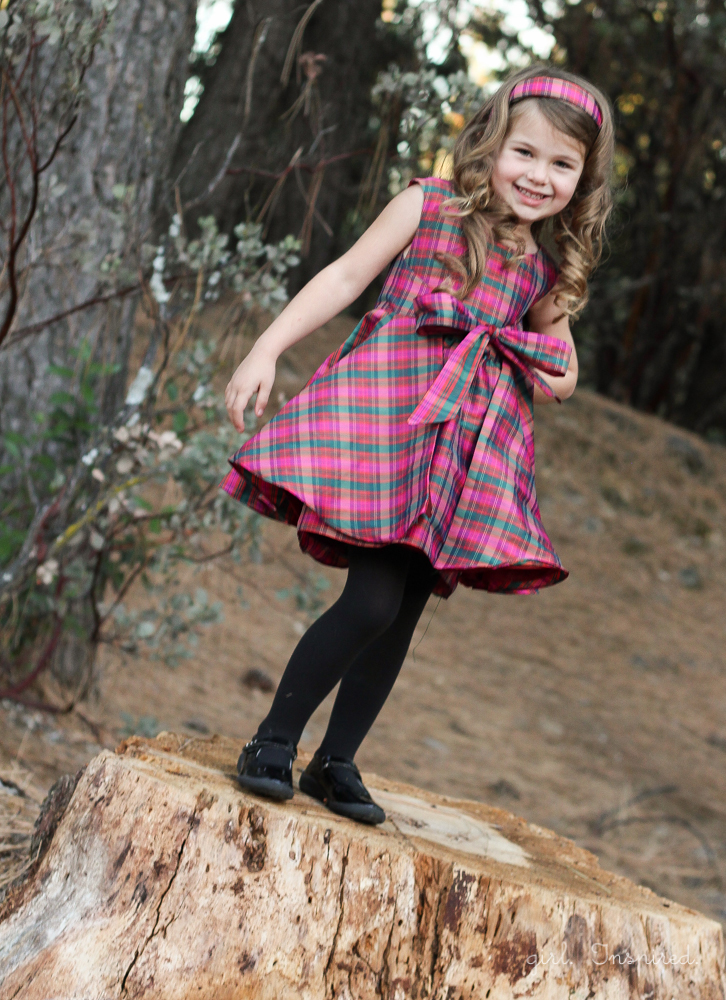

Photo Tip #4: Bring Help!! I don’t know about you, but if it’s me hiding behind my camera fidgeting with the dials, trying to photograph one kid, bored by my fidgeting, the shoot is just not going to be all that successful. But if I have someone else standing beside me to distract the “model,” everything goes much smoother. When kids start interacting with someone else, they forget about the camera and their real personality shines through. The expressions that flick across their face as they’re talking or giggling or listening to a sibling or another adult talking make the perfect moments for capturing on film. Sure, the posed, smiling pictures are lovely, but my favorites are always the ones where my girls have that extra sparkle in their eyes. And usually, that smile is elicited from my “help.”
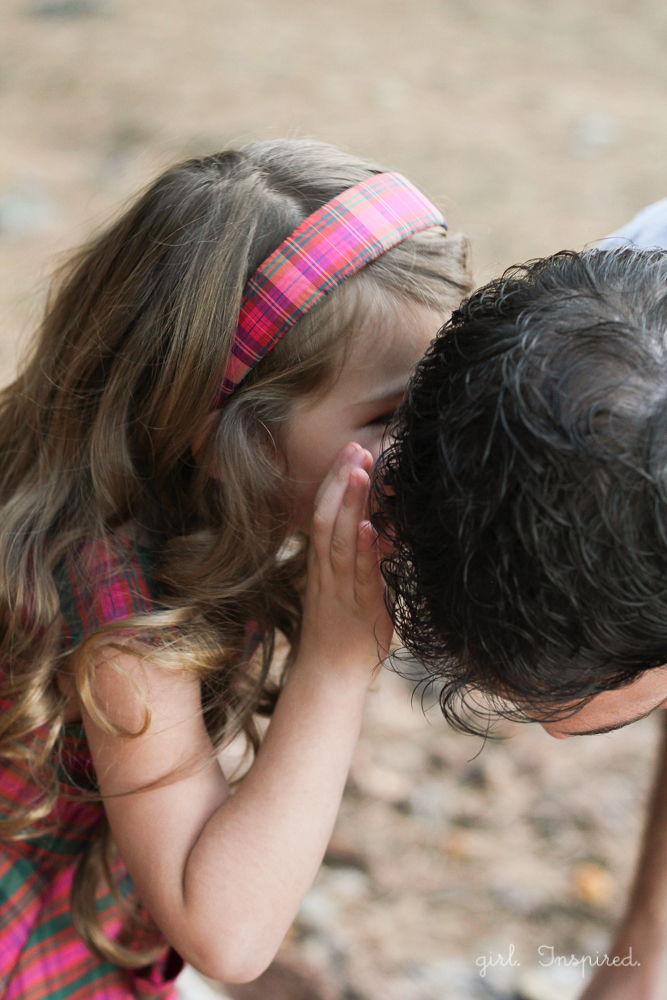
Photo Tip #5: PROPS. Props. Props. Props. Props work a lot like the human helpers from Tip #4 – they distract your model from the real business of posing for the camera. Don’t expect that you’ll hand over a prop and they’ll hold it just so and you can snap one picture and be done. DO bring several props and try them out with your model. Refrain from a lot of instruction and just see what happens. I cut some snowflakes out of glitter paper and my husband strung them onto a piece of lace while we started taking pictures. I handed the strand to Addie and was fiddling with the camera. Before I knew it, she broke out in some snowflake song I’ve never heard – I have no idea if it’s a real song or not, but she was singing all about the snowflakes falling down and dancing her strand around. I have quite a few picture of her all hunched over the “fallen” snowflakes, but amongst those, I got a gem of a shot as the snowflakes came back up for another go. Magic. This is my favorite picture of the lot (yes, I know I already showed it, but I like it so much, we’re going to see it again). The prop is simple, it doesn’t distract from Addie or the outfit, but it reflects the feel of the picture and it also brought out her sweet, little personality.

Photo Tip #6: Take a million photos. And then a few more. The beauty of digital cameras is that there is no harm in taking as many pictures as you can squeeze in. I try not to give too many instructions and as long as the sun and the clock are cooperating, I let my girls mostly control the photo shoot. They’re much more cooperative that way. I just keep snapping photos and then sort through them all when we get home. Tongues sticking out, crossed eyes, collecting sticks? Those can all be tossed out during the editing process.
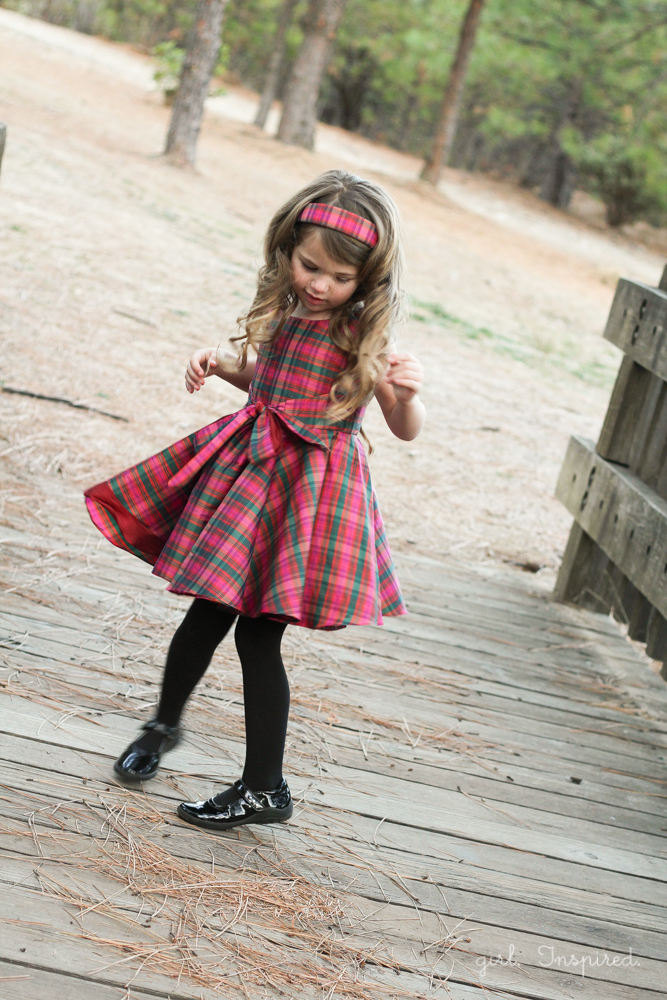
Photo Tip #7: Rewards and Making your little person feel special. I’ve learned that the way I present the photo opportunity makes a huge difference in my girls’ willingness to participate in said opportunity. I start gearing them up with something like this. “I’m working on a new dress just. for. you. Addison….just wait until you see it…oh my gosh, your eyes are sparkling so bright in that dress, you must really like it….would you like me to do your hair with some fancy curls….I am so excited to see the pictures from your special Christmas dress photo shoot…you look so fancy…etc. etc. etc.” They feel like the star of your show and they love being the center of attention. It’s all. about. them. I also give my children rewards after a photo shoot – it’s like their payment for a job well done. Hot chocolate, a piece of candy or bubble gum, dinner at a drive thru of their choice, dollar store toys, and cash all work well.
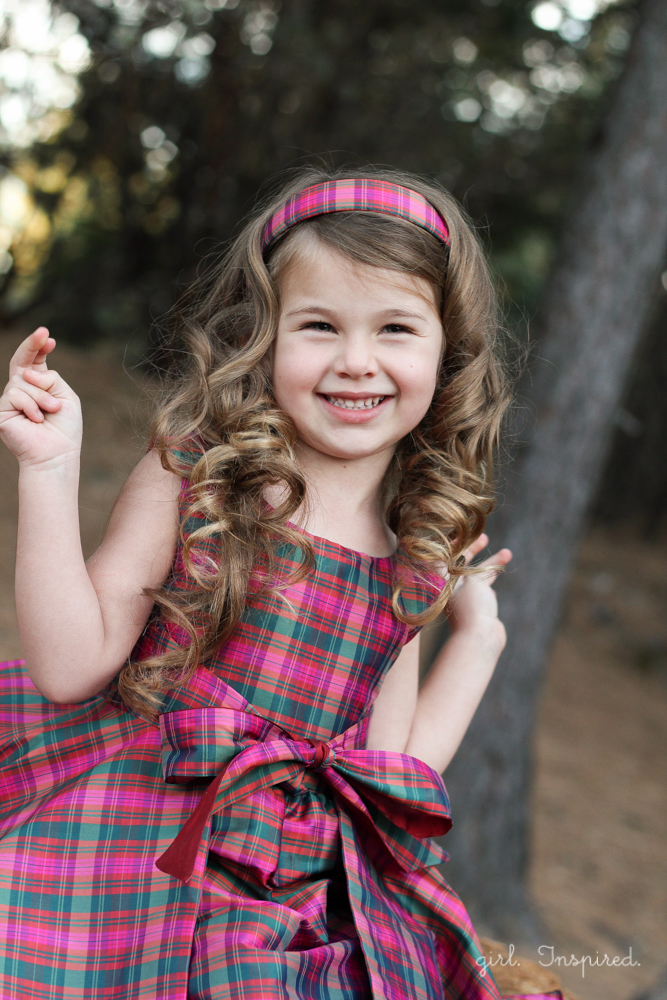
Okay, so those are my main tricks for setting kids up for a successful holiday photo shoot – I hope some of these things will be helpful to some of you!
Now, I wanted to say a few more things about this dress pattern! The Amaryllis Dress, by Melissa from Blank Slate Patterns, is just one of the patterns available in the Winter Wonderland Collection by Pattern Anthology. This latest collection has some patterns that are absolutely perfect for holiday garments (for boys and girls!) and it also has some great, cozy basics! I think I’m sewing the trapper hat next because it is irresistible and I can’t even stand the cuteness of the Peter Pan collar on the little blouse!! Anyway….the Amaryllis Dress – this dress is fun and unique. It’s fully lined and the way it’s constructed allows for full reversibility – great for when your child smears cookie crumbs all over their Christmas dress and you still have three more holiday parties to hit up! Also, the dress is a wrap dress – the front bodice/skirt wraps around and snaps in the back while the back wraps around and ties into a pretty bow in the front. The back skirt is a full circle skirt, which means that this baby has all the twirl-ability Addie could hope for!
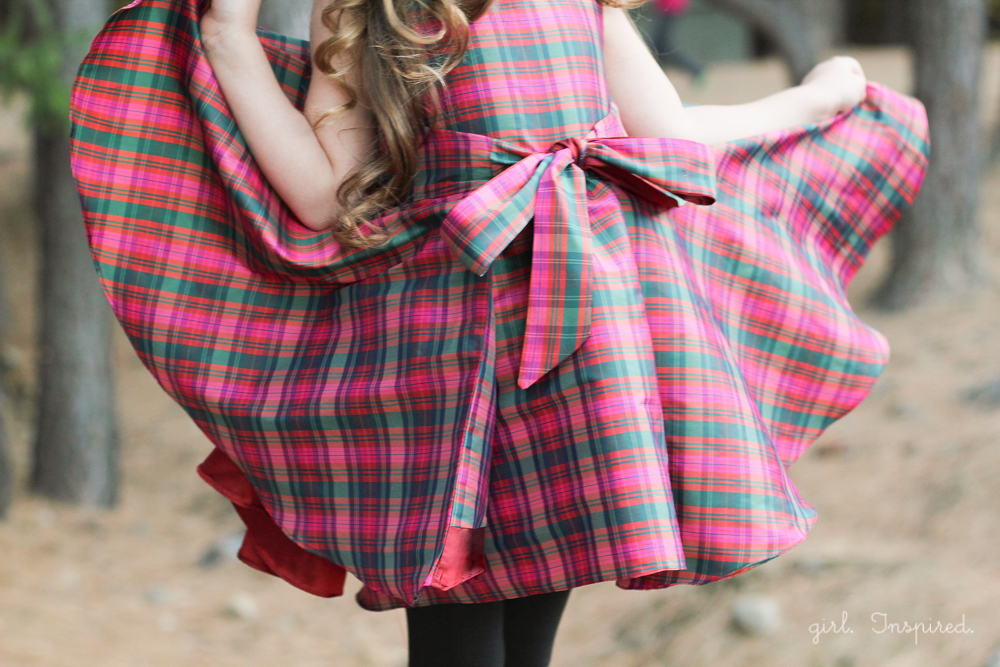
The dress takes a lot of fabric, which is the only downside to the pattern, in my opinion. However, I squeaked out a size 3T from 2.5 yards of taffeta and just a small amount of a secondary fabric (used on part of the lining). So….you can be creative and use less fabric. And most fancier dresses are going to require a decent amount of fabric – you’re still going to be better off than buying a ridiculously expensive, not as unique dress from a department store. Let’s see…what else? I sewed a 3T even though Addie typically wears a 4T in sewn and store-bought clothes. I followed the sizing chart, which pointed me to a 3T based on her chest and waist measurements – I thought it might be a little short, but I usually like little girl’s dresses a bit shorter than most patterns and this one turned out just perfect on her! I found the taffeta finicky to work with, but the finished dress is so pretty, it was worth it. Also, I finished all of the hemming with a rolled hem – there’s no other way to do a circle skirt hem on taffeta and silk while staying sane (at least not for me!)
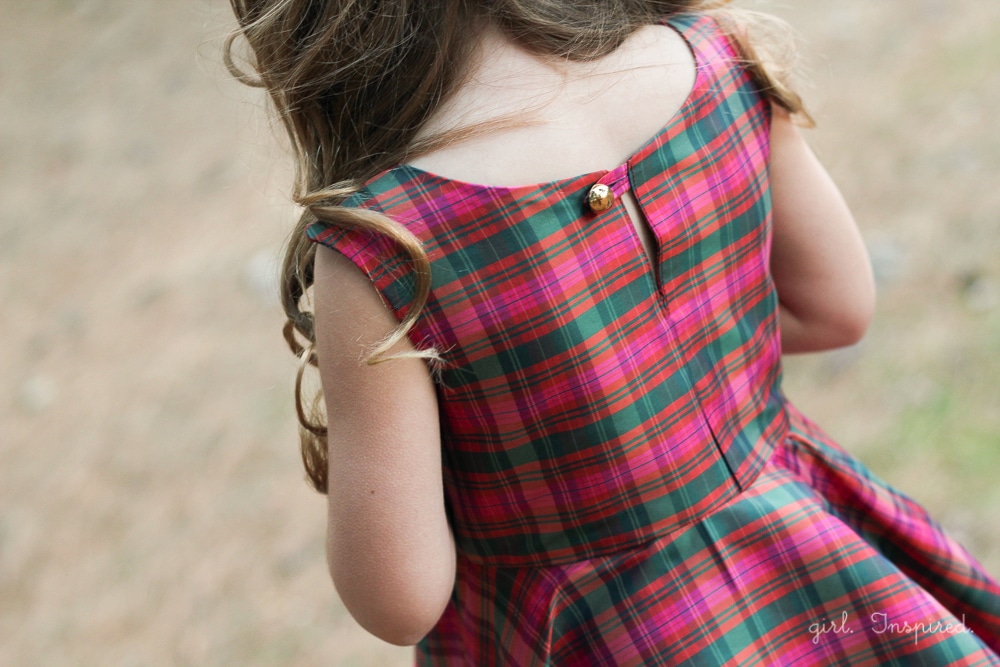
The back of the dress closes with a single button – I like the simplicity of this while the front of the dress has all the fanciness. This sewing pattern is labeled intermediate, but Melissa’s instructions are thorough and explained clearly. Aside from some tricky piecing that I did on the lining to conserve fabric, the dress sewed up really quickly! It’s a good one for those holiday dresses!


Comments & Reviews
Patty says
These photos and dress are magnificent! I had the same reaction as Kristin when I saw the close up photo- I felt I was looking at an angel. You are an inspiration and doing a phenomenal job with your girls.
Chantal says
Clicked on over from Shwin&Shwin and I am in love with this dress. You did such a great job. Such a pretty little girl too 🙂 Would you mind sharing where you got this fabric?
girlinspired says
Hi Chantal, Thank you! The fabric is from Jo-Ann!! They have a few different colorways – it’s so pretty, huh?
kate says
stef this is amazing! everything you touch is gorgeous. 🙂
Charity says
These are such beautiful photos! And I love the tips too… I really need to use these when I’m photographing my daughters. Thank you!
Jessica @ Running With Scissors says
Love the fabric choice and coordinating headband! Your photography is always beautiful, but it makes it easy with such gorgeous little daughters!
Simple Simon and Company says
Stef, I LOVE that plaid you used….so cute and twirly!
Elizabeth
Delia says
Beautifully done my friend!
girlinspired says
Thanks, Delia!
Marjorie says
Stopping and from the Monday blog hop to say hello! These are great tips! I just got a new camera and am learning beginner photography so this is very helpful. It doesn’t hurt that your subject is adorable too! 🙂
girlinspired says
Thanks, Marjorie! You’re going to have so much fun playing with your new camera!!