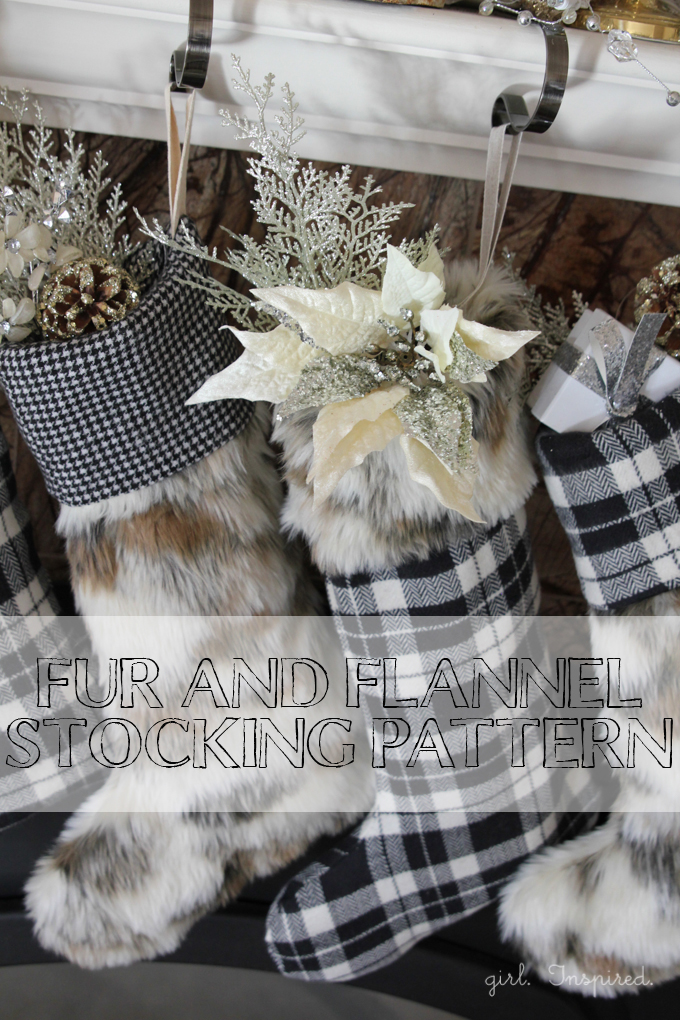
It is probably obvious from my recent posts and my Instagram feed, but I’ll say it again: I’m obsessed with the faux fur and flannel trend. Cannot get enough! The piles of soft, cozy fabrics are piling high in my sewing room. The simple flannel throw blanket I shared last week has been so snuggly and I’ve been just dying to share our new stockings and Christmas decor for this year. I set to work creating a cozy living room for the holiday season with fur and flannel stockings taking center stage over the fireplace. I found myself loving the woodsy chic decor so much that I ended up decorating this room completely with neutrals, pinecones, silver, and gold. There’s not a drop of red or green this year and I love the change!!
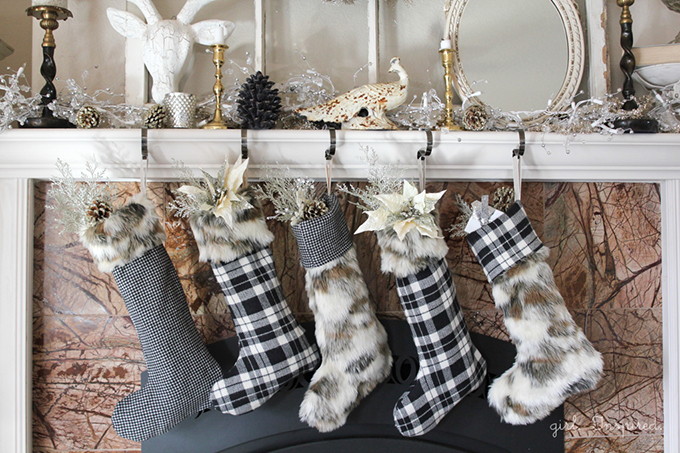
What I love about this fabric combo (besides how awesome it looks!) is that the thickness and texture of the fur and thick flannel give the stockings enough structure that they don’t require any batting or interfacing and they hold their shape really well!
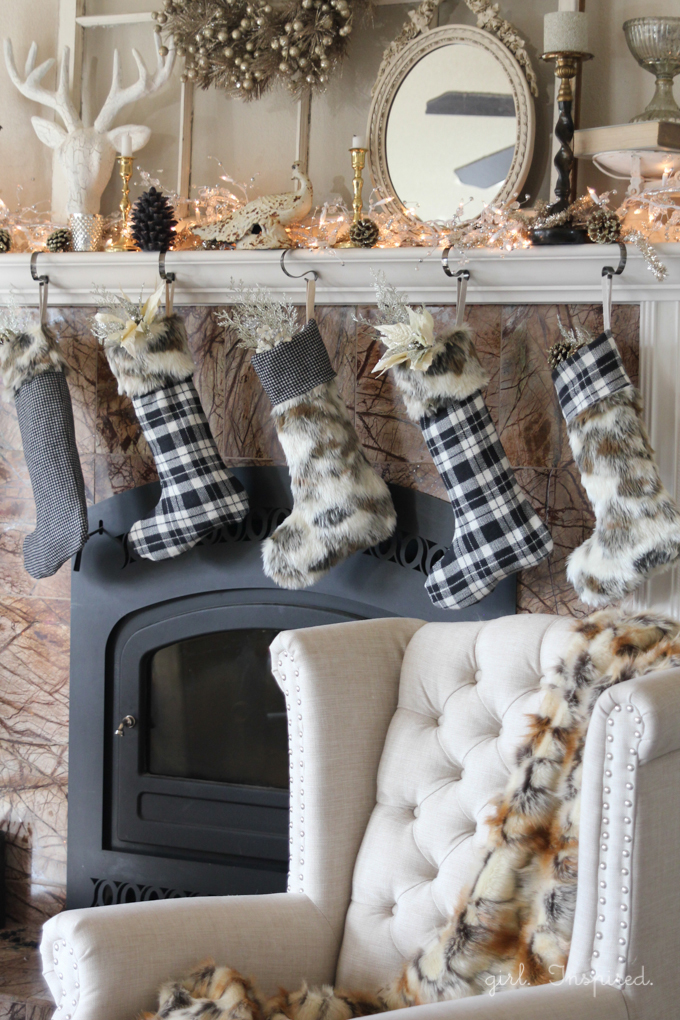 It won’t take much time to sew these fun stockings and you will love hanging them year after year! To complete this project for a set of 2 stockings, you will need:
Free Stocking Pattern (click here to download)
⅔ yard faux fur (makes 2 stockings – use 1.5 yards for 5 stockings) – available at Jo-Ann Fabric and Craft Stores
⅔ yard thick flannel (makes 2 stockings – combine with ⅔ yard of second print for more stockings) – available at Jo-Ann Fabric and Craft Stores
1 yard ½″-¾″ wide linen or twill ribbon (each stocking required 8″)
sewing machine or serger and basic sewing supplies
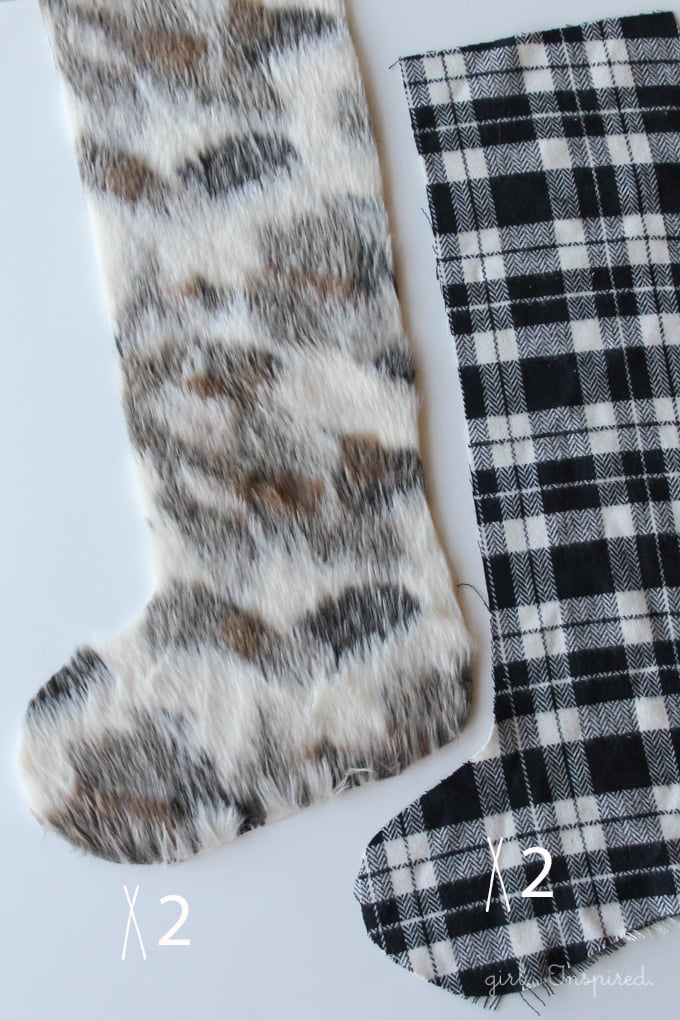
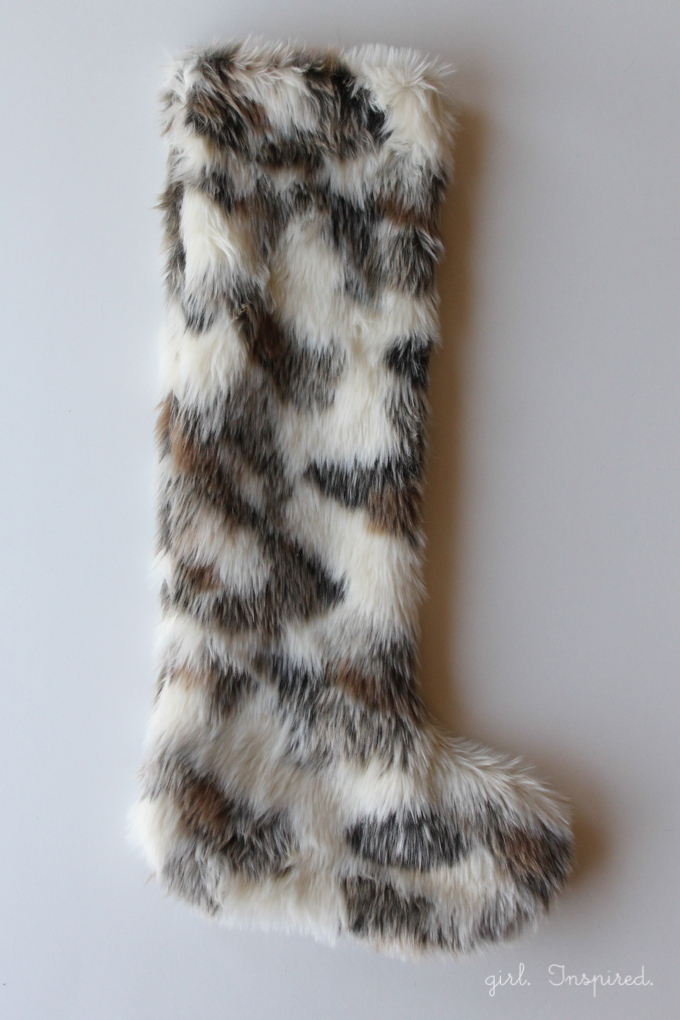
Step 1: Begin by printing and taping together the Free Stocking Pattern. Use the assembled pattern to cut two stockings (one right and one left) from the faux fur and two from the flannel. For a finished stocking with the flannel as the main fabric and the fur turned down at the cuff, be sure that the direction of the fur is going from bottom to top when you cut the stocking pieces (see picture above) – this way, when the cuff is turned down over the flannel exterior, the fur will be laying downward. For stockings with the fur as the main fabric, cut the stocking shape with the fur lying from top to bottom (as shown in the remaining pictures below).
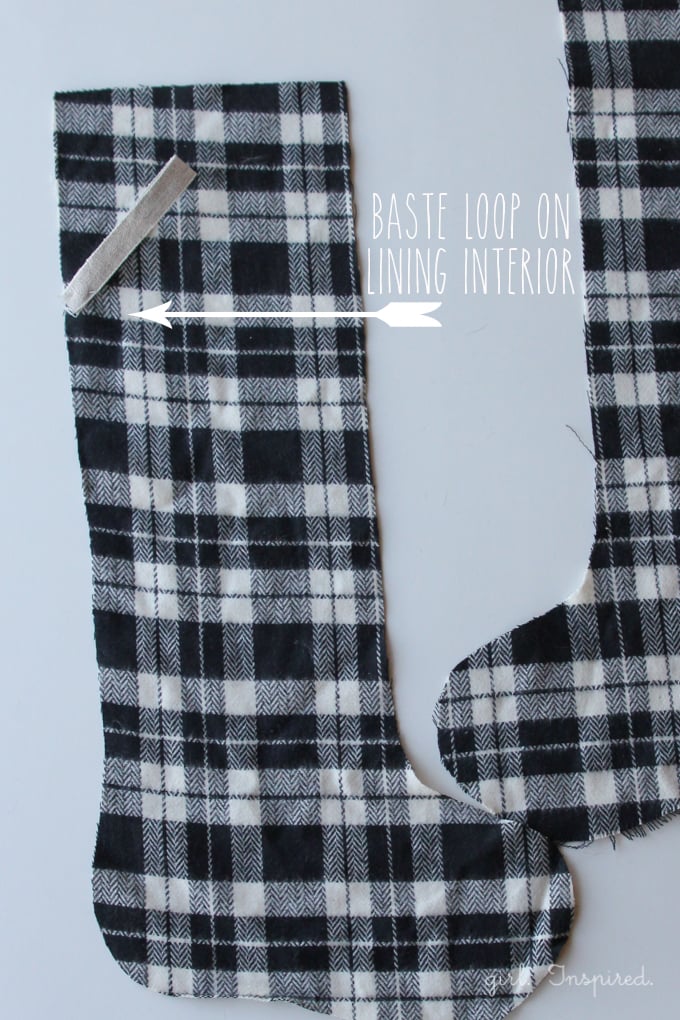 Step 2: Set the two lining stocking pieces in front of you. Use the pattern piece to mark the loop placement on the right side of one stocking piece. Cut an 8″ length of ribbon and form a loop. Pin the loop onto the stocking with raw edges slightly diagonal to the raw edge of the stocking (see picture above). Baste close to the edge, if desired.
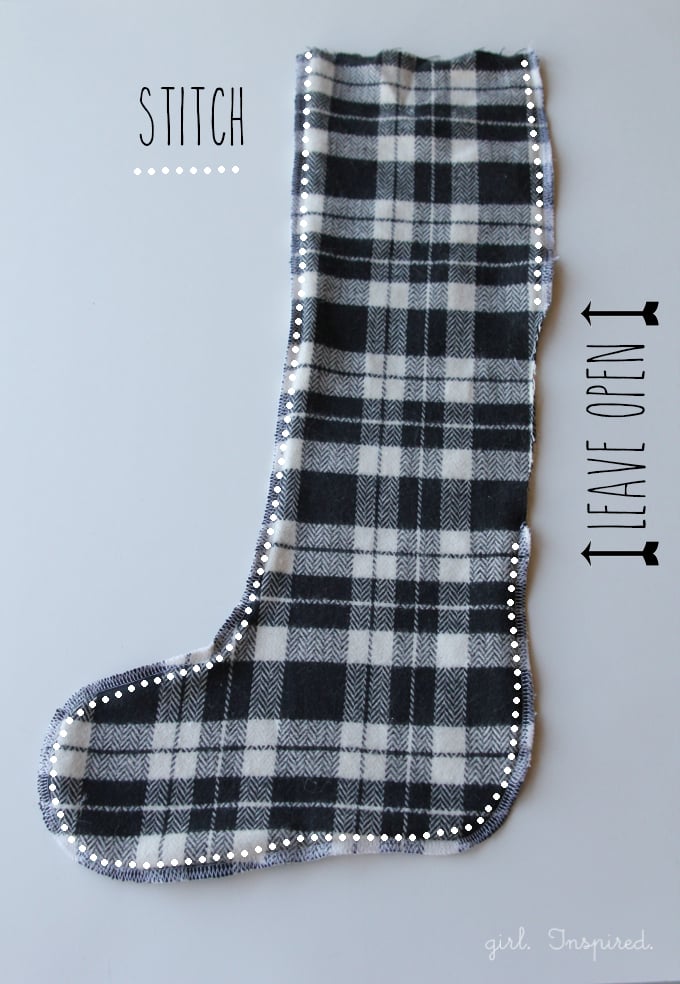
Step 3: Place right sides of the stocking lining together; pin if desired. Sew, using a ¼″-⅜″ seam allowance, from the top of the stocking down the front side, around the toe, bottom, and heel. Continue stitching up the back side of the stocking, leaving a 5-6″ opening for turning the stocking later. You will simultaneously secure the ribbon loop into the seam – it will be sandwiched between the two sides of the stocking. Using a serger for this project makes it go very quickly, but is not necessary. If you use a regular sewing machine, you will likely need to clip the curves of the stocking (do not clip through the stitching) to make the stocking turn out smoothly.
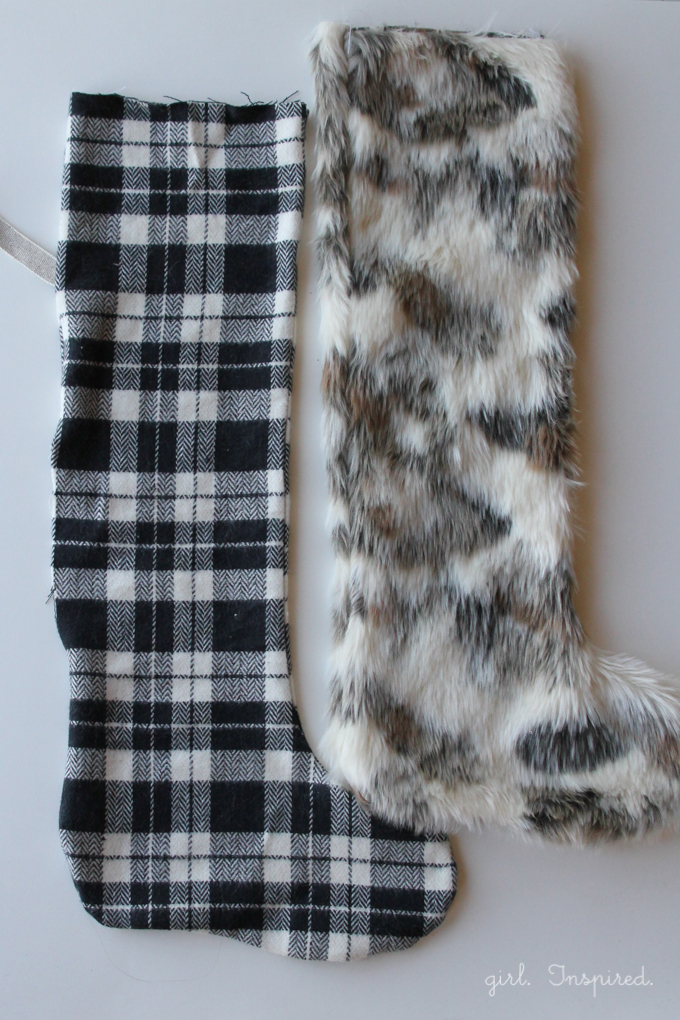
Step 4: For the faux fur exterior, place the stocking pieces right sides together and sew around the perimeter, leaving the entire top open. As you sew, tuck the fur edges inside and away from the seam as much as possible. Turn both the main and lining stockings right side out. Press the flannel stocking.
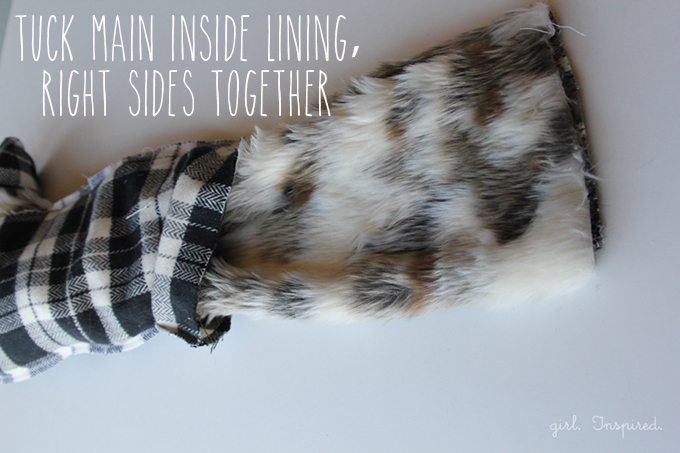
Step 5: It’s time to connect the main stocking to the lining. With the lining (the flannel in this example) inside out and the main fabric (the fur in this example) right side out, tuck the main stocking into the lining. Insert the main stocking all the way into the lining until the top raw edges are even.
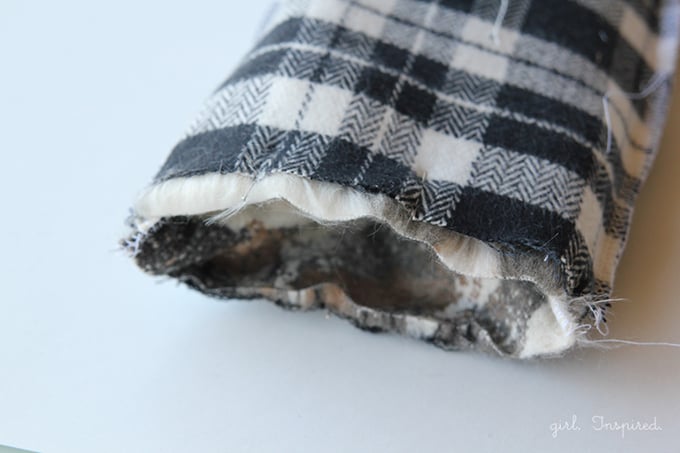
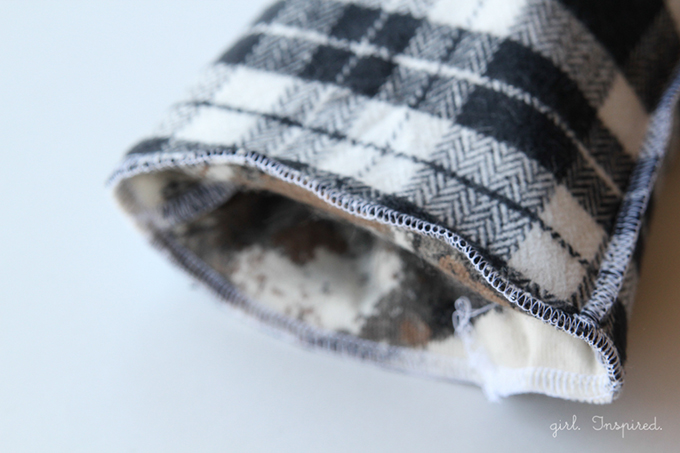
Step 6: Line up the back and front seams and pin the stockings together around the top raw edges. Sew together, being sure that the right sides are facing one another. Here again you will want to make sure that the fur edge is tucked to the inside of the stocking and away from the seam.
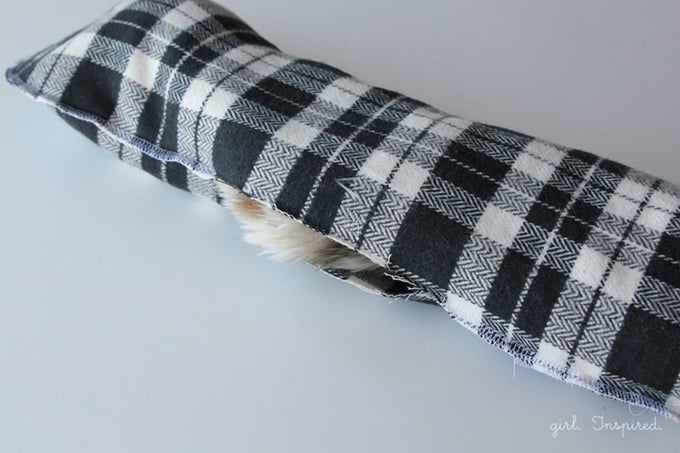
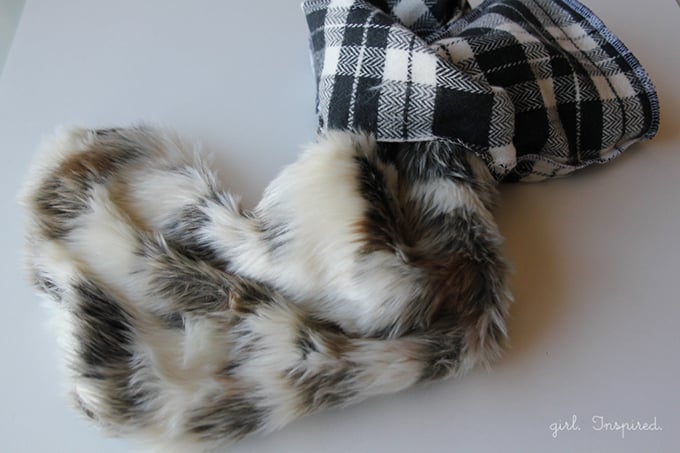
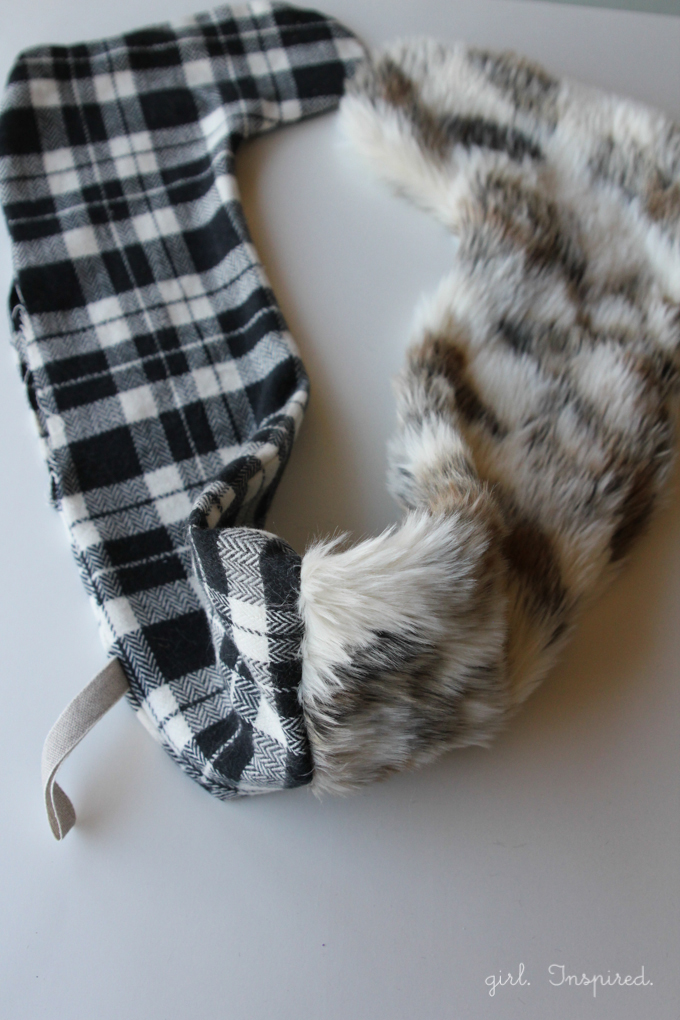
Step 7: With the top edges completely sewn, find the opening in the side of the lining from Step 3. Pull the right side of the stocking and its lining out through the opening.
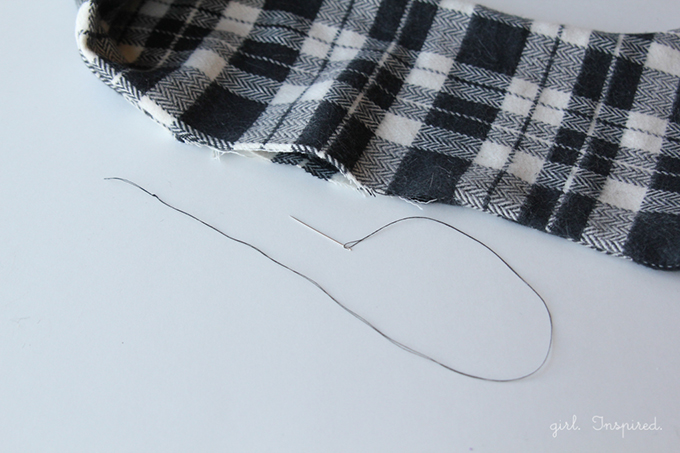
Step 8: Sew the opening in the lining closed by hand – the stitching will not be visible on the finished stocking, but you can still use a slip stitch to make it nice and neat.
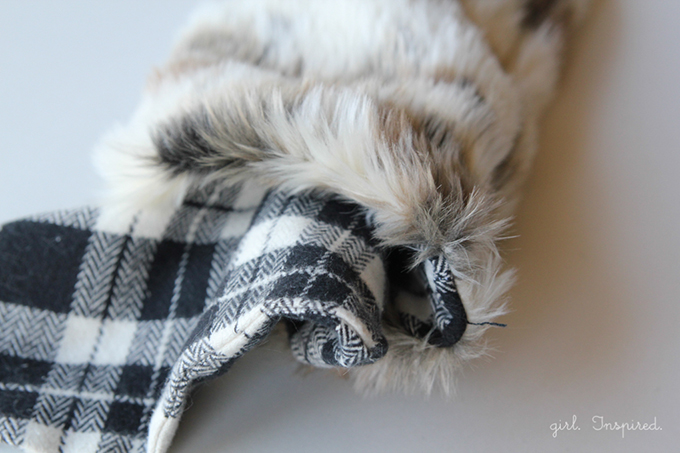
Step 9: Now, tuck the lining into the exterior of the stocking. Be patient and work the toe and heel of the lining completely into place, smoothing out any bumps or wrinkles.
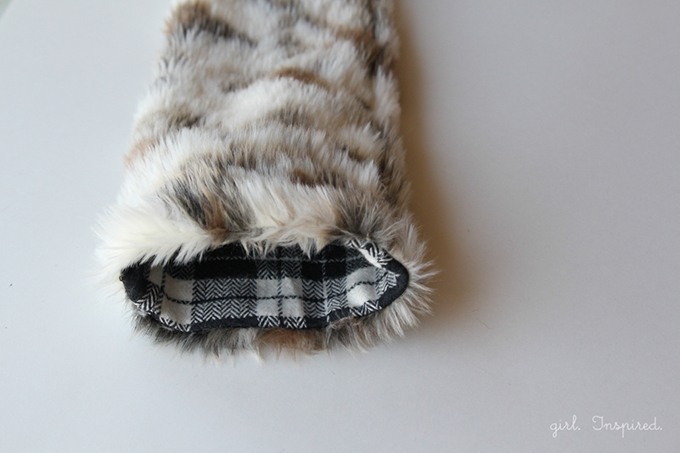
Step 10: Your stocking is almost done! You just need to fold the cuff over and presto!
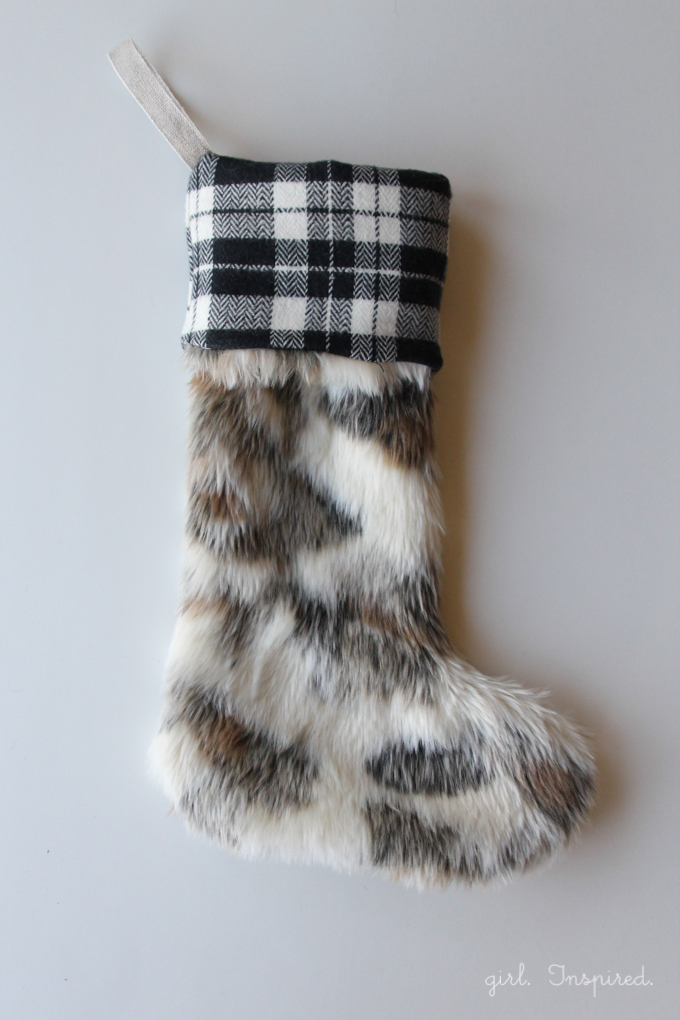
Ready to hang! And then make the rest of the set!
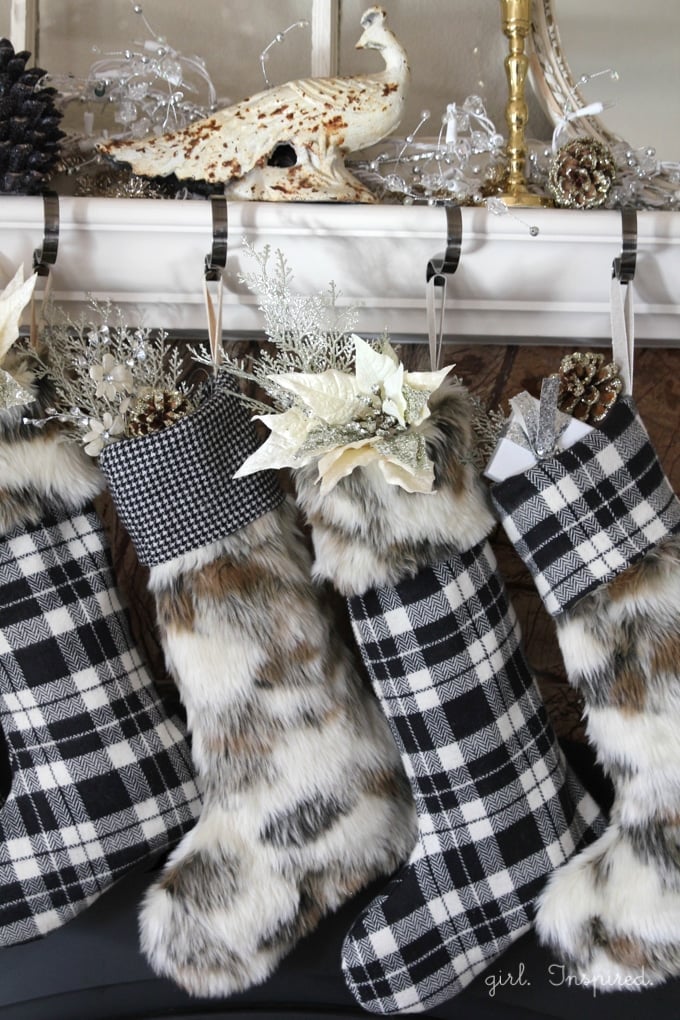


I hope you enjoy using this tutorial to create an inviting decorative space in your home! And I can’t wait to show you some of the other decorations that I’ve been working on. Get inspired and share your holiday ideas using the hashtag #makeitgiveit for a chance to be featured on the J0-Ann holiday craft hub!! Happy Holidays!!


Comments & Reviews
Megan says
Wow! Your mantel looks so comfy and amazing and these stockings…WOW! I’m not typically a fur gal, but these look amazing!
girlinspired says
Thank you so much, Megan!!
Michelle says
These are fabulous!!! Great make.
kirstin @ kojo says
gorgeous gorgeous gorgeous
Lynne Tilley says
I love them, especially the black and white. Thanks so much for sharing. Love your flannel fringed throw, too. I’m finishing some oven mitts now, and these are my next projects! 🙂
Charity says
I love your entire setup! It looks like it’s straight out of a magazine. Those stockings are really fun. =)
Delia says
These are so cool Stefanie!