The girls are really into hair accessories these days and are especially loving headbands, which really, makes getting out the door every morning a thousand times easier. Definitely better than the “braids, please” and “me, too, me, three” phase!
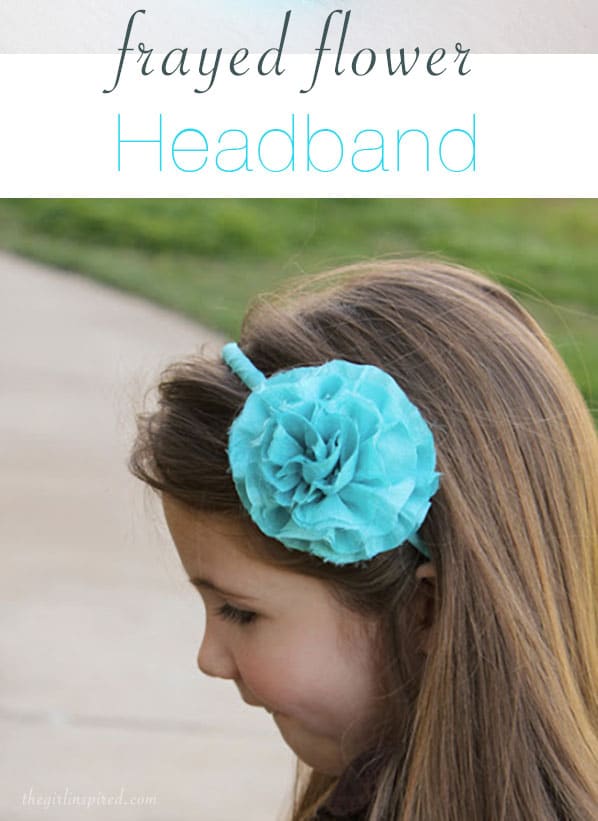
So, if you’ve got a headband fan in your life, stick around for the how-to on this super cute accessory! Not a headband fan? This gorgeous frayed flower will work just as well in any number of other ways.
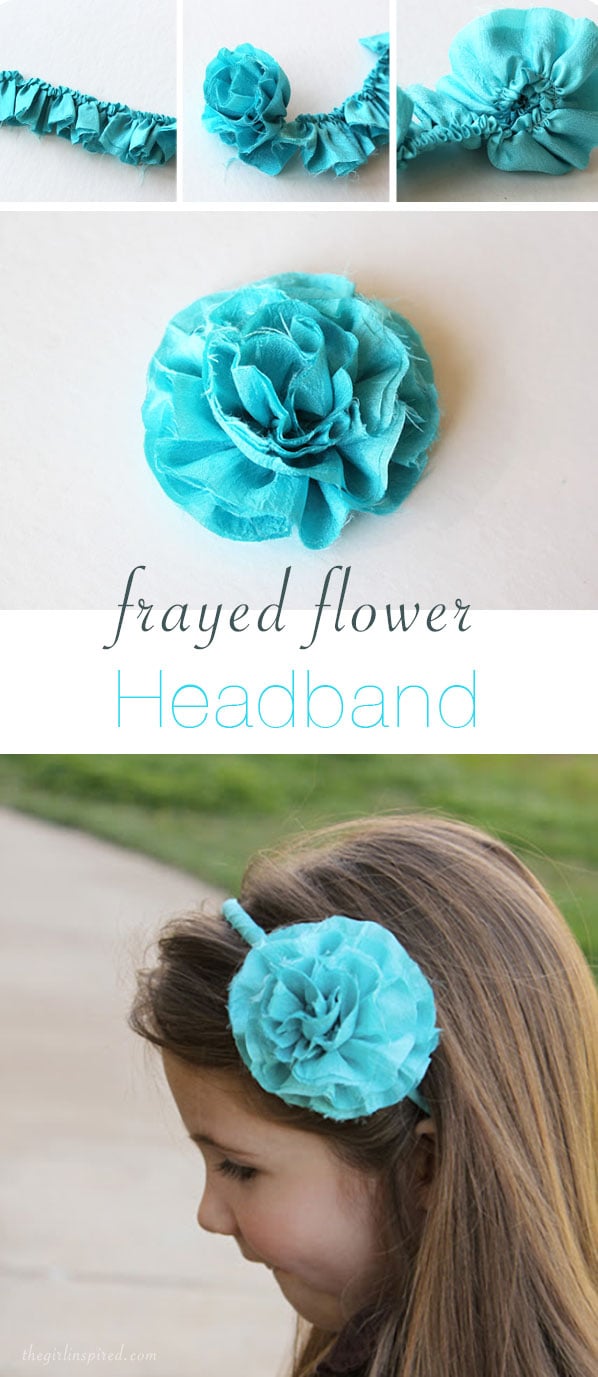
Let’s start with the flower! You’ll need a piece of fabric, hot glue, and a small piece of felt. Cut the fabric approximately 2 ½ inches wide and as long as you wish. For my flower, I cut the length from selvage edge to selvage edge on my fabric (so, approx. 45 inches long).
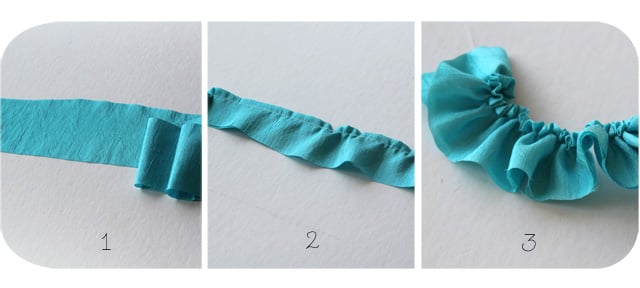
1. Cut your strip and fold in half lengthwise; press in place if you wish.
2. Sew a gathering stich down the length of the fabric close to the FOLDED edge. Alternately, if you do not want the frayed effect, you can stitch along the open edge, however, you will get a very different look to your finished flower.
3. Pull your bobbin threads to gather the entire length of fabric (gather fairly tight).
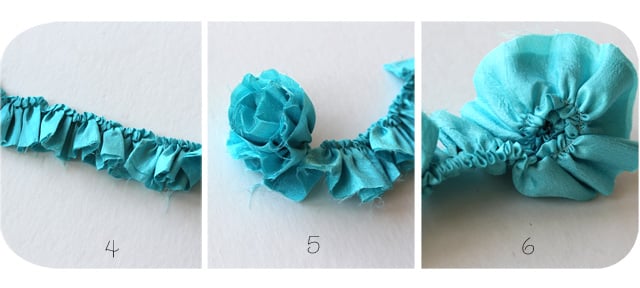
4. Next, press your ruffled strip. This will make it easier to work with and define your ruffles.
5. Starting at one end, just start rolling your strip on top of itself. Add dabs of hot glue as you roll to hold the spiral in place. go easy on the glue. You want enough glue to hold the flower, but you still want to be able to shape the flower when you’re done.
6. This is what the back of the flower looks like as you’re rolling it.
Okay, so your flower is all rolled up. Gorgeous! Now cut a circle of felt to fit on the back.
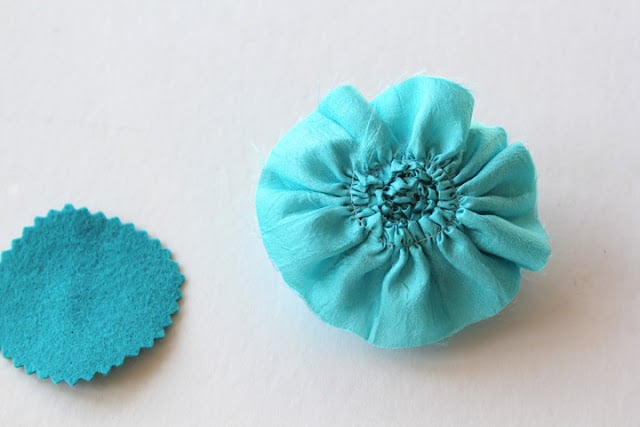
Glue it down! Start by gluing down the middle. Then work your way around the felt, gluing that bottom ruffle of the flower down all the way around.

Now, you can use the flower however you’d like! You could turn it into a brooch like I did with this cute blue pillowcase dress.
Or…you can turn it into a headband in a snap. Here are the supplies you’ll need:
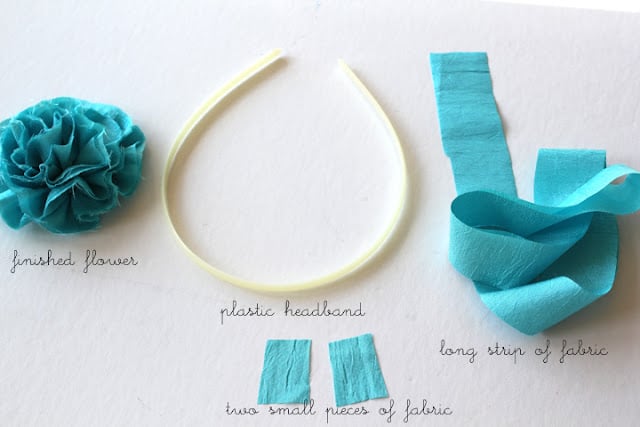
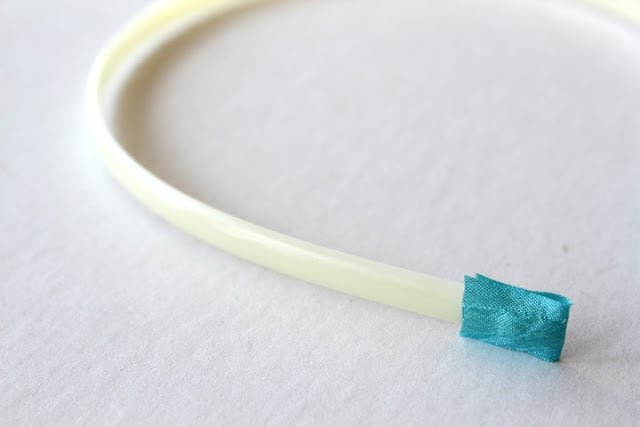
Basically, you will wrap up your headband by winding and gluing your strip of fabric. First, glue a small piece of fabric to cap off each end of the headband.
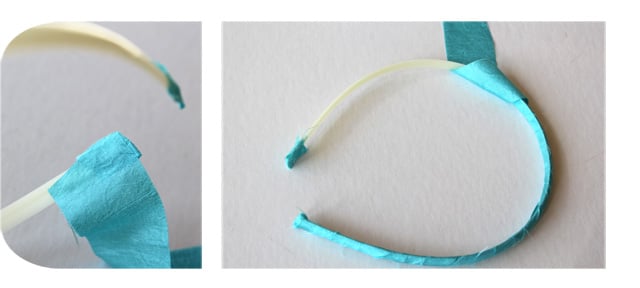
Then, glue the end of the fabric strip onto the inside of the headband, as close to the bottom as possible so that when you begin wrapping, you’ll cover the small fabric “cap.” Start wrapping the strip around and around the headband, pulling it tight and gluing along the way. I didn’t glue every wrap, just every few.
That’s it! Now take your pretty flower and hot glue it right onto your headband where you’d like it.

You can add another piece of felt from the back so that the headband is sandwiched between the back of the flower and the second piece of felt. I didn’t do that here, but that’s just ’cause I was too anxious to get on to the next project. So many accessories, so little time!!


Comments & Reviews
Anonymous says
I was also wondering what type of fabric you used and how much?