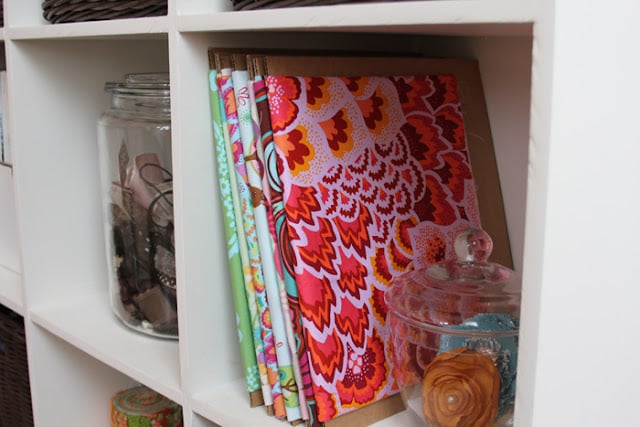
Today I wanted to share with you a pocketbook friendly way to organize your fabric, but first, thank you to everyone who joined in the Janey Jumper pattern giveaway. I loved reading what makes all of you happy; your responses were sweet and some quite entertaining! The winners have been announced at the end of the giveaway post – you can find it here.
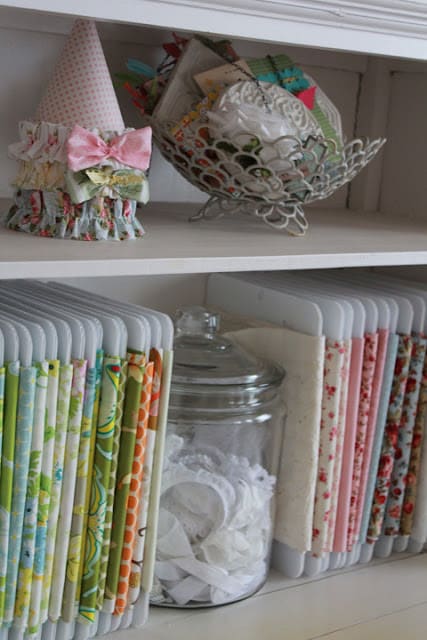
Remember when I shared the fabric organizers that I used across the desk in my office? Well, I am LOVING them. Being able to see my newest and favorite fabrics makes me super happy and more productive. But friends, I have a fabric addiction. And there’s no way that all my fabric would fit across that desk. I have it sorted by material into big bins that I keep on shelves in my garage. Although the material types are sorted, the fabrics are still not as visible as I’d like. Not wanting to shell out the big bucks for more white, plastic fabric organizers, I followed the lead of my friend Christene and ordered a pile of pre-cut cardboard sheets.
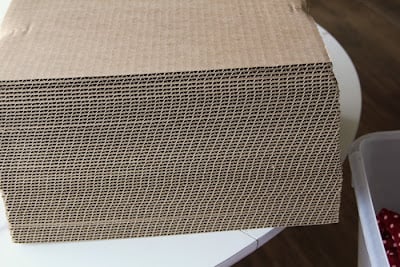
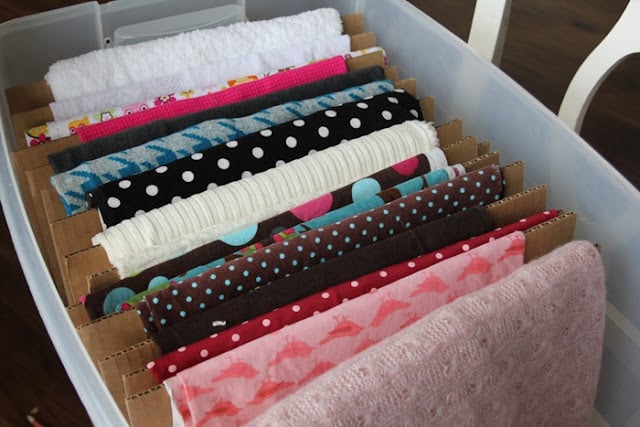
They are inexpensive and I’m able to wrap my fabric around them in much the same way without too much effort. I measured the depth and width of my plastic bins and chose the pre-cut size accordingly. I use straight pins to secure the fabric to the cardboard.
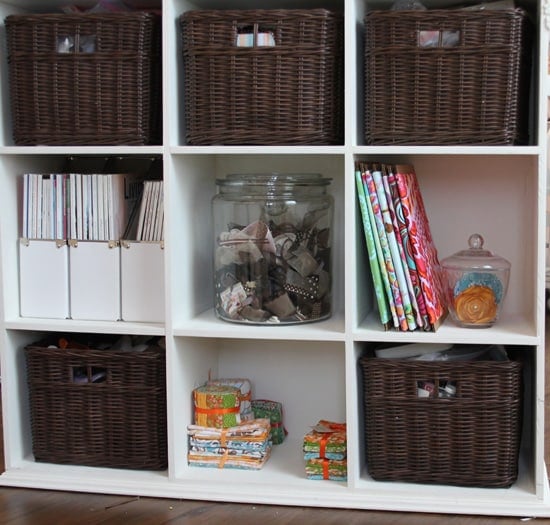
I also cut down a handful of the cardboard sheets so they would slip into one of the cubbies on the project table. Now I have even more fabric at my fingertips and the cardboard doesn’t stand out too much tucked into the cubby. Lovely.
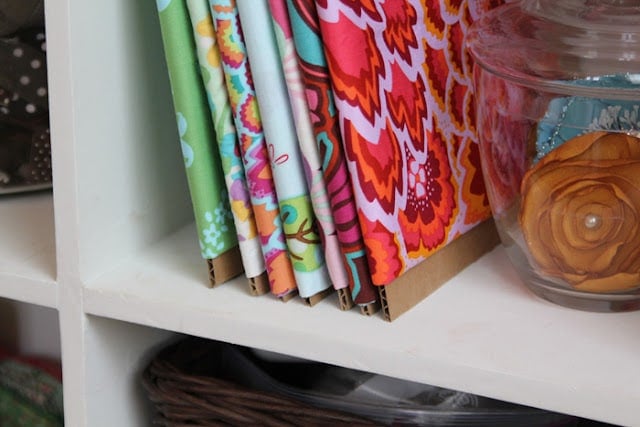
I’ve had a few questions about the cubbies on the project table. My dedicated husband made the cubbies by cutting the vertical and horizontal boards and then routing slits in them so that they would lock together; does that make sense? I think you could use two pre-made bookcases, but I wanted taller cubbies to fit some larger items and I also wanted really sturdy bases to hold up a looong, heavy tabletop. Maybe someday we can get Graham to give us a little tutorial on it, but don’t forget, it took him two years to build the thing….
I found my cardboard sheets here, at Uline. They’re called “small corrugated pads.”


Comments & Reviews
Kara says
I have a newly revived sewing addiction, and I outgrew my fabric box in about a week. After reading your post, I went to a comic book store and bought a stack of 50 backing boards for $4. I’ve wrapped my boards and put them in a small file box, but it’s already at maximum capacity, so I’m going to have to find a bigger box. I put scraps in Ziploc bags and stapled half circles with the colors on them at the top of each bag. Next on my list is to make a swatch book. Thank you for the great post (seven years later!).
Mic says
Is the acid-free?
girlinspired says
Unfortunately, I’m not sure. You would have to check with the supplier that you choose.
Mic says
Do you know if the cardboard is acid-free. I’ve been doing this by cutting up shipping boxes to store my fabric and my mother reminded me the acid in cardboard will ruin my fabric over time. I’m ready to cry because I have a massive fabric addiction and was almost finished. I’ve seen acid-free foamcore boards used, but precut would save me so much time.
L. Koch says
you might also want to check with your fabric shops — some will give you the empty cardboard from their bolts when empty – You can cut them down to fit the space you have