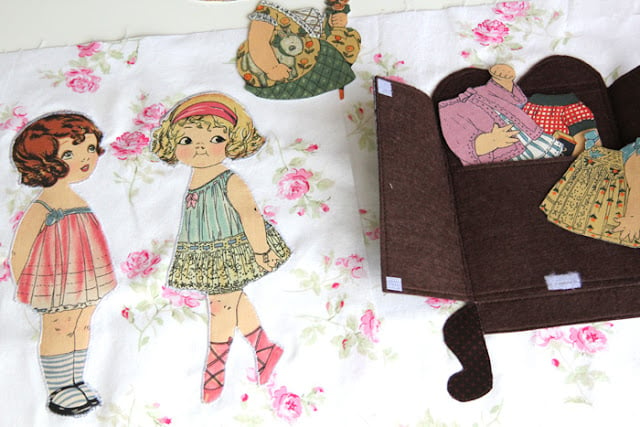
 Today we’re going to finish the last two-page spread for the quiet books. If you have a kit, this should be pretty easy!
 You will need brown felt, a coordinating brown fabric, lightweight fusible web, fabric dolls and fabric clothes, interfacing and starch (not needed if you have a kit)
Prep your dolls and clothes by pressing them with two to three coats of starch. Apply interfacing to the back. If you have a doll kit, this has already been done. Your doll pieces should feel nice and stiff. Cut them out completely from the background fabric. Cut off the little tabs from the clothes if you will be attaching the dolls to the background fabric in the book. Apply a few pieces of fusible web to the back of the dolls, place them side by side on the background fabric and iron them down (you do not need to completely cover them, though you can if you want. Now, zig zag or straight stitch all the way around the perimeter of the dolls. Left page DONE!!

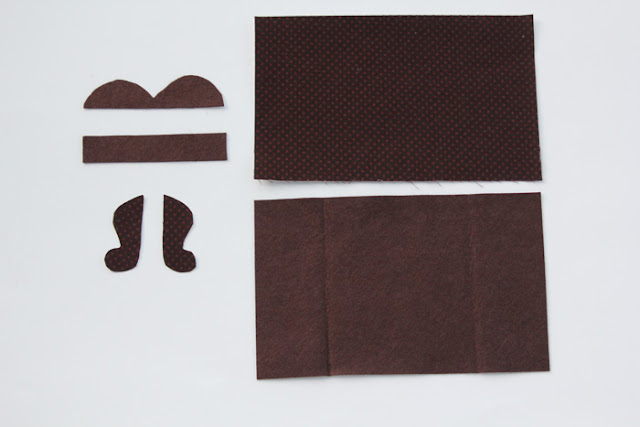
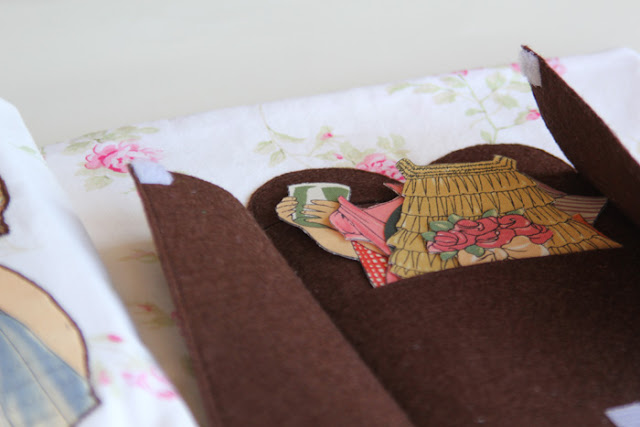
For the armoire, cut one piece of felt 9″ by 5 ½″ and one piece of coordinating fabric the same size (9×5.5). Fuse the two pieces together with fusible web. With the felt side facing up, lay the rectangle in front of you and press the two sides in to meet in the center, forming the “doors” of the armoire.
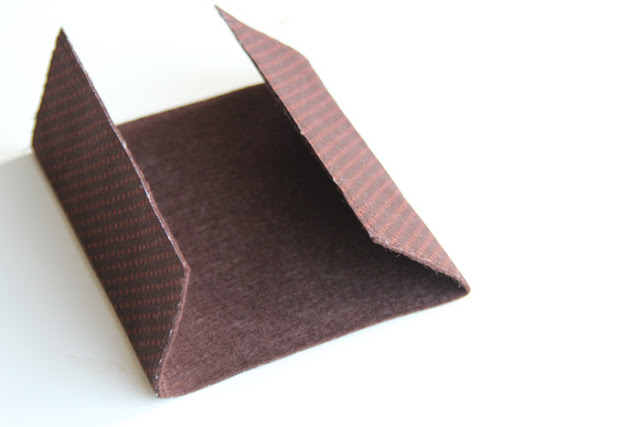
Stitch around the perimeter of the doors only.
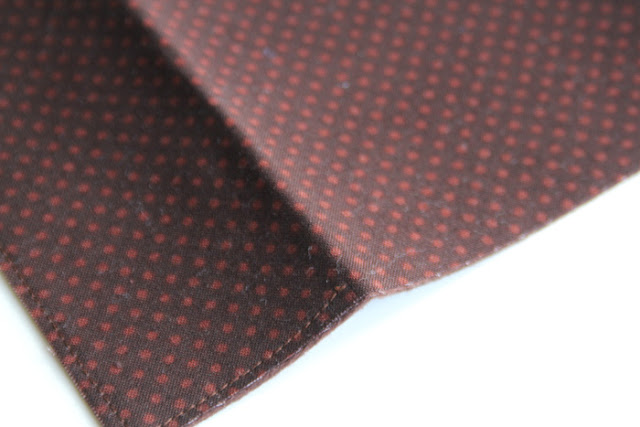
Apply a small piece of fusible velcro at the top center and bottom center of your main armoire piece. Cut the other sides of the velcro in half (so you will have four small pieces) and apply each piece to the top and bottom corners of the armoire doors so that when you close them, they stick to the other velcro and stay closed – make sense?
Cut a slit about ⅓ of the way down and most of the way across (leave ¼″ uncut between the slit and the crease on each side; do not cut into the doors). Stitch close to the edge below the slit. This forms your pocket in which the doll clothes will go.
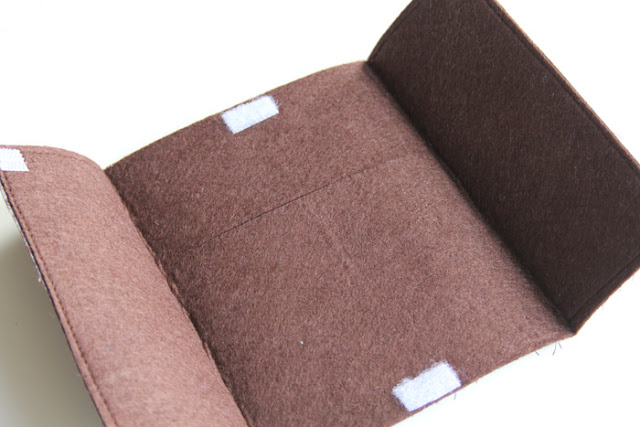
Now your main armoire piece is ready to place on the background fabric. Apply a piece of fusible web on the back side (fabric side) of the armoire, above the slit.
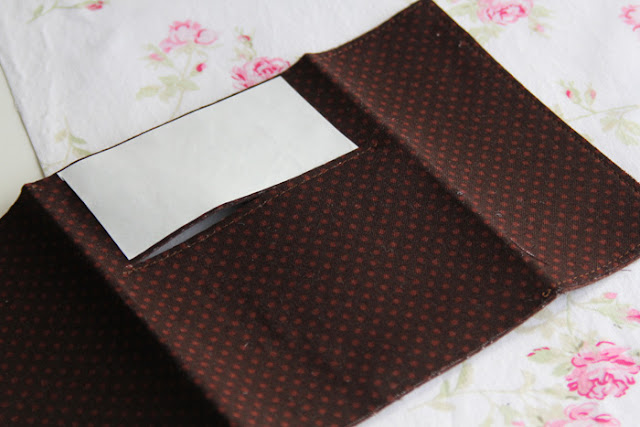
Center the armoire on the background fabric and iron down.
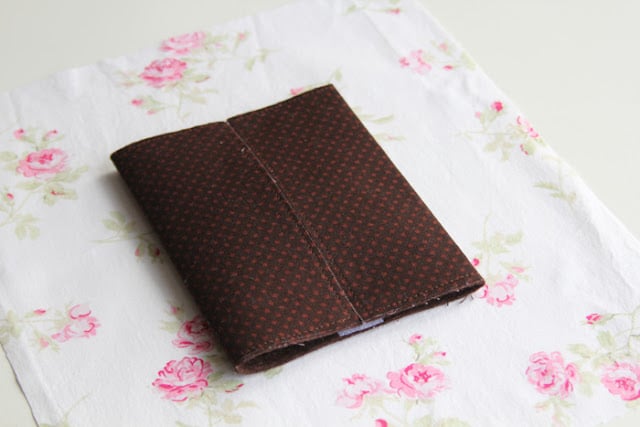
Cut a felt “drawer” (approx. 4.5″ by ¾″) and fuse centered below the main piece. Cut a little scalloped top from felt and fuse above the main piece. In the same way, add two legs from patterned fabric (or felt).
To finish, stitch all the way around the center piece of the armoire (do not stitch down doors), around the top piece, the drawer, and the legs. I used a straight stitch on all of the pieces.
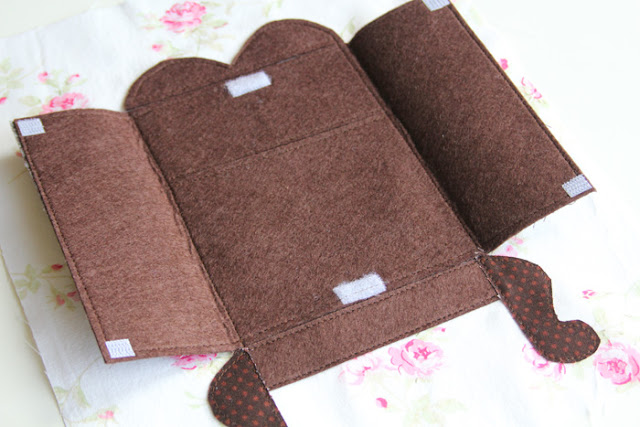
Finally, load the clothes into the armoire and admire your work!!
We’ll do the crayon pocket page and stitch all the pages together next! Then, we’ll just do the finish binding and we’re done!
Tell me how it’s going! I want to hear from you.


Comments & Reviews
GNS says
I adore this book and would love to make one for my daughter. Do you have a pattern or kit I would especially like to know the source for the dress up doll! Thanks so much!
Audrey says
Ugh typing on this iPhone stinks sometimes. I meant to say things are going great!
Audrey says
Hi Stef, I am all caught up! Things are going heat- this is such an amazing project/tutorial. I find its all I want to do in my free time. Can’t wait to finish soon. Your detailed tutorial is fantastic.
Anonymous says
Hi Stef, I keep trying to comment & it’s not working for me so maybe as anonymous will do it. Thanks so much, I am loving the sew along & working on such pretties has really renewed my joy in sewing. Right from the start I’ve been sewing & fusing away, but behind all along – it’s quite a pace you’ve set, especially as I’m working on 2 books & from my stash, so choosing colours etc is taking me some time, but I’m loving every minute. I’ve done a bunny applique on one book’s cover but otherwise pretty much sticking to your gorgeous designs. Is there a way we can share photos? I’d love to see what others have done too. Thanks again for a brilliant project, so well-explained, Shell.