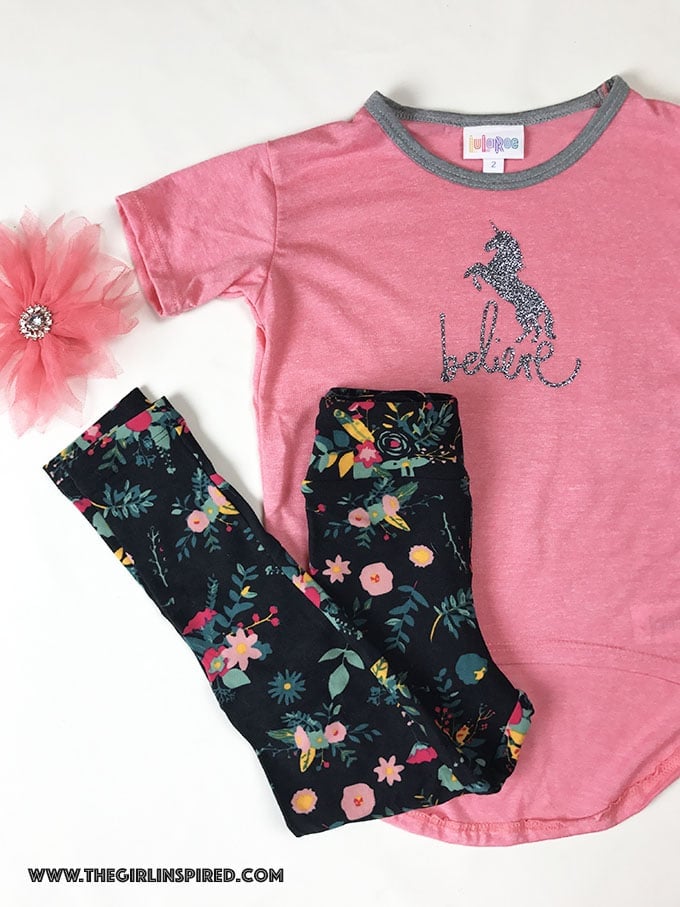
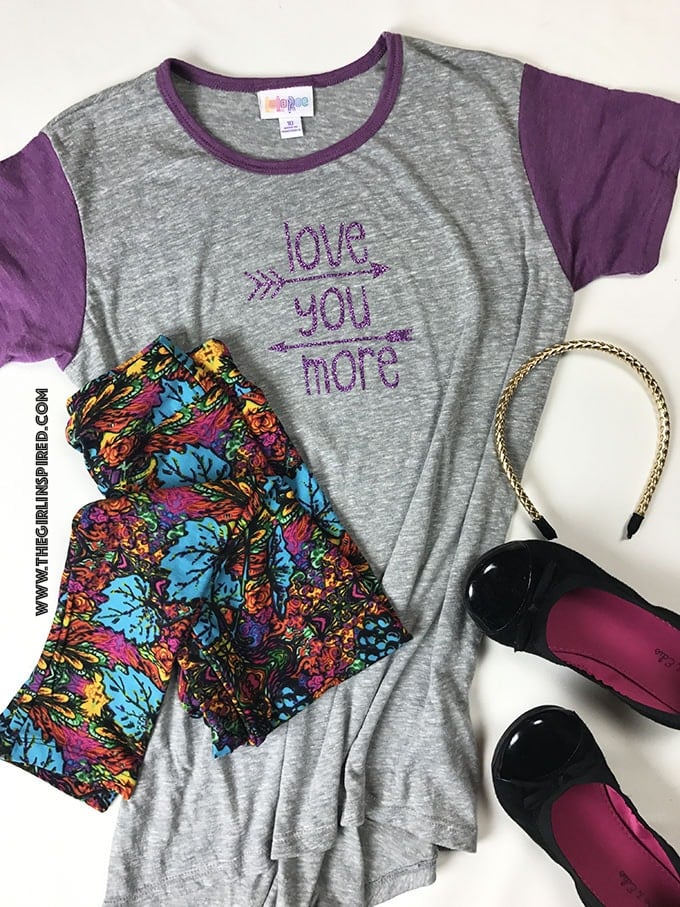
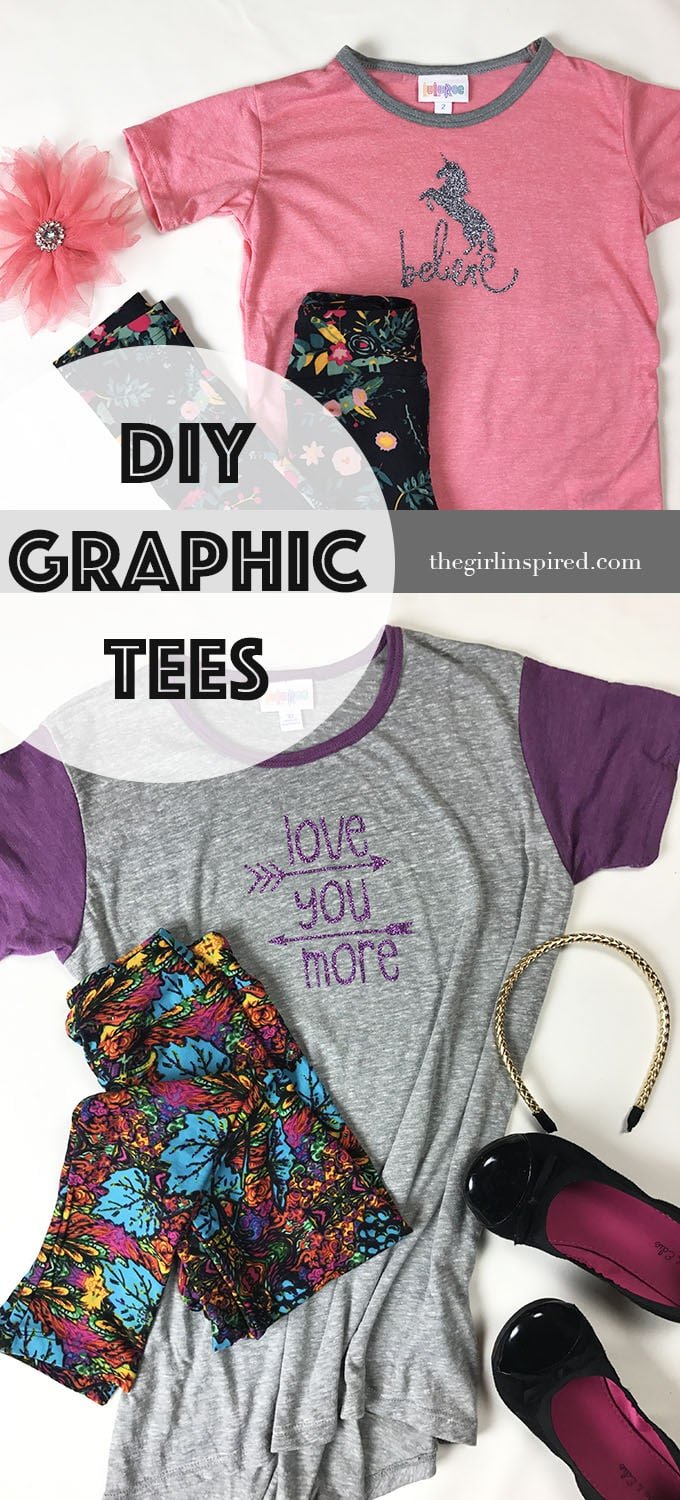
Are you looking for a simple, quick, and AWESOME craft project? Might I suggest pulling out your Cricut and whipping up some DIY Graphic Tees! I wanted to add some pizazz to a few plain tees, so I grabbed my favorite cutting machine and some sparkly iron-on material and created three adorable t-shirts in less than an hour!
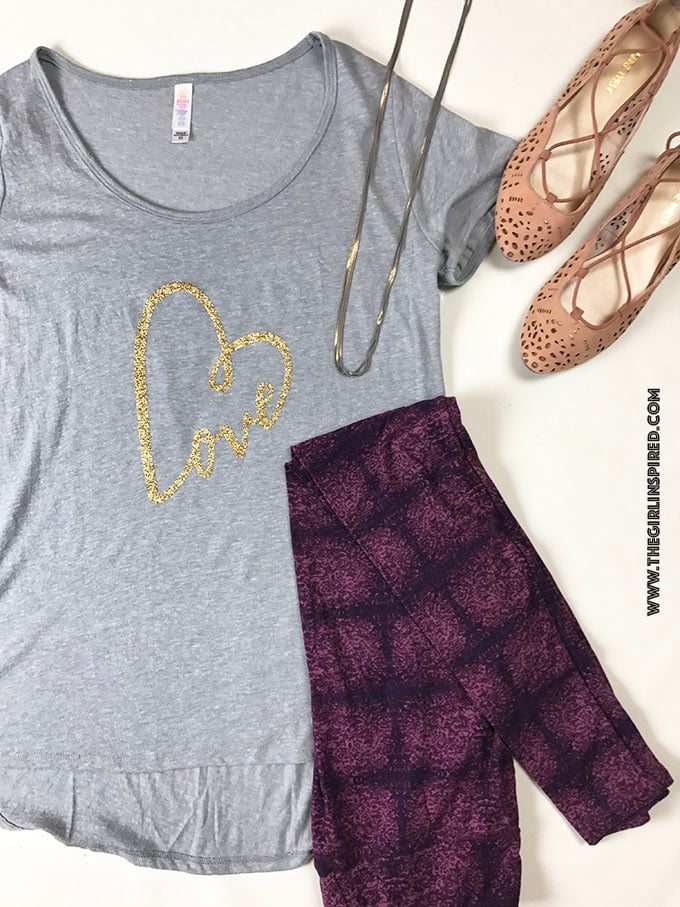
Aren’t these seriously the cutest thing? Making graphic tees yourself is so simple, you have to try it. I found all of my images in the Cricut Design Space software. Once I chose the designs I wanted, I expanded them to the size I thought best fit each tee and then flipped them to the mirror image before cutting. Once the image gets sent to the Cricut machine, you simply let the machine do the work to cut a perfect image. Weed out the extra material from the background transfer film and then place it onto a freshly ironed shirt. Use a press cloth and iron (follow the package instructions) for 25-30 seconds. Repeat on the inside of the garment and then allow it to cool completely. Once it’s cool, carefully peel off the transfer film and ta-da! Your graphic tee appears before your eyes! I like to give it one last press to make sure the film is ironed on tight and that’s all there is to it! I’ve made graphic tees in the past and the images go through the wash and dryer just fine, too!
Watch this video to see just how easy it is!

So much fun, right? So go grab your Cricut machine and your iron-on film and make a pile of your own!


Comments & Reviews
Charity says
Those are really cute! I haven’t tried sparkly vinyl but I love making graphic tees with plain vinyl!