I am so excited to share a new sewing project with you today! I stitched and embroidered some absolutely adorable children’s aprons and I’m sharing the pattern! This kids apron pattern is based off of an adult apron that I have and was passed down to me from my great-grandmother. Her apron was hand-stitched, hand-embroidered, and trimmed with hand-crocheted lace and I’d love to share it another day – it’s a real treasure.
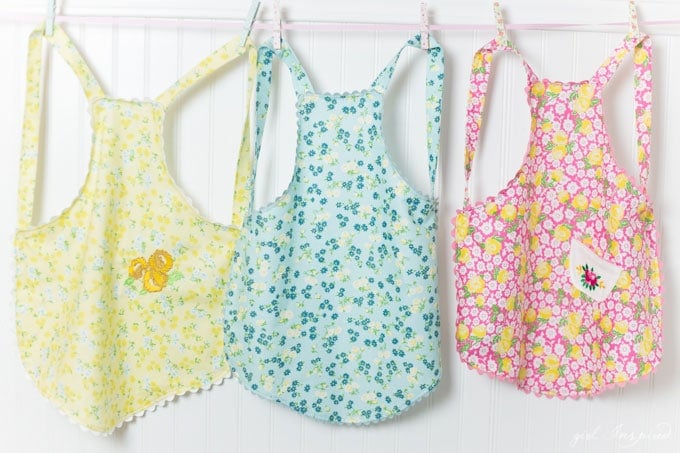
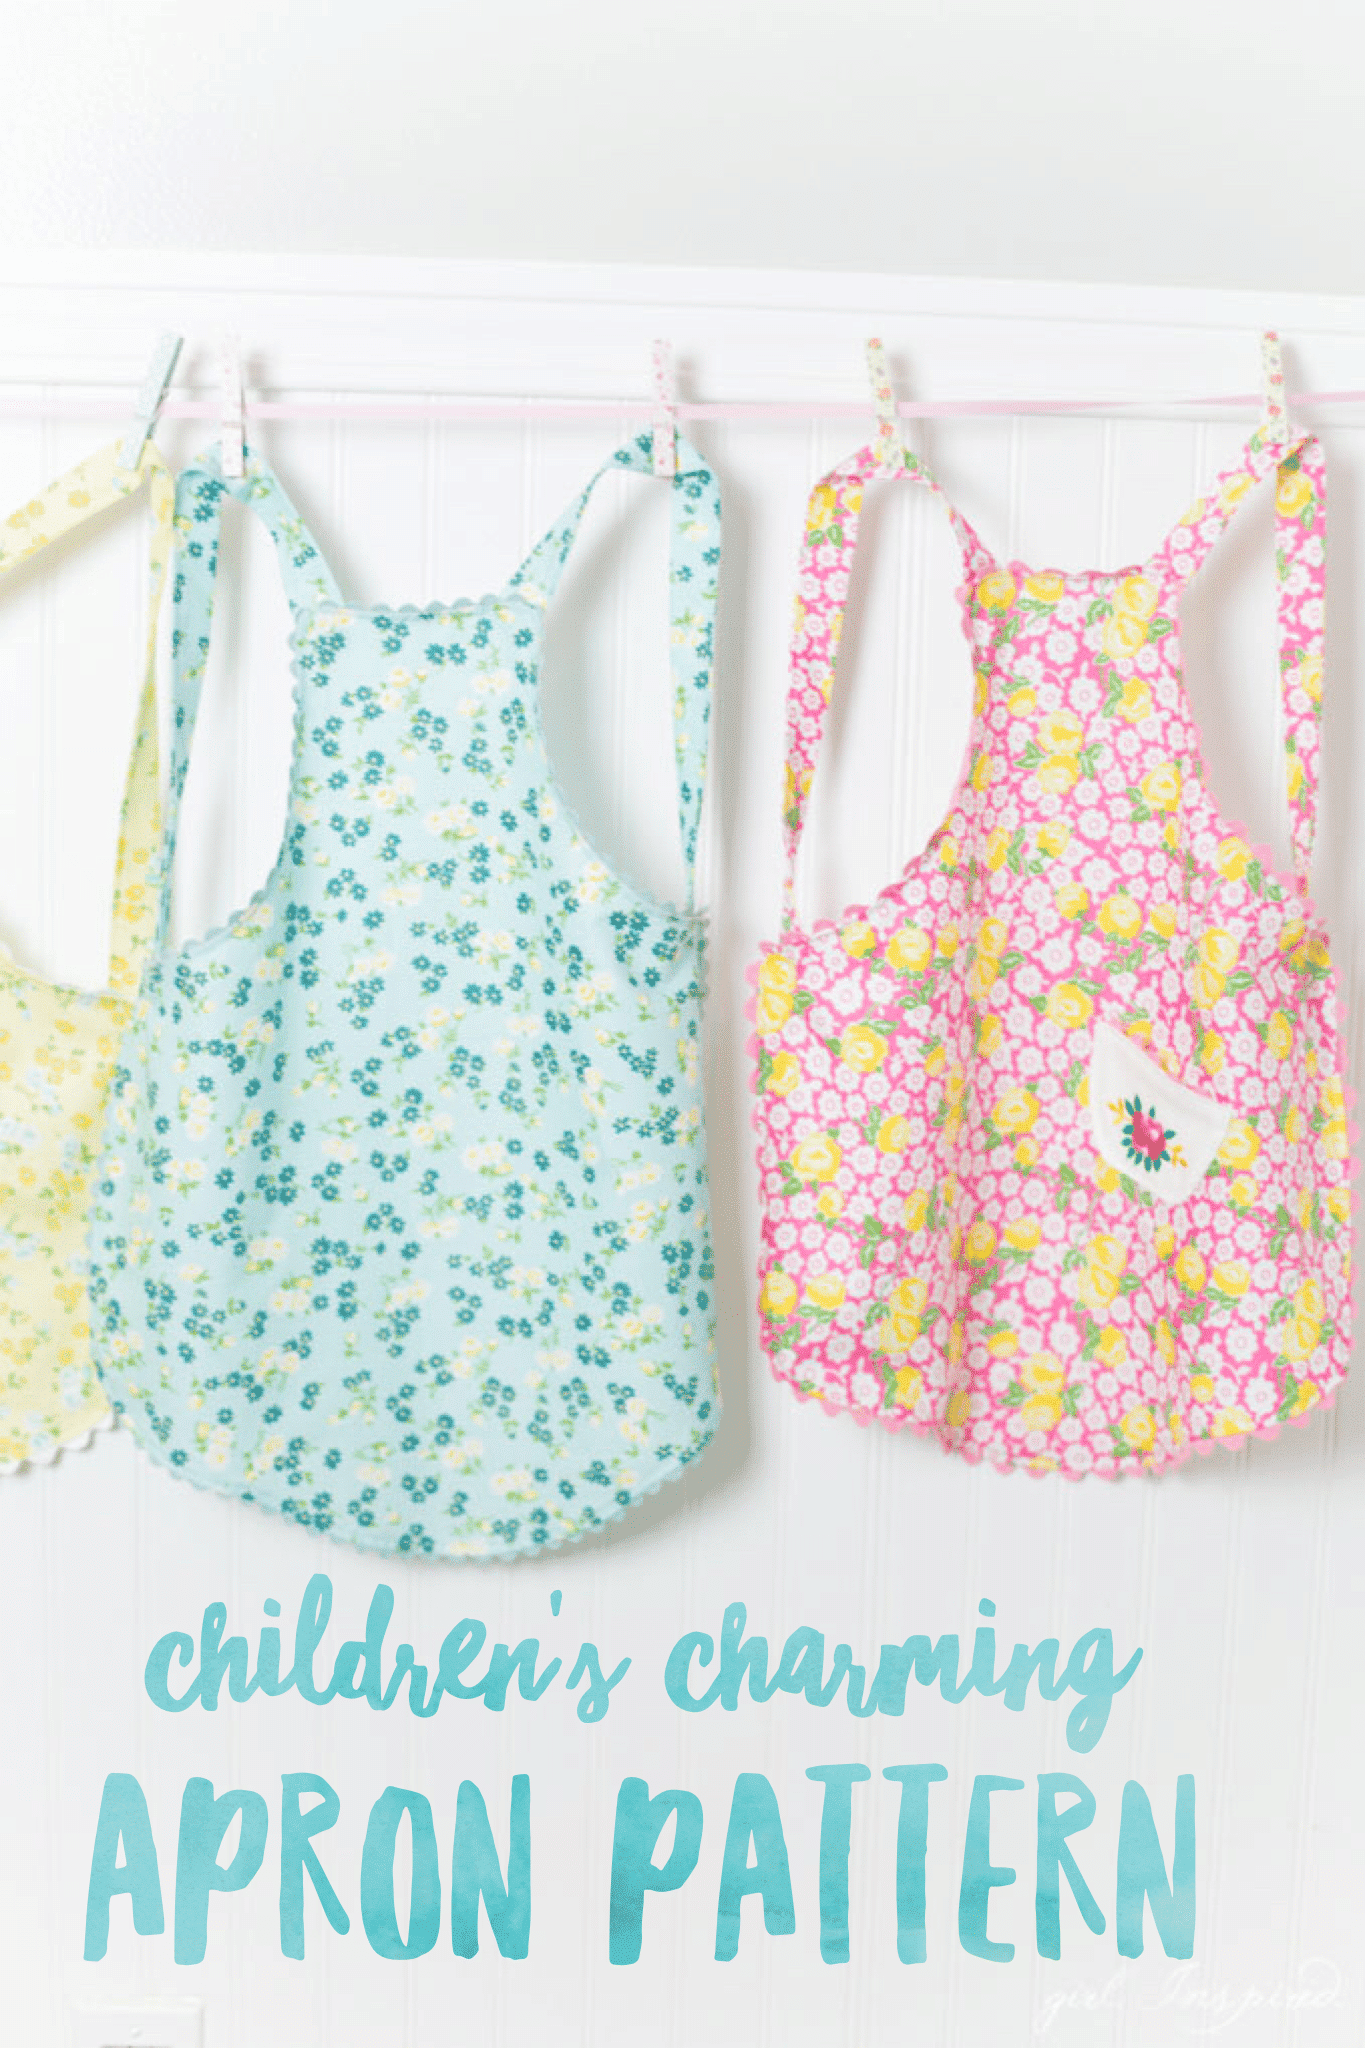
Surprise your little sweeties with their very own handmade apron. I stitched these with the brand new GORGEOUS fabric line – Dainty Darling. This Riley Blake fabric line was designed by one of my oldest and dearest blog friends, Lindsay Wilkes of The Cottage Mama.
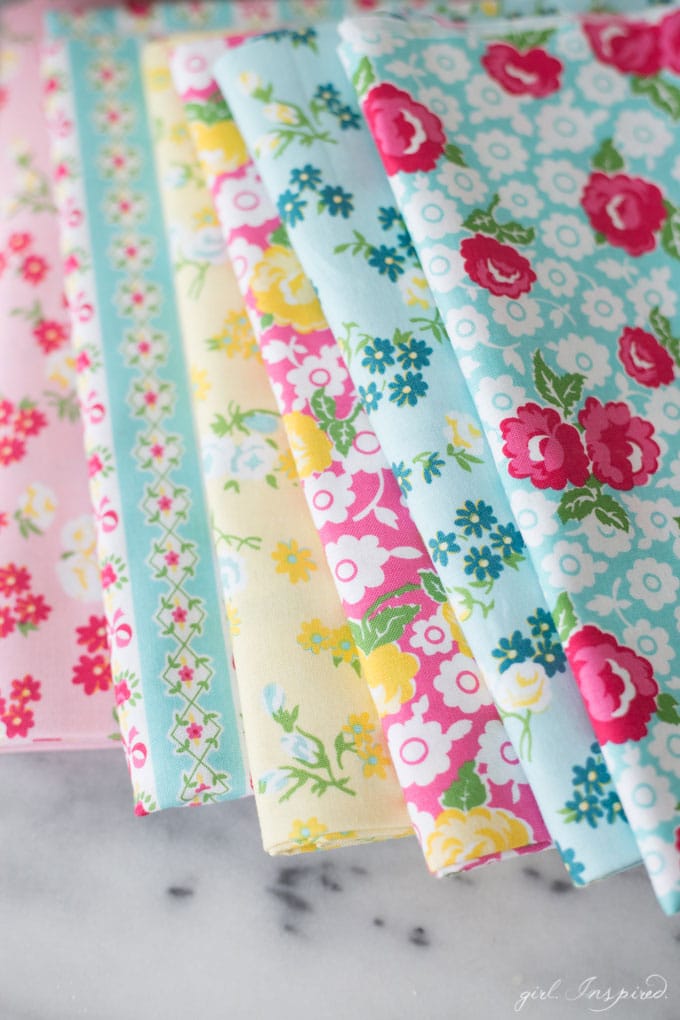
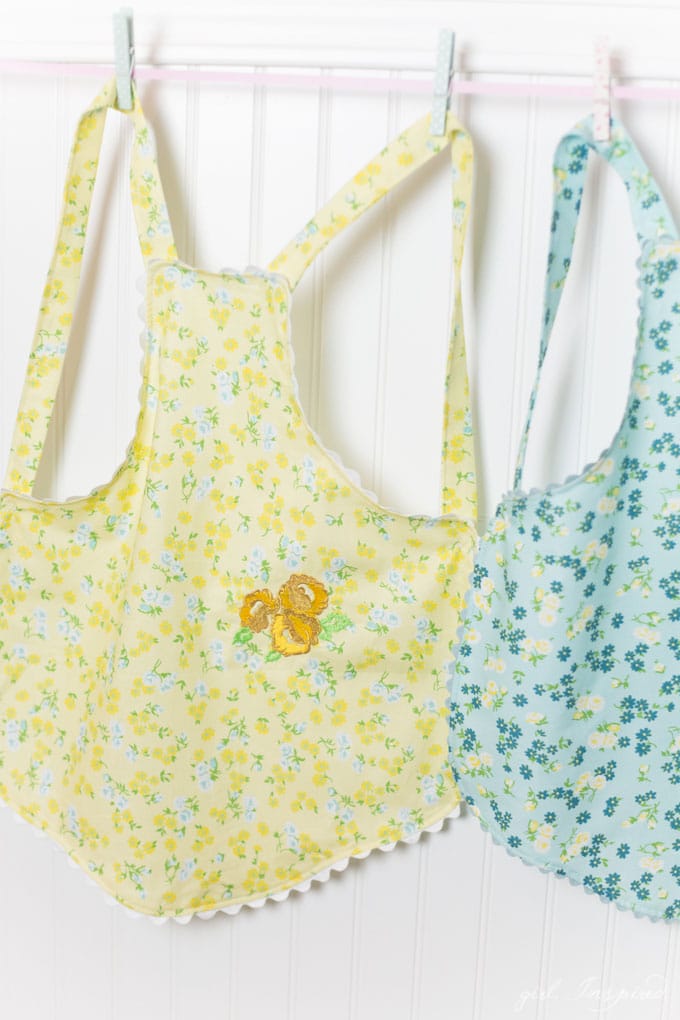
Isn’t this fabric just so feminine and playful? It makes me happy just looking at it. The Dainty Darling fabric line even includes Dainty Darling machine embroidery designs! I had to give a couple of the embroidery designs a whirl on these cute aprons!
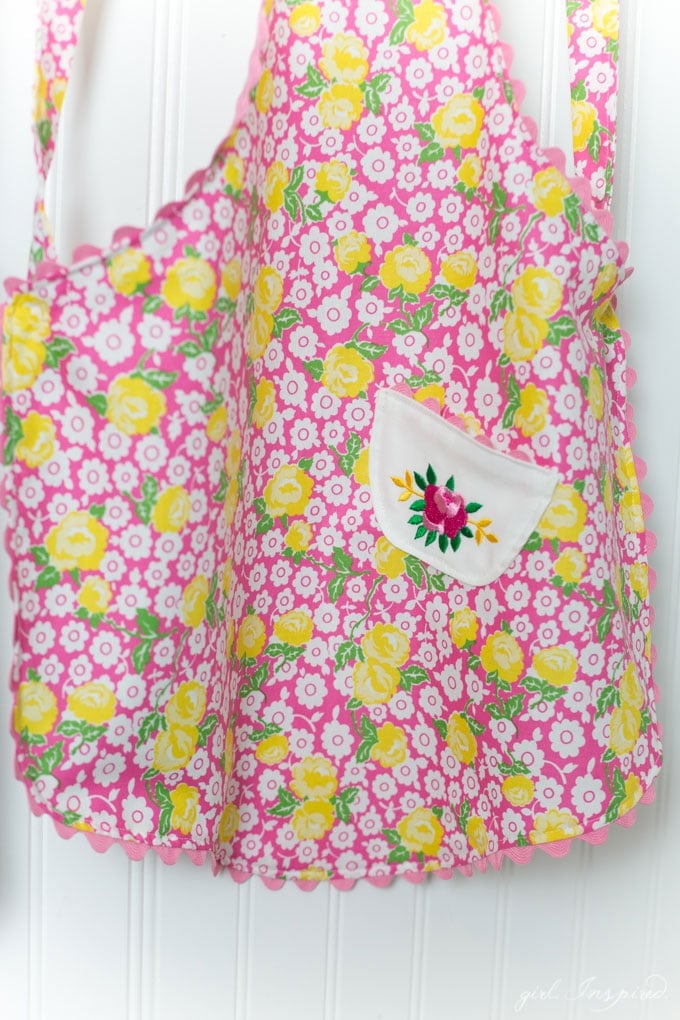
These adorable little aprons are a super quick sew and oh so satisfying, too! You can find the downloadable pattern pieces here: Children’s Charming Apron Pattern Pieces. This is not a full pattern, in that the download simply contains the pattern pieces and instructions can be found in the text/pictures below…
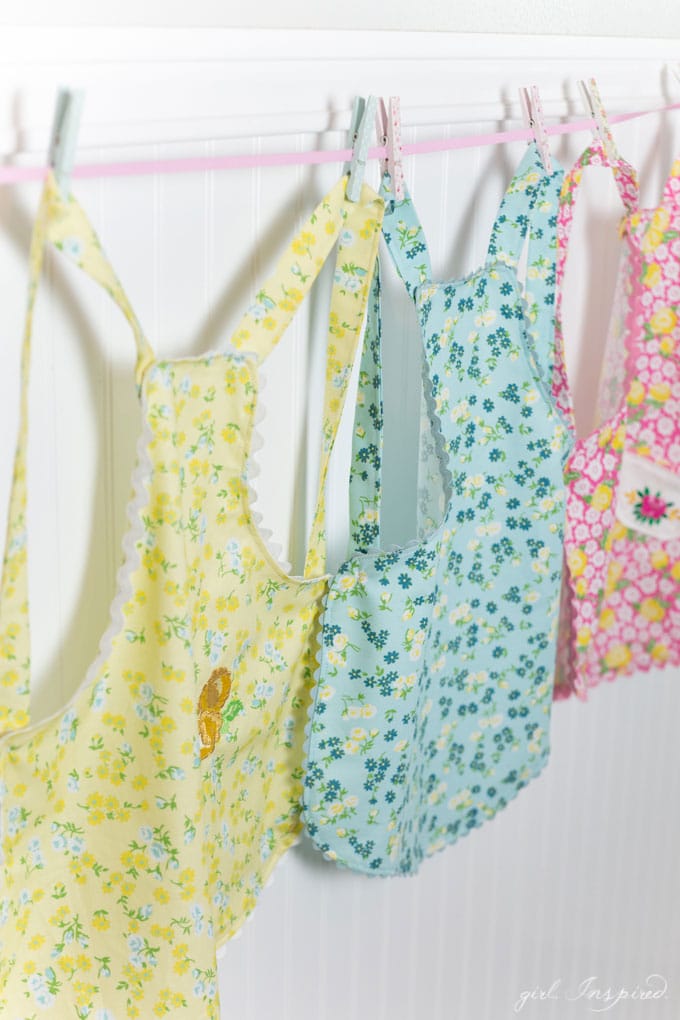
To make the Children’s Charming Apron, you will need:
⅔ yard fabric
Pattern Pieces, assembled
1 package of ric rac (jumbo ric rac recommended) or other trim
2- ¾″ buttons
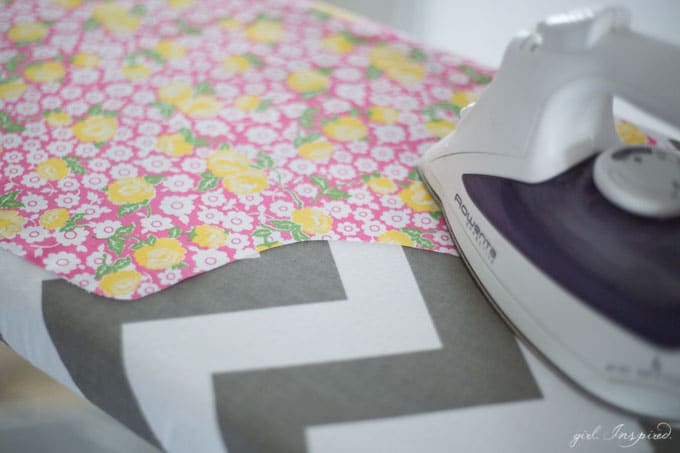
Step 1: Cut out pattern pieces and assemble. Align straight edge of pattern piece with the fold of the fabric and cut out main apron. Open fold and press well.
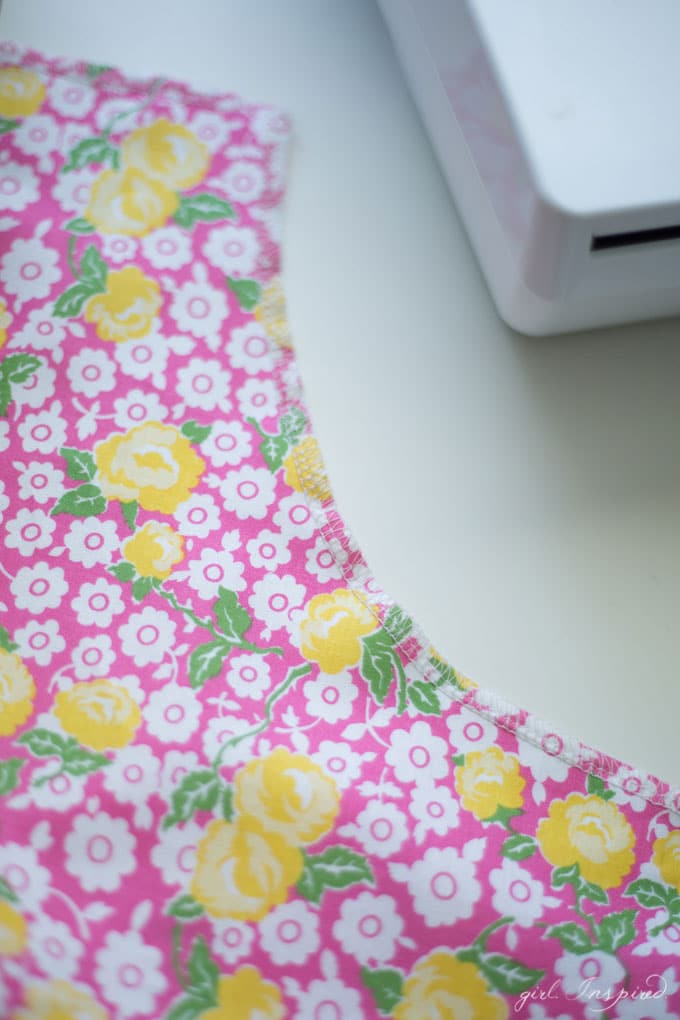
Step 2: Serge or zig zag around the entire perimeter of main apron piece to finish edge and prevent fraying.
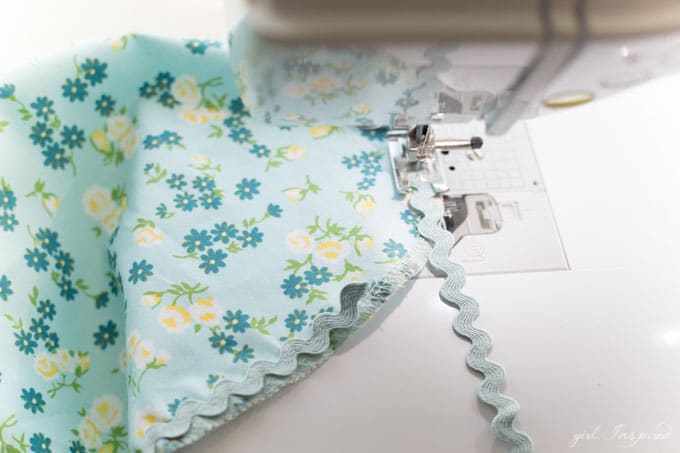
Step 3: Align ric rac (or trim) with right side of apron and stitch through the center of the ric rac, attaching it all the way around the perimeter of the apron as shown.
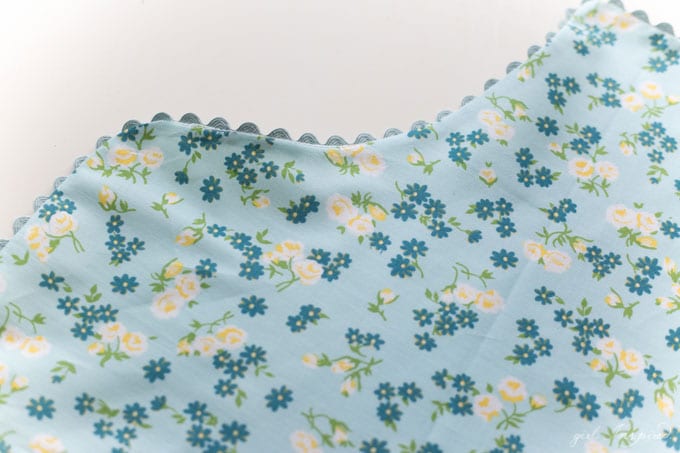
Step 4: Press ric rac and finished edge of apron toward the wrong side so that the right side facing ric rac forms a pretty scalloped edge trimming the finished edge of the fabric.
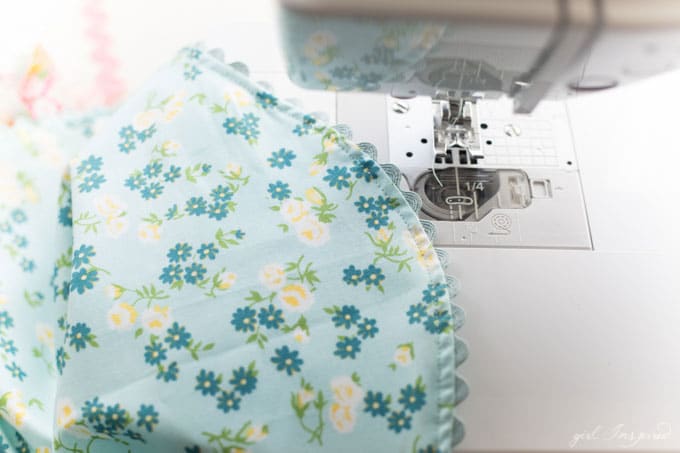
Step 5: Topstitch, close to edge, all the way around the apron to secure the ric rac folded to the back.
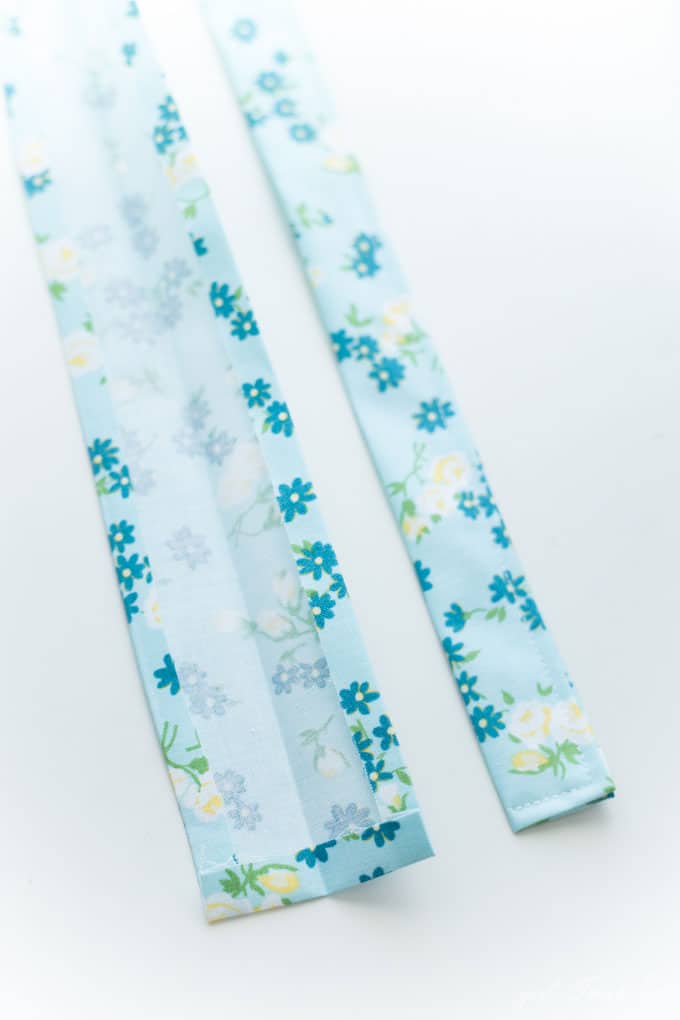
Step 6: Cut two strips of fabric for the straps. Each strip should be approximately 3″ wide by 22″ long. Press ¼″ in along each long side of the straps and then press in half. Tuck in and press each short end so that the strap will have finished edges on all four sides and no raw edges exposed. Stitch, close to the edge, around the open sides of each strap.
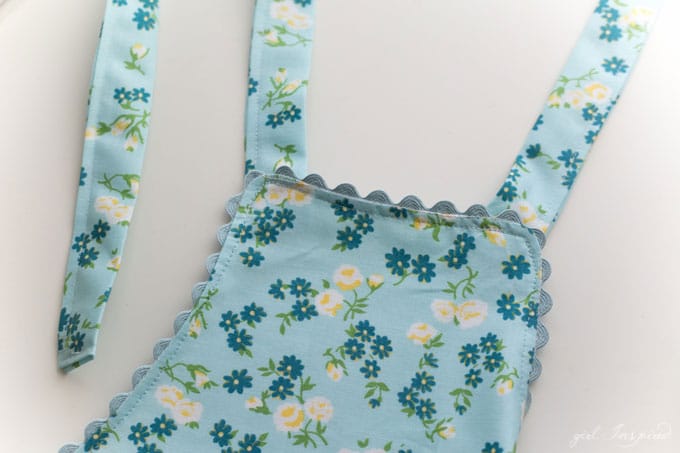
Step 7: With a slightly outward angle, stitch straps just inside the top outer edges of the apron top, as shown above.
Step 8: Attach one button to the backside of each apron side “wing” where the armhole meets the lower skirt portion of the apron.
Step 9: Try the apron on your little one and mark buttonholes on the straps for a good strap fit. Stitch buttonholes.
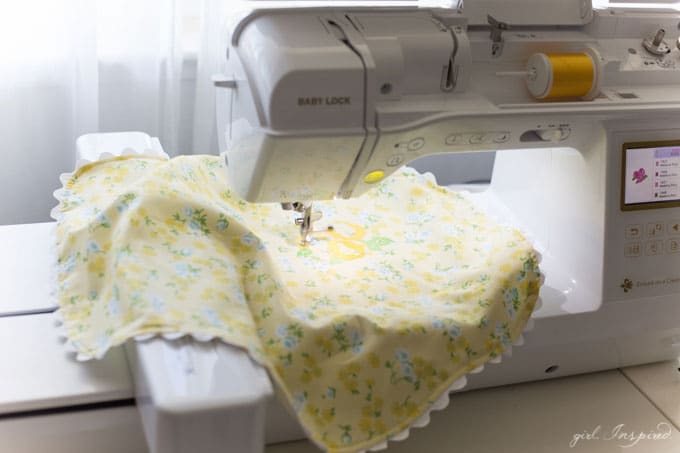
Step 10: Add machine embroidery to your liking!
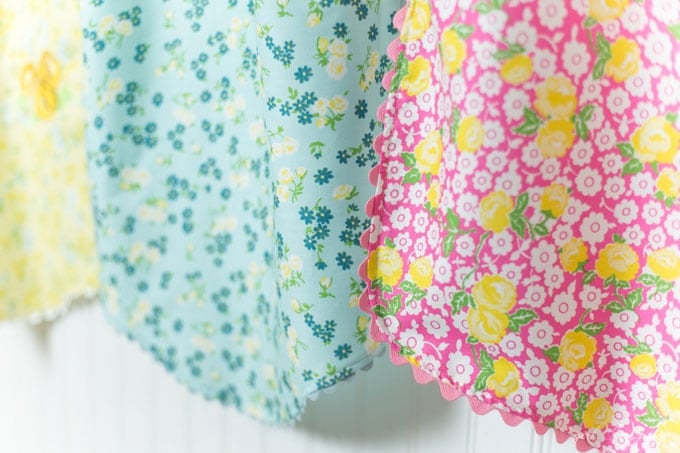
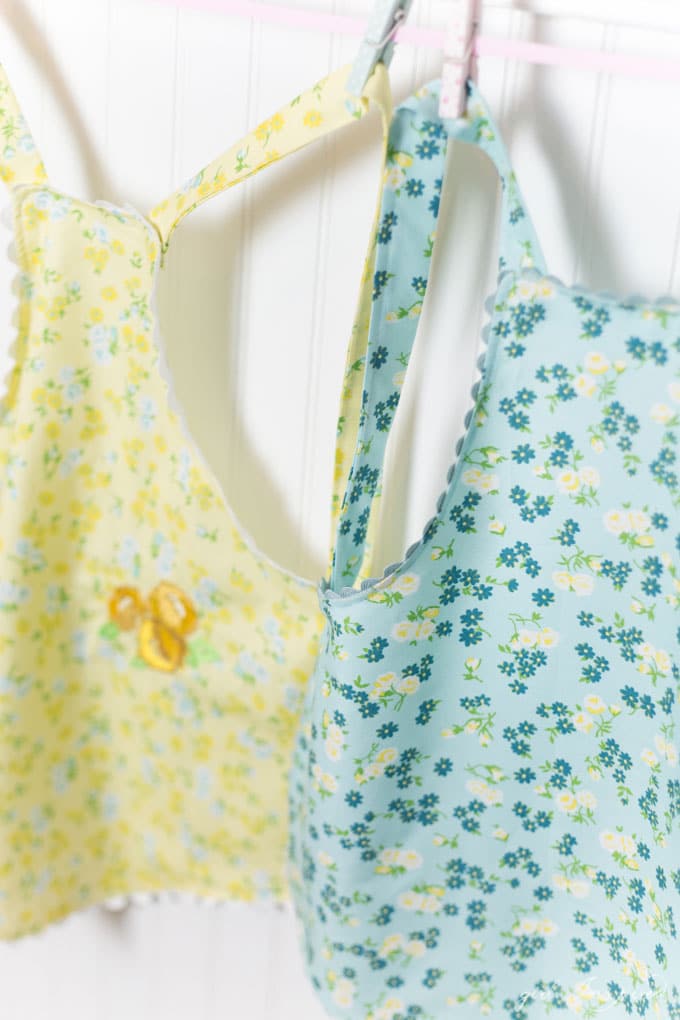
That is it! Aprons are ready for baking!!
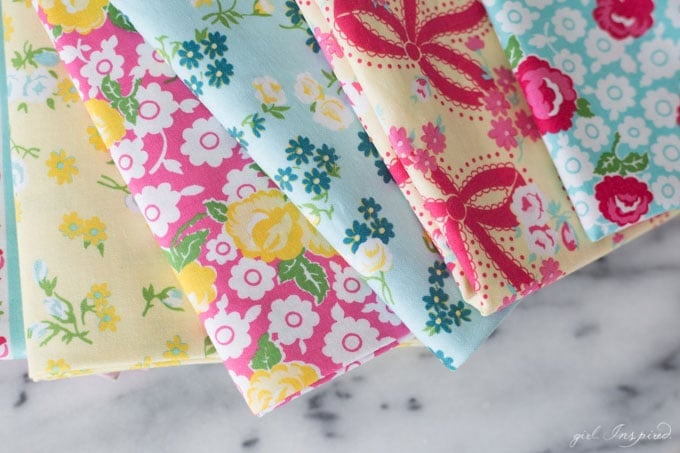
How beautifully does the Dainty Darling fabric line and embroidery files come together? I can’t wait to use this fabric again – it’s such a perfect print for Spring! You can purchase both the fabric and embroidery files directly through Lindsay’s blog, here or ask for it at your local quilt shop!!


Comments & Reviews
Connie Warren says
Oh My Goodness!
I am so in love with this apron! I bought the pattern. Made them for my 5 year old granddaughter!
Love your wonderful instructions and photographs!! Thank you!!
Francine Pelaez says
What do the back of these look like? Do they simply just go over the shoulders, do they stay on that way? Just wondering before I get the pattern…I am looking for something toddlers can put on without a lot of help (so no tying in the back) but will also stay on if they are moving around.
Thanks!
girlinspired says
Yes, they just hook over the shoulders and stay on pretty well. Of course, the shoulder strap might come down every now and then, but for the most part they’re very toddler independent!
Charity says
Those are adorable! I love the ric-rac with those fabrics!