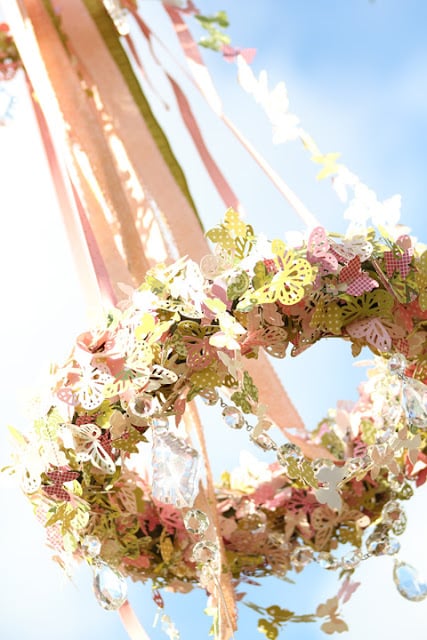
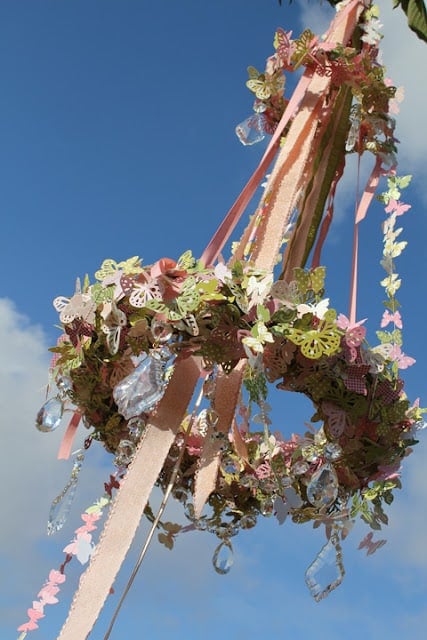
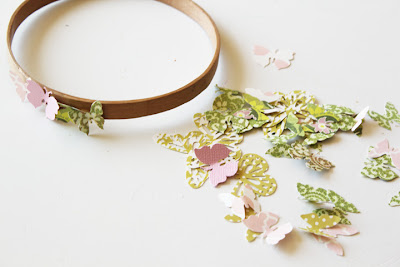
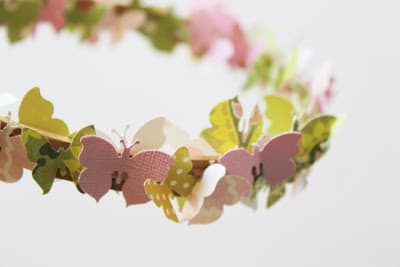


It is my hope that you will find inspiration on the Girl. Inspired. blog. All photos are copyright protected by Girl. Inspired. If you wish to share something that you have seen here, I am absolutely thrilled! Please use only one picture with a direct link back to the project you are referencing. Thank you so much for your understanding!
Comments & Reviews
Vayangi says
OMG this is absolutely gorgeous!!! so gorgeous that I have pinned it and giving it a go now
Christine says
Just adorable!))
Callie Powell says
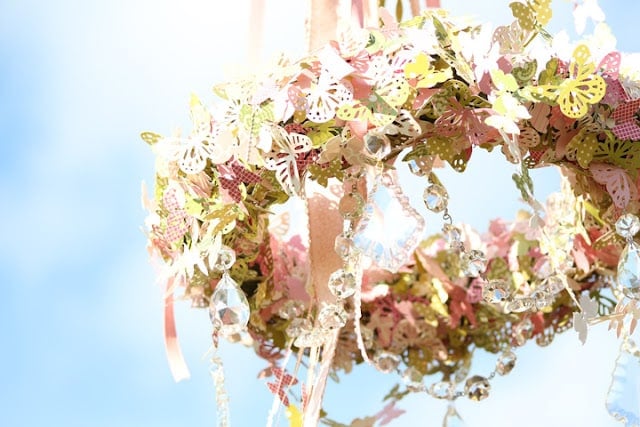
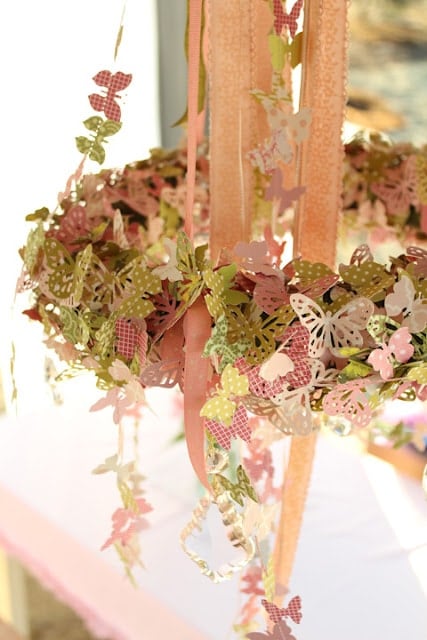
I love your blog and this chandelier! I’m going to make one for my girl’s room.
kim says
I am so glad I found this page! I am making one of these in purple for my best friend, she is adopting a little girl with special needs from china and she looooves butterflies. She is doing her room in purple and I am so excited to make this for her. She has four boys and I know she will love to have something so girly!!
fiveintow says
I made it! Check out my version, and thanks for the great idea! http://fiveintow.com/2012/05/01/diy-butterfly-chandelier/
Phyl says
This is so special. Your girls are blessed to have a mom who makes them feel so special. I am wondering though, when do you sleep? You have wonderful ideas. Thanks for sharing.
Phyl
Meredith Tomasulo says
this is just beautiful – stunning!!
Anonymous says
I love this!! so beautiful. Im making this for my daughters 1st birthday. I started punching the butterflies already. Were did you get that ribbon from? I love it!