I so appreciate your comments on the recital dress and miss Olivia. It’s encouraging to have that affirmation that other moms struggle with the same things that I do. My shy girl’s sensitivity weighs heavy on me most days and it’s so good to know there are other moms struggling with their little ones, too.
So, on with the tutorial. I’ve been cleaning and rearranging in my sewing room (I have a new piece of furniture that I’m hoping to show you soon), and I searched around for Olivia’s dress sketch, but I can’t find it!!! I think I might have thrown it away – eek! So, I’m sorry, I know you were wanting to see a sketch – and you certainly won’t ever see a sketch out of me – but I promise there will be more from Liv and I’ll scan ’em in!
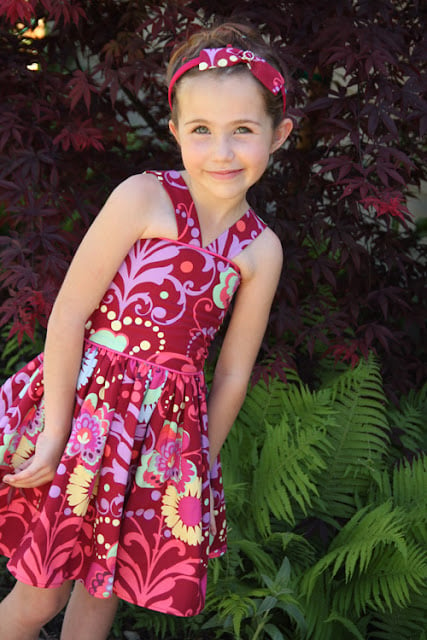
The Recital Dress
Supplies:
~ 1 – 1 ¼ yard main fabric
Zipper
Piping
I only had 1 yard of the fabric Olivia chose, so I used about every last bit of the yard. I used packaged piping, but you could make your own. I use ¼″ seam allowances, except on the zipper seam, where I used a ½″ seam allowance. Ready? You will need three measurements for the main part of the dress: underarm to waist, chest, and waist to knee.
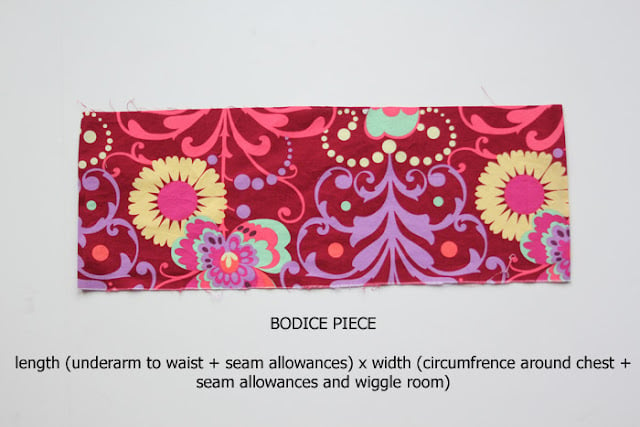
Cut your bodice piece – just one nice rectangle. If you want to curve the top a bit to dip under the arms, you can do that; I was trying to stay as true to Olivia’s design as possible. Her finished dress also seems a little snug because she always wants everything as skin tight as possible, but you could add some wiggle room.
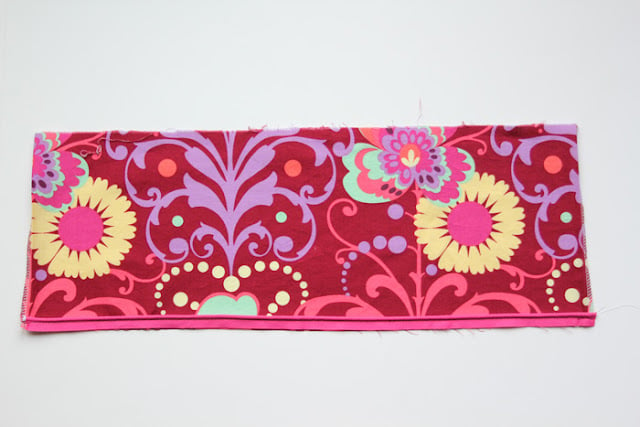
We’re going to add piping to the bodice. This is so simple – cut a piece of piping the same width as the bodice. Match raw edges and pin the piping in place along the bottom (waist) edge. Pop your zipper foot on your machine and stitch the piping down as close to the piped edge as possible.
Next, cut two panels for the skirt. I used the full width from selvage to selvage so that the skirt would be super full. Then cut one of the panels exactly in half along the width. Stitch the two smaller panels onto each side of the larger panel. This will give you two side seams and an open back for your zipper – make sense?

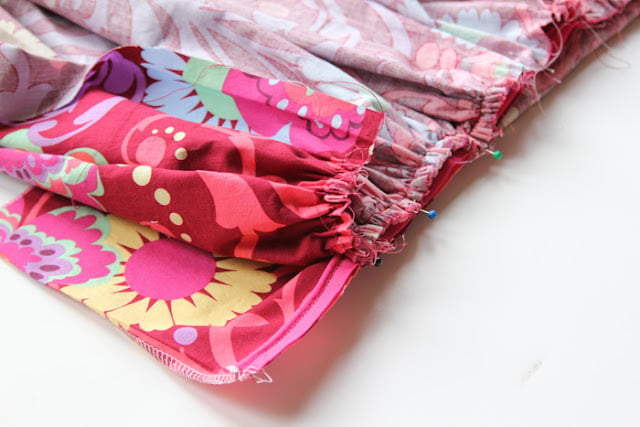
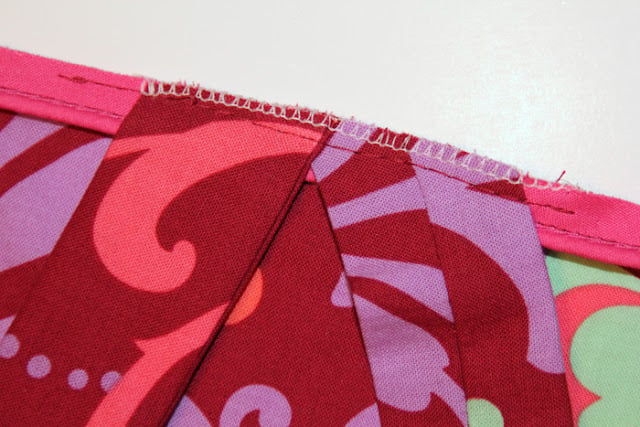
Now, run a gathering stitch along the top of your entire skirt panel. Gather it up until the edge is exactly the same width as the bodice panel – make sure your gathers are even. Press your gathered edge well. Pin the gathered edge of the skirt panel onto the waist edge of the bodice panel, matching raw edges and right sides. Be generous with your pinning.
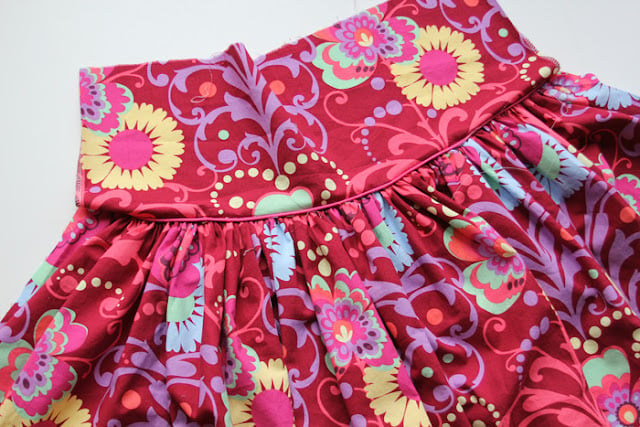
Now, stitch the bodice and skirt together, still using your zipper foot and making sure to stitch right along the piping – since the piping isn’t visible, you’ll have to rely on the seam allowance. Check your stitching when you’ve finished to make sure that everything is in place. I anticipated needing to rip a couple sections and adjust, but it actually came together without any trouble. (This is my first piping on garments experience, by the way.)
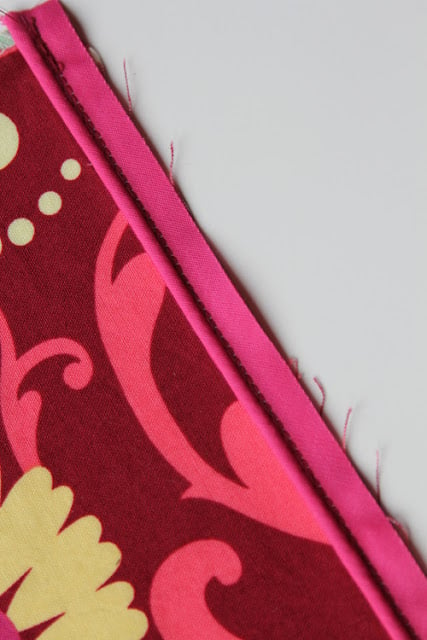
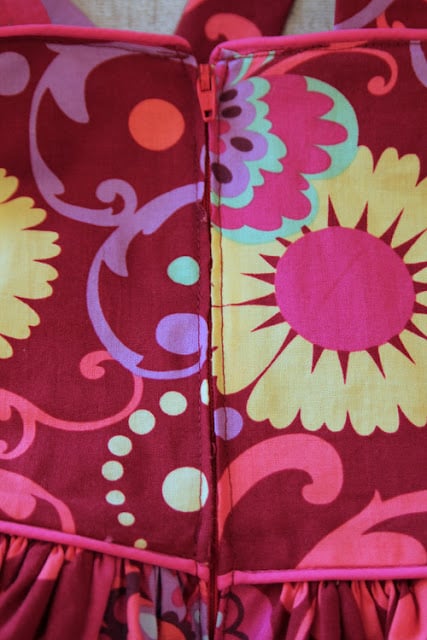
Serge this finished edge if you want and press the seam up. Next, you’re going to sew up the back seam and put in the zipper. I recently came across Michelle‘s tutorial on Sew Mama Sew for the glue-set zipper installation method and I wanted to give it a try. I have to say – I LOVED doing the zipper this way, it was so fast and easy. Use whatever method you’d like. This picture of the zipper is on the finished dress – I didn’t take a picture along the way.
Once the zipper is in, we’re going to add piping to the top edge of the bodice. Open up the zipper and cut a piece of piping the width of the bodice plus a little extra for turning the edges under. Stitch on the piping the same way you did previously.

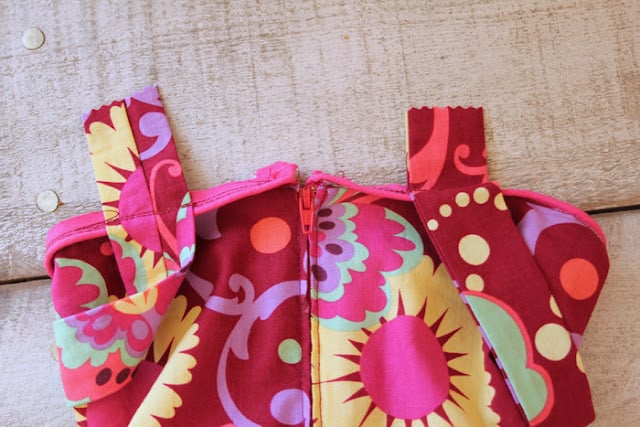
Next, you will want to decide on your straps. This dress looked SO cute strapless, but maybe not age appropriate. Olivia really likes the idea of strapless; second choice is spaghetti straps, which is what she sketched up for this dress. However, when I held up the teeny straps, I thought that the bright design called for something a little heavier on top, strapwise. Cut two pieces of fabric double the width (plus seam allowances) that you’d like the straps to be and with enough length to fit over the shoulder. Sew the strips into a tube, turn right side out and press. Use your model or a dress form to place the straps on the dress. To attach them at the center front and have them angle up over the shoulders, they will need to be attached at an angle. Pin them in place on the raw edge of the bodice top/piping. Baste and check the fit; adjust if needed and stitch them down.
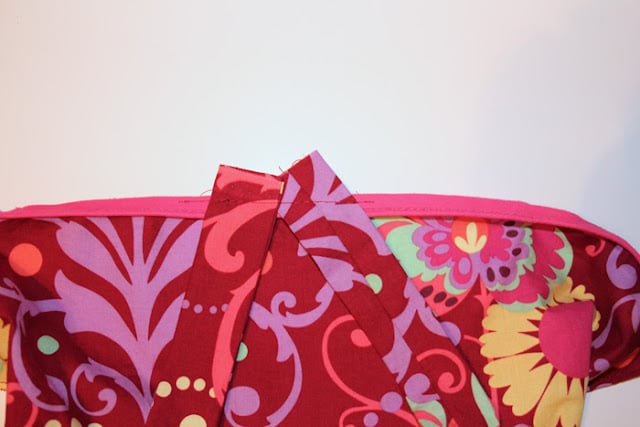
Then serge (or cut and zigzag stitch) off the excess so that it won’t make a lump under the bodice.
Put the dress back on your model and pin the straps in the back where you’d like them. Stitch them on the same way and then trim them off.
Turn and press the piping and straps and then topstitch around the entire top. Then, just hem the bottom!


So, there you have it! A most gorgeous, twirly dress with some fun piping. I think this would be super cute with a little brooch pinned right at the center top, though I don’t have the right one yet.

Happy sewing and happy weekend!!
Linking up at: Positively Splendid


Comments & Reviews
Kat @ sewchibi.blogspot.com says
I don’t know how I missed this but this is so beautiful!!! I’m so glad I saw this on SewSet because I hadn’t seen it on CraftGossip! I favorited it for later inspiration! Thanks!!
Melody Logan says
What a great job! The dress looks beautiful on her 🙂
Sarah S. says
I wanted to thank you for a great tutorial, I just made the dress last week and am the worlds greatest mom for the moment, so again thanks.
Mommyof2girlz/StephD says
So so sweet! Thank you for the tut 🙂
Harps and Ollie's Mom says
I wanted to follow up and tell you that I made this dress. Mine is not as cute as yours, but I was really pleased with it. Your tutorial was a breeze to follow…I ended up putting an invisible zipper in, but started it too low, so it looks a little funny at the top, but I have an idea how to fix it. I will try to send you a picture! Thank you so much!
Elisana says
what a beautiful dress and model! Love your blog!
Crystal says
This dress is gorgeous! Thanks for the tutorial!
cpasseno says
This dress is beautiful, as all of your dresses are. Beautiful model too. I will be making this soon for my granddaughter. Thank you for sharing.
KJ@letsgoflyakite says
Beautiful work, the use of the piping is top notch. This print is one of my favourites.
Anonymous says
How darling is that?? And you’ve made it so easy 🙂 Thanks for sharing!!
kristin says
So cute and summery, Stef! Especially love the piping.
Harps and Ollie's Mom says
Oh, I love this and am going to try to make it soon!!! Thank you!
Katherine
harpsandollie.blogspot.com
Amy says
Super tutorial, very straightforward! Thank you for sharing.
Creations By Cindy says
Thanks for the toot! Hugs and blessings, Cindy
Erin says
This dress is so cute. Thanks for the great tutorial, I can’t wait to try it out.