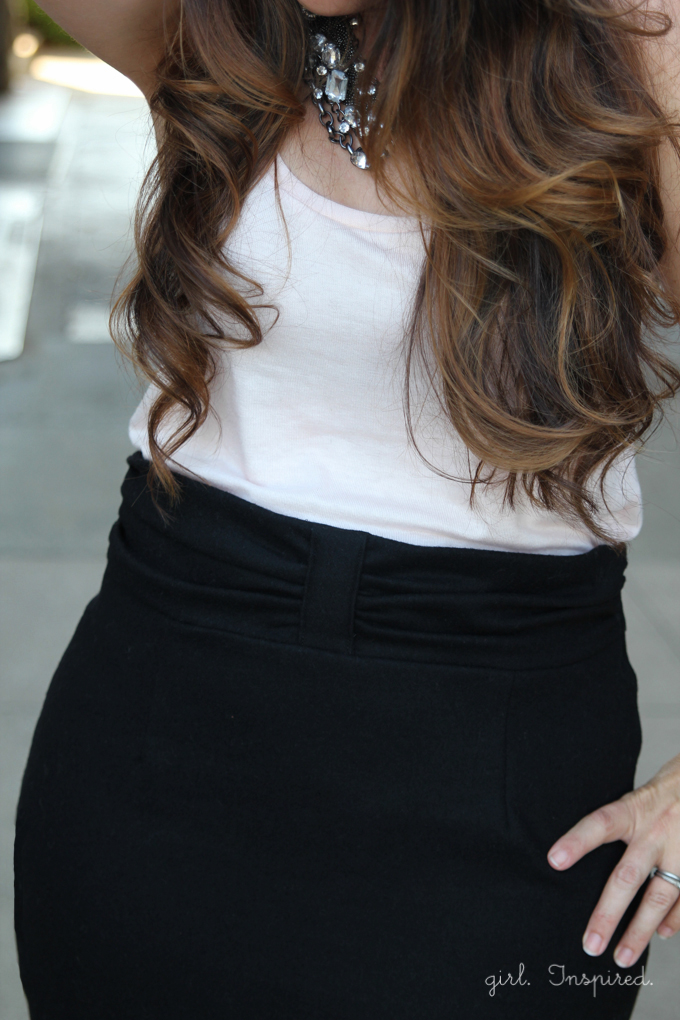
Happy Monday! I am thrilled to share a total gem of a pattern with you today – the Pleated Pencil Skirt from Delia of Delia Creates. We all know how amazing Delia is, right? So, when she asked if I’d be interested in doing a re-mix of her new pencil skirt pattern, I was super apprehensive, but could not say no to Delia. I have never worn a pencil skirt in my life. Maybe it’s just me, but I tend to think pencil skirts and pear-shaped, short people do not get along. At all. I intended to re-mix the pencil skirt into a flared or gathered skirt, but sewed up a muslin to get an idea of the pattern before reworking it. I zipped that baby up and took a look in the mirror, and FRIENDS!!, I thought “Dang, I look pretty darn good in this pencil skirt!” That’s when I realized that having the ability to custom fit clothing patterns can make all the difference in how certain styles fit. I ran out and bought fabric for three more pencil skirts because I knew I had a winning pattern!

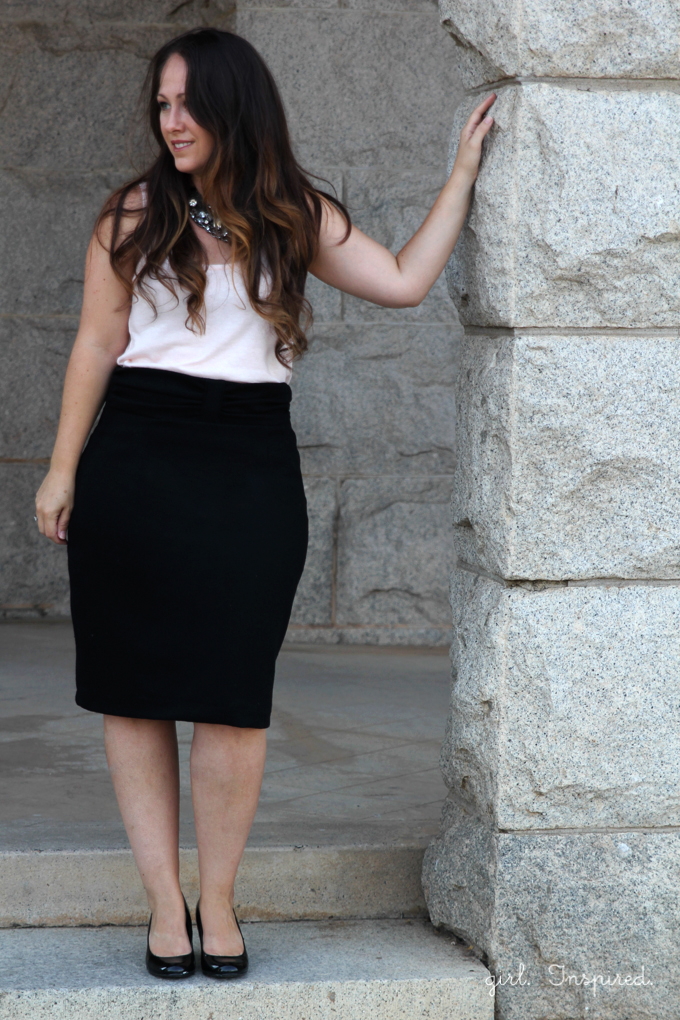
Today, I’m going to share how to easily create a ruched waistband using the Pleated Pencil Skirt pattern. I think it’s a really pretty touch to add to one of your pencil skirts.
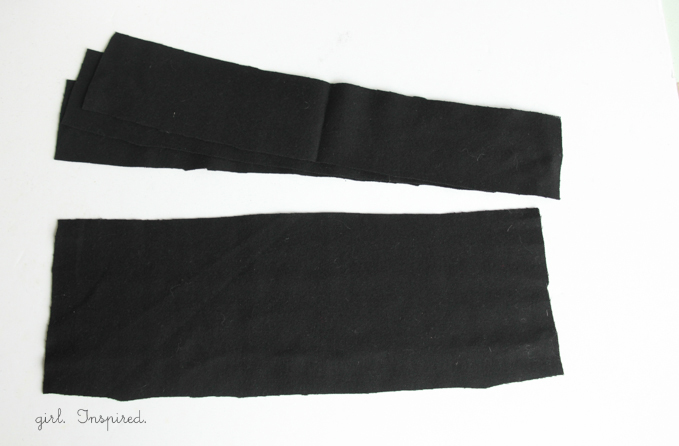
Step 1: Cut out all of your skirt pieces following the patterns and instructions provided in the Pleated Pencil Skirt Pattern. There will be only one deviation from the regular pattern. Rather than cutting four waistband pieces, cut only three. For the fourth waistband piece, simply double the height of the pattern piece and cut along the same slight curve as the pattern shows. You will have now have four waistband pieces; the tall piece will become your front main waistband piece.
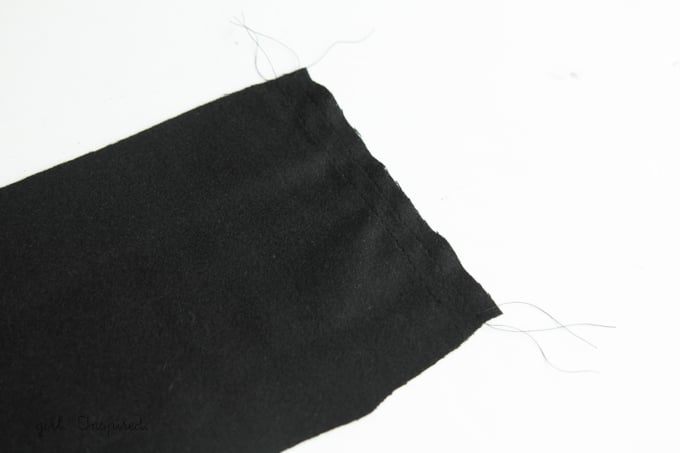
Step 2: On each side of the front main waistband piece, sew two parallel lines of gathering stitches. Mark the center of this waistband piece and sew two parallel lines of gathering stitches to either side of this center mark.
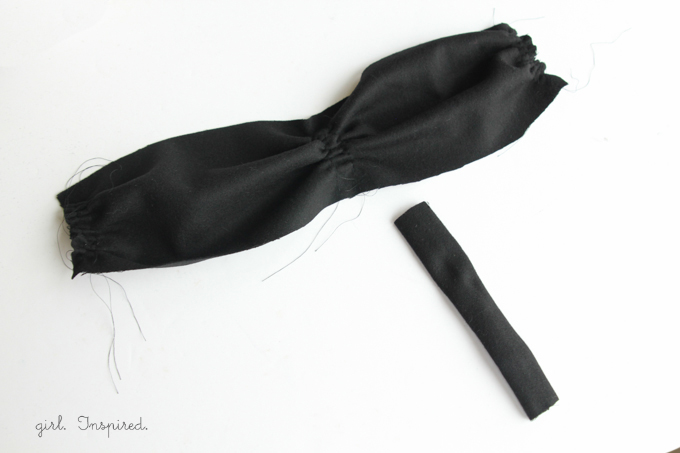
Step 3: You will now have a front waistband piece with 6 rows of stitches. Pull the bobbin threads for each pair of stitches to gather the fabric.
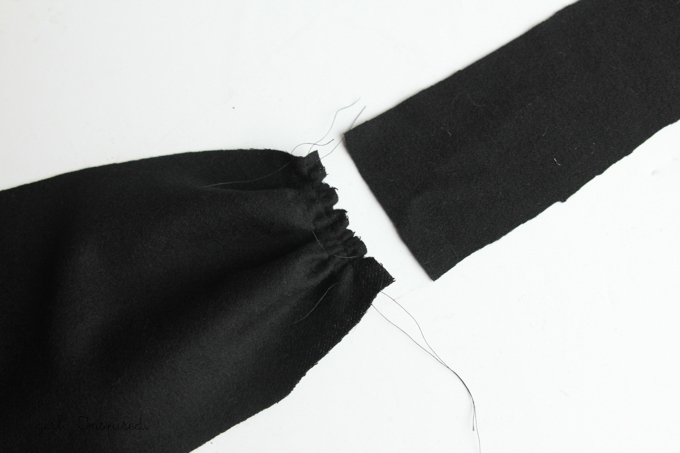
Step 4: Gather the fabric until the height of each waistband side is exactly equal to the height of the unaltered waistband pieces. Stitch over the gathers using a regular stitch length to secure the gathers and ensure that the sides remain the correct length.
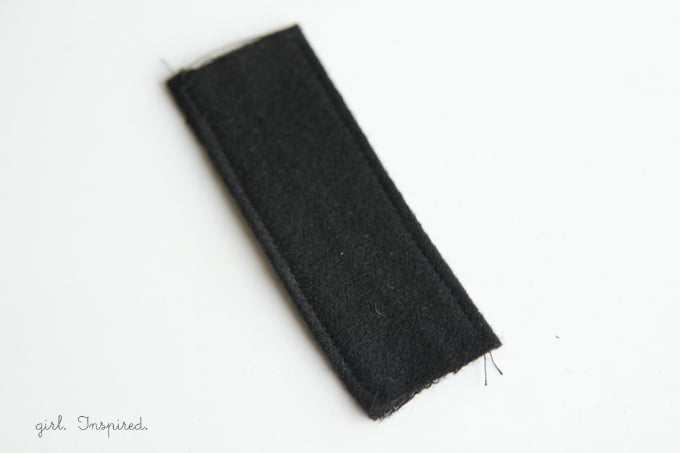
Step 5: Cut a small strip of fabric for the center of the waistband “bow.” This piece should be 3 ½″ wide x 4″ tall. With right sides together and using a ¼″ seam allowance, stitch the long sides of this piece together to form a tube. Turn right side out and press well with the seam at the center back. (I stitched the sides of the bow piece prior to attaching it to the waistband and then stitched directly over those same stitches when sewing it onto the waistband piece (Step 6-7 below. Either way works.)
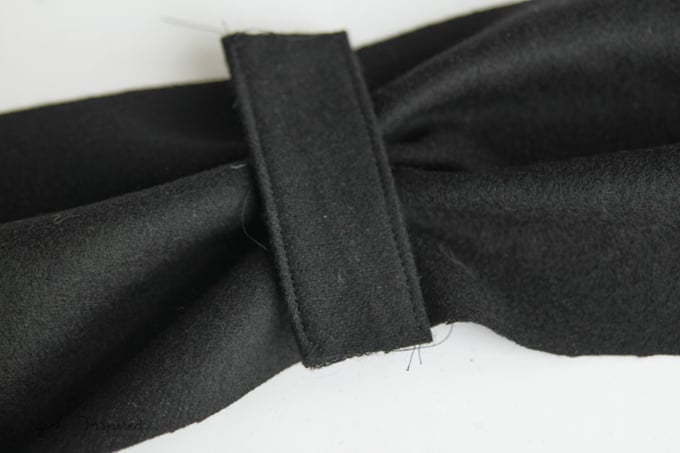
Step 6: Pin the prepared strip over the gathers at the front, center of the waistband piece. Be sure the gathers are cinched to about 3″ and are concentrated to the center (you will want less/no gathering at the very top and at the very bottom for ease when attaching the waistband to the skirt and lining.
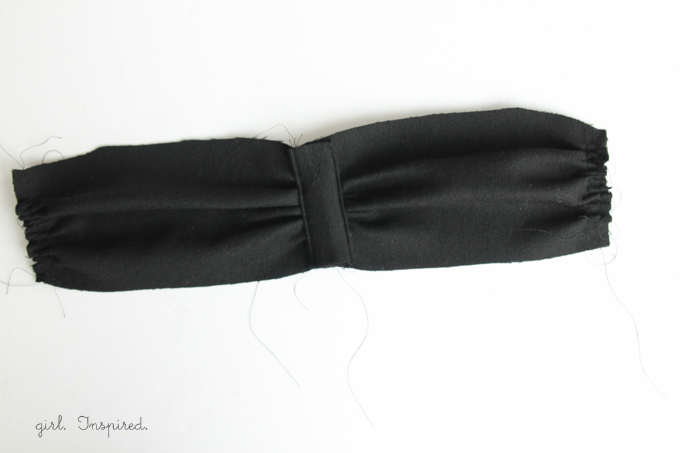
Step 7: Stitch close to the edge down each side to secure the “bow” piece over the gathered front.
Step 8: Now continue with the skirt assembly as outlined in the pattern to finish your skirt. You may also wish to understitch along the top of the skirt (stitch the seam allowance to the lining) to keep the waistband lining from rolling to the front of the ruched waistband (this was necessary with the thicker wool that I used as it did not press as crisply).
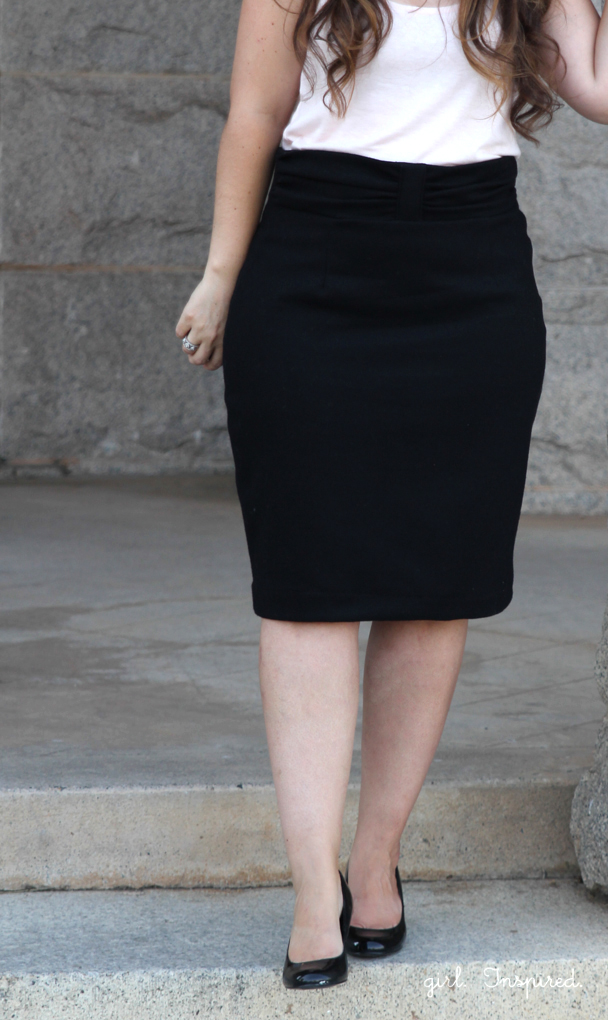
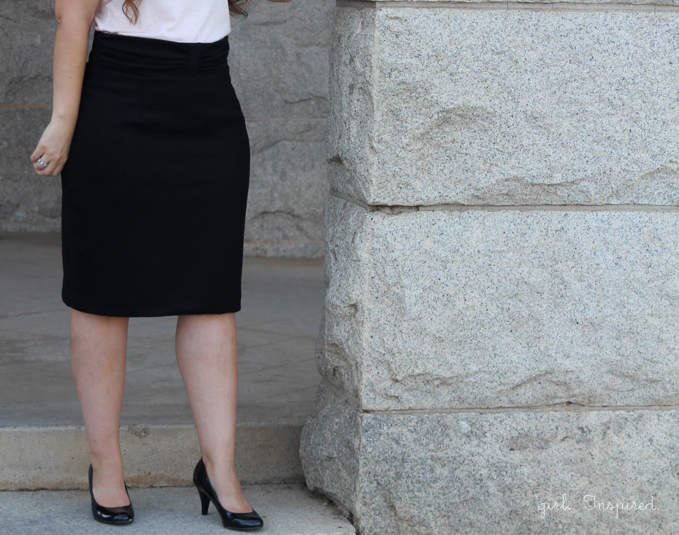
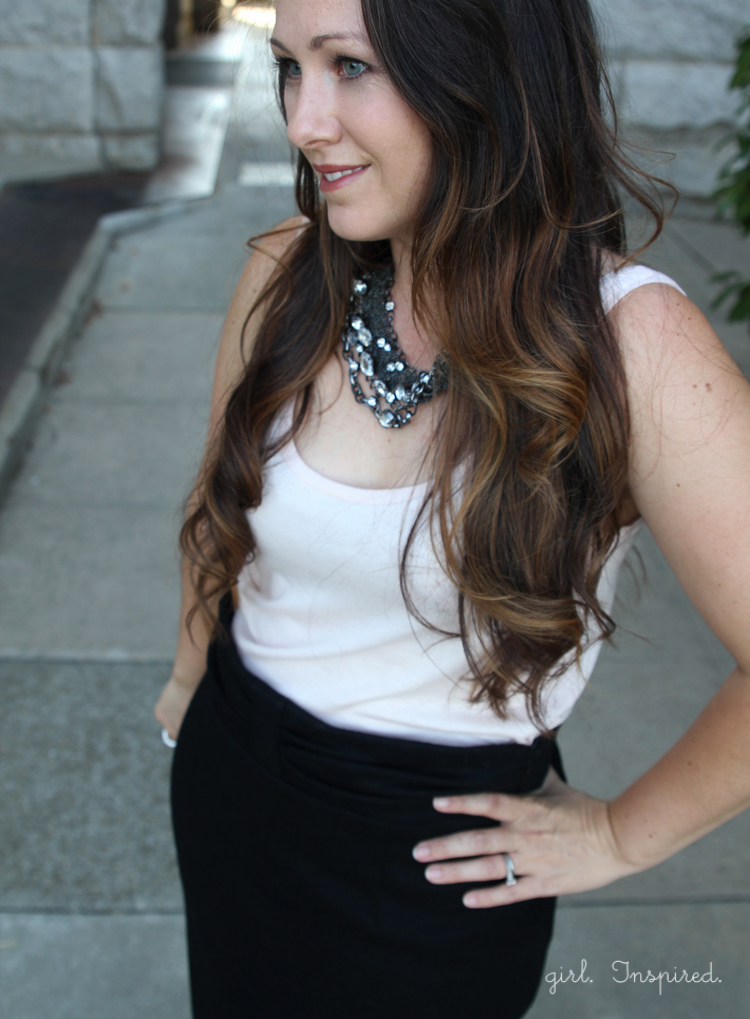
I’ve already raved about how much I like this skirt pattern on me, but I want to share a couple more thoughts on the pattern. I did adjust the pattern to fit my measurements since my waist and hip measurements did not fall within the same size. I simply drew a gradual line to connect the smaller waistband line with the larger size at the hip and it worked out great. The pattern has a cute pleat in the back that is a nice detail and is easy to sew. The skirt also has an invisible zipper at the side and the step-by-step pattern instructions make this easy to accomplish. I used a heavier cotton for my muslin skirt and a 100% wool suiting fabric for this skirt (purchased from Jo-Ann).
You can find all the details and purchasing information for this pattern at Delia Creates, here. You can also find links for tutorials to remix this pattern on Delia Creates.
*I was provided with the pattern for this review. All opinions expressed are, of course, my own.*


Comments & Reviews
Mie @ Sewing Like Mad says
Ha, I thought the same….that I had to make a ton of changes to the pattern….but realized after the muslin it was quite minor – score! And I love that waistband – what a great idea!!! You look amazing!!!!
Veronica says
Wow! Wish I could look that good in a skirt! Great tutorial, too, Stef!
Jess Abbott says
I saw this yesterday and realized I didn’t comment on it. This is seriously LOVELY Stef. Not that I am surprised, EVERYTHING YOU DO IS LOVELY!!! As are you :). Well done my friend!
Charity says
I LOVE the ruched waistband! That is a really great idea, and it looks really cute on you! =)
Heidi G says
The skirt is very flattering on you – love it! And your hair is completely amazing.
kristin says
hot mama! it looks great on you, and i love the waist detail! super pretty.
sorahart says
I thought a pencil skirt wouldn’t look good on me either (tall girl with a large frame!) until I tried this pattern. The fit is fantastic! Thanks for sharing your idea for a ruched waistband, I would love to try it.
Christie says
You look so beautiful Stef! Love what you did with the skirt!
Abby says
You are gorgeous Stef! And that skirt looks so amazing on you!!!
Rosellen Ralph says
You rock that skirt! Thanks for this post.
Mary L says
What a beautiful skirt! It looks great on you ! You inspire me to sew with your inspirations!