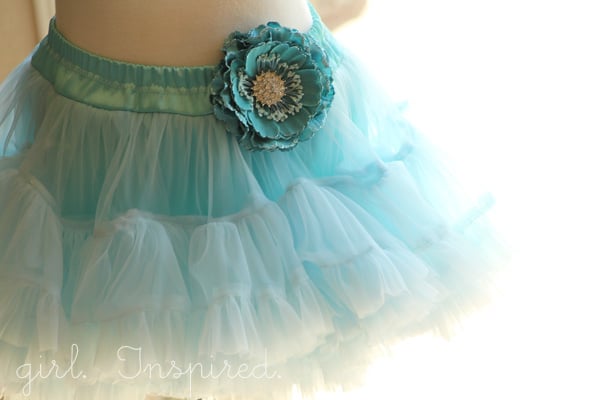
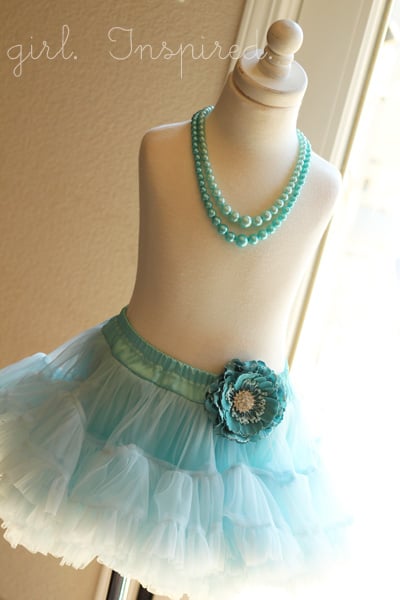
Making a beautifully fluffed pettiskirt for my mermaid princess seemed a daunting task. I had already made the swimsuit and planned to pair it with a fancy skirt that could easily be slipped off for playing in the water at her mermaid party. Once I knew I wanted a pettiskirt, I looked to just purchase one. But I already had a pile of blue chiffon that I had purchased weeks prior and thought I should probably give it a try before shelling out the big bucks for someone else to make the pettiskirt. What I ended up with worked perfectly for the occasion and took one evening to make. I don’t know how the professionals make ’em, but I’m sure this one will get quite a bit of use in this house of girls for years to come.
I snapped some pictures along the way to guide a tutorial, but some parts you’ll have to just imagine (i.e., no photographs, sorry!). I will preface the tutorial by encouraging you to use a ruffling foot to make this. It’s not a necessity, but I don’t think I’d ever get the motivation to make this pettiskirt if I had to do the gathering by hand.
For one pettiskirt, you will need:
2.5-3 yards chiffon (nylon chiffon tricot) – 108″ wide
½ yard lining and waistband fabric
½″ elastic
TOTAL COST = approx. $15

The hardest part of making the skirt was cutting the chiffon (because it is 108″ wide, it was tricky to fold straight and cut on my cutting mat). You will need to cut strips of chiffon (from selvage to selvage) in three different widths – 2″, 4″, and 6″ (this made a size 3T/4T skirt). Basically, we will start ruffling the narrowest strips, connect them up to the mid-width strips, then ruffle those and connect them up to the widest strips. Does that make sense? And we’re going to make three layers of three-tiered chiffon ruffles, plus a lining layer with a 2″ ruffle along the bottom. I used about 4 – 2″ strips for each 4″ strip…and then 2 – 4″ strips for each 6″ strip, and 1 – 6″ strip to go around the skirt = 1 layer. or 8 – 2″ strips, 2- 4″ strips, 1 – 6″ strip = 1 layer. For three layers of chiffon, I needed: 24 – 2″ strips, 6 – 4″ strips, and 3 – 6″ strips. Plus, I needed and additional ¾ish – 2″ strips for the lining layer. So, get cutting!!
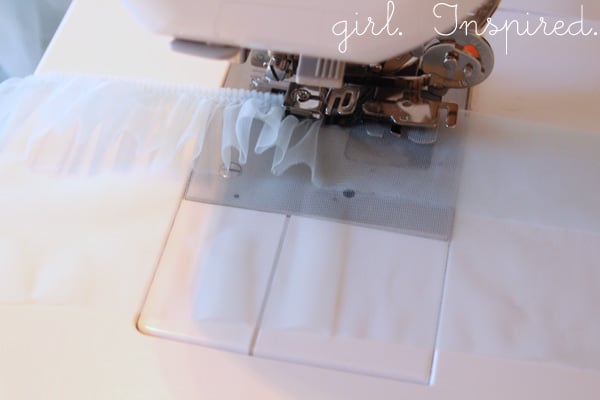
Next, you will ruffle your strips assembly line style. I did not connect the 2″ strips together before sewing them on to the 4″ strips – I figured the stitching would end up showing a great deal more than the loose edges – I just fed them into the ruffling foot one after the next with no gap. So, I used a 4:1 gathering ratio and stitched the 2″ strips to the 4″ strips, gathering and stitching together, all in one step.
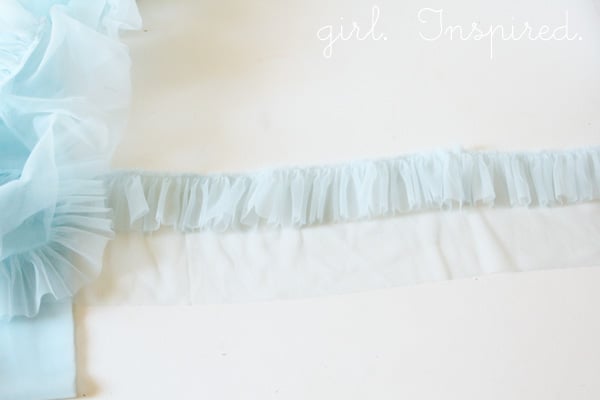
Then, I repeated this process, using a 2:1 ratio to gather/stitch the 4″ strips to the 6″ strips (For the 4″ strips, I would stitch the lengths together first before gathering/attaching to the 6″ strips). Now, you have one three-tier layer of chiffon. Repeat two more times so that you have three, three-tier layers of chiffon. Looking good!! Next, we’re going to make the lining layer.
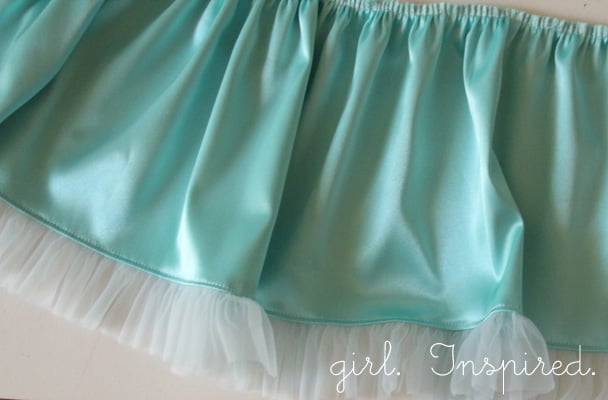
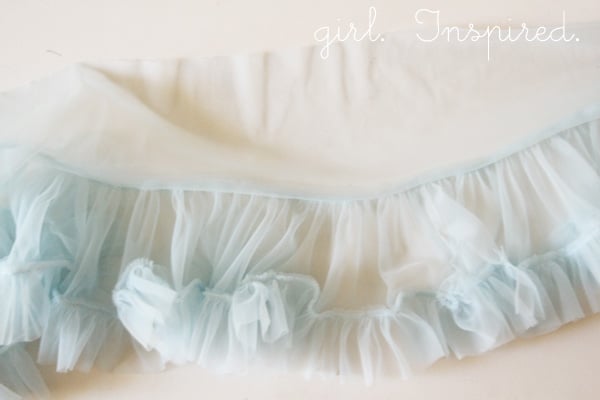
Gather 2″ strips of chiffon along the bottom edge of one strip of lining fabric. You will want your completed lining layer to be the same length from top to bottom as your completed three-tier chiffon layer, so cut the width of the lining fabric accordingly. Once you have attached the chiffon ruffle to the bottom of the lining, serge any raw edges, fold down the chiffon ruffle, and topstitch if needed to ensure it falls correctly.
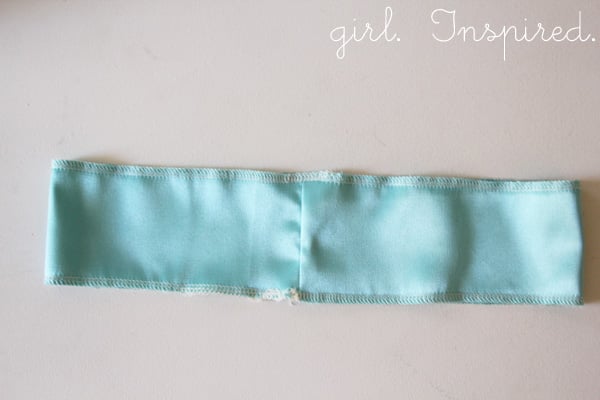
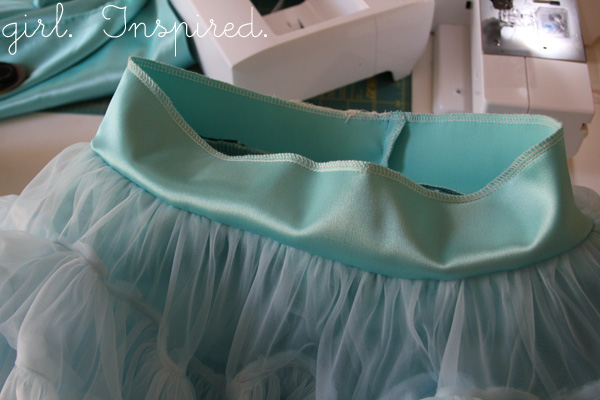
Using a shiny/satiny fabric, create a drop-waistband. Cut a piece of fabric 3″ wide by 25″ long. (You can adjust the width here to adjust the overall length of the skirt.) Connect the short edges together to form a tube. (I also serged the edges at this point because it was easiest).
Next, (and there are no pictures for this), you’re going to form tubes out of each layer of the skirt. Baste the three chiffon tubes together and then run a gathering stitch around the top. Gather the chiffon layers to fit the size of the waistband. Form a tube out of the lining layer, run a gathering stitch around its top, and gather it to fit inside the waistband.
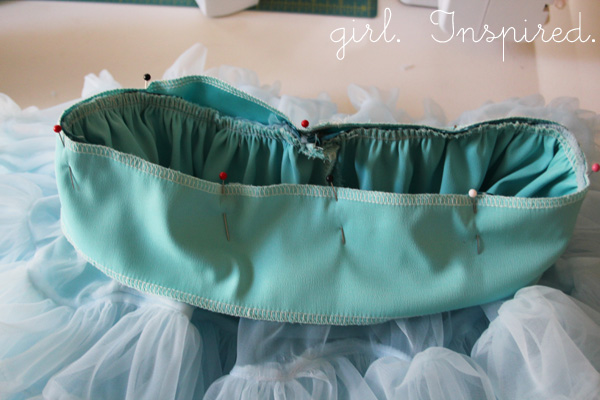
Pin the gathered chiffon layers and the gathered lining layer to the waistband, matching raw edges and stitch together. The right side of the waistband should be matched with the right side of the top layer of chiffon, with the lining layer on the bottom (inside). Also, align the seams of the skirt layers with the seam of the waistband; this will become the back of the skirt.
Almost there….Now, fold down the top of the waistband, approximately ¾″ and stitch to form a casing. Leave a small opening for the elastic.
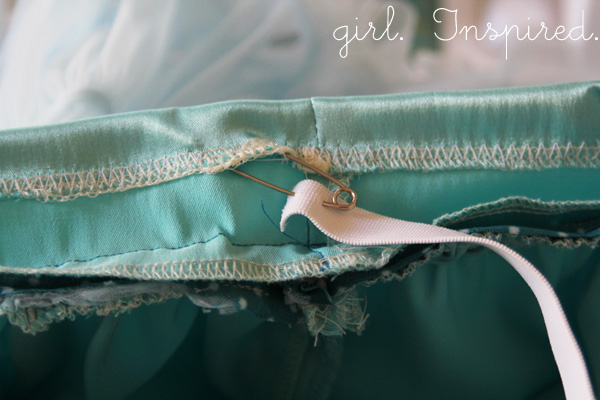
Measure the child’s waist and cut a piece of ½″ elastic approximately 2″ shorter than the waist measurement. Insert elastic into waistband, stitch the opening closed, and you are finished! Woohoo!!!
So? Do you think you’ll make one?
Please let me know if you need any clarification and happy puff making!


Comments & Reviews
Kat @ sewchibi.blogspot.com says
Besides the fact that this particular skirt is like the prettiest cloud in the sky, I actually really LOVE the fact that you didn’t include the “ruffle fluff” to the bottom layer. That is by far the most grueling part of making pettiskirts, IMO and I think it still looks just as fluffy! Also, the lining is a brilliant idea.
I have a post I did several months back about tips when making a pettiskirt (not an actual tutorial per se) and I am going to add it to the edit list (link back here that is), if you don’t mind! I really think this is great!
here’s my post btw 😉
http://sewchibi.blogspot.com/2012/02/not-just-another-pettiskirt-tutorial.html
Alan & Anahi Ninos says
hi, i love your blog and all the cute stuff you have on it. i just have a quick question, i can’t access the posts on the STITCHED section. i love the little white dress your ruffles on the button. the dress im talking about is the one on the very top of your blog and it has some description of your blog… ” girl inspired” and such. i would like to know why is that i can’t access those posts and also where to find the dress im looking for…
thanks
Stef says
Thanks so much! I’m sorry about the links in the Stitched section (and actually, all the sections) – you can access the posts by clicking the caption under each picture. I have to go in and fix the pictures so that they are linked to the posts, but the captions DO work. Hope that helps!Thanks!Stef
Heather says
This turned out SO cute! I’ve always wondered how difficult it would be to make a pettiskirt. I’m not sure if I’m feeling motivated to try it quite yet, but yours looks amazing!
zoeope says
Thanks for the tutorial. Appreciated.
Charity says
That is so dainty and twirly… I love that you used chiffon instead of tulle, it is just so much softer and sweeter
Joanna says
I never knew these skirts were so easy to make. I will be sure to make one for my princess.
tatiana says
es preciosa
nest full of eggs says
all around gorgeous, color & everything !
thanks so much for sharing the approximate cost.
I’m saving this for future reference 🙂
Lindsay(PACountryCrafts) says
Oh, it makes me want to run out and but a ruffling foot and chiffon right away! I would love to make one or four of these for my girls! Where can I get chiffon?
Stef says
Lindsay – there is a link within the post for the exact chiffon that I used. I buy mine from fabric.com. It’s called “nylon chiffon tricot” – definitely invest in a ruffling foot – you will LOVE it!
Kris says
Thank you so much for the pictures. I have a hard time understanding what people are trying to explain sometimes and pictures help me understand what words cannot. I need clear, well thought out pictures like yours. Wikipedia wrote an article on this with drawings that were very basic and so up close, I could not tell where they were talking about. Eventually, I gave up and looked at where they used to create their article. Your site and another site were the sources. I completely understand now except 1 part – the bottom ruffle. You didn’t turn yours so it sticks out at a 90 degree angle to the rest of the skirt like many have to give it more fluff. Instead, you ruffled yours and kept it going up and down for an elegant finish. I want to make one for me with as much fluff as possible so I have to finish mine the other way. I just don’t know how to make it stick out like they did and I guess I will have to keep researching. Keep up the beautiful, professional work. It suits you well. Thank you for your pictures and I hope you share them with Wikipedia and they give you credit. It would make all the difference in the world to their article.
kristin says
YES! I loooove the look of these super full pettiskirts and really want to make one for Em, but I need to get a ruffling foot first. I pinned it for later. 😉 Thanks so much for this tutorial, Stef, and this blue version is dreamy!! I love super girly stuff in blue.
The Sewing Dork says
So pretty and professional looking! I love the look of these pettiskirts.
Sharon says
so lovely! I will ahve to put this on fall sewing list! Thank you for taking the time to make a tutorial.
craftybiggers says
You make it look so easy. I imagine it’s a bit harder than it looks, but I think I’ll have to give it a try. Thanks!
Erin @ crafty-biggers.blogspot.com