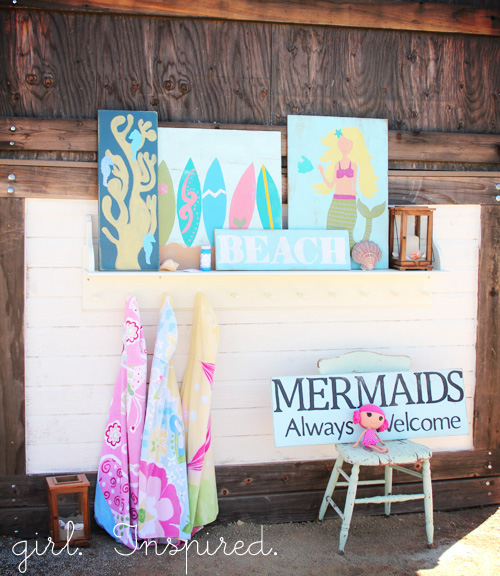
The beach signs were one of the first projects I started for the mermaid party. I was flipping through a Pottery Barn Kids catalog, coveting every beachy thing, and thought I’d just see if I could draw a mermaid. I think it’s important to know our own limits, and free-hand anything is one of mine. I just cannot draw. I figured that once I sketched a wonky mermaid, I’d see there was no hope, and I could move on. BUT, my little sketched mermaid wasn’t too bad. So I reached into the wood scrap pile in the garage and pulled out a big plywood scrap. I sprayed the whole scrap with a background color, then penciled out the mermaid on top. I painted her in with acrylic paints – it took a couple coats. I used a cookie cutter to stencil the fish next to the mermaid (I also used a seahorse cookie cutter as a stencil for the coral/seahorse sign). I was pretty happy with my first sign, so I gradually added to the group, painting scraps of wood, first with background color, and then with acrylic colors over the top.
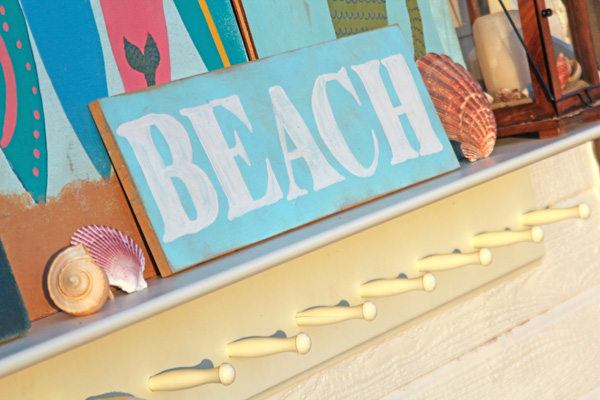
For the “BEACH”, “MERMAIDS Always Welcome,”and “BEACH HUT,” I used the same method that I did when I painted my “BAKE SHOP” and “Lemonade” signs. I open a Word document on the computer and find a font with the right feel. I enlarge the letters and print them out (in draft format to reduce ink usage). Then, I lay them out on a board to make sure they’re the correct size for the space (adjust size as needed).
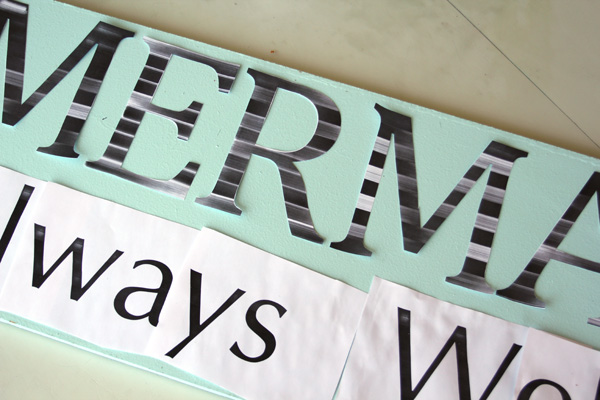
Once I have the sizing right, I cut out each letter and use it as a template to trace. I trace the words onto the background board with pencil and then paint them in.
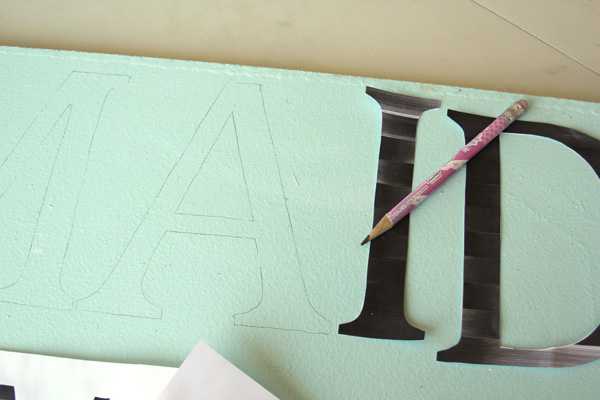
It’s not the quickest process, but I like the way it comes out.
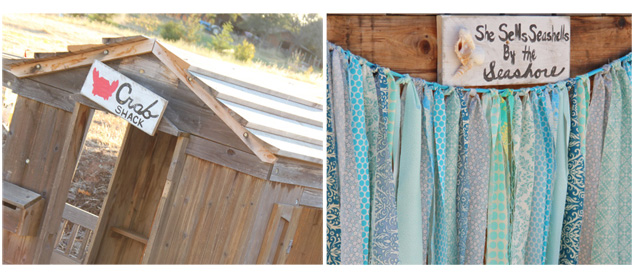
I went ahead and free-handed the Crab Shack and She Sells Seashells signs and added a stenciled crab (cookie cutter again) and hot glued shells. For the surfboard sign, I made a surfboard template out of cardboard and then traced it at a couple different angles across the board. I had fun doodling decorations onto the surfboards, too.
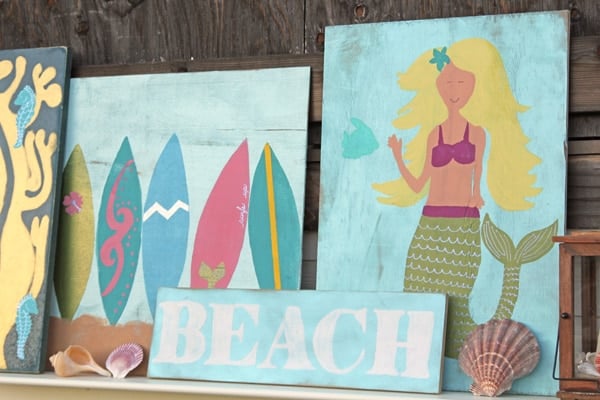
When I had all of my signs painted how I wanted, I did a little distressing. I sanded them down around the edges and across the fronts and then brushed them with a mixture of water and black acrylic paint. After letting the paint/water mixture soak in to the sanded areas, I wiped the excess off with a rag and my signs were ready for the beach!! What is SO great about this project is that you can have ZERO drawing skills and still pull off some funky, whimsical beach signs. Don’t you just think that the imperfections add to the weathered, beachy feel? Finally! An upside to my poor drawing skills. Also, this project didn’t cost me a dime. I used scrap wood, spray and canned paint leftover from other projects, and acrylic paint from my stash. I haven’t decided yet what I’m going to do with the signs now. I really like them out at our play area, but they’ll have to come in this winter. And I should probably coat them with some sort of sealer to help prevent fading – thoughts on that?
Maybe we’ll add to the spread – it’s really fun when you don’t have to be perfect! What sort of beach things would you paint on a sign?


Comments & Reviews
Katie says
All so precious!
Anonymous says
Fantastic JOB!! I love it!
Stacey says
Beautiful!!! Love the sea horses and mermaid.
hollymayb says
“Surfboard parking only” or “Beach babes this way” 🙂 I love your blog!
Kelly says
Amazing! Thanks for the tips! I have oly tried making one sign and it was a fail. But I love your signs so much, maybe I will give it another shot. Thanks!
Jessica at Me Sew Crazy says
I adore this sign Stef! So very cute!
Anonymous says
Love all the ideas for the mermaid party! Im a first time commenter although I’ve been reading your blog for a while now, I felt compelled to offer this tip to save time on stenciling. I actually do a lot of acrylic painting. I agree with Tiffany, I also select ‘outline-no fill’ option so you have a more distinct outline and instead of cutting out the letters, just place the words exactly as you have shown in the photo but with carbon paper underneath! (You can buy them at any stationery/office supply store). SO, you just trace over the outline and voila! Perfect writing in no time. P>S You can do this with pictures too, google images of mermaids or whatever else you want, enlarge to your prefferred size and no-one will believe how artistic you are:) Kadija A.
Tiffany says
Love the mermaid sign! I can’t believe that you freehanded her! A tip I figured out with letter stencils from Word: I go to font and then select the outline option so that the letters are only outlined and are not filled with black. It saves even more ink!