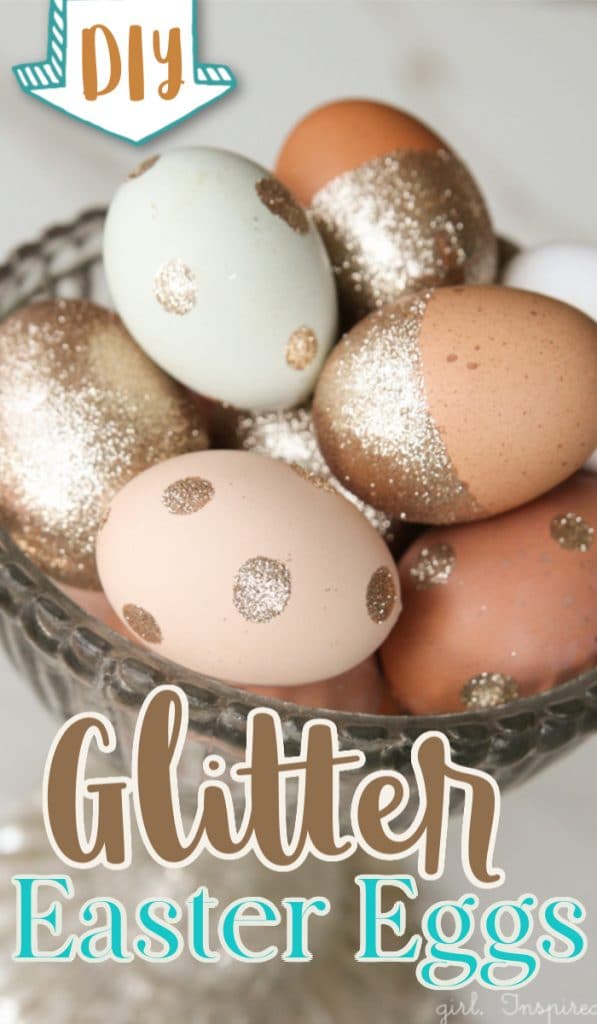
Make GORGEOUS Easter eggs with this DIY tutorial for glitter Easter egg decorations. Use naturally colored eggs from your backyard chickens or dye your regular white eggs – either way, this glitter activity is the perfect springtime craft for kids and adults alike! Decorating Easter Eggs is one of the absolute most fun and nostalgic holiday traditions – it’s even possible that my love of crafting stemmed from learning how to dye Easter eggs from the time I was a bitty. I hope you love this glitter craft as much as I did.
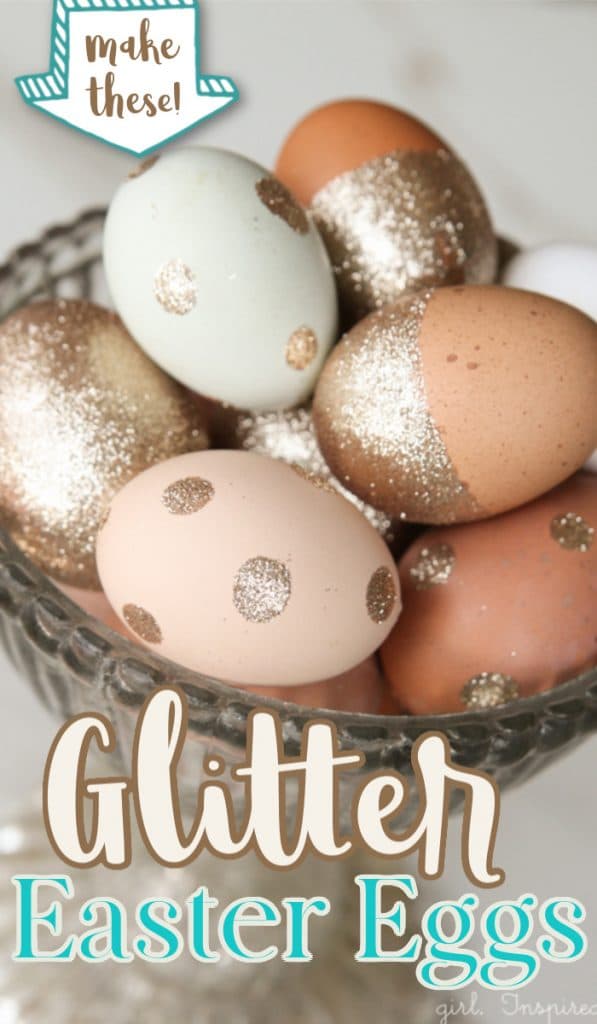
OH yeah. My dutiful hens have been giving us quite the overflow of beautifully colored eggs. I’m talking close to 5 dozen eggs a week – I can’t hand them out fast enough. I keep looking at the variety of amazing colors and wanted a way to incorporate them into some spring/Easter decor. Have you ever blown out eggs before? I’m definitely not an expert, and it’s not the quickest activity without some sort of fancy tool, but it is kind of fun. I blew out a pile of eggs and then went for a metallic dipping effect and the eggs turned out SOOOO pretty. Would you like to make some glitter Easter eggs?
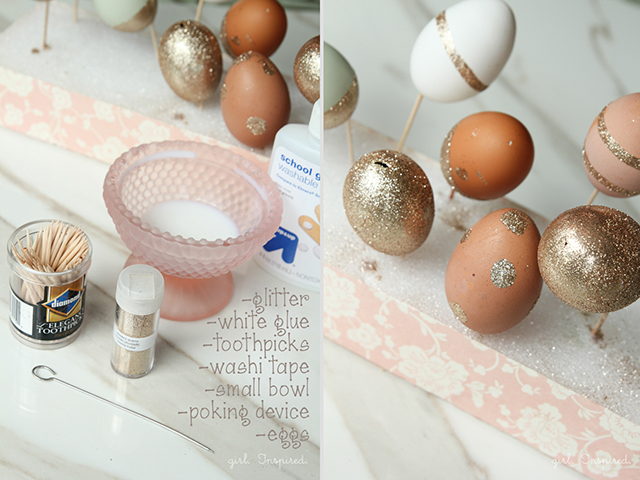
To blow out the inside, you will need to poke a hole in each end and then blow air into the egg. This one-hole egg blowing pump tool (affil) looks like it would make the task super easy.
Once the eggs are cleaned and dry, it’s time to add the glitter.
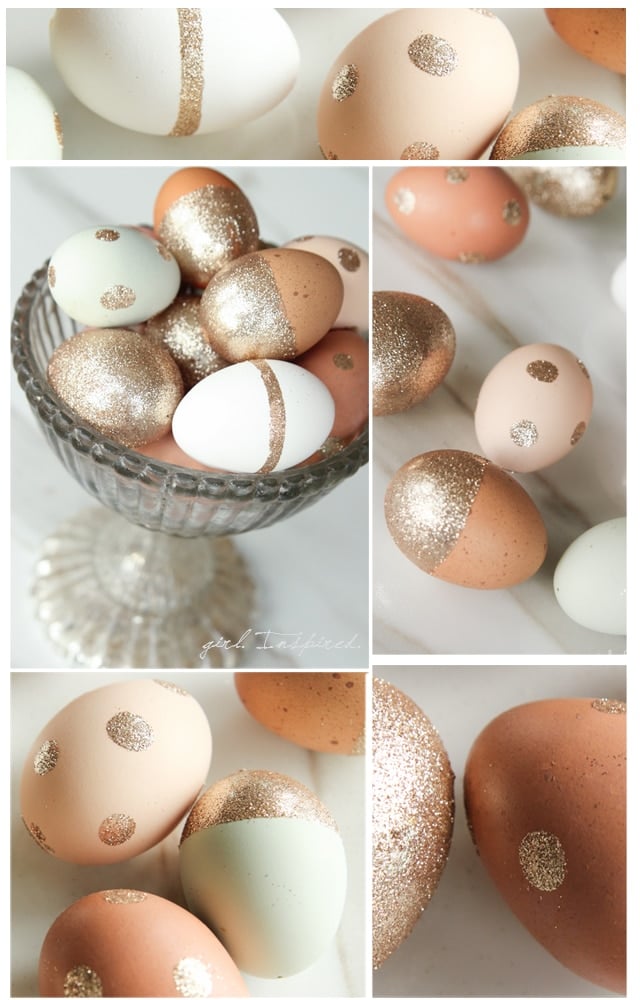
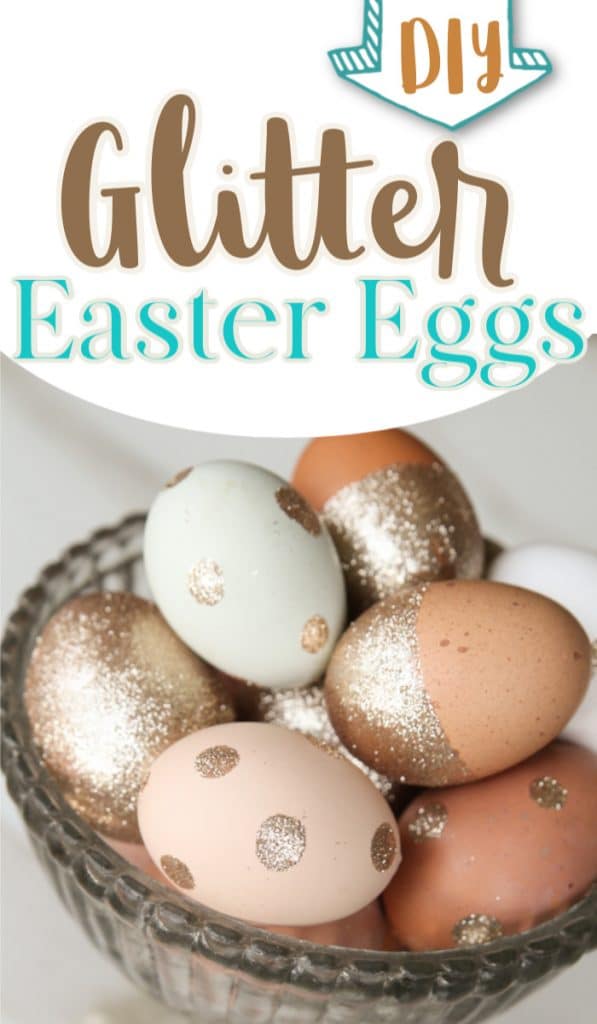
Put white glue or Mod Podge into a small bowl – the glue can be thinned down with some water. Dip the eggs into the glue mixture and blot excess drips. Sprinkle with glitter. Place the eggs on a toothpick pushed into styrofoam to dry. For polka dots, simply dab the tip of your finger into the glue, dot onto the egg, and cover with glitter, shaking off the excess. For stripes, use two pieces of washi tape wrapped around the egg to make a straight line between – apply glue and glitter. Remove the washi tape before the glue dries.
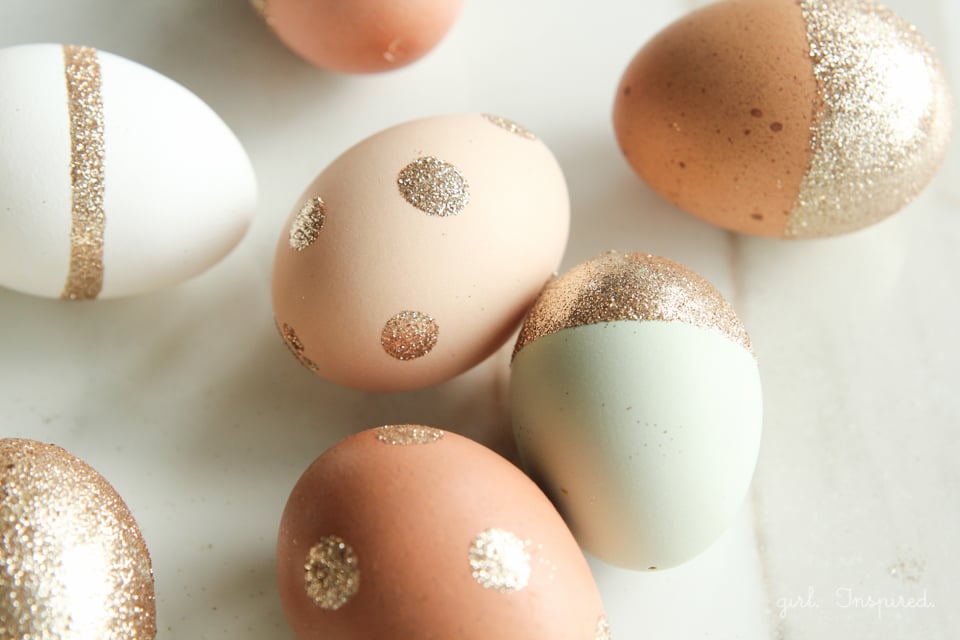
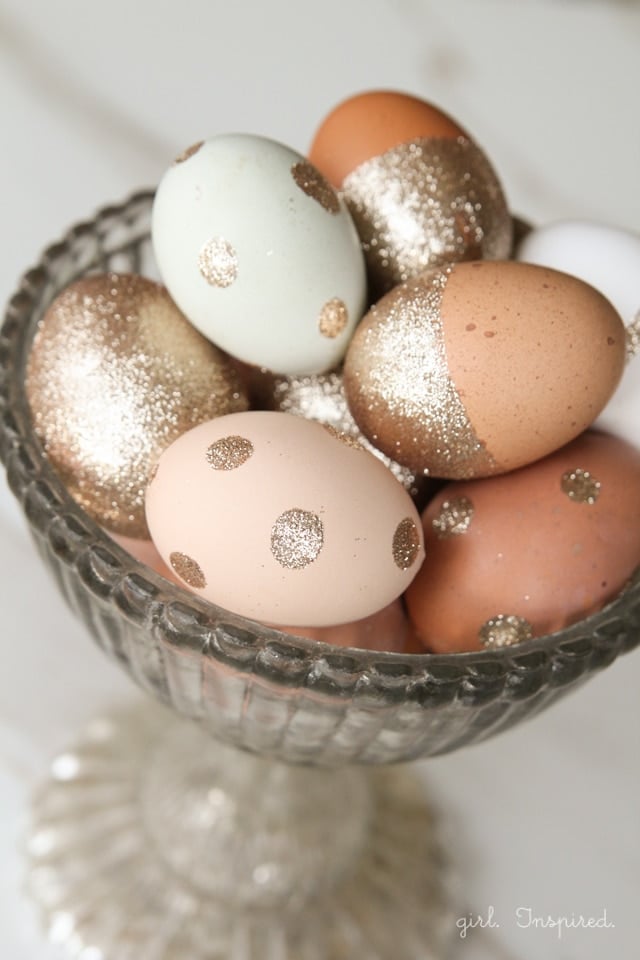
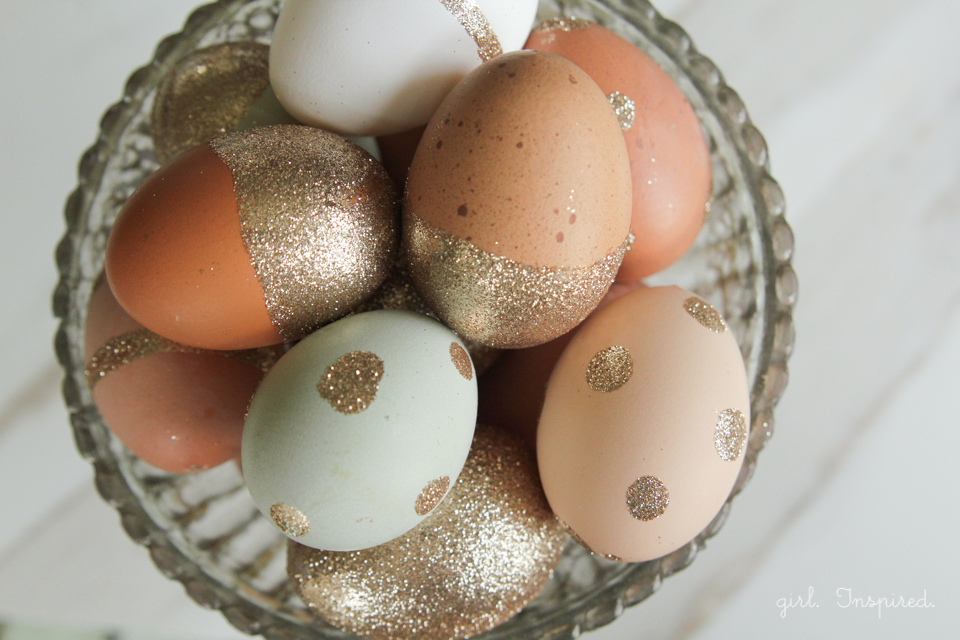
They’re beautiful, aren’t they? Make some, okay? Need any eggs?? This is the most fun I’ve had with Easter egg decorations in a long while!


Comments & Reviews
Deatra says
Can you use boiled eggs with technique? Are they edible? They certainly are beautiful.
girlinspired says
I don’t really know if there would be a concern with the glue toxins seeping through the shell – glitter could probably be rinsed off the egg if some got on in while peeling. It would probably all turn out fine, but you’d be sad to crack open your pretty eggs. 🙂