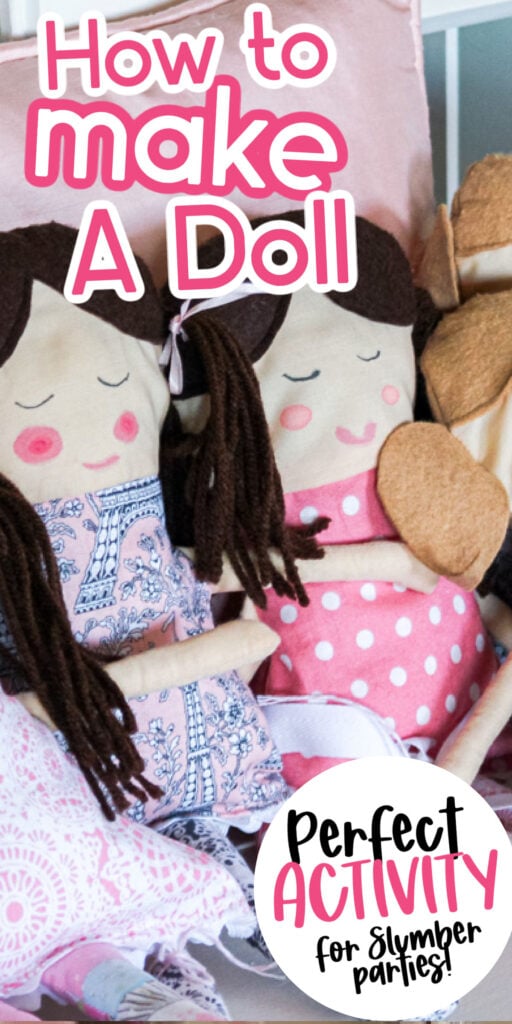
If you want to learn how to make a rag doll using a simple pattern and a few basic stitches, you’ve come to the right place. The doll we’re making today is fun and adorable – even kids can help to make a cloth doll using this easy tutorial. With basic stitching and imaginative design, you’ll bring your doll to life, ready to be cherished for years to come.
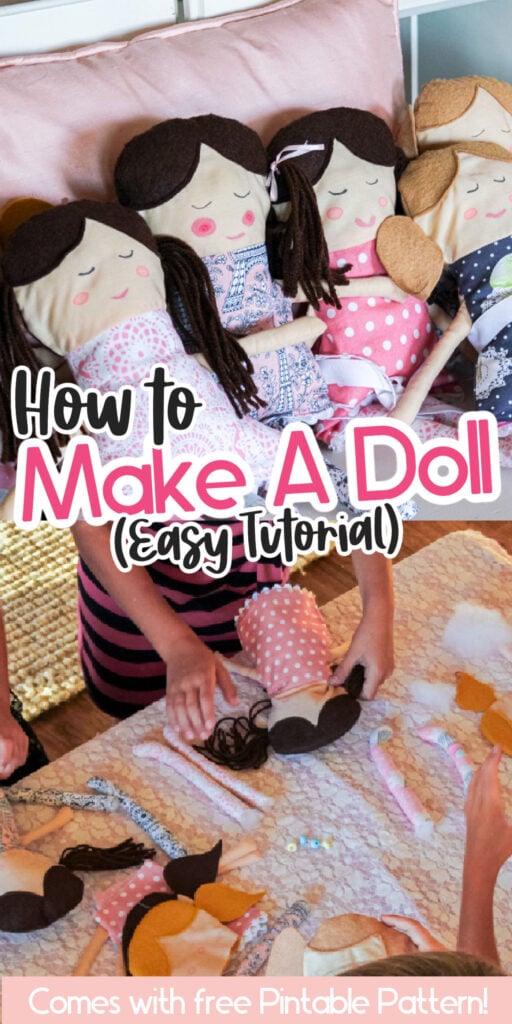
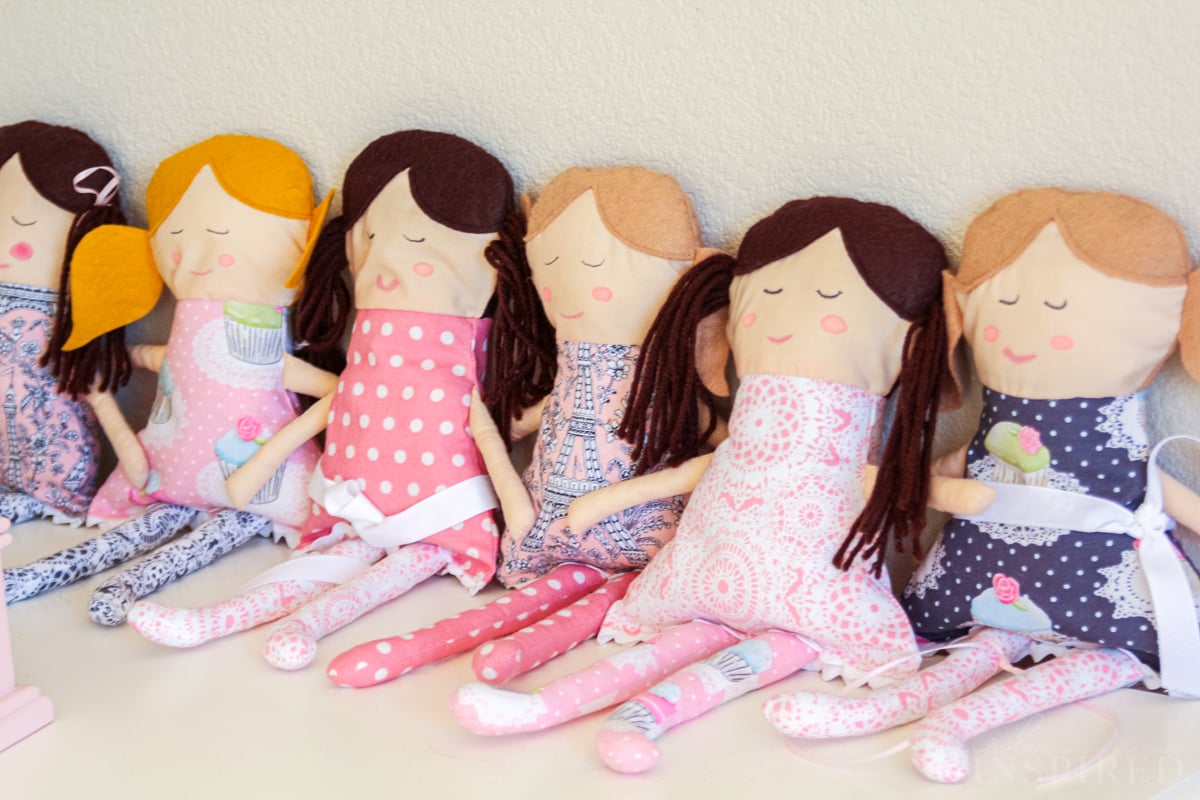
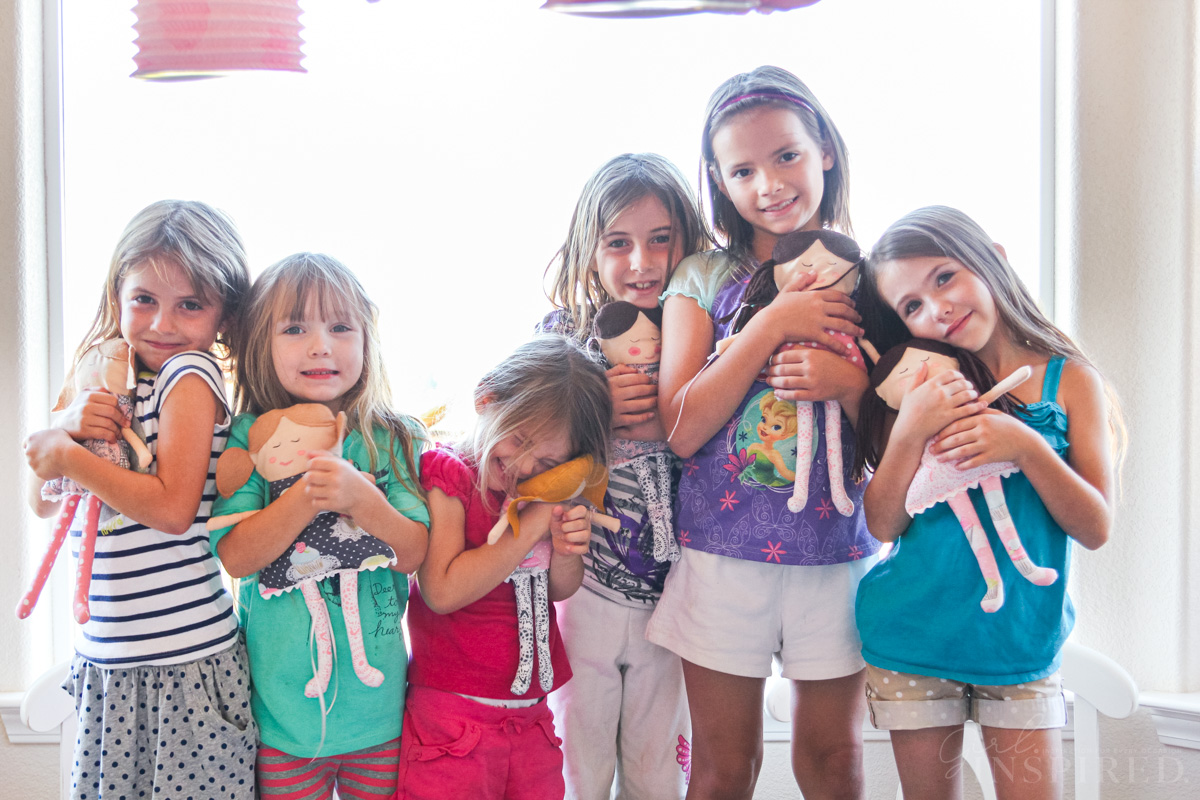
I am so excited to share the pattern pieces and instructions for the doll making activity that we did at Olivia’s 7th birthday party! This activity is perfect for a small group of children (we had 7 total, 3 of which were mine). Constructing the dolls is a pretty simple process. You can prep some or most of the doll in advance or work on this project side by side with your little one.
This project is so much fun and should be fairly simple if you follow the step instructions below.
If you love sweet craft projects for your kids, you should also check out my DIY princess crowns, how to make a tutu, and DIY lip gloss.
🧵 Materials:
- quilting cotton – patterned for dress and the legs (tights), the pattern pieces are small so this is a great project for using up fabric scraps
- solid quilting cotton – in flesh tones for the arms and face, I prefer Kona cotton.
- felt – browns, reds, black, yellow, or colorful for the hair
- yarn – try to match yarn colors to the felt hair colors (or you can just make felt pigtails and skip the yarn)
- fiberfill or preferred stuffing
- ric rac
- fabric markers – to make the faces. You can also embroider or stitch the faces. Practice with fabric pens on scrap fabric as it can bleed easily.
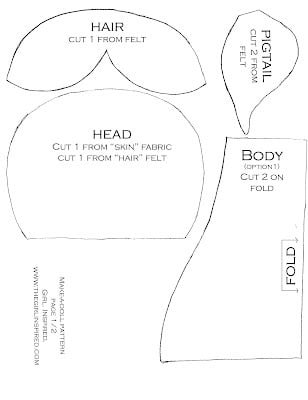
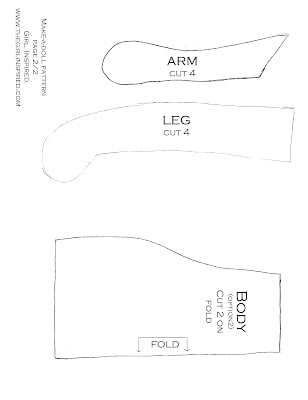
- doll pattern – I’ve provided a free pattern you can print out on your home computer. The pattern is at the end of the post.
Equipment Needed:
A sewing machine is helpful for this project, although you could hand stitch the doll together if necessary.
Variations
- Use embroidery floss to stitch eyelashes and a mouth. Buttons could also be used for facial features like button eyes or cheeks. A heart shaped button makes a cute mouth.
- Accessorize the clothing by adding buttons, embroidery, or trims to the dress piece.
- Tie bows in the hair or around the neck.
- Use a spare piece of fabric to make any additional decorations on the doll.
- Some basic rag dolls are stuffed with cotton balls or other scraps of fabric, which is always an option if you don’t have fiberfill available.
- Leave off the pigtails and alter the fabric to make boy rag dolls.
- Try pipe cleaners for the hair so that it can be shaped. Pipe cleaners can also be sewn inside the leg or arm pieces so that they are bendable!
- Use fabric glue to add small details. I would not recommend fabric glue for putting together your entire cloth doll; the seams will be stiff and it is just not as durable.
✂️ Instructions:
PREP: Print out the free doll pattern pieces (at the bottom of the post.) Cut out paper pattern pieces and then transfer to chosen felt and fabrics.
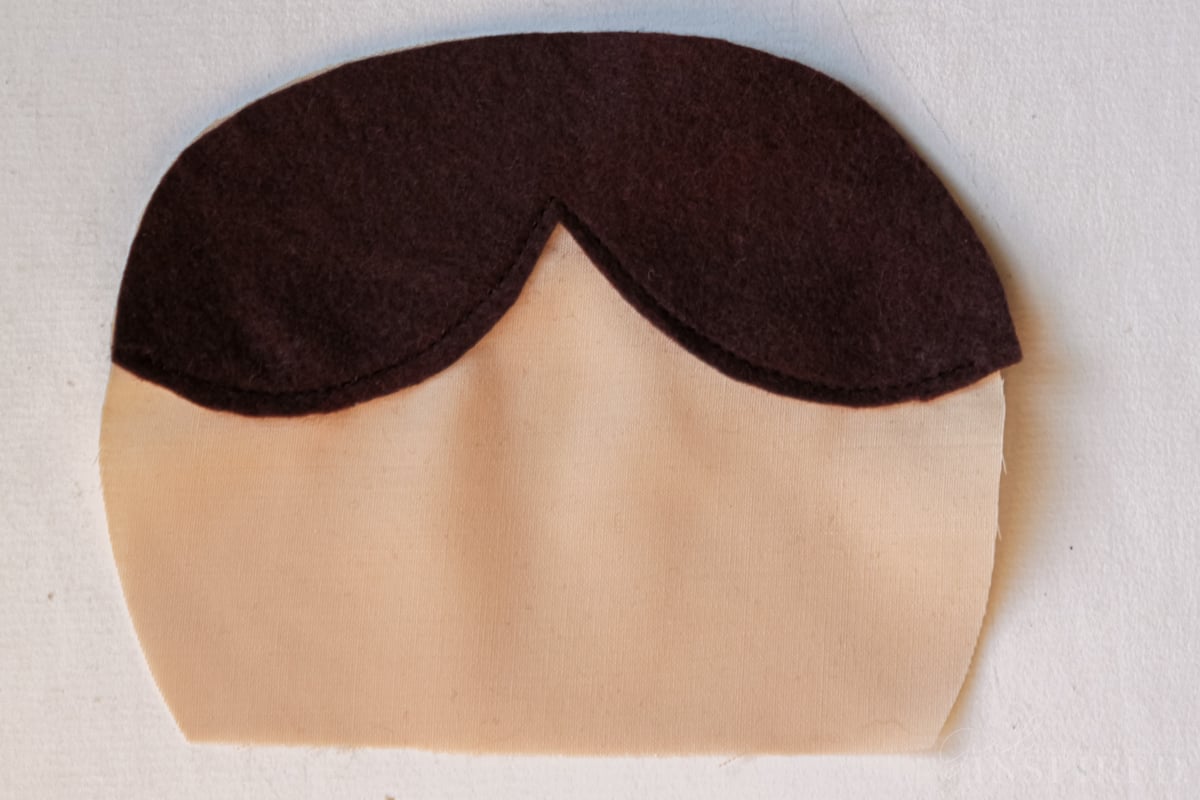
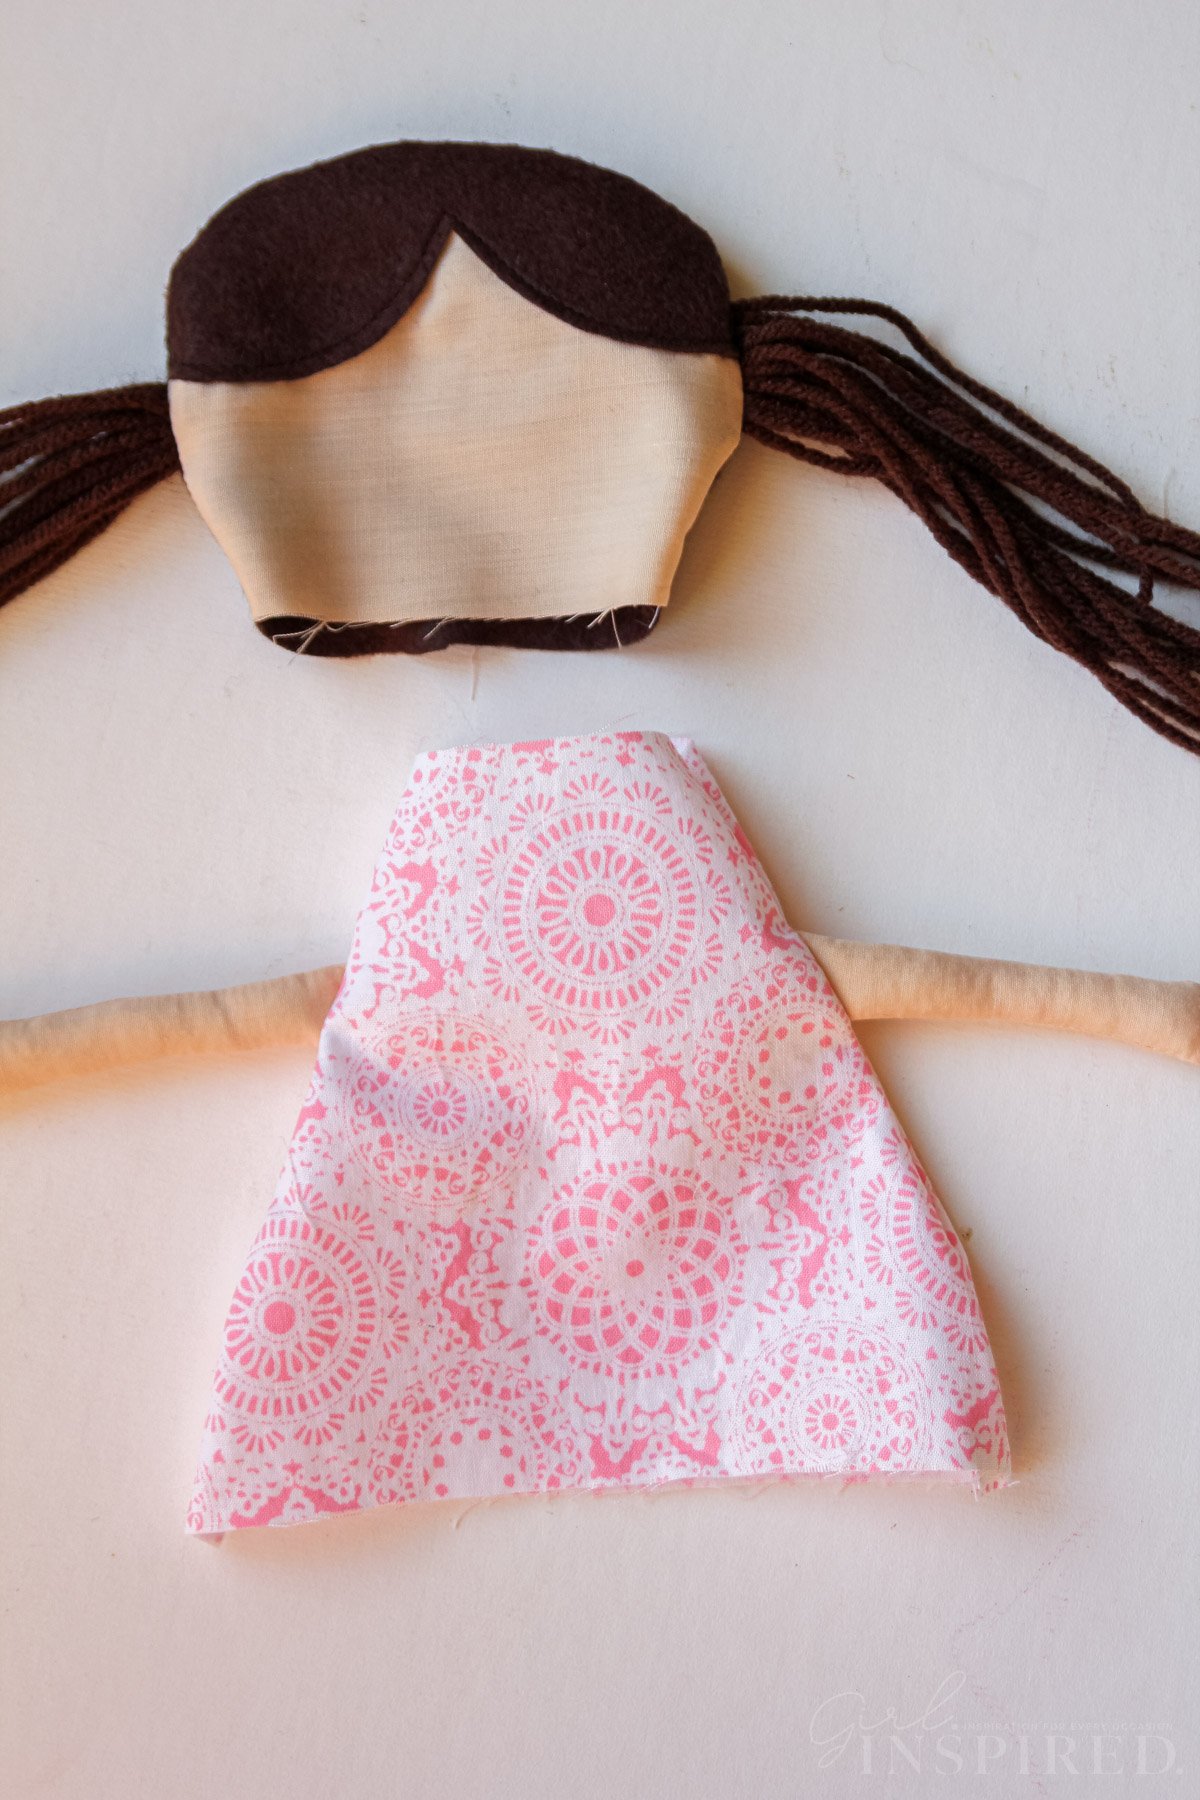
Step 1: Cut fabric corresponding to pattern pieces for head, hair, and pigtails. Place the bangs on the top of the head piece. Topstitch along the curved bangs line. You can baste along the top of the bangs to attach it to the doll head, but I leave it open so that I don’t have to remove any stitches after sewing the front and back together.
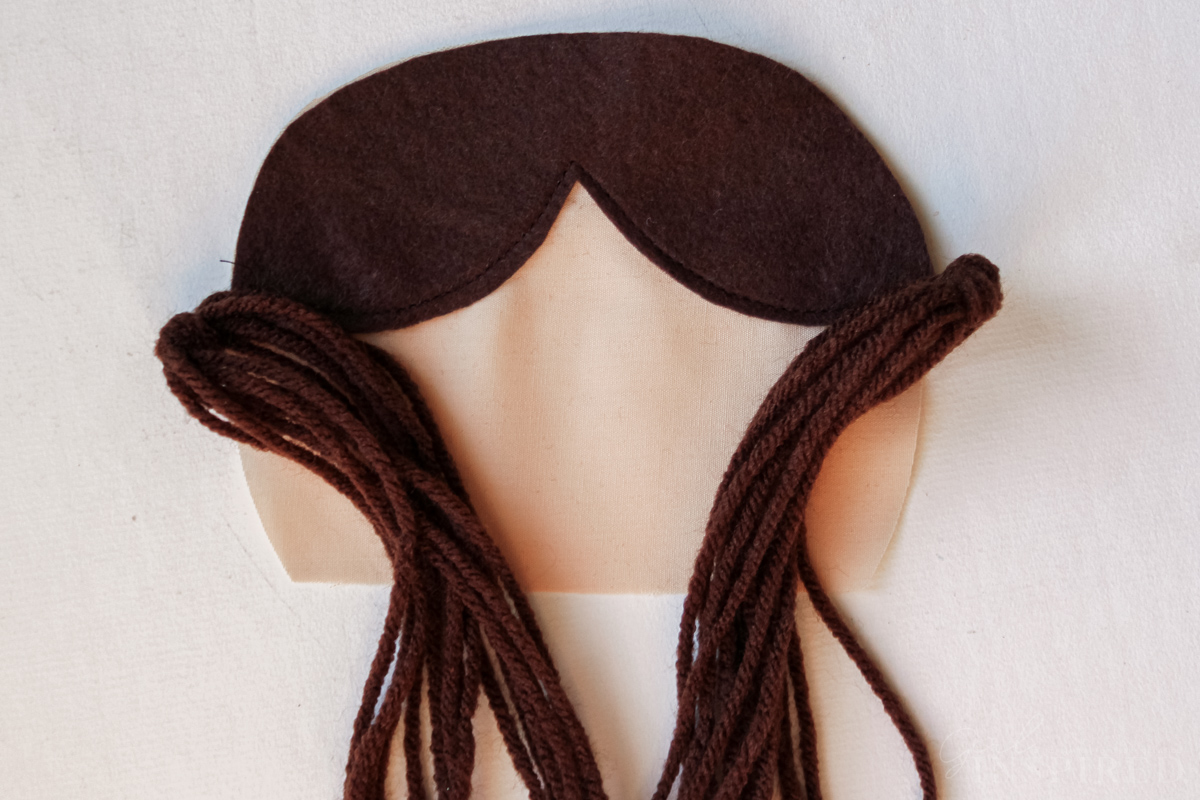
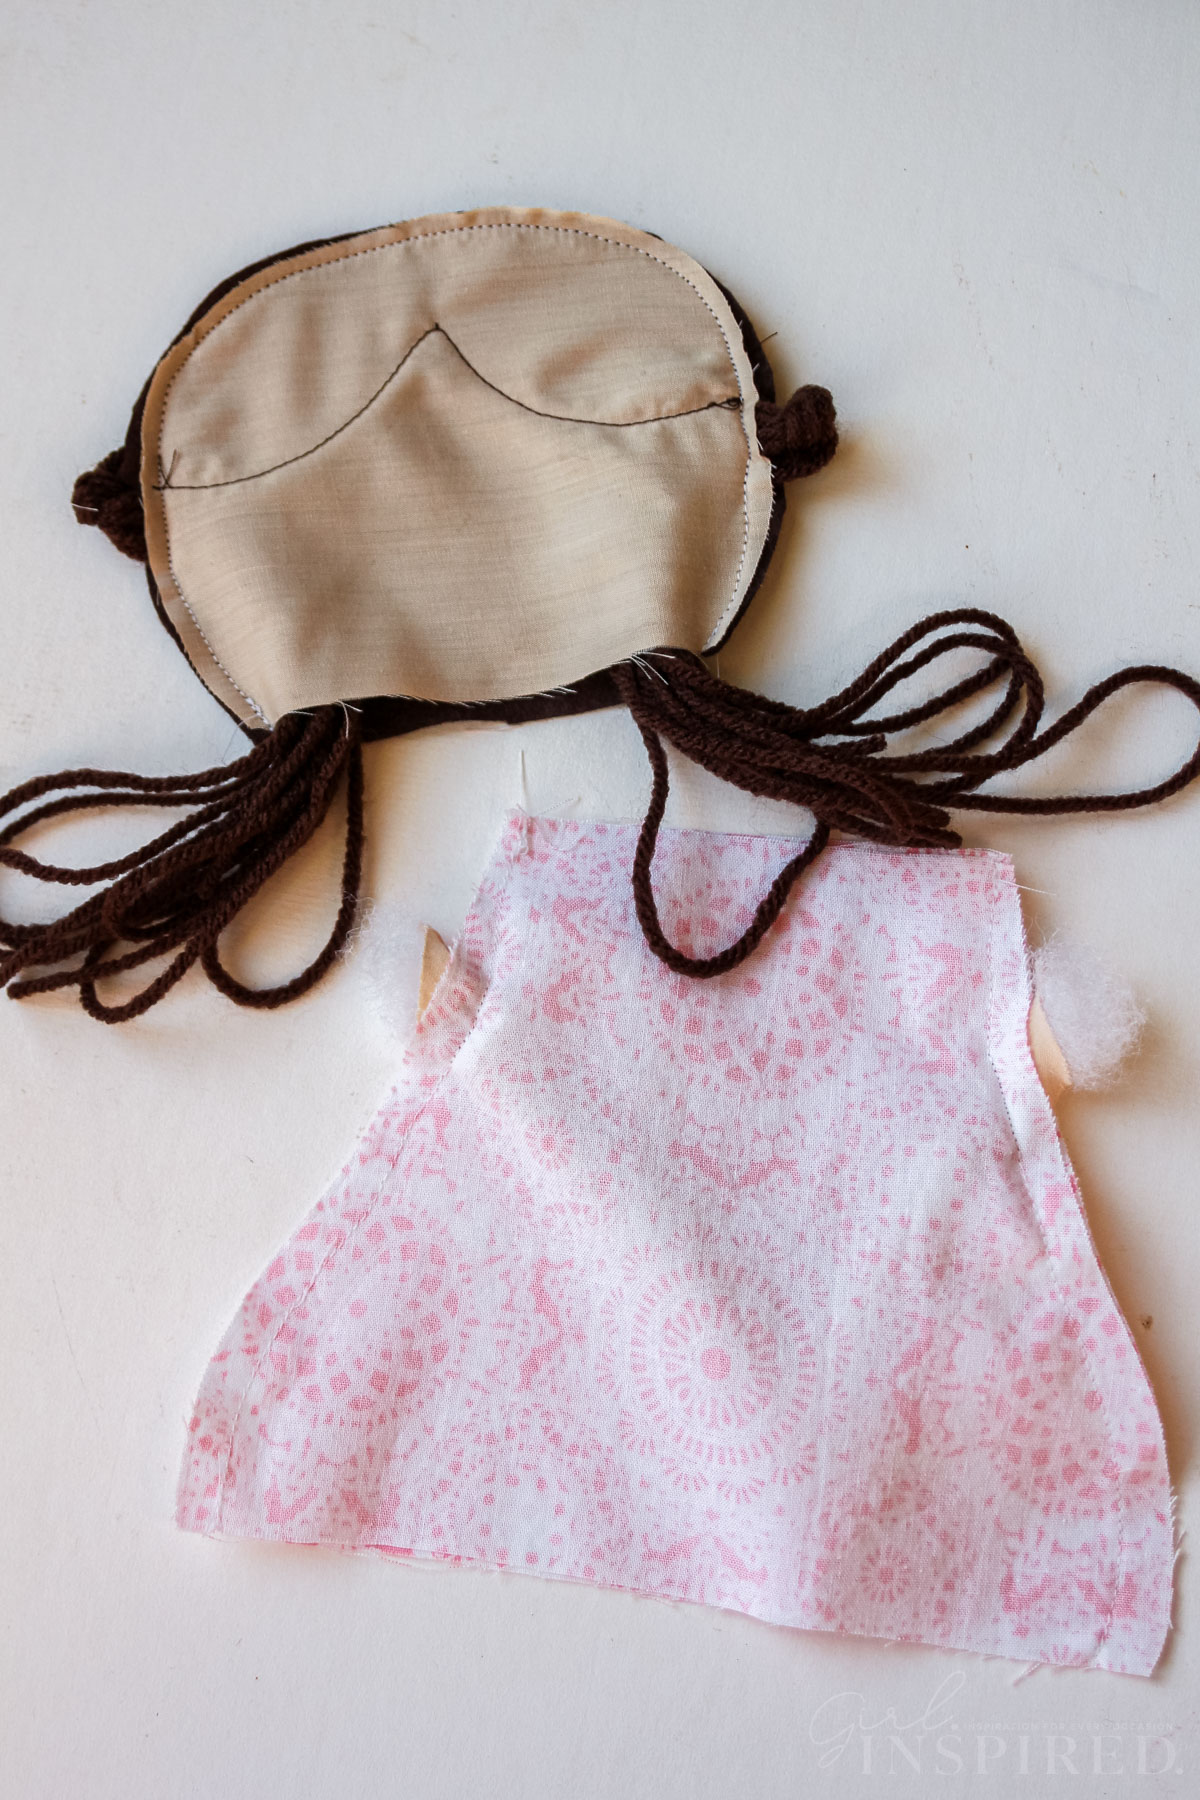
Step 2: With face right side up, place yarn hair or pigtails on each side approximately ½″ up from neck edge. Align the edges so that the doll’s hair lie in toward the center of the face. Baste in place.
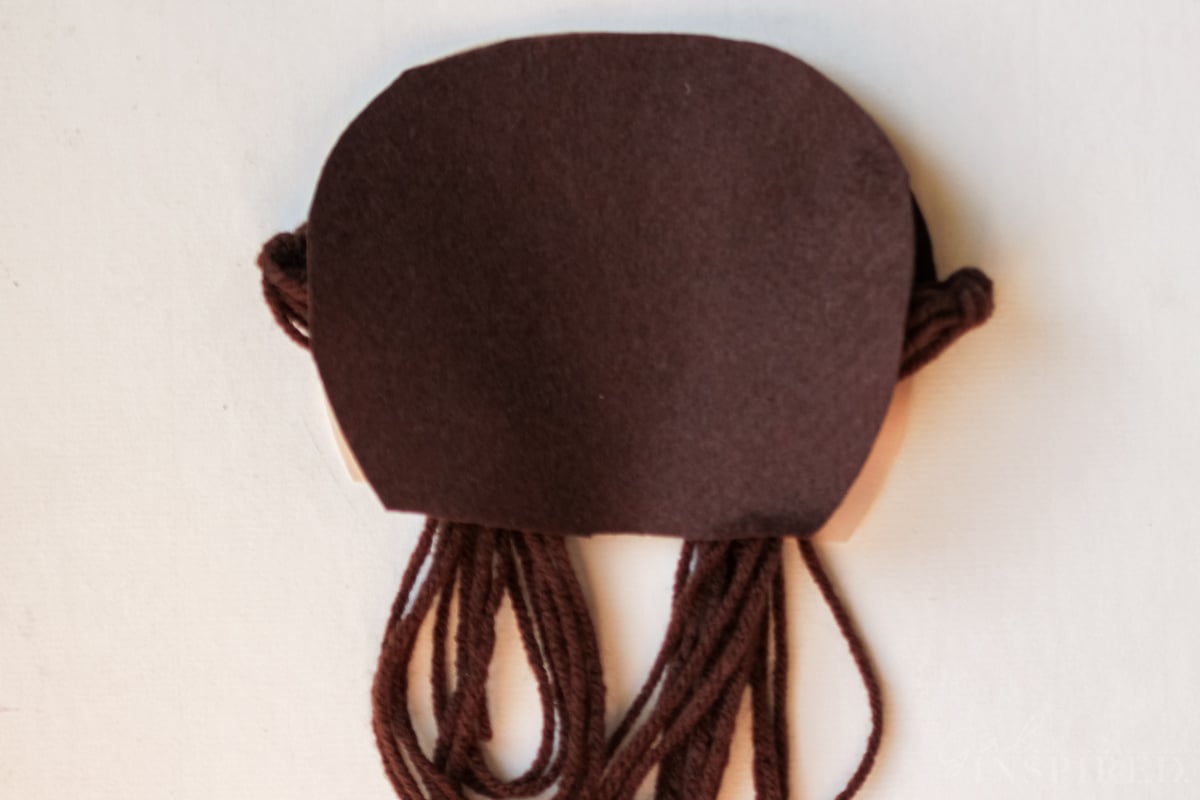
Step 3: Place the head felt piece face down onto the face, sandwiching the hair in the middle.
Step 4: Stitch close to the edge of the head around the sides and top, using a ¼″ seam allowance, and leaving the neck open.
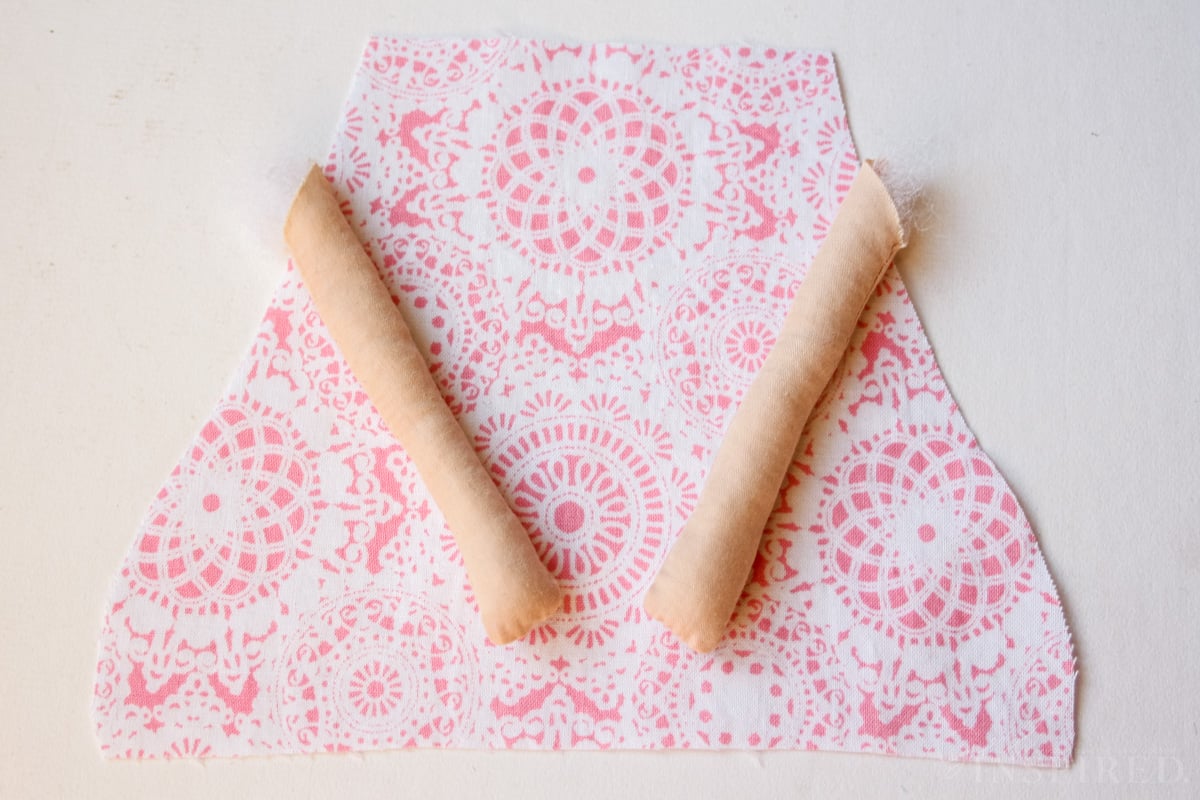
Step 5: Now for the body of the doll. Sew two arm pieces together leaving the straight edge (where they connect to the body) open. Turn and stuff with fiberfill. (A chopstick works great as a stuffing tool!) Repeat for other arm. Lay one body front piece right side up and place stuffed arms on each side, aligning raw edges and setting the arms toward the center.
Step 6: Place back piece, face down, on the body and arms.
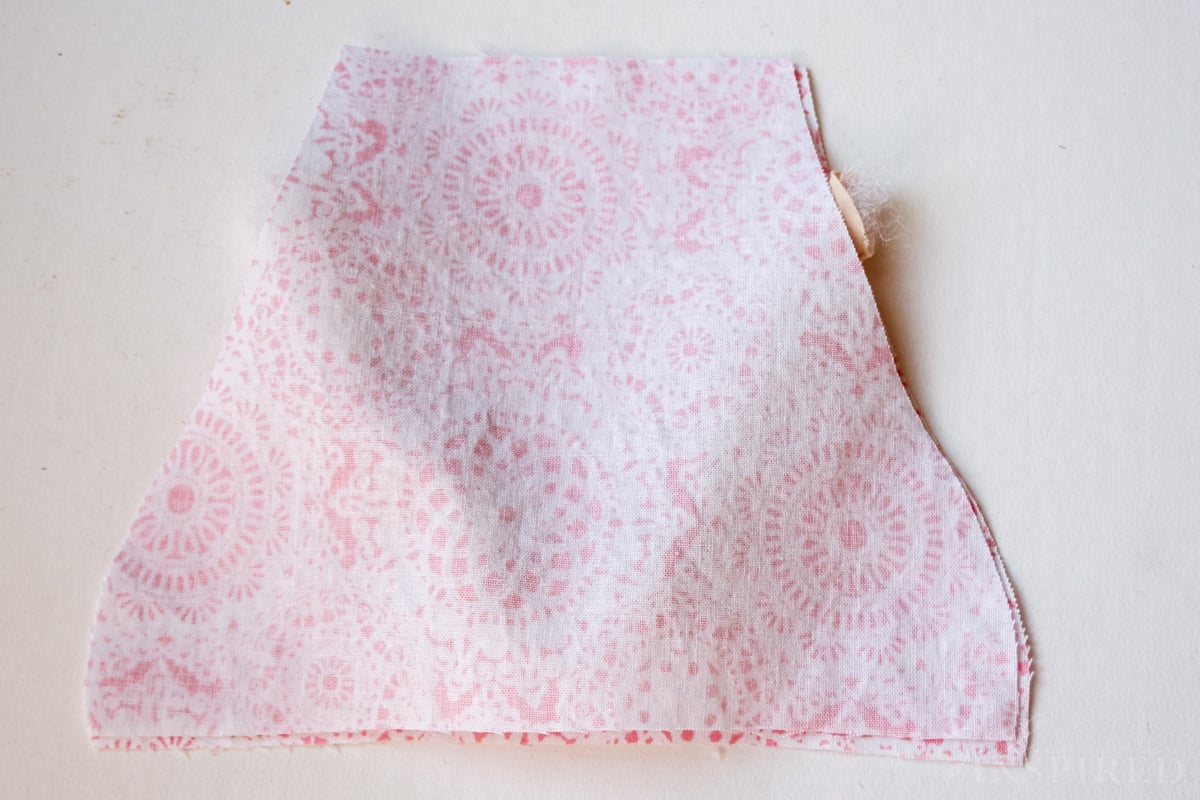
Step 6: With a ¼″ seam allowance, stitch along each side of the body, sandwiching the arms in the seams. Leave the neck and hemline unsewn. Now we have the back pieces sewn to the front pieces.
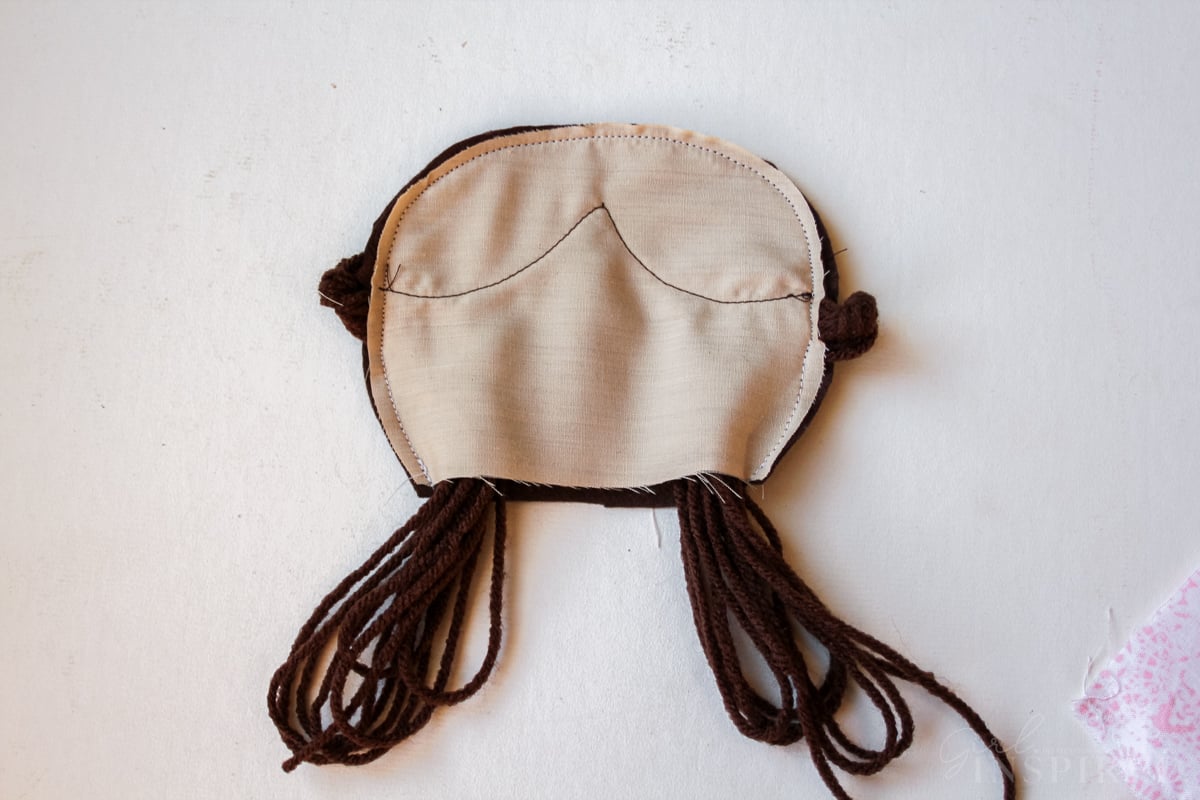
Step 7: Turn doll’s head and body pieces right side out and press well to shape the body of the doll.
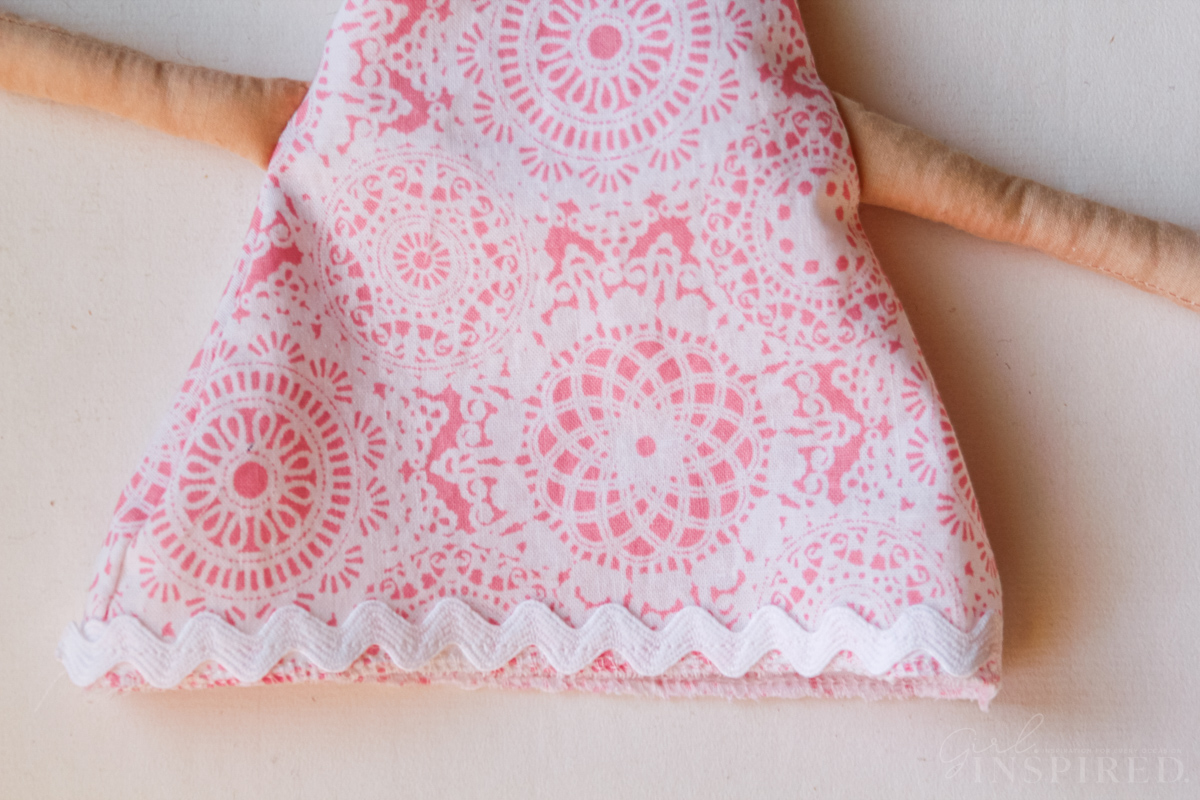
Step 6: Serge or zigzag stitch around bottom of body. Sew ric rac around the bottom hem; be sure your stitch line is above the serger stitches.
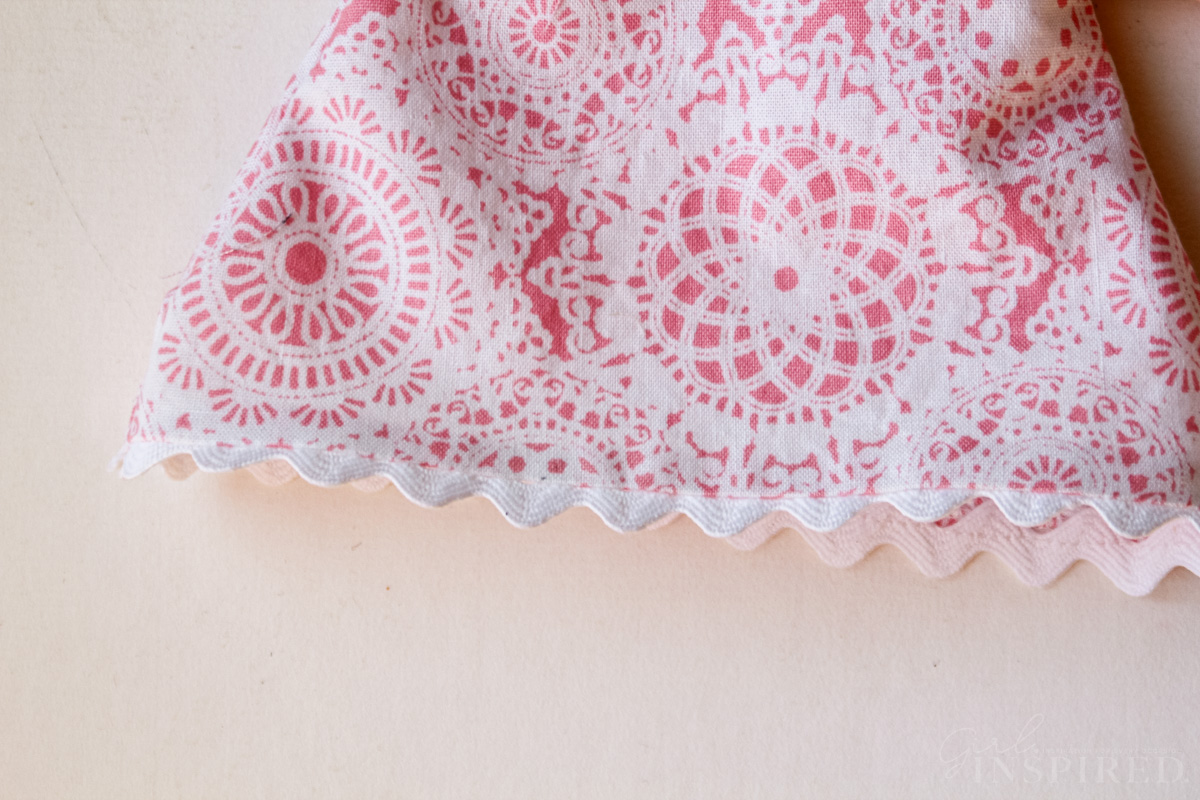
Step 7: Turn ric rac under along seam line all the way around and press well. (You will topstitch when you finish the doll.)
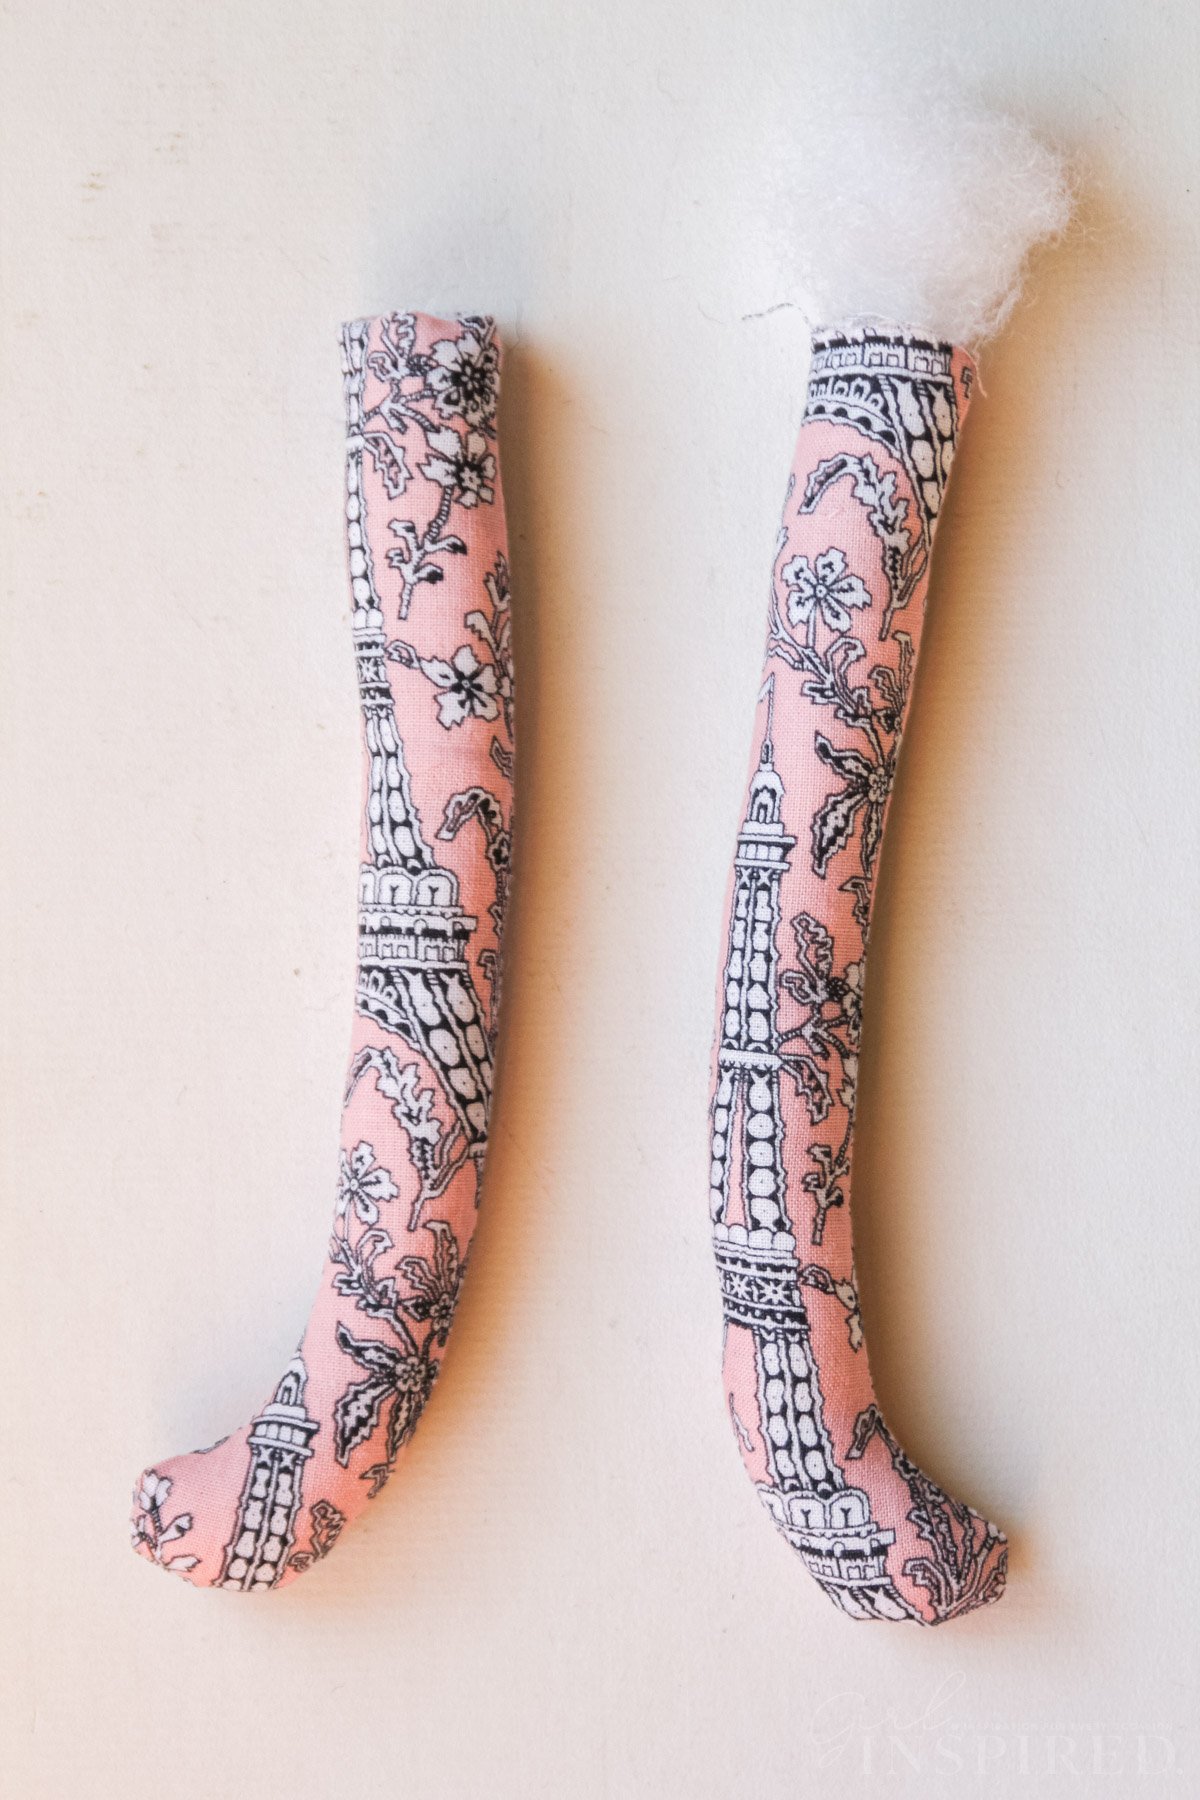
Step 6: Sew two leg pieces together leaving the straight edge (where they connect to the body) open. Turn and stuff with fiberfill. (A chopstick works great as a stuffing tool!) Repeat for other leg.
Step 7: To finish the little rag dolls, turn the body pieces inside out again. Slip one head piece inside the body piece, matching the side seams. Stitch right sides together in a circle to connect the head to the body. Turn doll right side out. Stuff with fiberfill. Tuck the legs inside the hemline of the dress; pin in place. Topstitch along the hem in one straight line, securing the legs inside the dress.
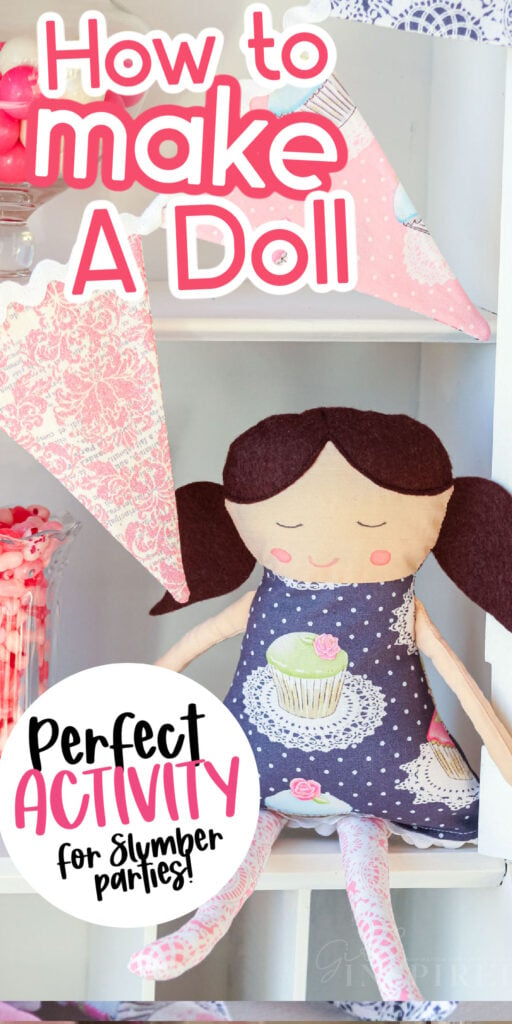
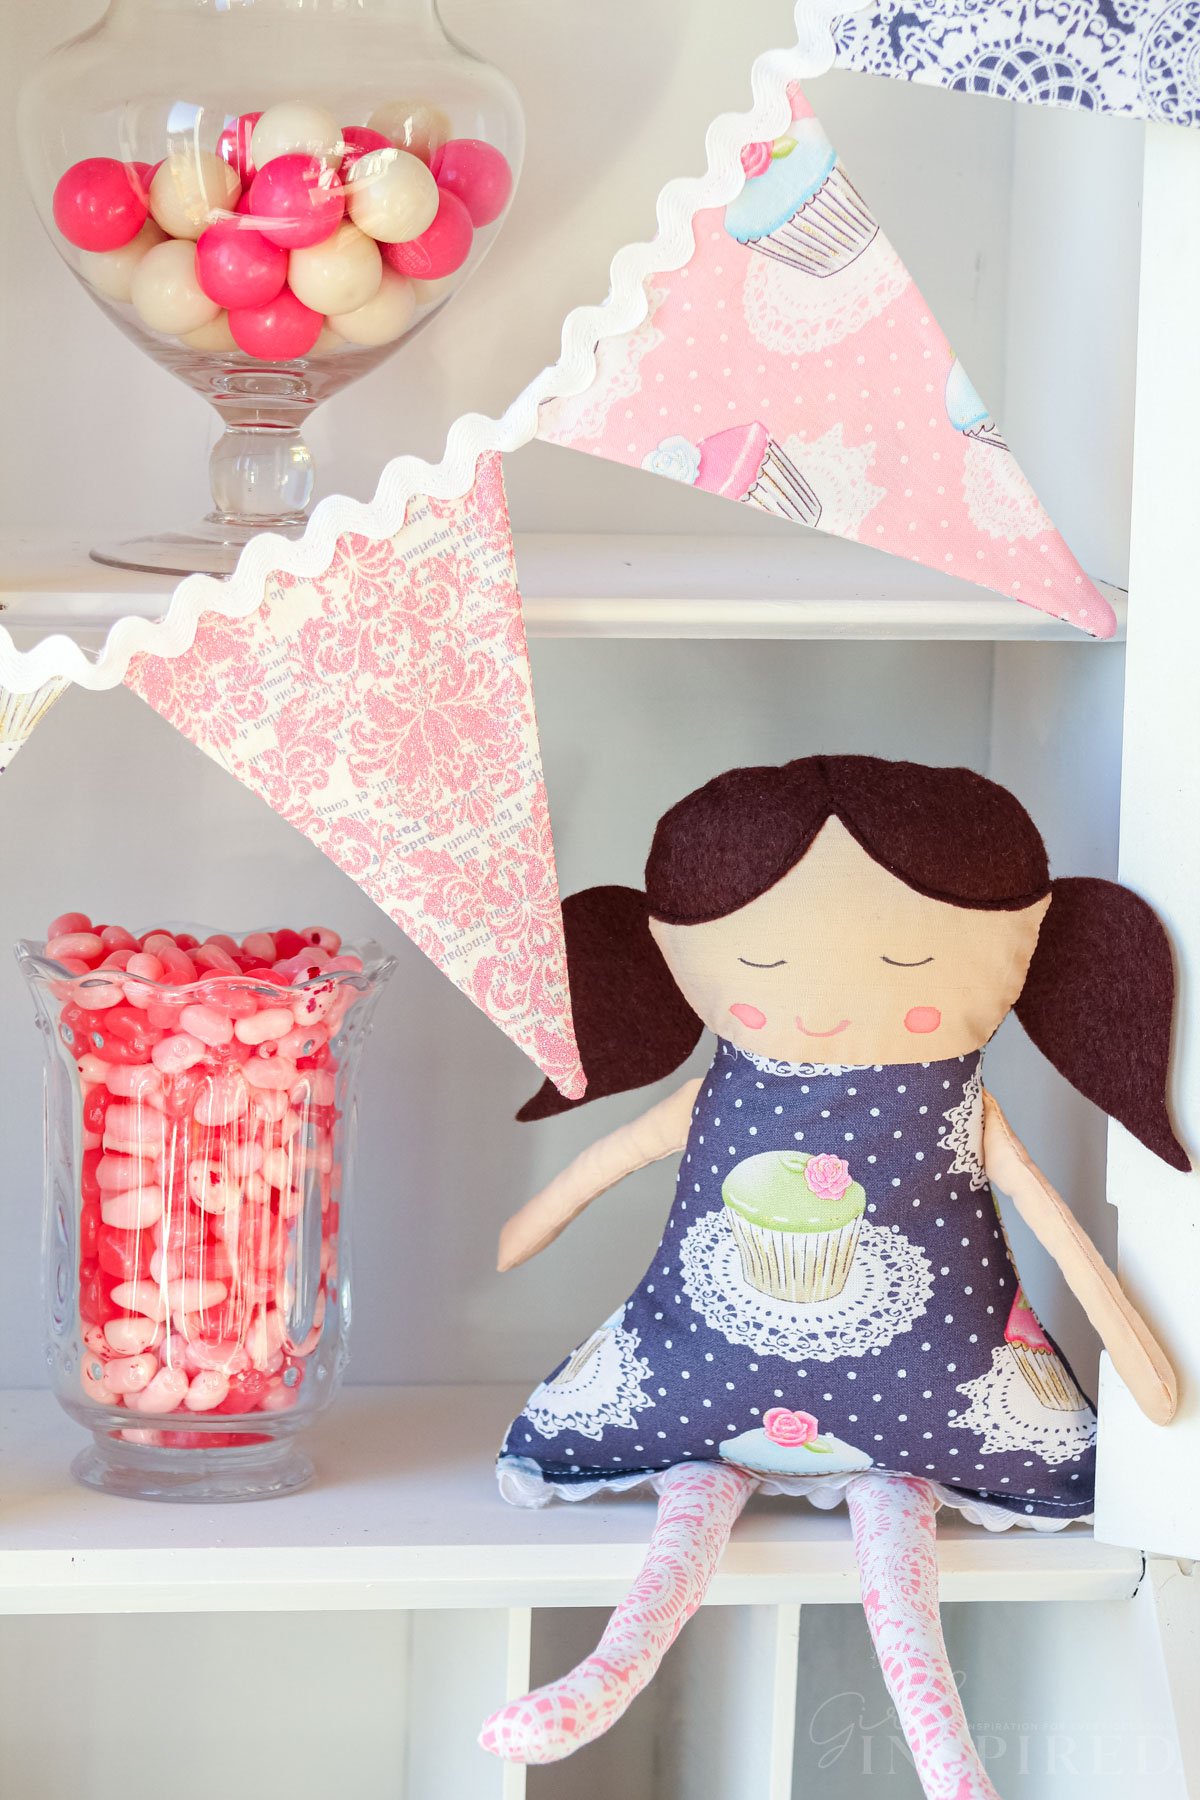
FINISH: Use fabric pens to complete the doll faces (you can also do this before sewing the head pieces together to make sure it’s just how you like before sewing everything.) Now sit back and admire your finished doll!
Sewing Tips for Making Rag Dolls at a birthday party:
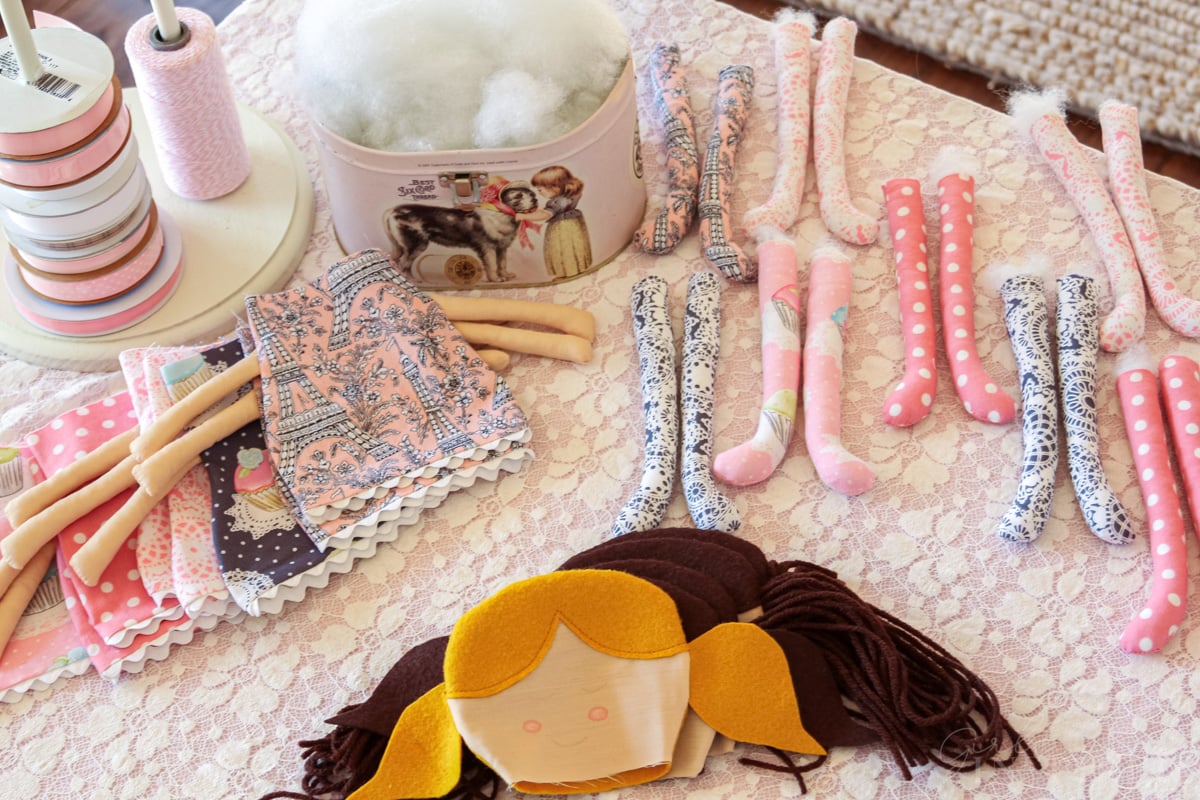
- If you’re making cloth dolls as part of a birthday part or group activity, it makes it easy if you choose one particular fabric line so that all of the different fabrics coordinate with each other for easy mixing and matching of body parts.
- Consider the age and skill level of the party guests. Pre-sew the heads, the bodies, and the legs if party guests are not going to be using sewing machines themselves.
- Coordinate the timing of the party. Break the doll making into sessions. I had the girls choose their heads and bodies before dinner so that while they were eating dinner, I could sew all of their heads and bodies together. After dinner, they stuffed their dolls (they LOVED stuffing their dolls) and drew on the faces. When they were done stuffing, I tucked the doll legs into the bottom of the hems and did a quick straight stitch line to close them up.
- Prepare a few extra parts to reduce any arguing or disappointment and have plenty of choices for everyone.
- Fabric markers can be finicky and tend to bleed if too much pressure is applied. Provide extra “face” fabric for practicing the face. For young makers, you might want to make some or all of the face in advance. I made the cheeks and then helped the girls draw simple lines for the eyes and mouth.
- *The fabric line I used for these dolls was called “It’s a Girl Thing” by Michael Miller. This fabric line was available in 2012 and is probably not easy to find anymore.
To print out the rag doll pattern pieces, simply click on the images below. Print at full size, cut out, and have fun making a cloth doll just the way you want!
If you used this pattern to learn how to make a rag doll, please let me know how it turned out in the 📝 comments below.


Comments & Reviews
Alida Makes says
This is every little girl’s dream party! Did you hand sew or machine sew these? I just showed Charlotte this and she said “this is what I want at my next birthday party!”
Amy (naptimecrafters) says
Adorable!! Definitely making one for my girl for Christmas if I can find the time 🙂
Audrey says
I was so hoping you would post the tutorial for this! thanks so much. adorable idea and always look forward to reading your wonderful blog. thank you!!
Destri says
All sorts of in love with this idea! I just happen to have a little one’s birthday coming up and this would be perfect!
I shared on our pinterest and newsletter 🙂
Destri
Anonymous says
Thank you! I have been looking for a pattern to make my niece a doll for Christmas. This is perfect! Kathy (O:
kristin says
aw cute, thanks stef!
Jennifer: Two Bees and a Belle says
These are just precious! Thanks so much for the great instructions… I want to come to come to one of your fun parties 🙂 – a little girl’s dream!
Jennifer: Two Bees and a Belle says
These are just precious! Thanks so much for the great instructions… I want to come to come to one of your fun parties 🙂 – a little girl’s dream!
Jennifer: Two Bees and a Belle says
These are just precious! Thanks so much for the great instructions… I want to come to come to one of your fun parties 🙂 – a little girl’s dream!
Shannon Phillips says
Funny! I have been looking for a pattern just like this! So hard to find a doll pattern that is not creepy looking. Thank you! I can’t wait to make one!
Jessica at Me Sew Crazy says
Stef – this is AMAZING!!! I am absolutely in love with this, it may be a MUST-DO for my little one’s Christmas list. I love love love it!
kate says
ooo yay! these are so cute, thank you for the pattern!! I want to make one for baby girl.
Bratling says
Hmm… Me thinks I have the crafty project for next time Bit is here during the weekend.
Jan says
THANK YOU SEW MUCH!!!
The dolls are darling! This is the perfect activity for little girls. 🙂
I appreciate the time you took to give us this pattern and tutorial.
tatiana says
gracias por los moldes de esta hermosa muñeca