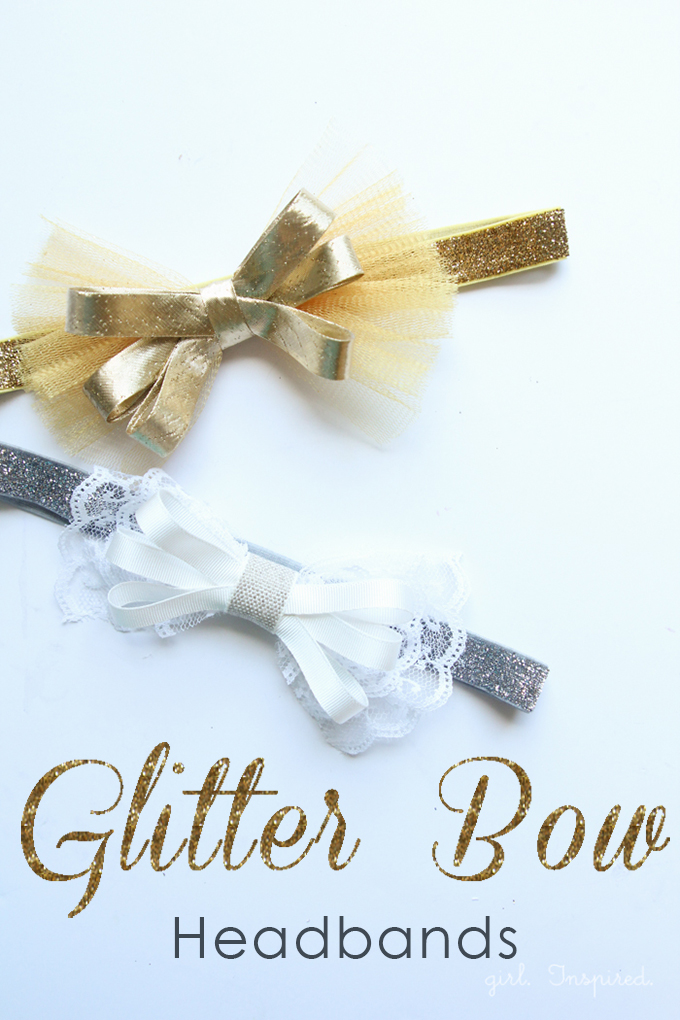
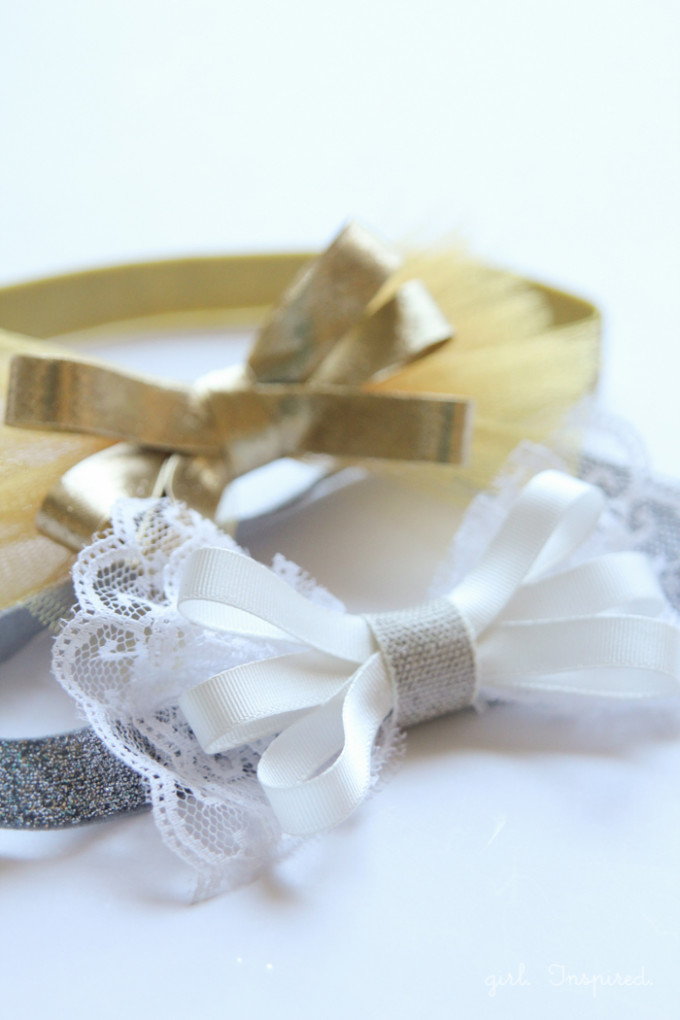
Gosh, I love making headbands. They take so little time and are inexpensive to make. These Glitter Bow headbands can even be no-sew! Two of my little ones still loooove wearing headbands and when they saw the glitter and sparkle on these pretties, they went a little crazy! Make a few of these this weekend and the accessory drawer will be all restocked for heading back to school after the long weekend!
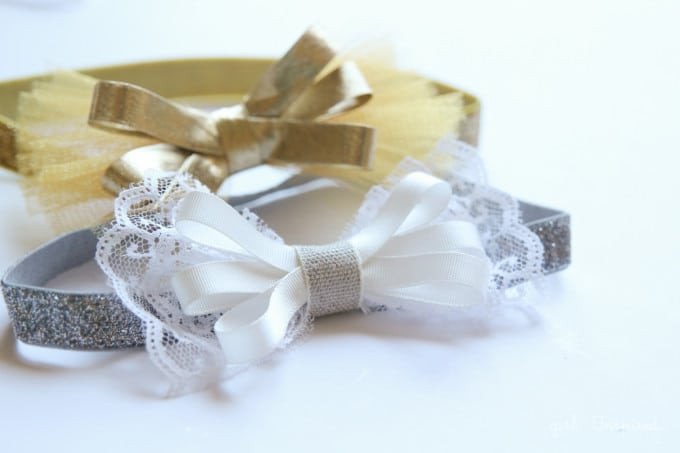
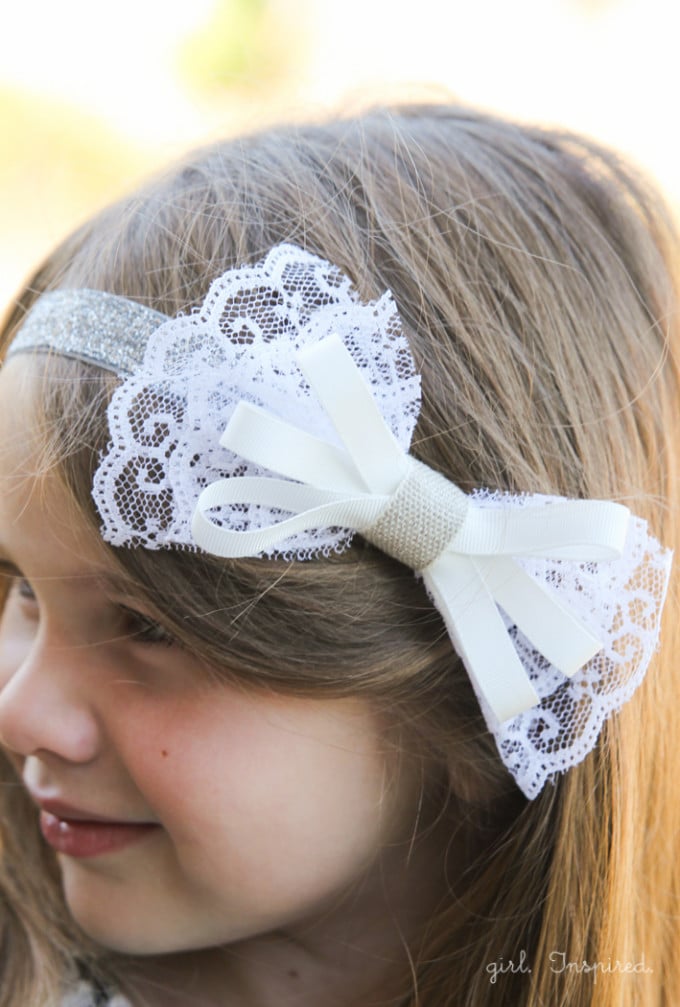
Here’s how to make them!
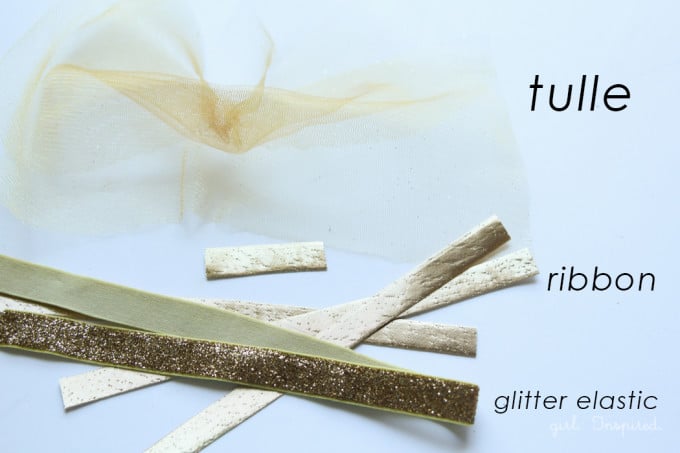
Gather your supplies; you will need:
- 2 pieces of tulle, cut 10″ long x 4″ wide (this is ⅛ yard cut down into 10″ sections)
- 17″ piece of ½″ wide elastic (glitter elastic available at Jo-Ann Fabric & Craft stores)
- 3 – 8″ lengths of ½″ wide ribbon (I even used bias tape for this gold headband!)
- scrap of ½″-¾″ ribbon for center of bow
- hot glue gun and glue sticks
- fabric scissors
- sewing machine or needle & thread (optional)
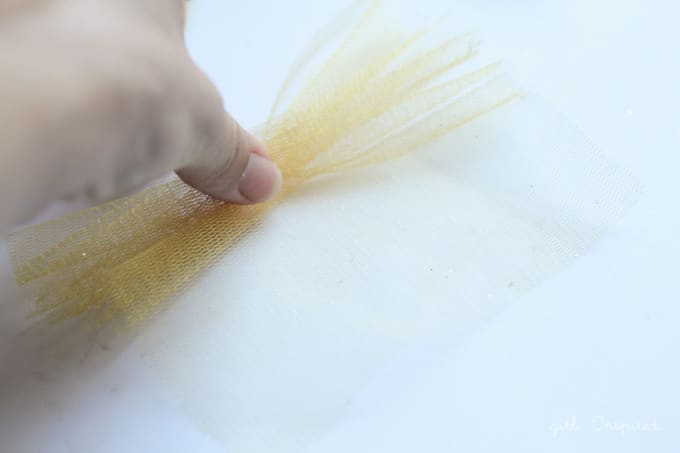
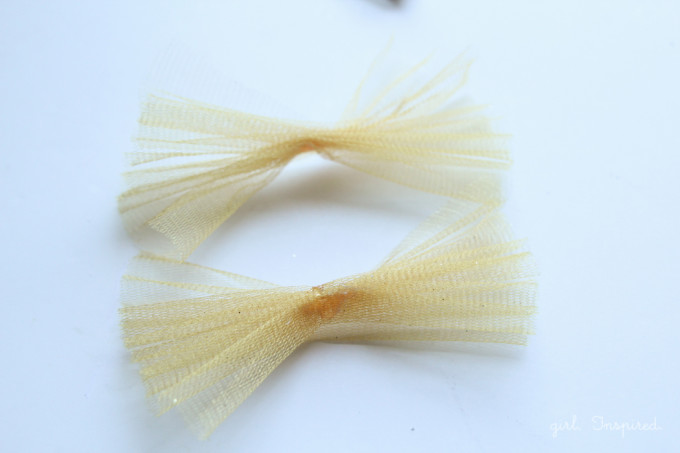
Step 1: Gather each piece of tulle into an accordion shape, pinching it at the center and working in the gathers evenly. Place a dot of hot glue into the center of the tulle and pinch/press it down (using a granite counter top works wonderfully) until the glue cools and the accordion shape holds. Repeat with the other piece of tulle. Set tulle aside.
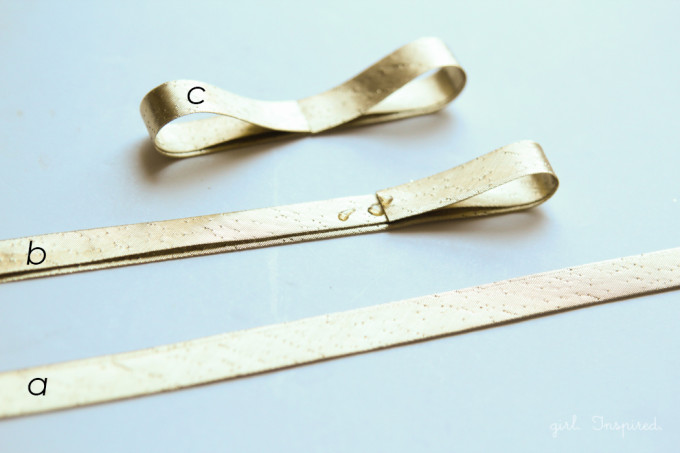
Step 2: Fold each length of ribbon in half and form a crease in the center (or mark with a fabric marker). b) Place a dot of hot glue at the crease mark in the ribbon. Fold one side into the center and secure in place. c) Work quickly or add more hot glue and fold the other end into the center to form your first bow shape. Repeat with the other two lengths of ribbon.
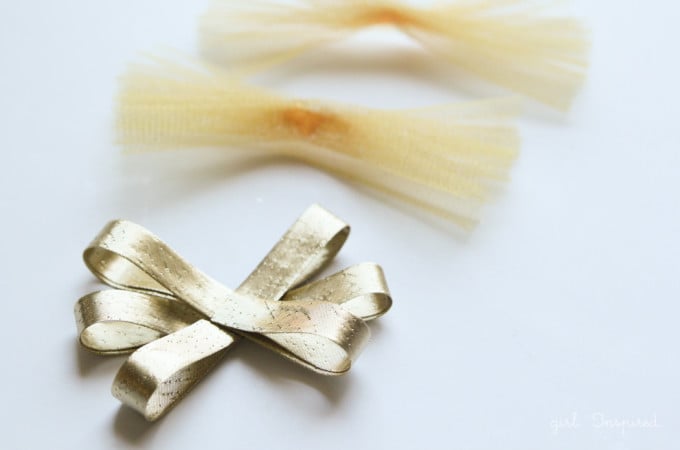
Step 3: Stack the three bows as shown in the picture above. The first should sit straight on a horizontal line. The other two should fall at a slight diagonal to either side of the center horizontal. Use small beads of hot glue to secure each layer together.
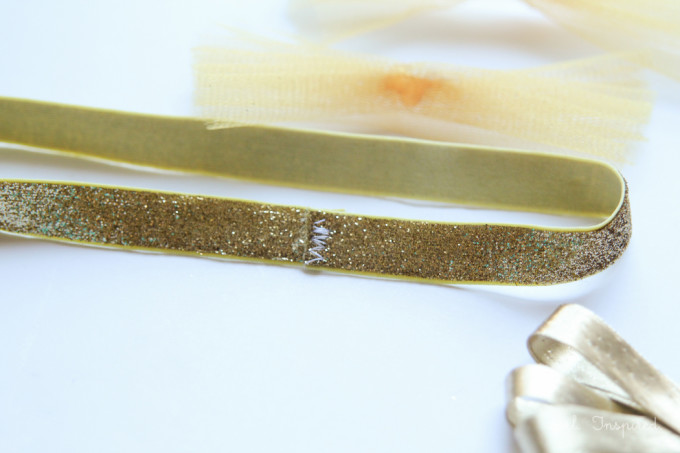
Step 4: Use hot glue (or a zig-zag stitch on your sewing machine for added security) to join the two ends of the elastic to form the headband.
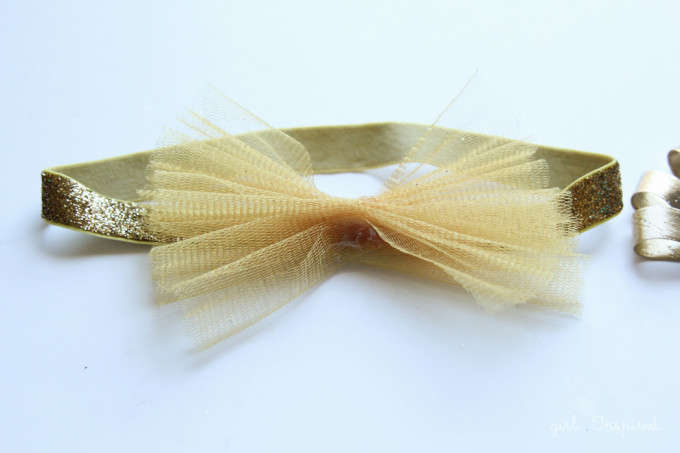
Step 5: Hot glue the two tulle accordions side by side over the joined ends of the headband. Hot glue the ribbon bow directly on top of the tulle.
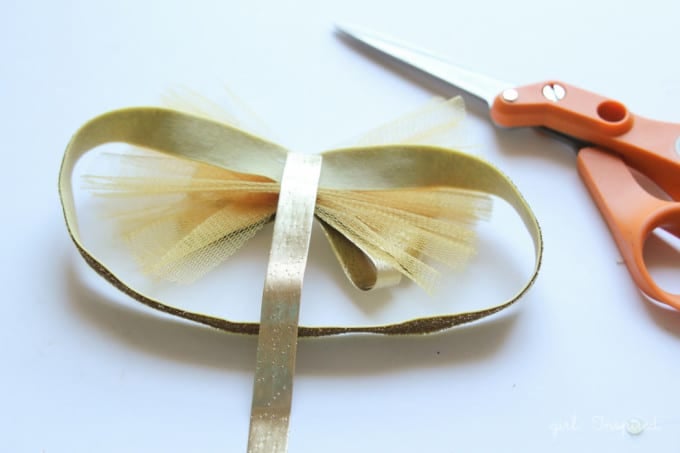
Step 6: On the backside of the headband, add a dab of hot glue and glue down one end of the ribbon scrap.
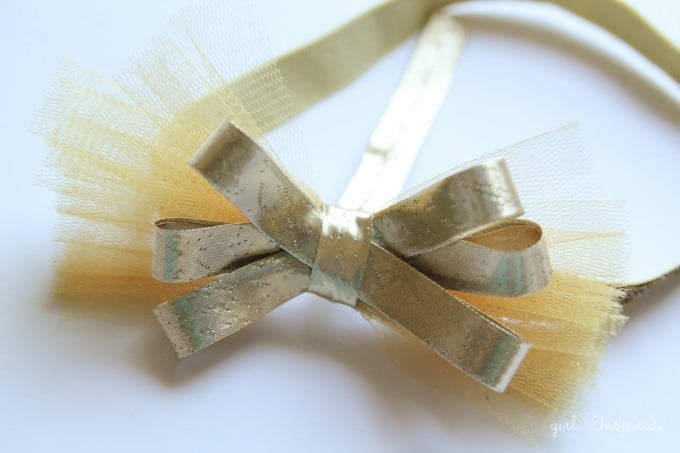
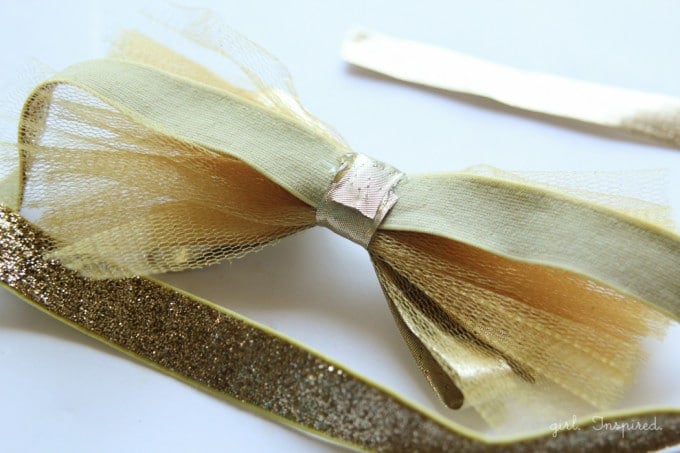
Step 7: Wrap the center ribbon around the front of the bow, pulling taut, and then continue wrapping back to the underside. Add more hot glue and secure this bow center in place. Cut off the excess scrap and….
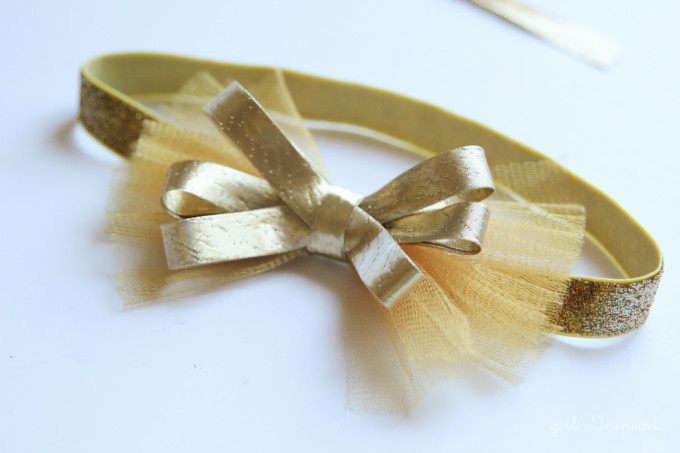
your adorable headband is complete!!!

You can substitute some scraps of lace for the tulle as well! The grosgrain ribbon looks really nice as a bow, too.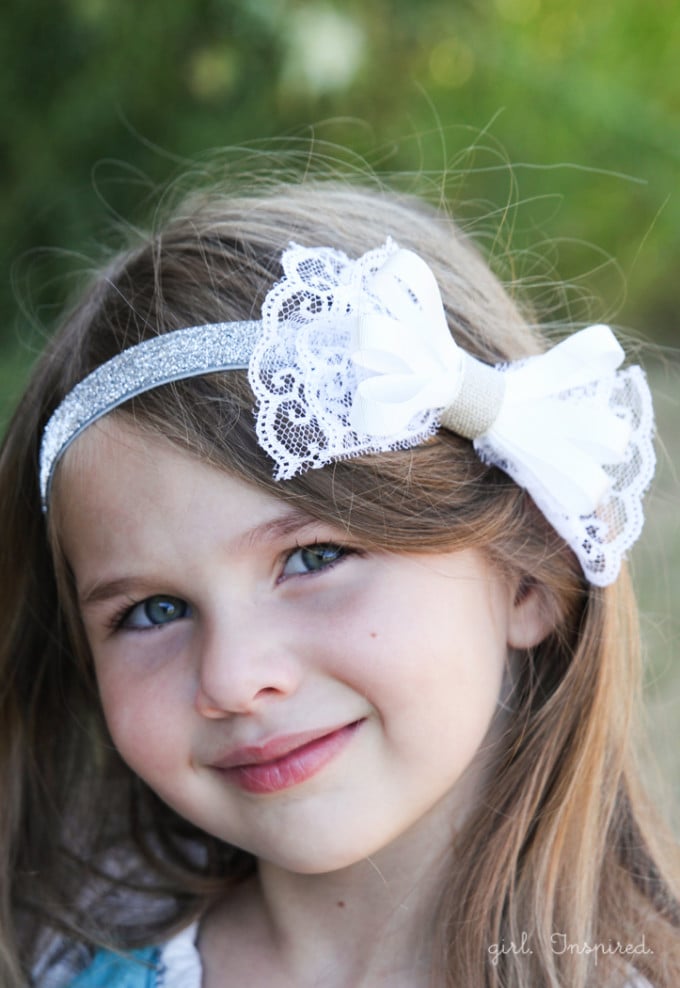
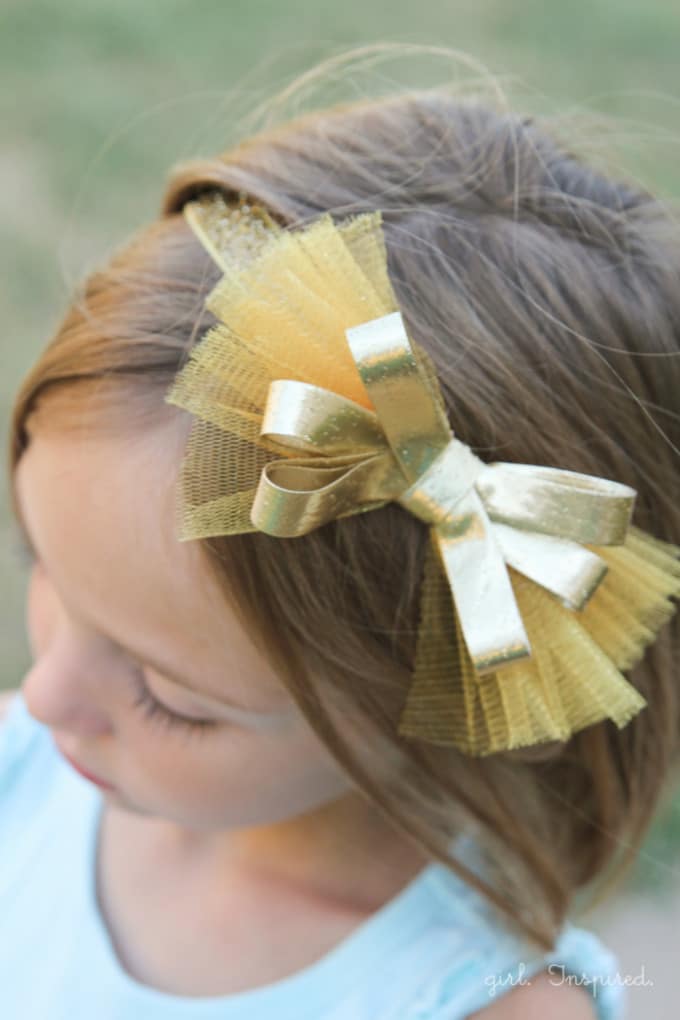
Had enough? How about this gorgeous “I lost three teeth in one week” smile?

Or this, “Can I be any cuter giggling up at my sister’s window?” 
Gosh, they’re cute.

Alright, I’m done! Have a great weekend! Do something fun!
These headbands were inspired by some darling retail headbands found at Crazy8!


Comments & Reviews
Beth says
These are so cute! This may be a dumb question – but how on earth did you glue gun the tulle without burning your fingerprints right off? The glue just squeezes out through the holes – do I need some kind of crafty protective gear that I’m not aware of? 🙂
Michelle De Rooy says
I love this simple to follow tutorial. I would love to make these for my grand daughters but they keep slipping off their heads. Any suggestions how to make the girls enjoy wearing them.
Anne says
Pretty pretty pretty!!! I’ve got a Craft Gossip post scheduled for tomorrow afternoon that links to your tutorial:
http://sewing.craftgossip.com/tutorial-easy-glitter-bow-headbands/2014/08/31/
–Anne
Bernadette says
Your girls are so darn cute!
I love these headbands. Where on earth did you find gold ribbon?!