As you can imagine, getting three little girls off to school in the morning has its challenges. And three girls with long hair? Well, we have our hairbrush battles. Mostly, by the time we finish brushing out the tangles, the girls aren’t in the mood for too much more styling.
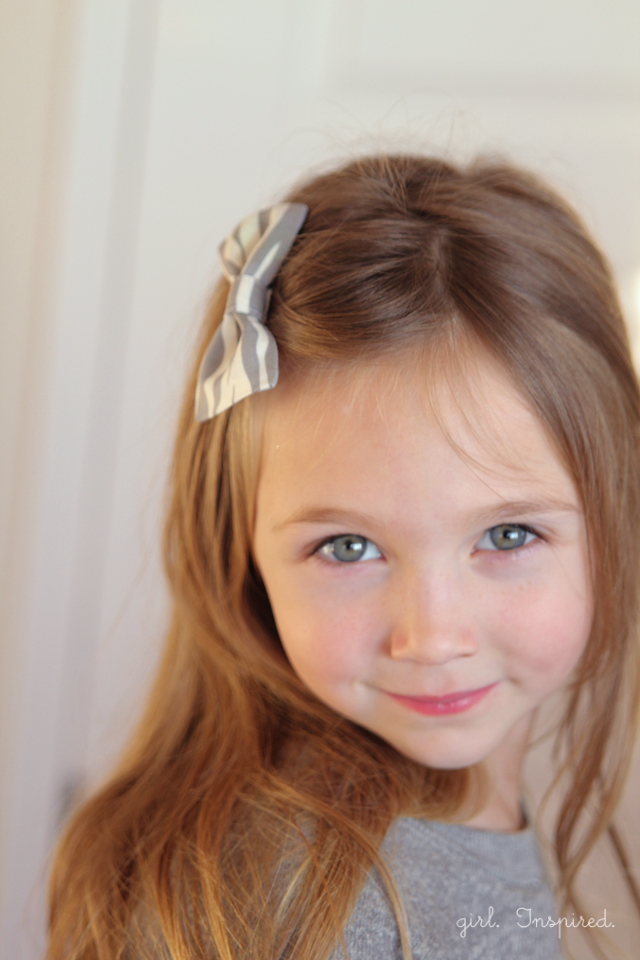
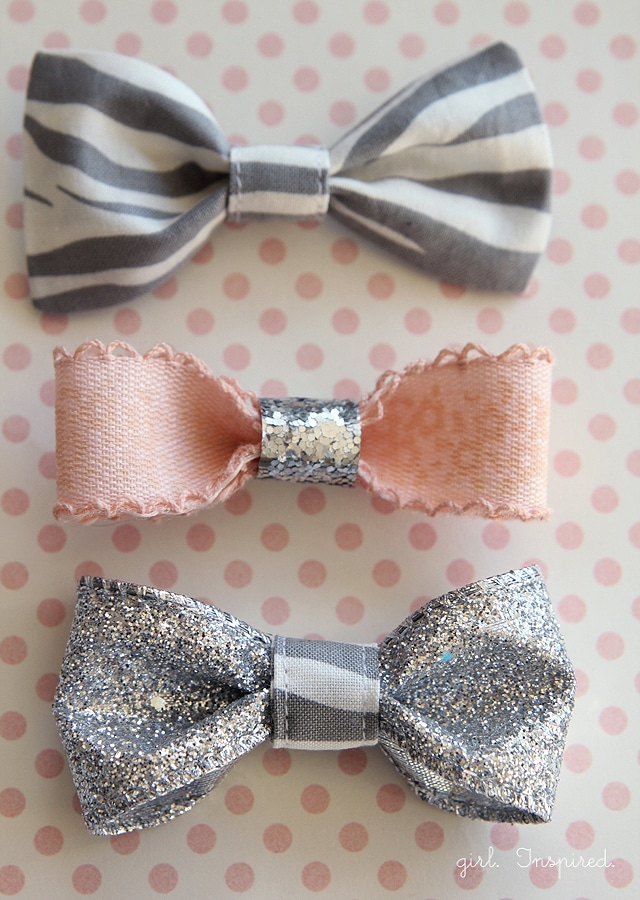
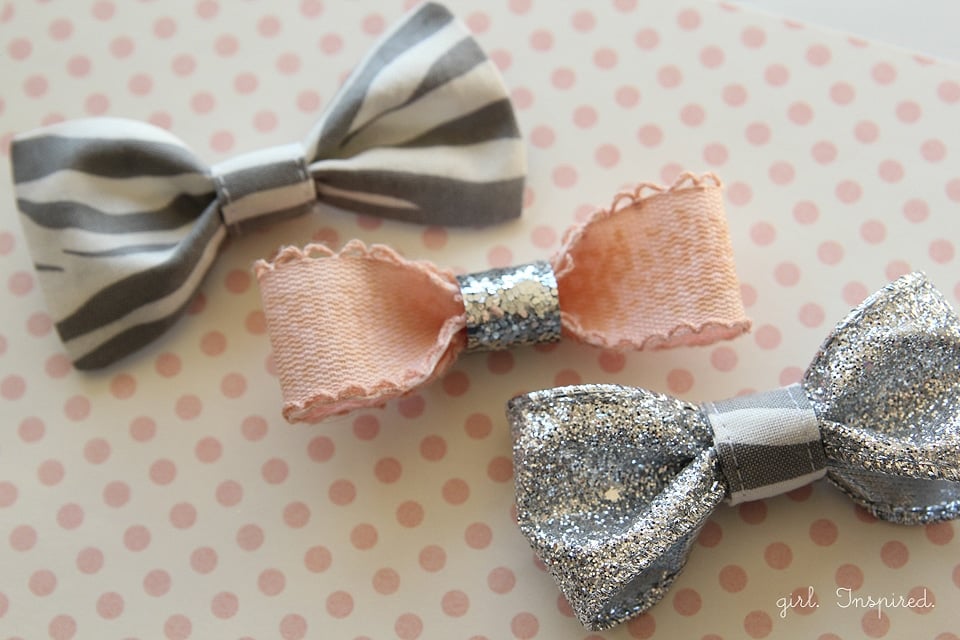
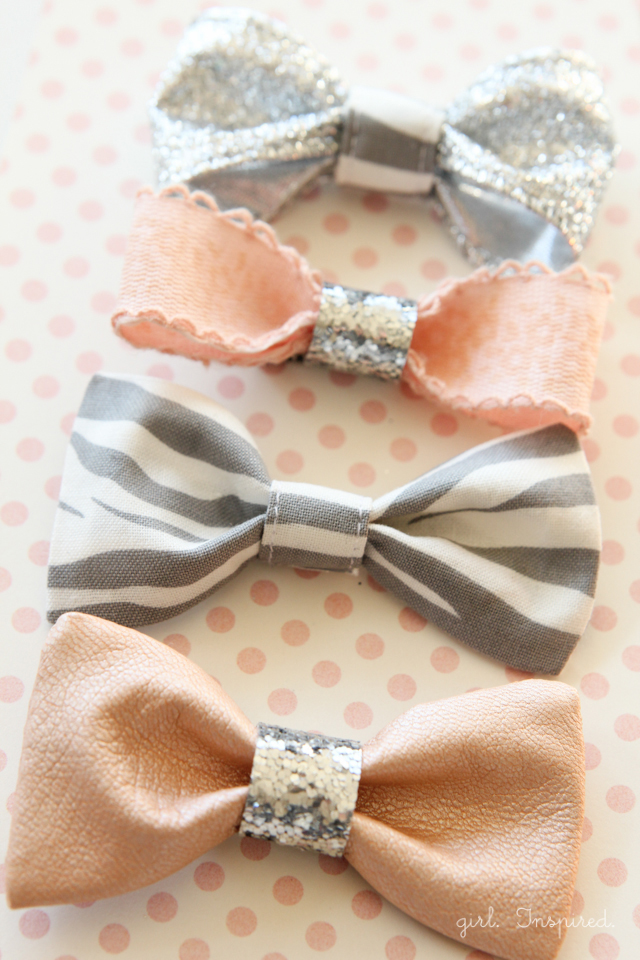
A quick clip to brush their bangs off their foreheads has become the go-to hairstyle. I grabbed some scraps of fabric and ribbons to make a few new clips. These cute, little hair bows are a cinch to make and can be catered to whatever sorts of supplies you have on hand.
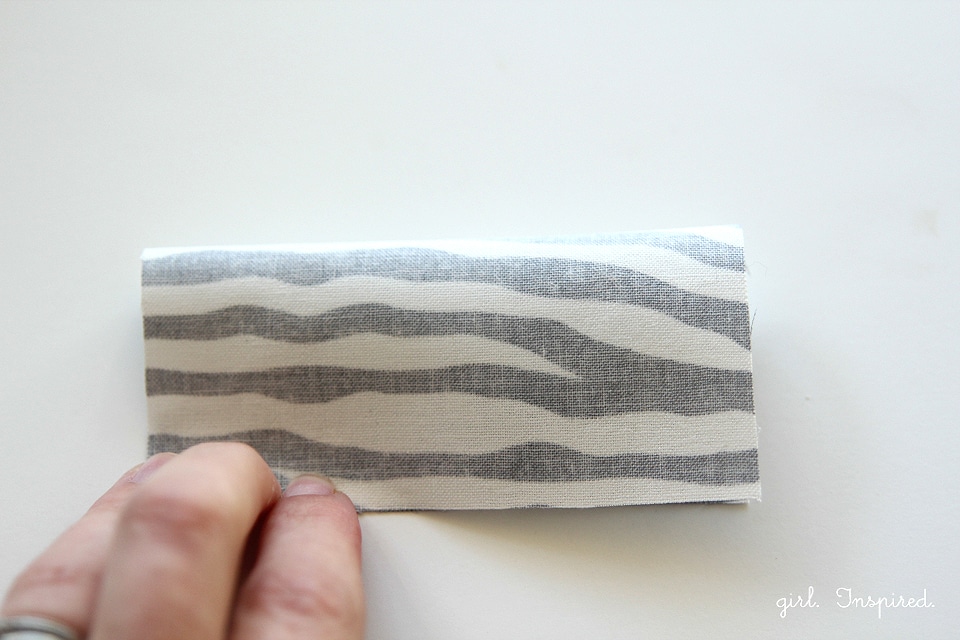
Begin with a 4″ x 4″ square of fabric. Press it well, using spray starch if you’d like for extra crispness.

Fold it in half, right sides together, bringing the top down to the bottom.
Stitch using a ¼″ seam following the stitch lines in the picture below and leaving a ½″ opening in the bottom center. No need to stitch across the top where there is a fold.
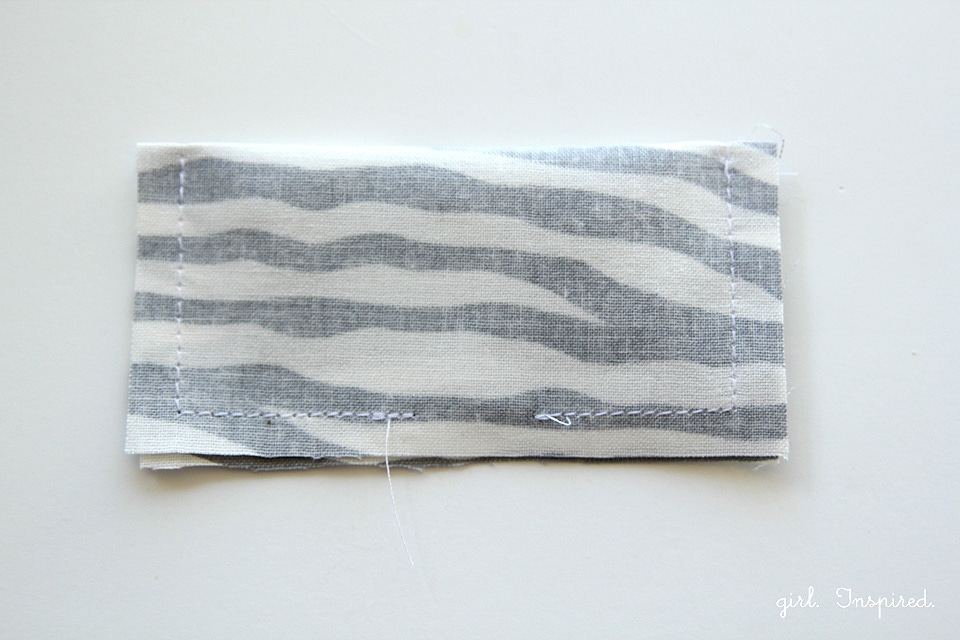
Clip the corners, without clipping through your stitching. Turn the rectangle right side out through the opening. Use a chopstick or other bluntly pointed object to push out each corner as best you can. Press very well again.
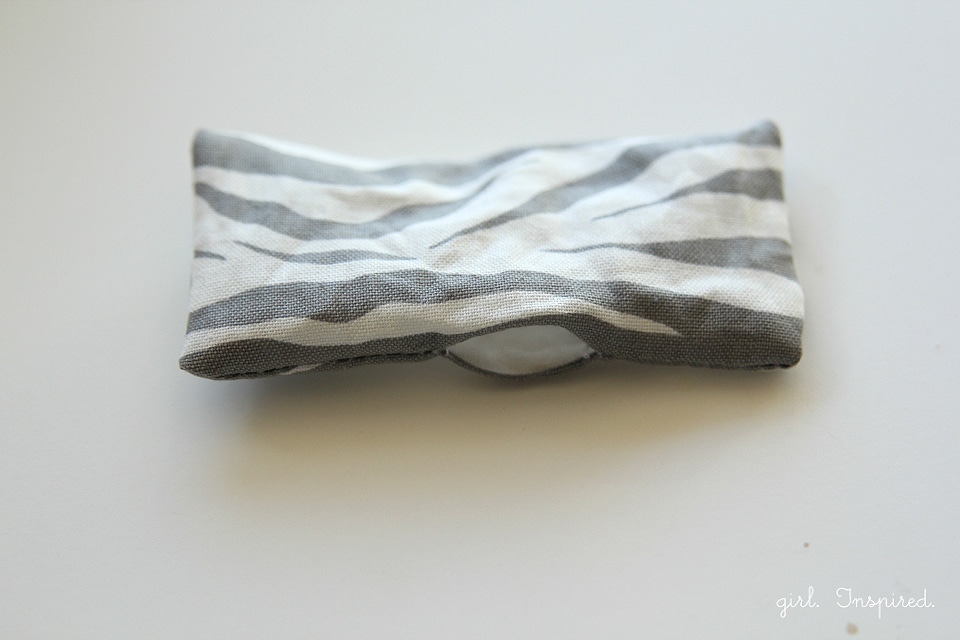
Fold the top and bottom up toward the center and pinch.
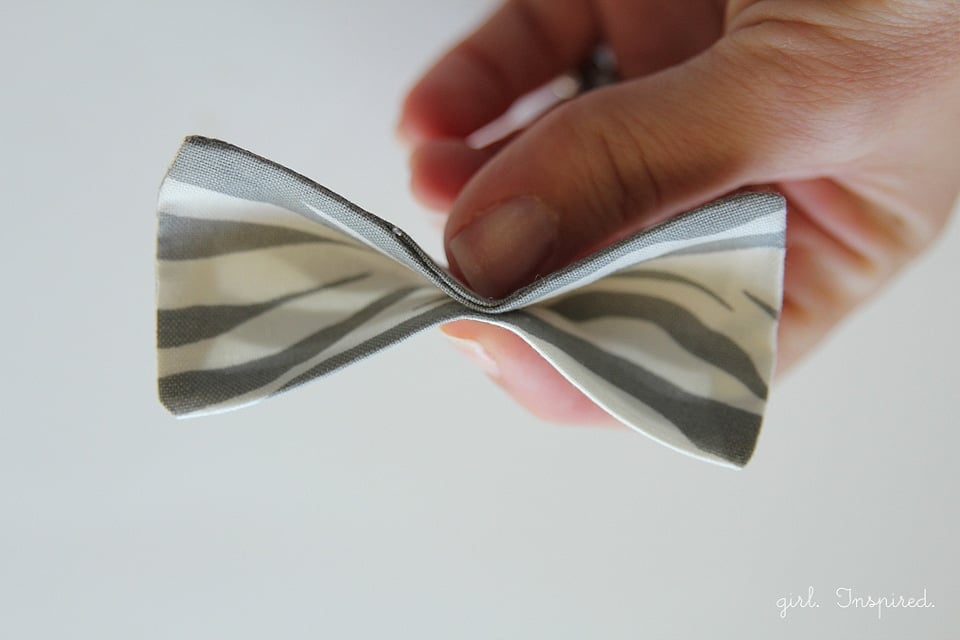
While still holding the folded fabric in place, fold back the top and bottom edge to meet the fold line on the back. You will see your bow form.
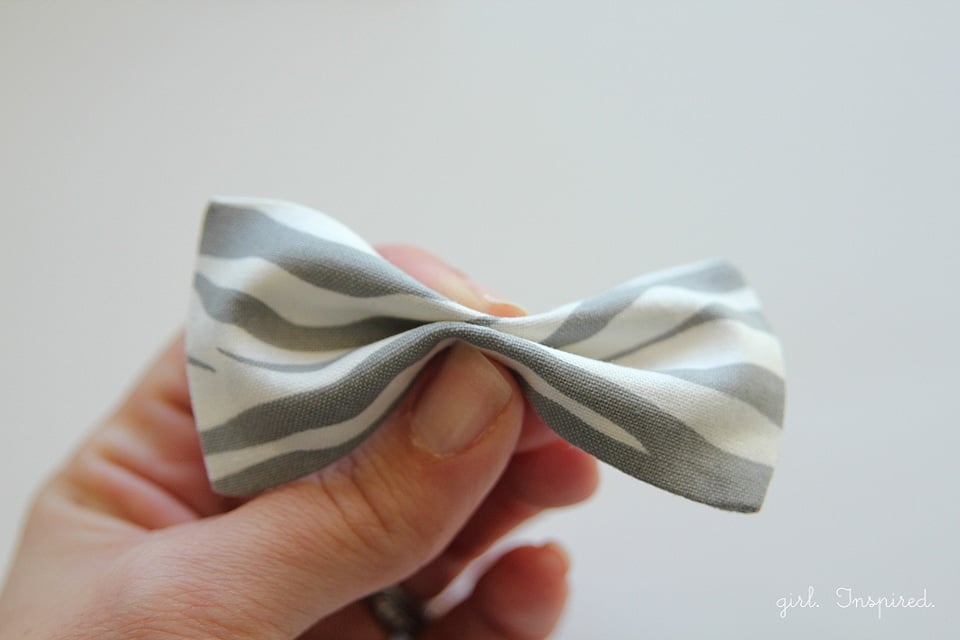
Lay the bow on its side in your sewing machine and stitch a quick zig zag stitch at the center along the “sides” of the middle of the bow. Set aside.
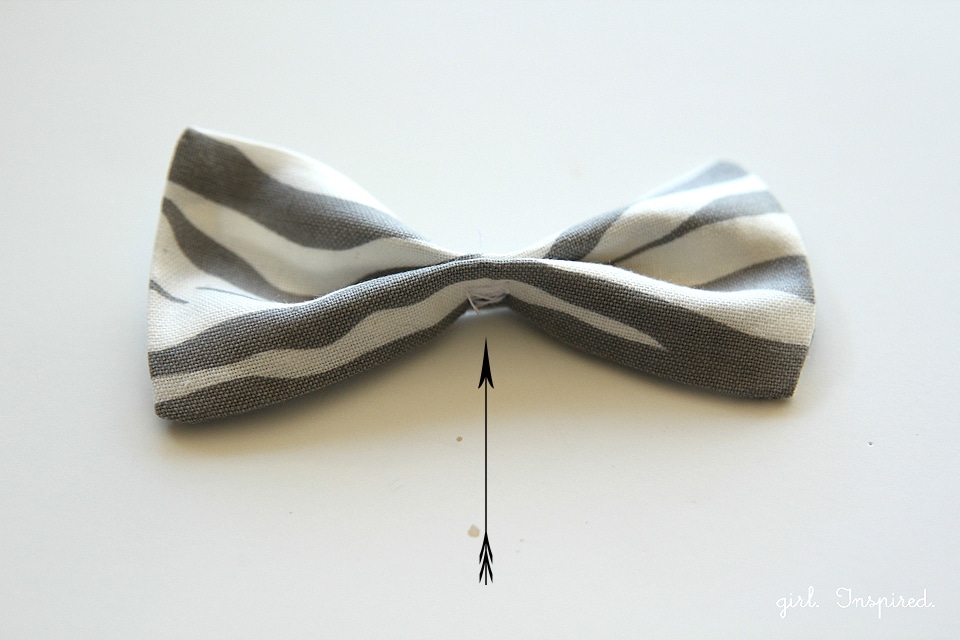
Cut another scrap of fabric 2″ wide x 4″ tall. Fold in half along the length and press.
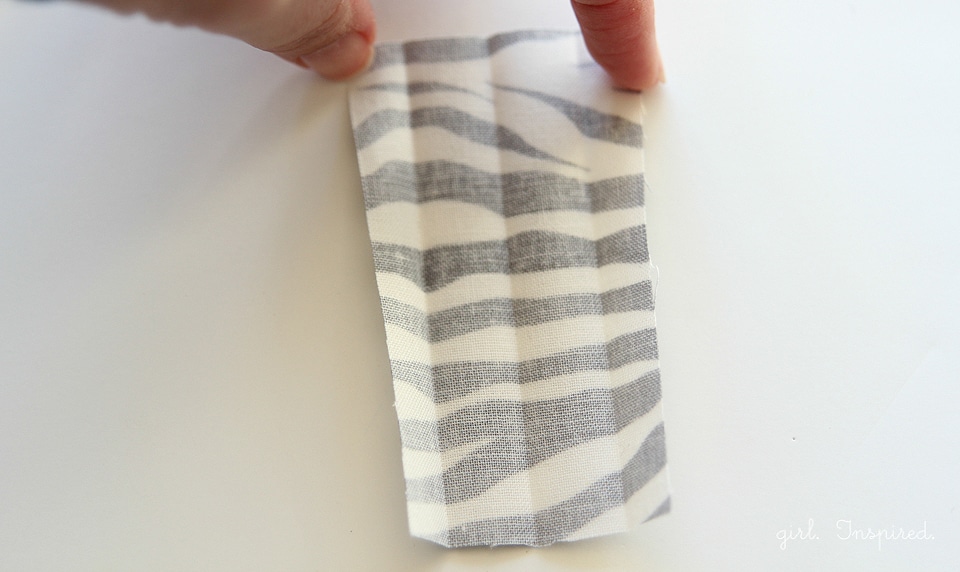
Open the piece up again and fold each side into the center mark. Press.
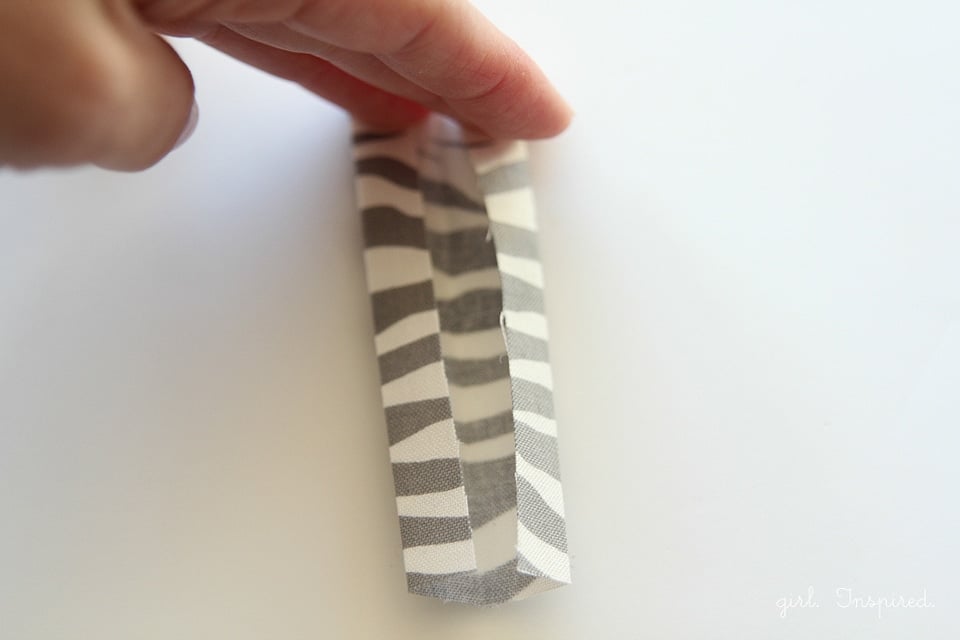
Fold the whole thing in half again on your first fold mark so you’ve made a strip of double-fold bias-like tape.
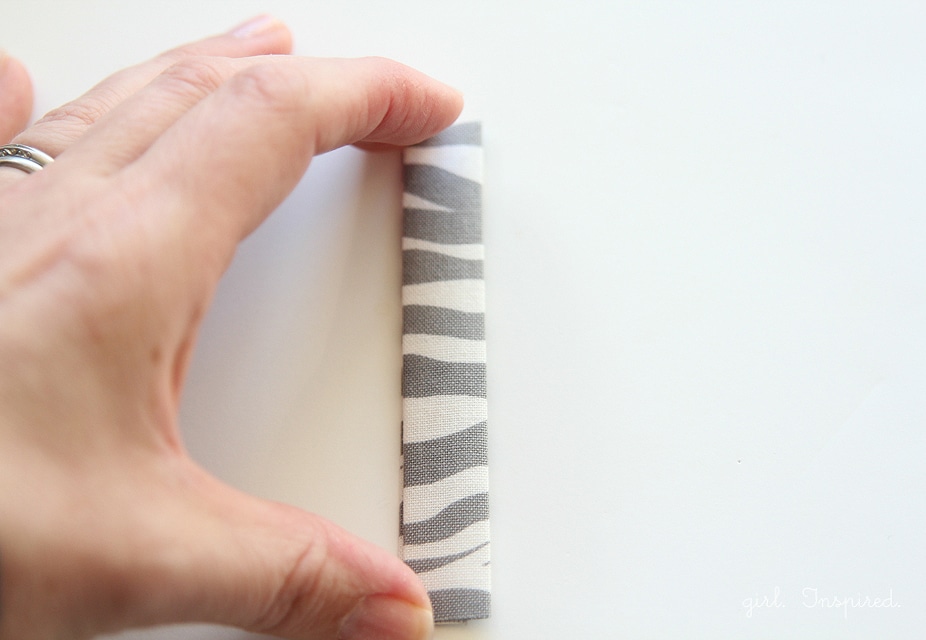
Stitch along the edge down each side of the strip.
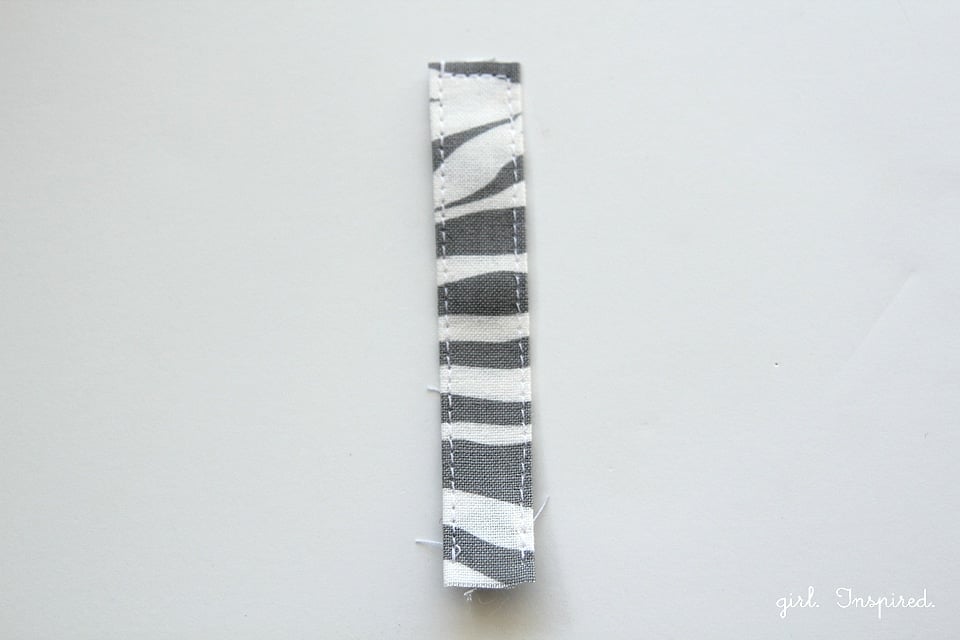
Wrap the strip around the center of the bow piece, overlapping slightly. Cut off the excess portion of the strip and apply fray check if you’d like to stop the ends from fraying. Allow to dry for a few minutes.
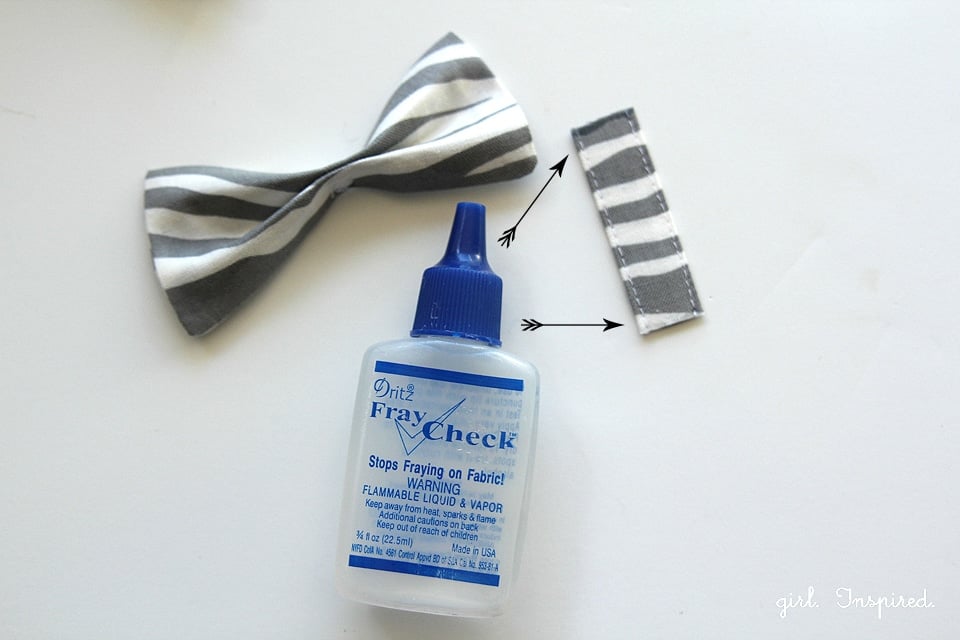
Use a hot glue gun to join the ends of the strip around the bow.
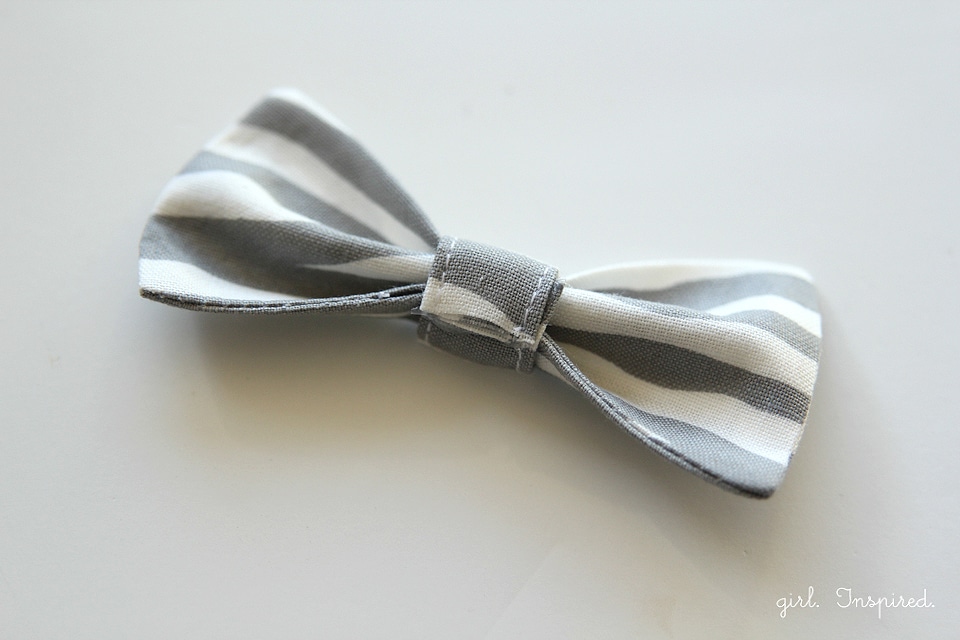
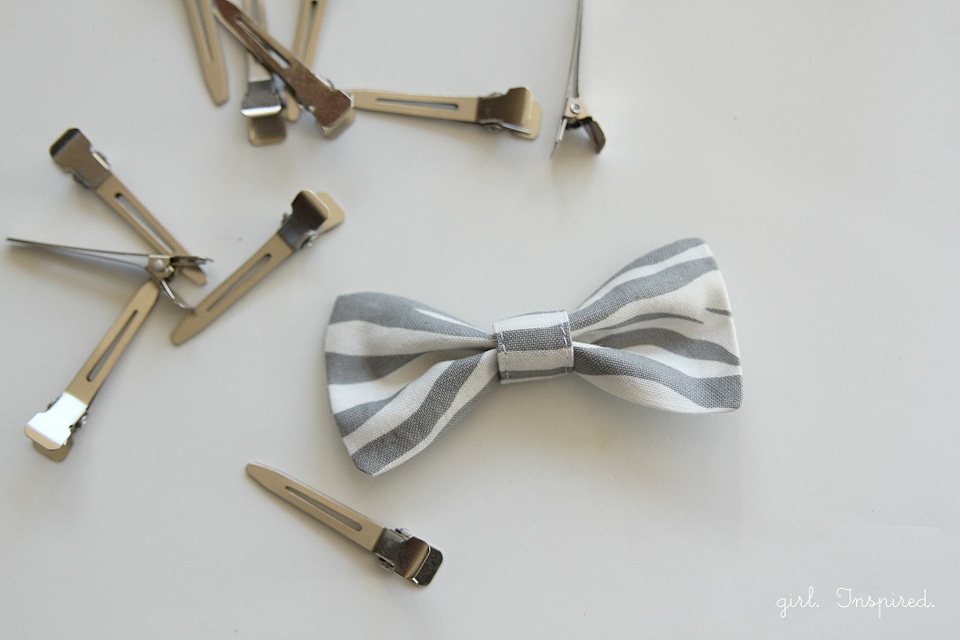
Grab a clip of your liking and slip it through the back of the center loop on the bow. Add dabs of hot glue between the bow and the clip top to secure the bow to the clip. Alternately, you can glue the bow onto the clip prior to wrapping the center strip around – then wrap and glue the center strip around the bow and clip at once.

For a ribbon bow: cut a 7″ length of at least 1″ wide ribbon.
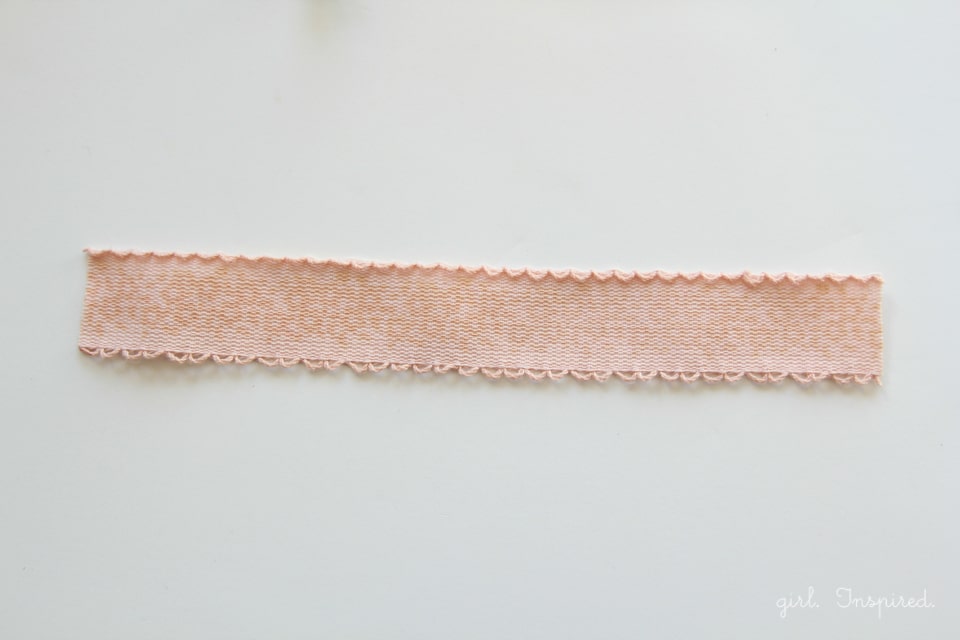
Form the ribbon into a circle and zigzag stitch the ends together.
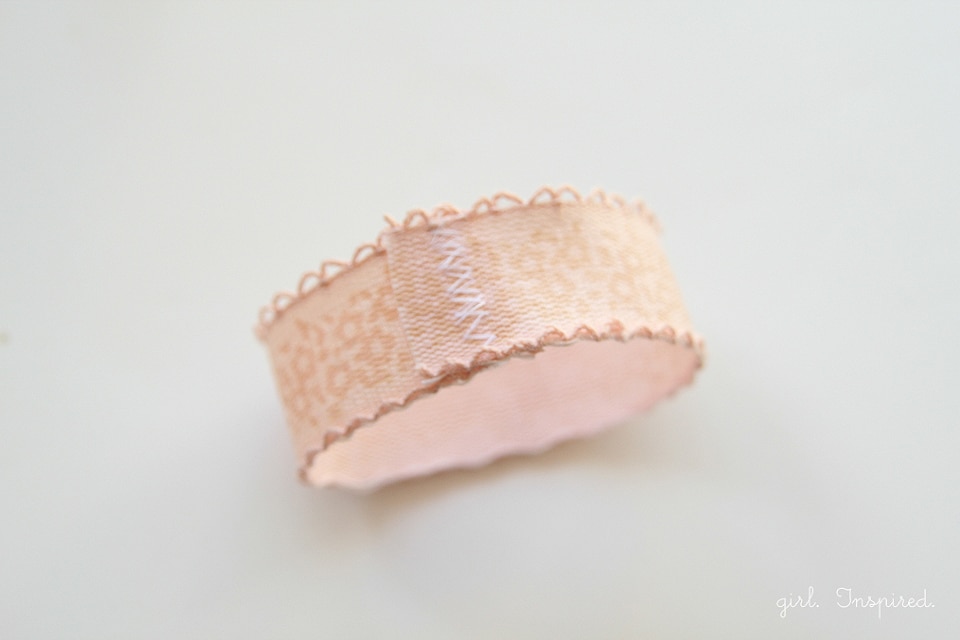
Be sure the stitched ends are on the bottom center of your ribbon circle. Press it flat in the middle, bringing the tops and bottoms up and into the center.
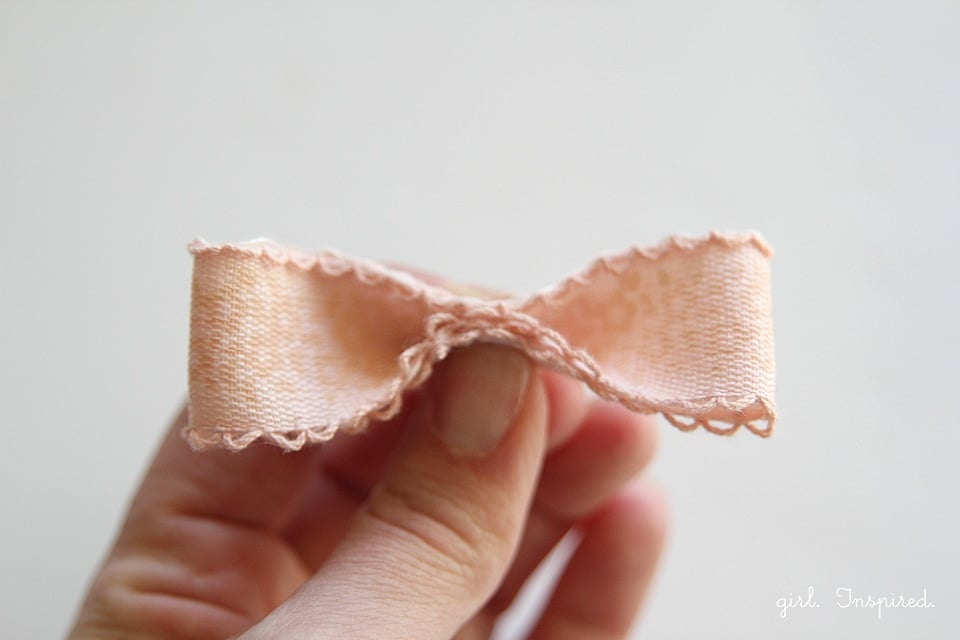
Glue or stitch in place.
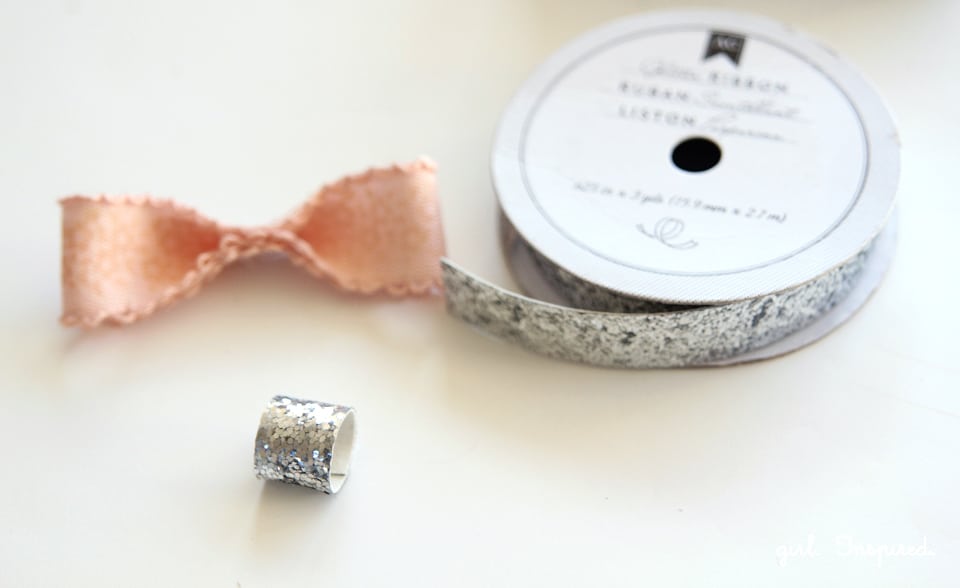
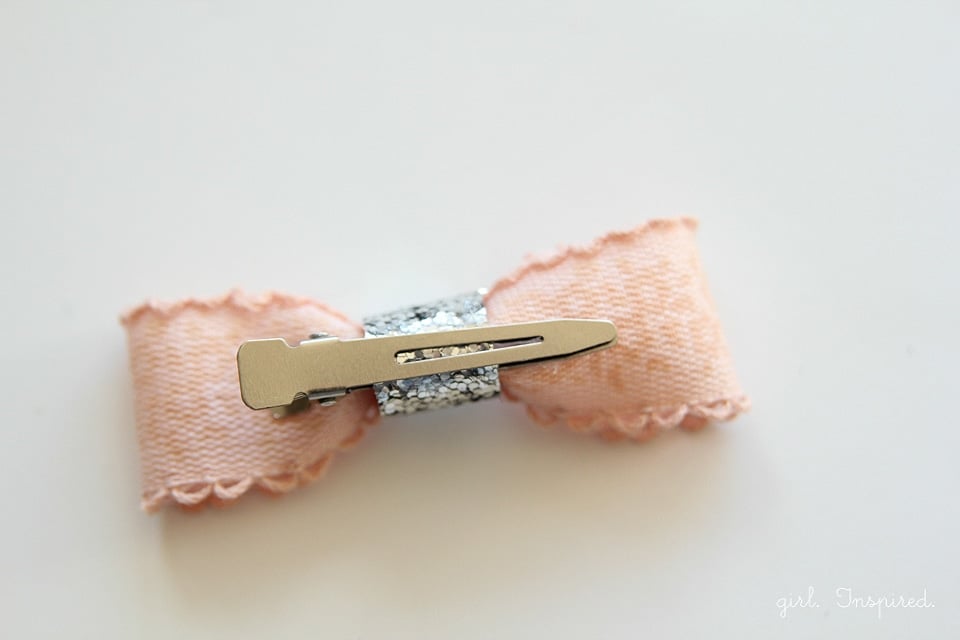
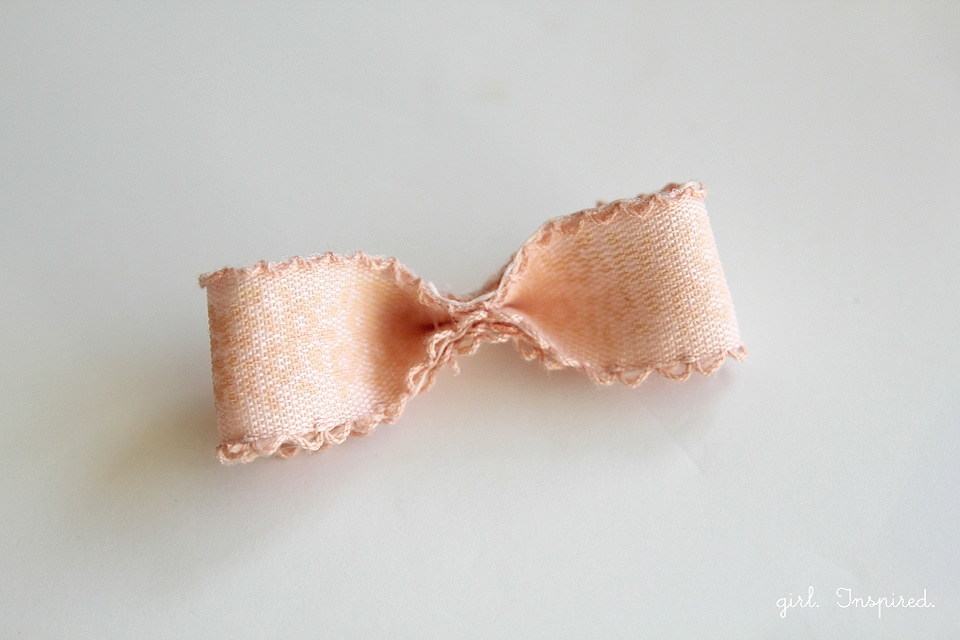 Form a second loop from a 2″ length of ½″ wide ribbon. Glue to join the ends. Slip the ribbon “bow” through the ribbon loop. Attach a snap to the back of the bow as outlined above.
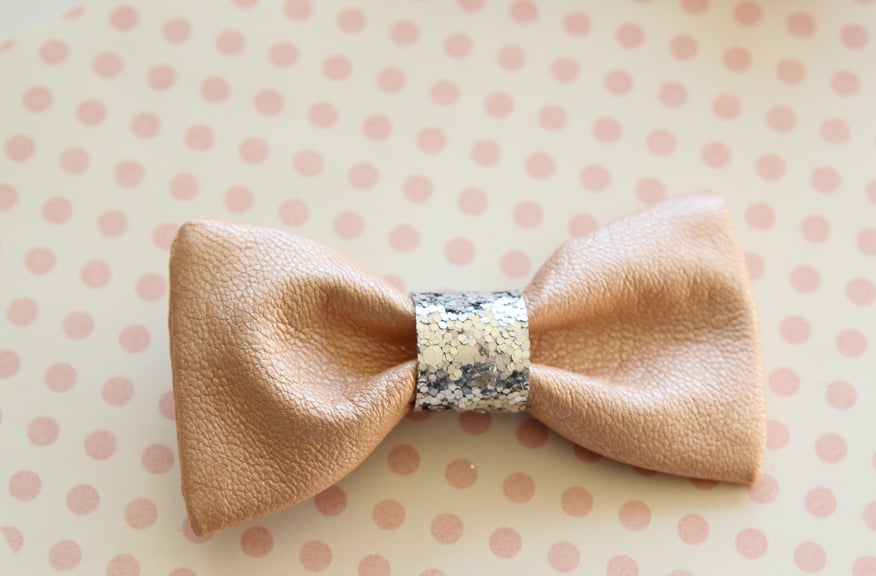
I made a leather bow also (isn’t that leather awesome?? – got it last spring from Mood Fabrics during Fabric Weekend). The leather was a little more difficult to feed through the sewing machine, but it was fine – it was a thin leather and I didn’t even bother changing out my machine needle. I omitted the step of stitching the folded center of the bow.
I also made a bow with wider wire ribbon (say that 10 times!). It’s cute, though I think it will take some maintenance to maintain a pretty shape. One bump against the bow and the wire is going to get all kinked. Ah well, it’ll be cute anyway!
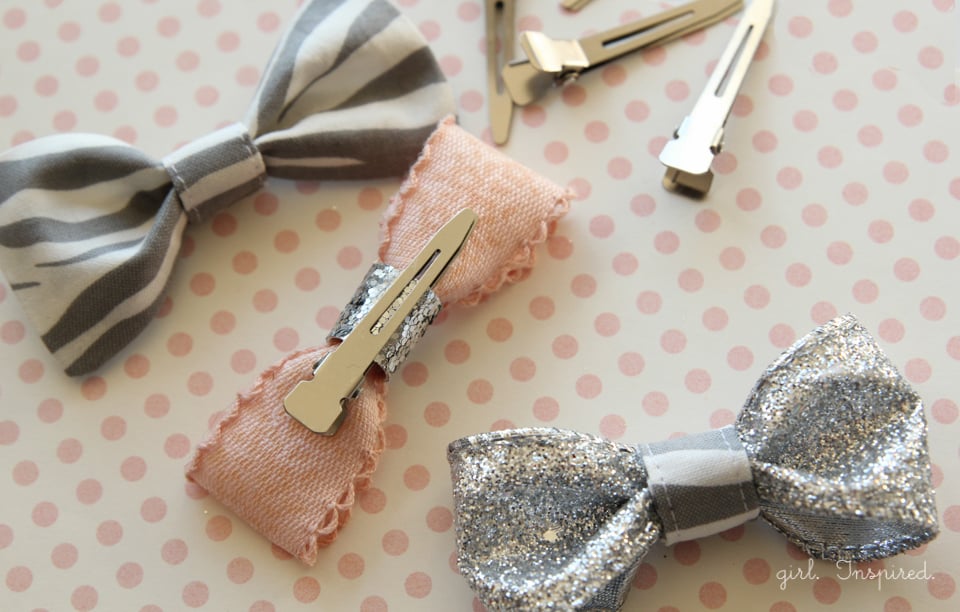
These clips I like to use are called “metal single prong clips”. They seem to stay in the hair better than other varieties, but everyone’s hair is different! I bought a big huge box about five years ago from my local beauty supply store – they’re readily available in your town, I’m sure! Zebra fabric is by Adorn It – “Princess”. Wired glitter ribbon is from Jo-Anns and the smaller glitter ribbon is made by American Crafts. Happy bow-making!!
Linking up at Tatertots and Jello!


Comments & Reviews
Amanda says
How cute! I’m definitely making these for my 3-year-old and new baby girl due this coming Feb! I also love the colors and fabrics you used. 🙂 Thanks for sharing!
Dorothy Van Pelt says
Very cute. I like the idea of not having to have a clip for each bow. Just use it when you put the bow in. Maybe not so good the bows would get lost.
I really love them
Amy @ Positively Splendid says
SO adorable, Stef! Pinned. 🙂
Rachal says
I’ve been making a bunch of different accessories from my husband’s old neckties. I think these bows would be a cute addition to the necktie accessory package!
marissa | Rae Gun Ramblings says
Super cute. Love all the different materials!