
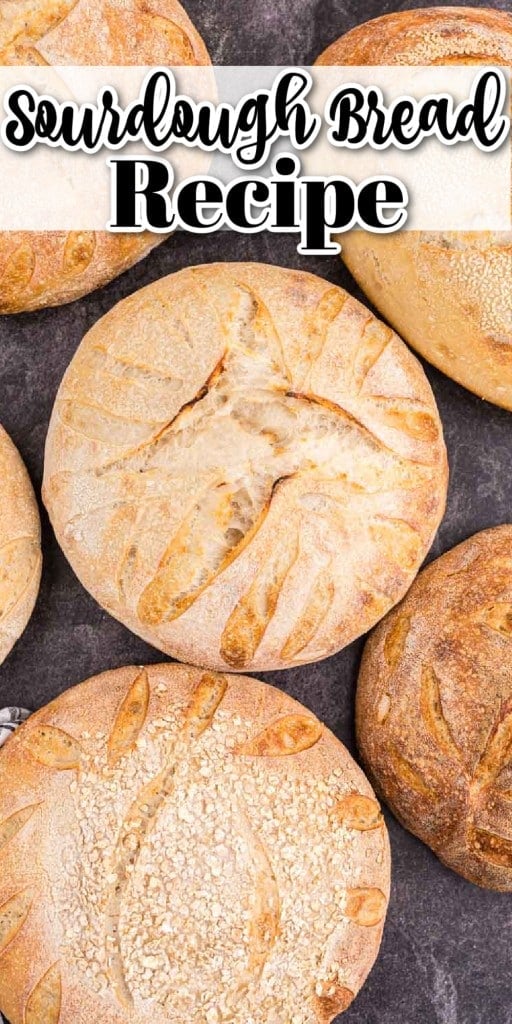

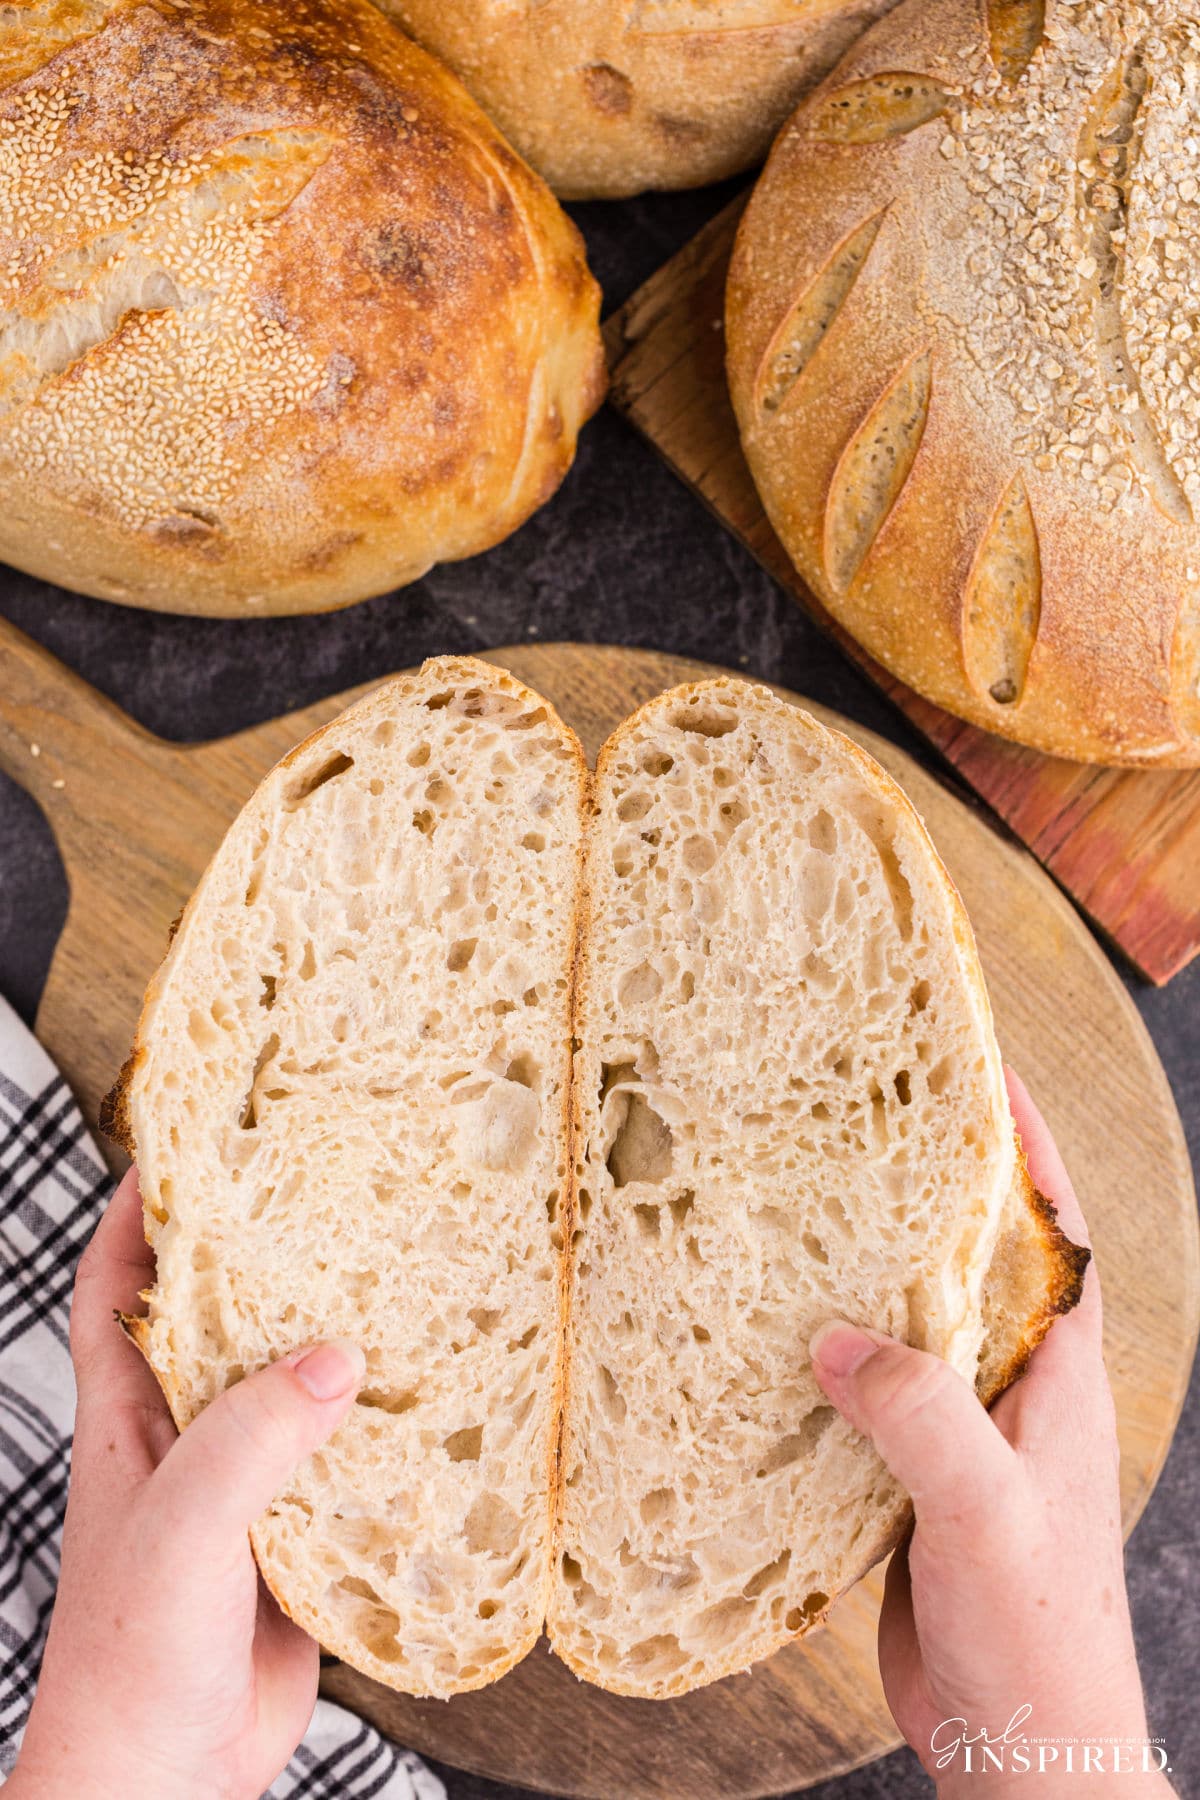
This basic sourdough bread recipe will guide you every step of the way through making a rustic, artisanal loaf with a soft, chewy interior and a thin crusty golden exterior. Using a homemade sourdough starter, you are about to embark on a journey to making the best-ever homemade bread!
After making hundreds of loaves of homemade sourdough bread, I would consider myself a capable home chef. There are hundreds of recipes and opinions on sourdough making – it’s an entire art form. My hope is that you can use this recipe to get started and then take your journey wherever you’d like. For me, that means feeding my family and experimenting with the occasional variation. For others, that might be feeding others in their community, creating hundreds of other recipes using sourdough starter, or becoming enthralled with artistic scoring. Let’s master a basic loaf of sourdough bread as your starting point.
To make a successful loaf of sourdough, you will need an active sourdough bread starter. Do that first! Then, while you’re mastering your loaf of bread, you can also use your discard for things like these sourdough blueberry muffins or an easy sourdough pizza dough.
Jump to:
Why You’ll Love this Sourdough Recipe:
Sourdough bread is a hearty, flavorful bread with a subtle tang, thanks to natural fermentation. Made with just flour, water, and salt, it relies on an active sourdough starter for leavening—eliminating the need for commercial yeast, eggs, baking soda, or baking powder.
If maintained, sourdough starter can last for a very long time, which means it can also be divided and shared with family and friends. It provides a cost-effective way of baking delicious bread with few ingredients.
Sourdough bread is easier to digest than some other types of bread due to its natural fermentation process. Long fermentation breaks down some of the gluten and reduces compounds that interfere with nutrient absorption. This makes it a gentler option for those with mild sensitivities. Like other fermented foods, sourdough also contains beneficial bacteria that support gut health.
🥖Ingredients:
- Bread flour – Bread flour has a higher protein content (12–14%), which helps develop a strong gluten network, resulting in a better rise and a chewier, airier crumb. It’s ideal for sourdough because it provides structure and support during fermentation. While you can substitute all-purpose flour with similar results, bread flour yields the best results. I prefer King Arthur bread flour, which is available at most grocery stores (and sometimes in 10 lb. sacks at Costco), but my go-to is the 50-pound bag from Costco Business since I bake several loaves a week.
- Filtered water – Using filtered water is critical to avoid the chlorine or chemicals in tap water that can interfere with yeast and bacteria growth, ensuring better fermentation. You can also use distilled water or well water (free from additives.)
- Sourdough starter – Use your starter 8–10 hours after the last feeding, when it’s most active and bubbly. This ensures that the yeast and bacteria are at their peak for fermentation. You’ll know it’s ready when the dome of the starter begins to dip slightly, signaling that it has just peaked.
- Sea salt – Salt enhances the flavor of the bread, but more importantly, it helps balance the fermentation process. It strengthens the gluten structure, aiding in the dough’s rise. You can use almost any type of salt when making sourdough – for best results, use fine sea salt or kosher salt in this recipe. Be sure to measure by weight (grams) since different salts have different densities.
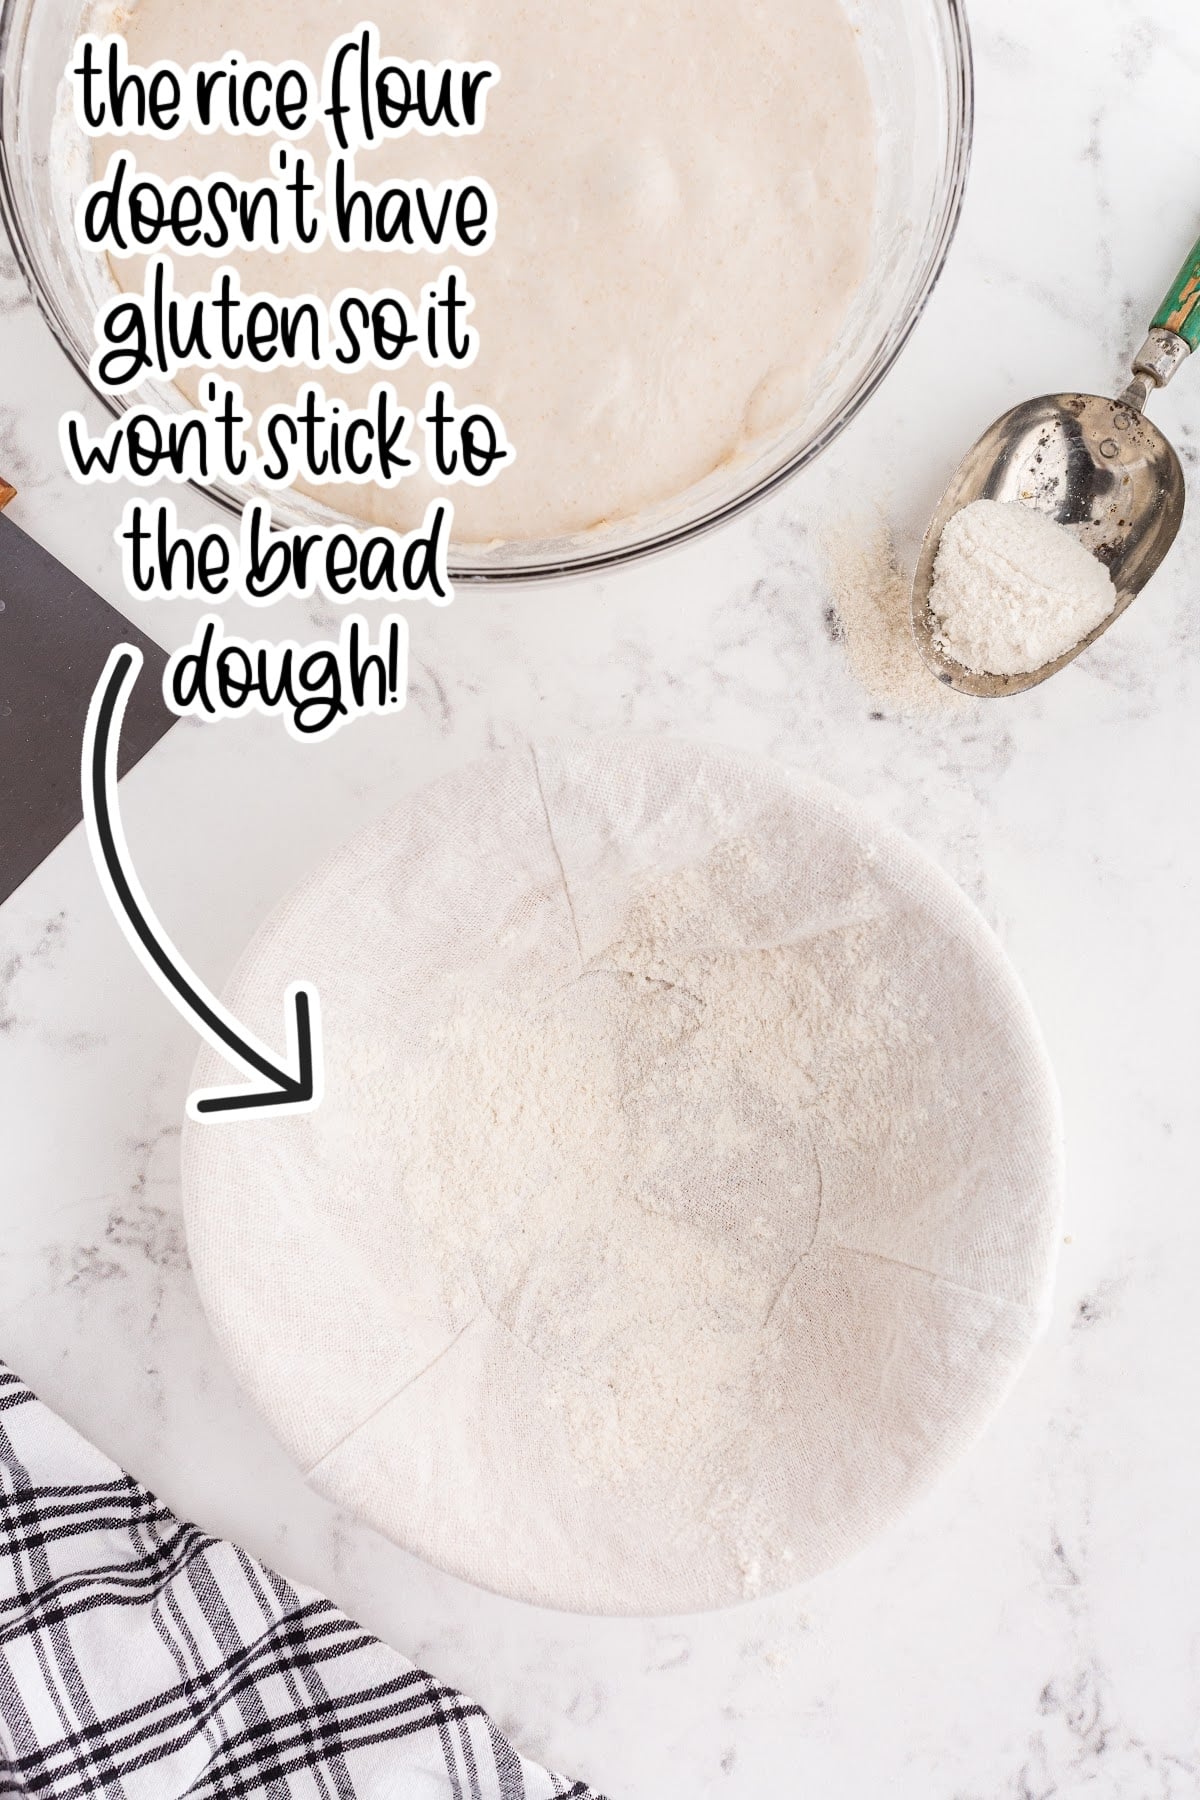
- Rice flour – Prevents the dough from sticking during proofing. I dust the banneton basket and the top of dough with rice flour. It’s gluten-free, so it won’t stick to the dough or plastic wrap and helps create a non-stick surface for the dough to rest.
Equipment Needed:
The items listed below are game-changers when it comes to baking bread. They are not a must, but if you’re investing this much time into making sourdough bread, you’ll want to invest in ways to make the process that much easier and smoother.
Digital Food Scale: Measuring in grams ensures accuracy, which is essential for consistent sourdough baking. If you’ve already started a sourdough starter, chances are you have one—but if not, it’s a must-have. Look for a scale with a tare function (so you can zero out the weight of bowls) and a larger capacity (ideally 10–11 pounds) to easily handle mixing bowls and bulk dough. Precise measurements make a big difference and take the guesswork out of the process.
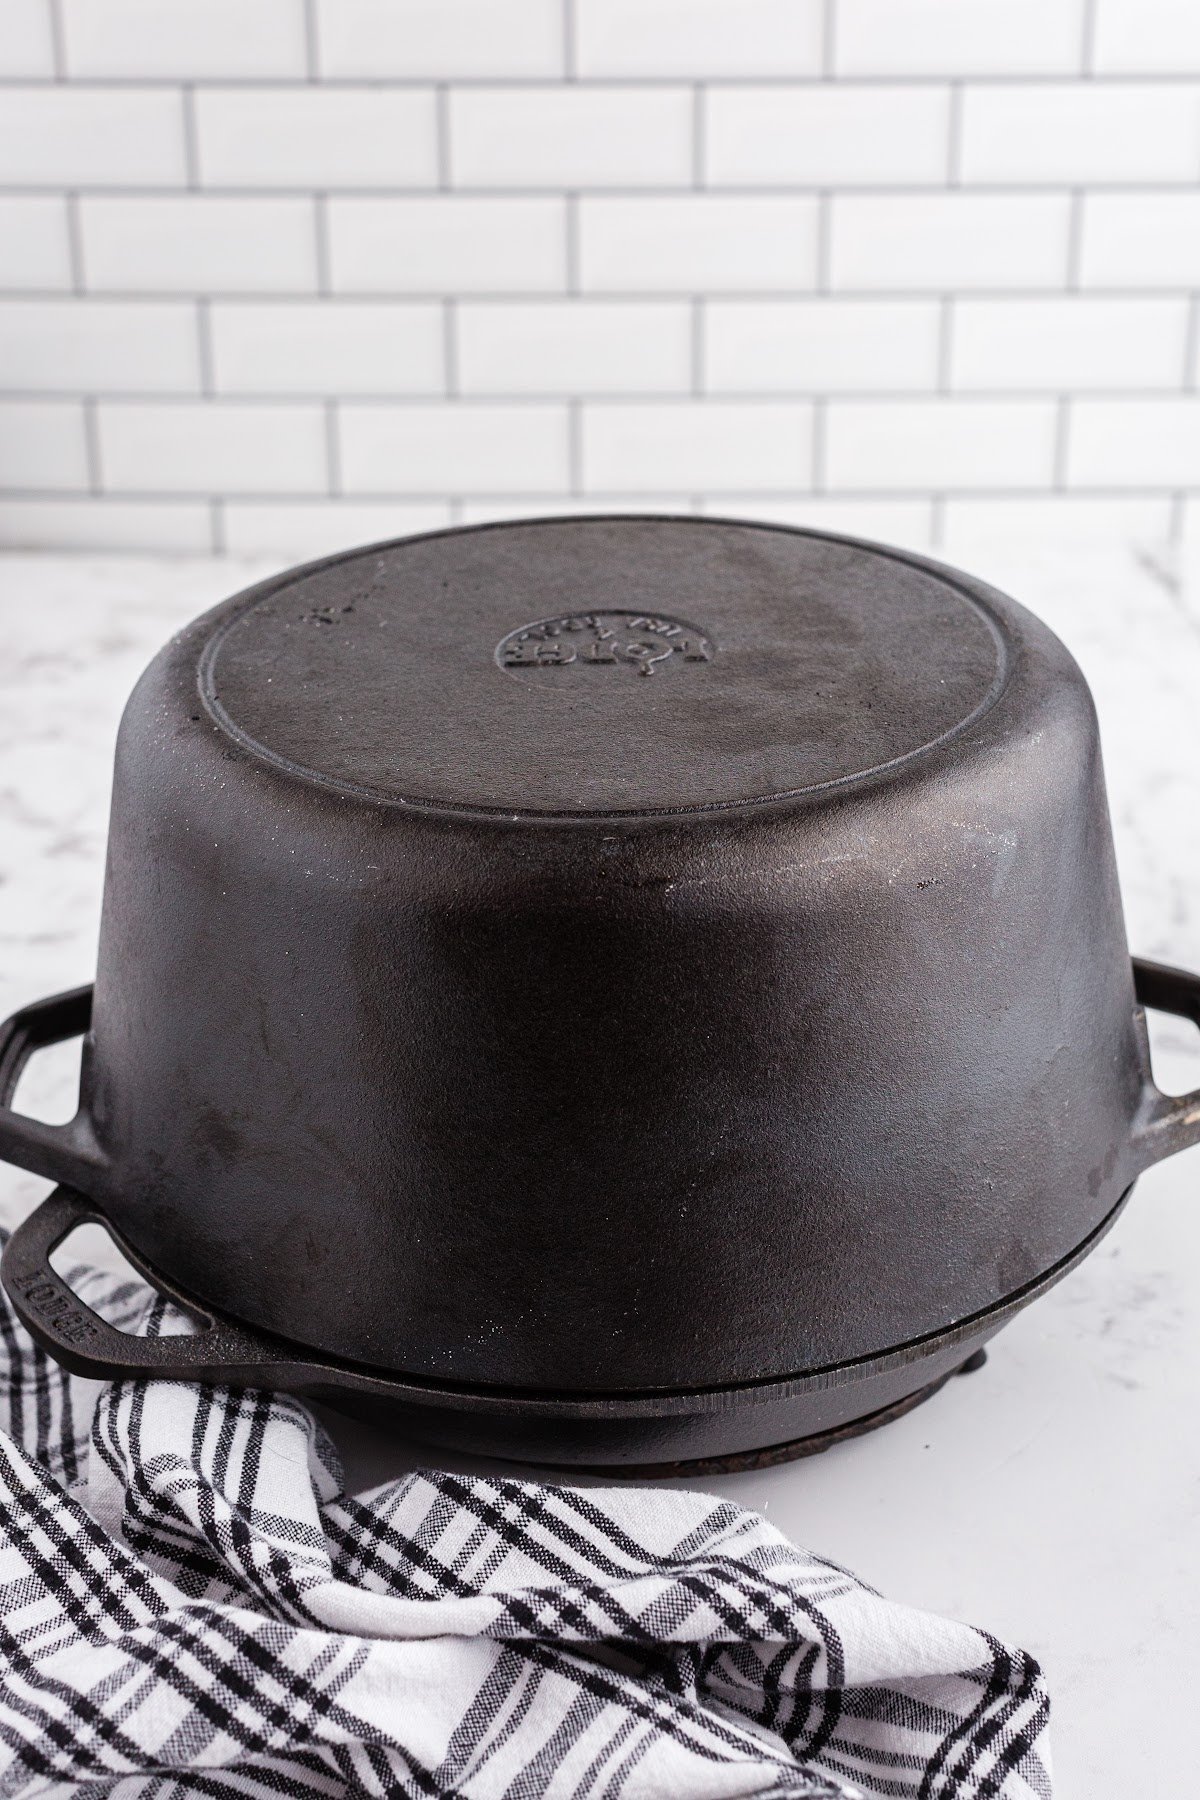
Dutch Oven: Literally a little oven! It’s a heavy pot with thick cast-iron walls (sometimes aluminum or ceramic) and a tight-fitting lid. It traps its own steam while baking, creating a moist, soft bread with a crispy crust. Investing in one will last you a lifetime and can be used for soups and stews as well.
Lame: It’s a little gadget that makes beautiful score marks on top of bread loaves. You can also use a very sharp knife, but you’ll be hard-pressed to find one that does as neat of a job as a lame would do. It can get tricky cutting neat lines into a soft dough.
Banneton: A bread basket (proofing basket) also makes a world of difference. After bulk fermentation and forming the loaf, we place the dough in a proofing basket to hold its shape during final proofing (overnight refrigeration). Alternatively, you can use a lined cookie sheet, but a banneton makes a noticeable difference in shaping and final texture.
Danish Dough Whisk: This sturdy tool is ideal for mixing bread doughs and sourdough starter. It has an open, looped wire design that cuts through thick, sticky mixtures and incorporates ingredients without overworking the dough. It’s especially handy for high-hydration doughs that are too wet for traditional kneading tools.
Plastic Wrap or Re-usable bowl covers: You will need to cover your dough during the proofing process to prevent it from drying out. If you prefer an eco-friendly option, re-usable bowl covers made of non-breathable fabric or silicone are a great alternative to plastic wrap, and they can be used multiple times. I’ve also seen people use a large plastic bag or beeswax-coated fabric bags.
For a full list of ingredients and their measurements, 📋 please view my printable recipe card at the bottom of the post.
Substitutions and Variations
- Substitute 20-30% of the bread flour with a whole grain variety like whole wheat flour, rye flour, or oat flour. Using a higher ratio of whole grain flour will make your sourdough quite dense, so I don’t recommend it.
- Mix-Ins – once you have your basic sourdough bread recipe down pat, you can start experimenting with additions like roasted garlic, herbs, cheese, dried fruit, or nuts to create new flavors. For best results, add mix-ins during the last round of stretch and folds so they’re evenly distributed without tearing the dough.
🔪 Instructions:
PREP: Read through the entire process before beginning. We bake the bread roughly 36 hours after feeding our starter and about 24 hours after mixing the dough., so keep that timeline in mind. Feed your sourdough starter 8-10 hours before you begin preparing the bread dough. Set at room temperature.
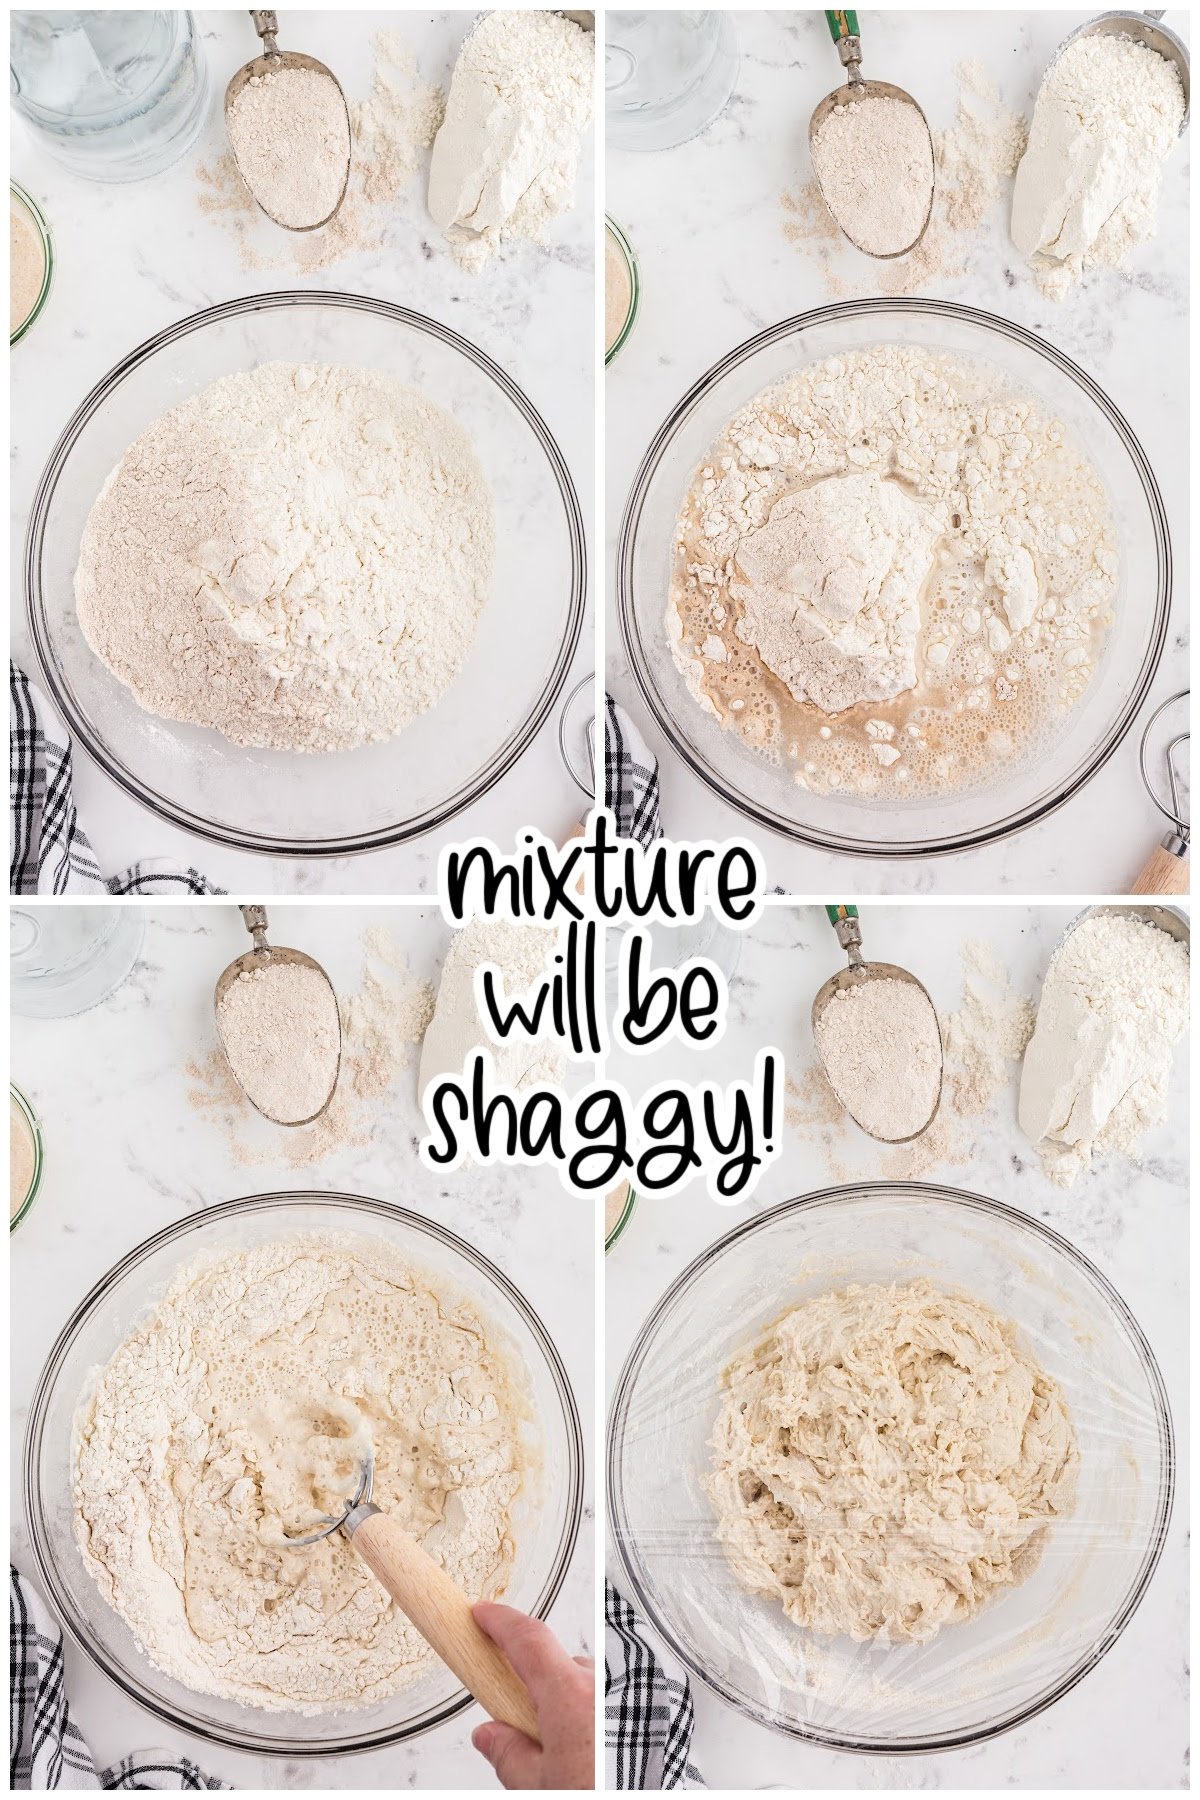
Step 1: In a large mixing bowl, combine 600 grams of bread flour and 460 grams of distilled water and stir to combine as best as possible (mixture will be “shaggy”). Cover with plastic wrap and set in a warm, room temperature location for 45 minutes.

Step 2: After 45 minutes (this gives the mixture time to autolyze), add 100 grams of starter and 12 grams of salt to the flour/water mixture and stir well.
Cover with plastic wrap and set aside for 4-6 hours (see next step for steps to strengthen dough during the 6 hours).
Step 3: We will perform a set of folds to strengthen the dough during the first two hours of this “bulk fermentation” time. Begin the first set 30 minutes after mixing the starter/salt into the autolyzed dough.
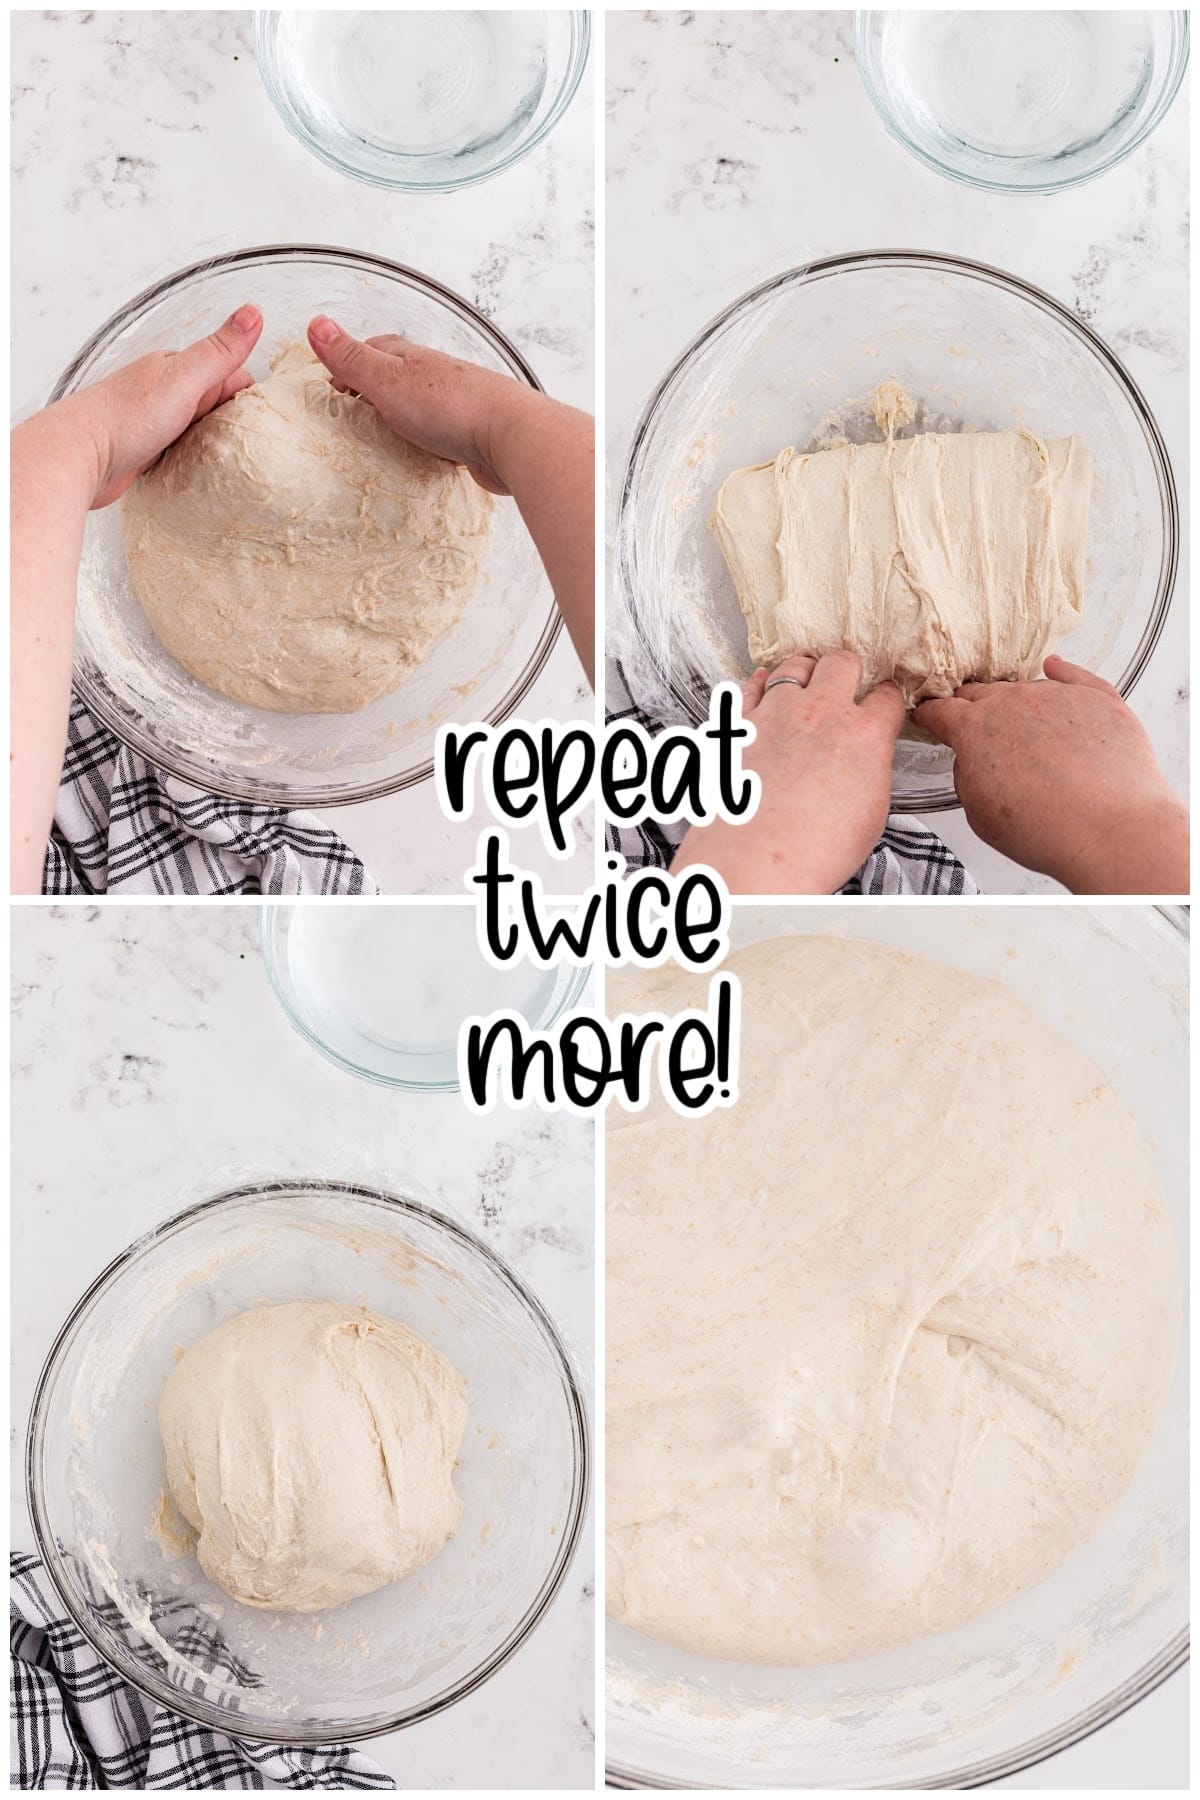
Every 30 minutes, uncover the bowl of dough. Dip your hands into warm water (this keeps the dough from sticking to your hands). Slide your hands down around the top of the dough. Lift this side of the dough up and fold it down over the side opposite. Turn the bowl 90 degrees and repeat lifting and folding until you have lifted and folded each of the four sides of the dough. Replace the plastic wrap and leave the dough to set for another 30 minutes. Do this TWO more times for a total of three stretches like this.
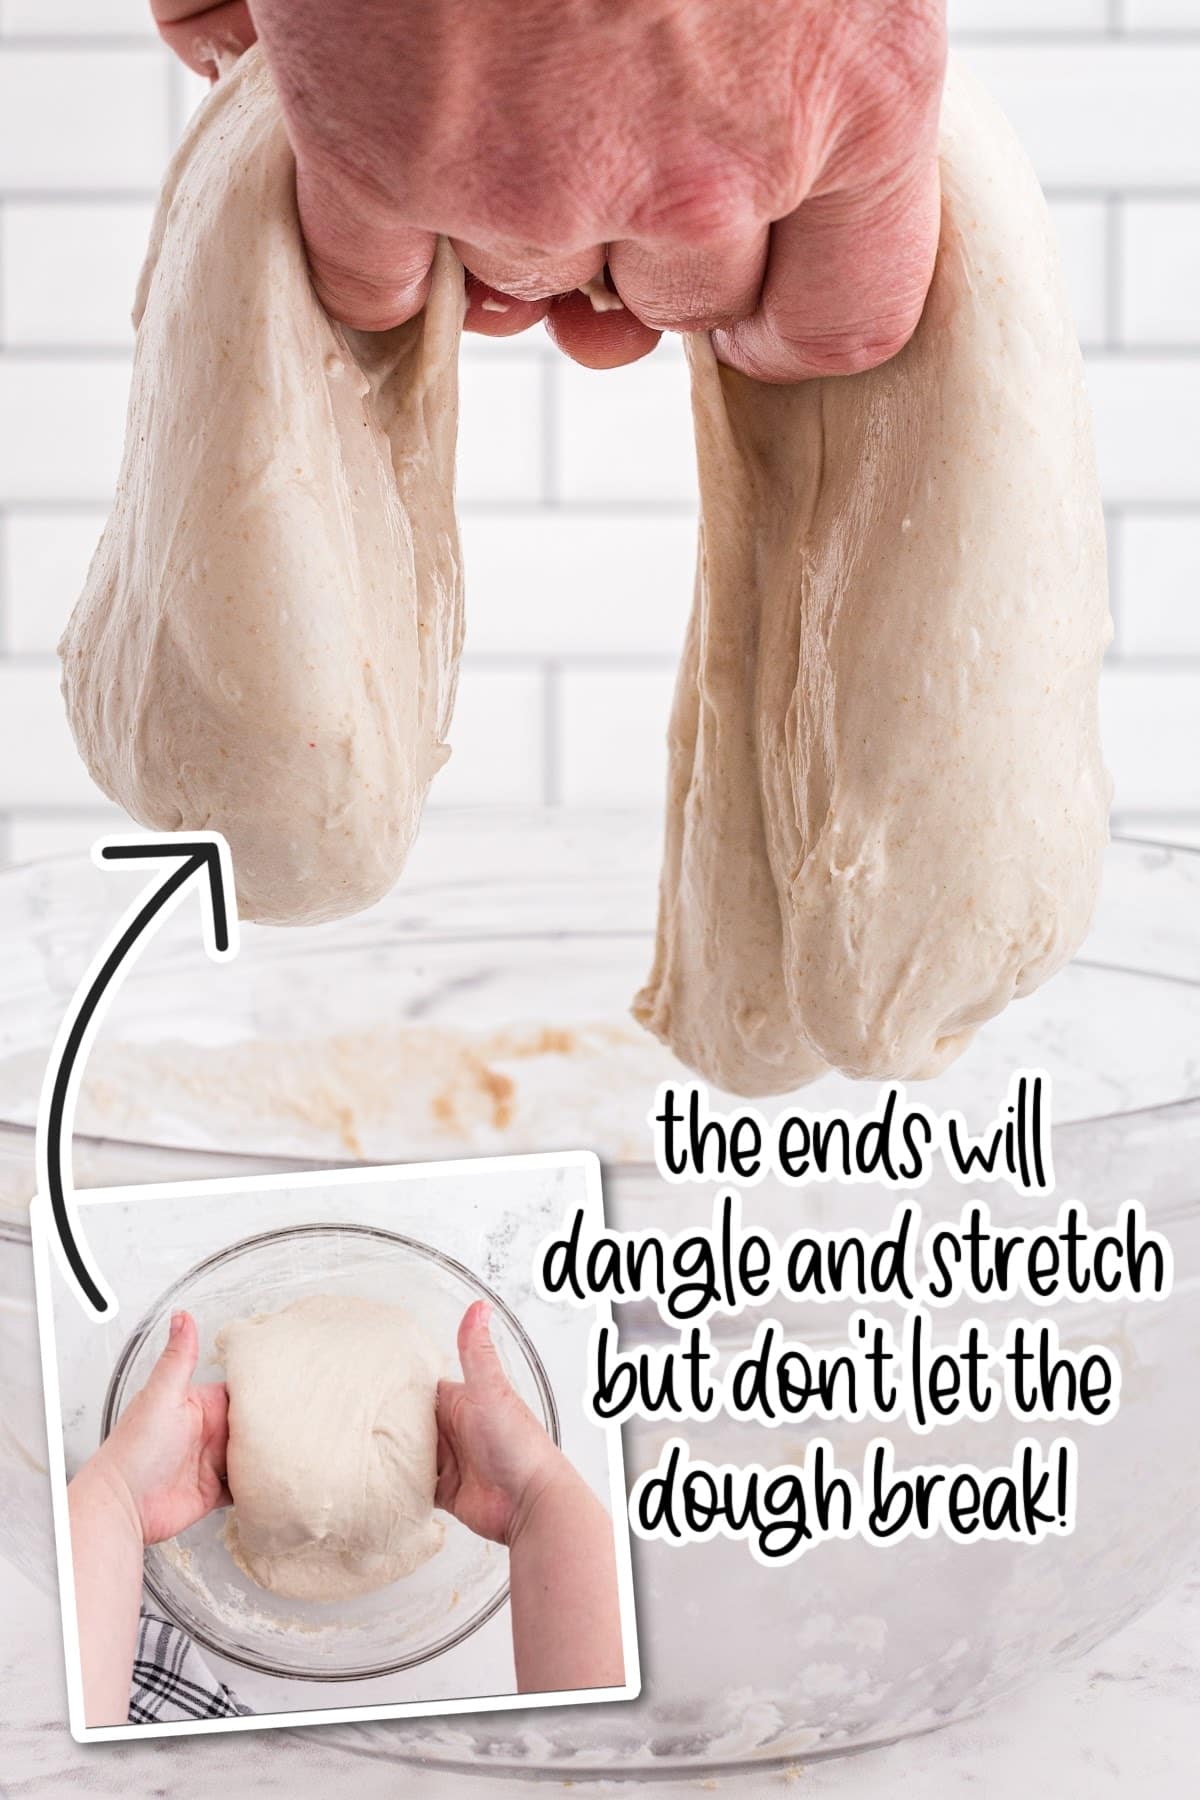
Step 4: After you’ve completed three sets of lifting and folding the dough, do a final set of dough strengthening folds. Slide your dampened hands around the dough sides (right and left). Lift the dough straight up from the bowl. The ends will dangle down and stretch. Do not let the dough break. Set the dough straight back down on itself. Rotate the bowl 90 degrees and repeat, completing four lift and stretch sets.
It’s important to do your stretch and folds early in bulk fermentation, spacing them about 30 minutes apart. This helps build gluten while the dough is still relaxed, leading to better rise, structure, and an open crumb—without heavy kneading.
Step 5: Now let the dough sit for about four more hours undisturbed to complete bulk fermentation. The exact time will vary based on temperature—warmer environments will speed up fermentation, while cooler temperatures may extend the process.
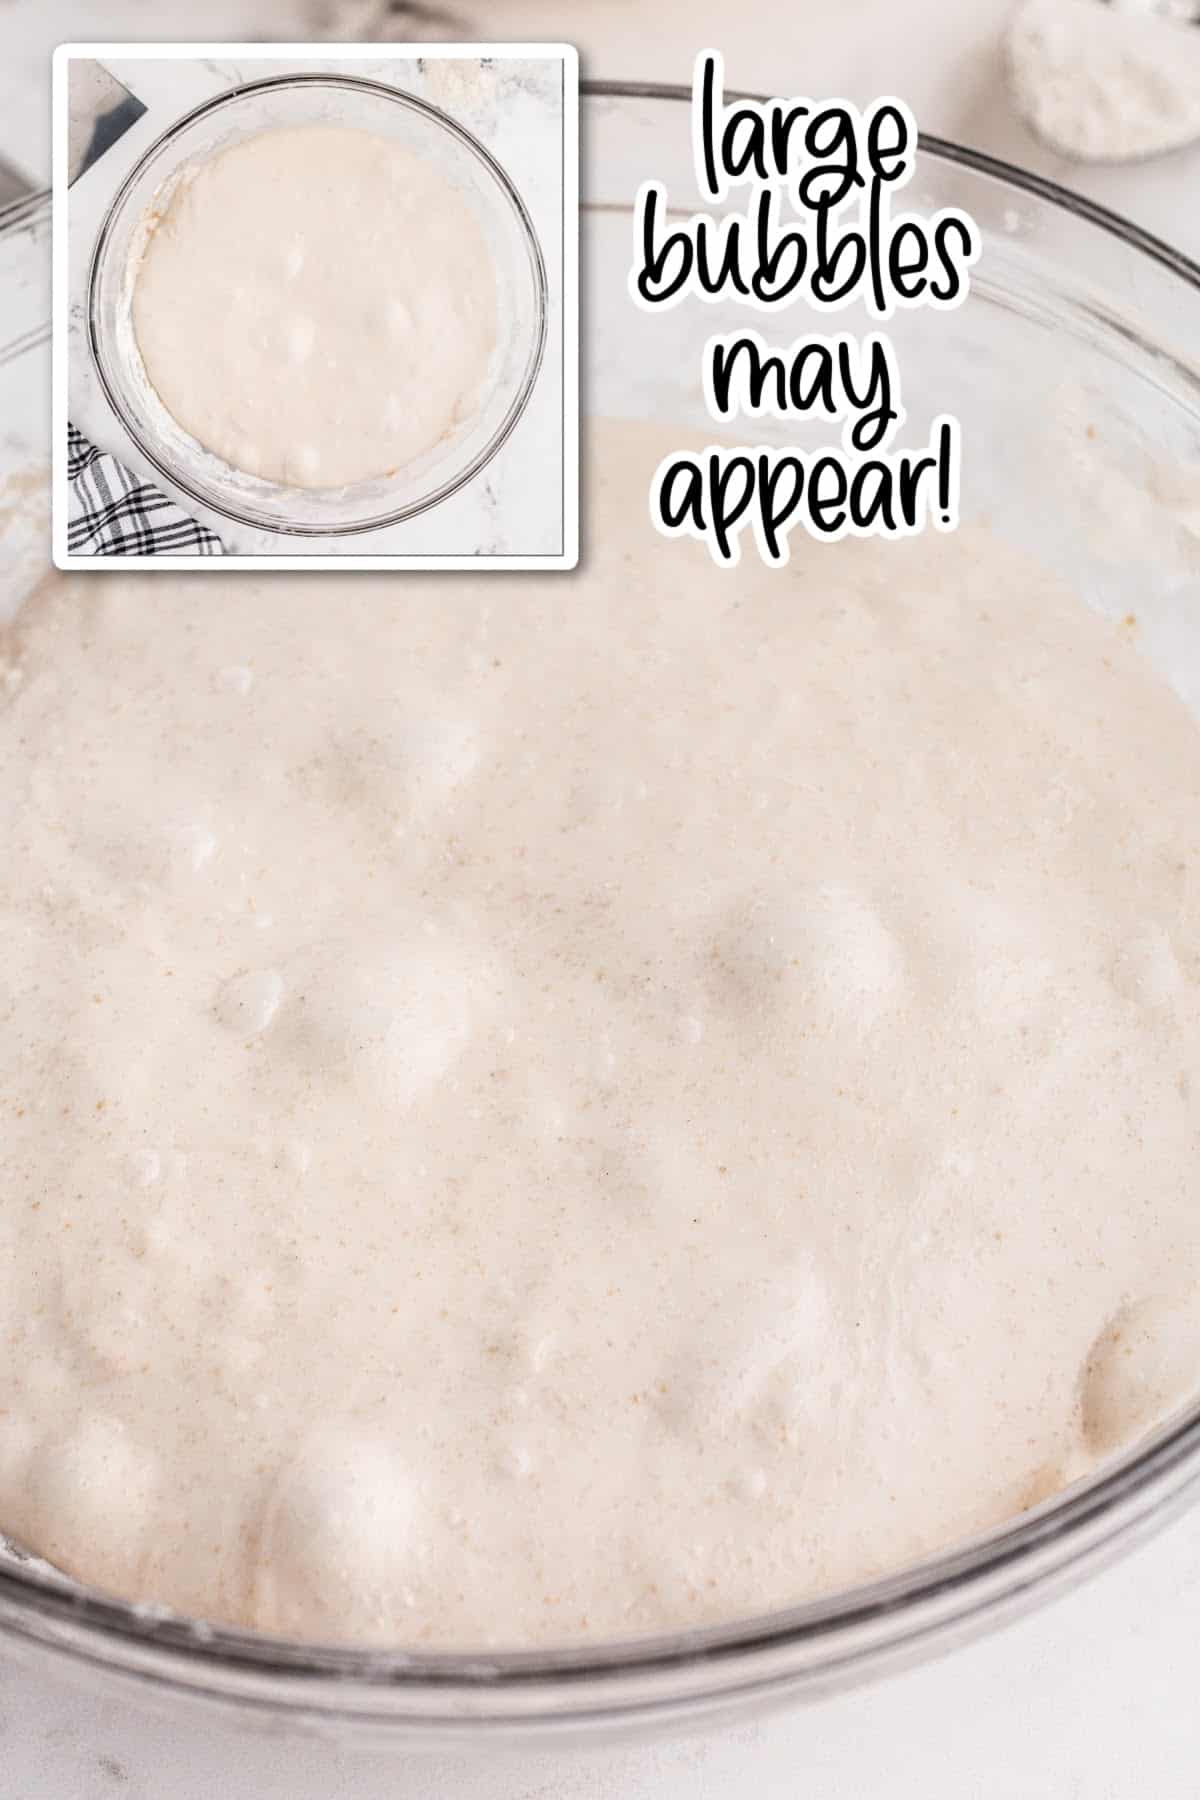
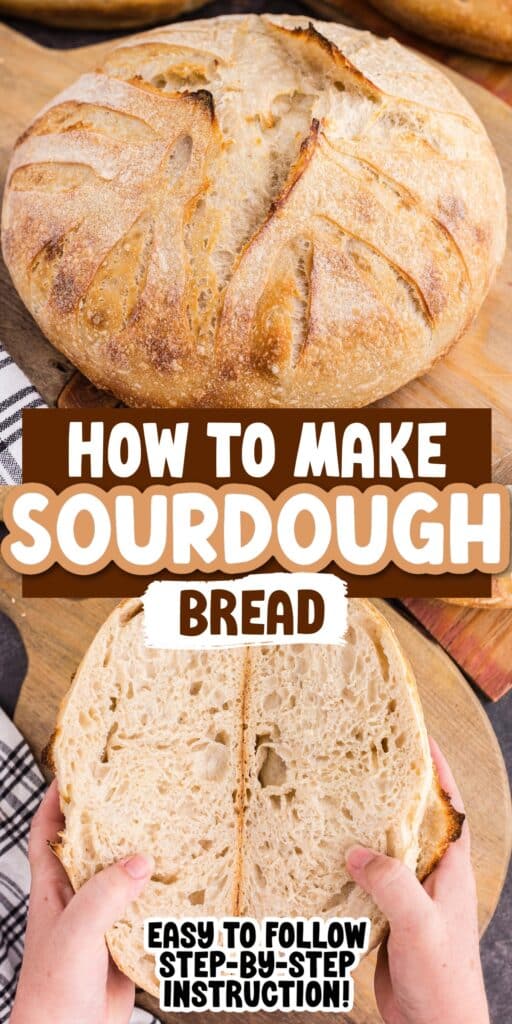
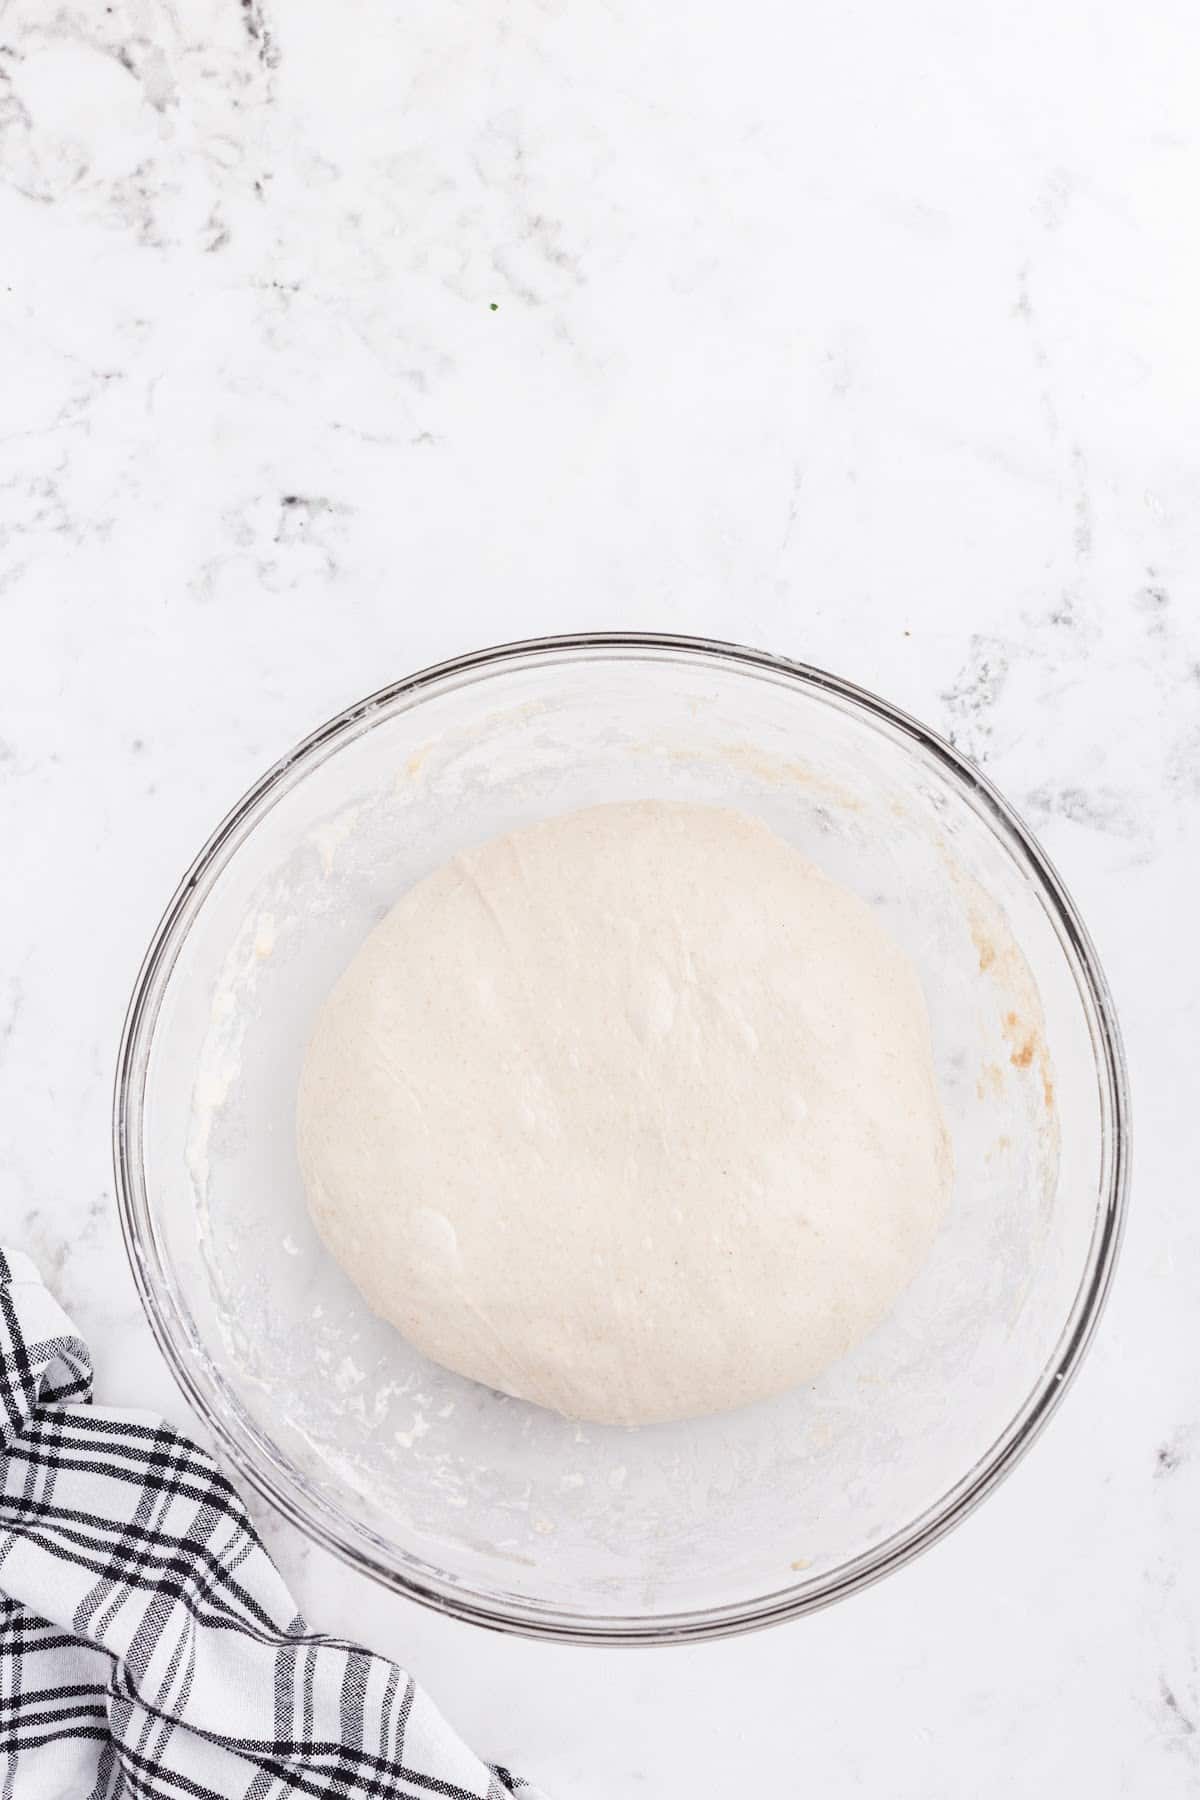
Step 6: When bulk fermentation is complete, the dough should be smooth and slightly rounded, holding its shape with somewhat of a dome toward the edges of the bowl. Large bubbles may appear under the surface of the bread. It should have increased in size, and jiggle when you shake the bowl. When you remove the dough from the bowl, you will be able to feel that is light with lots of air pockets throughout.
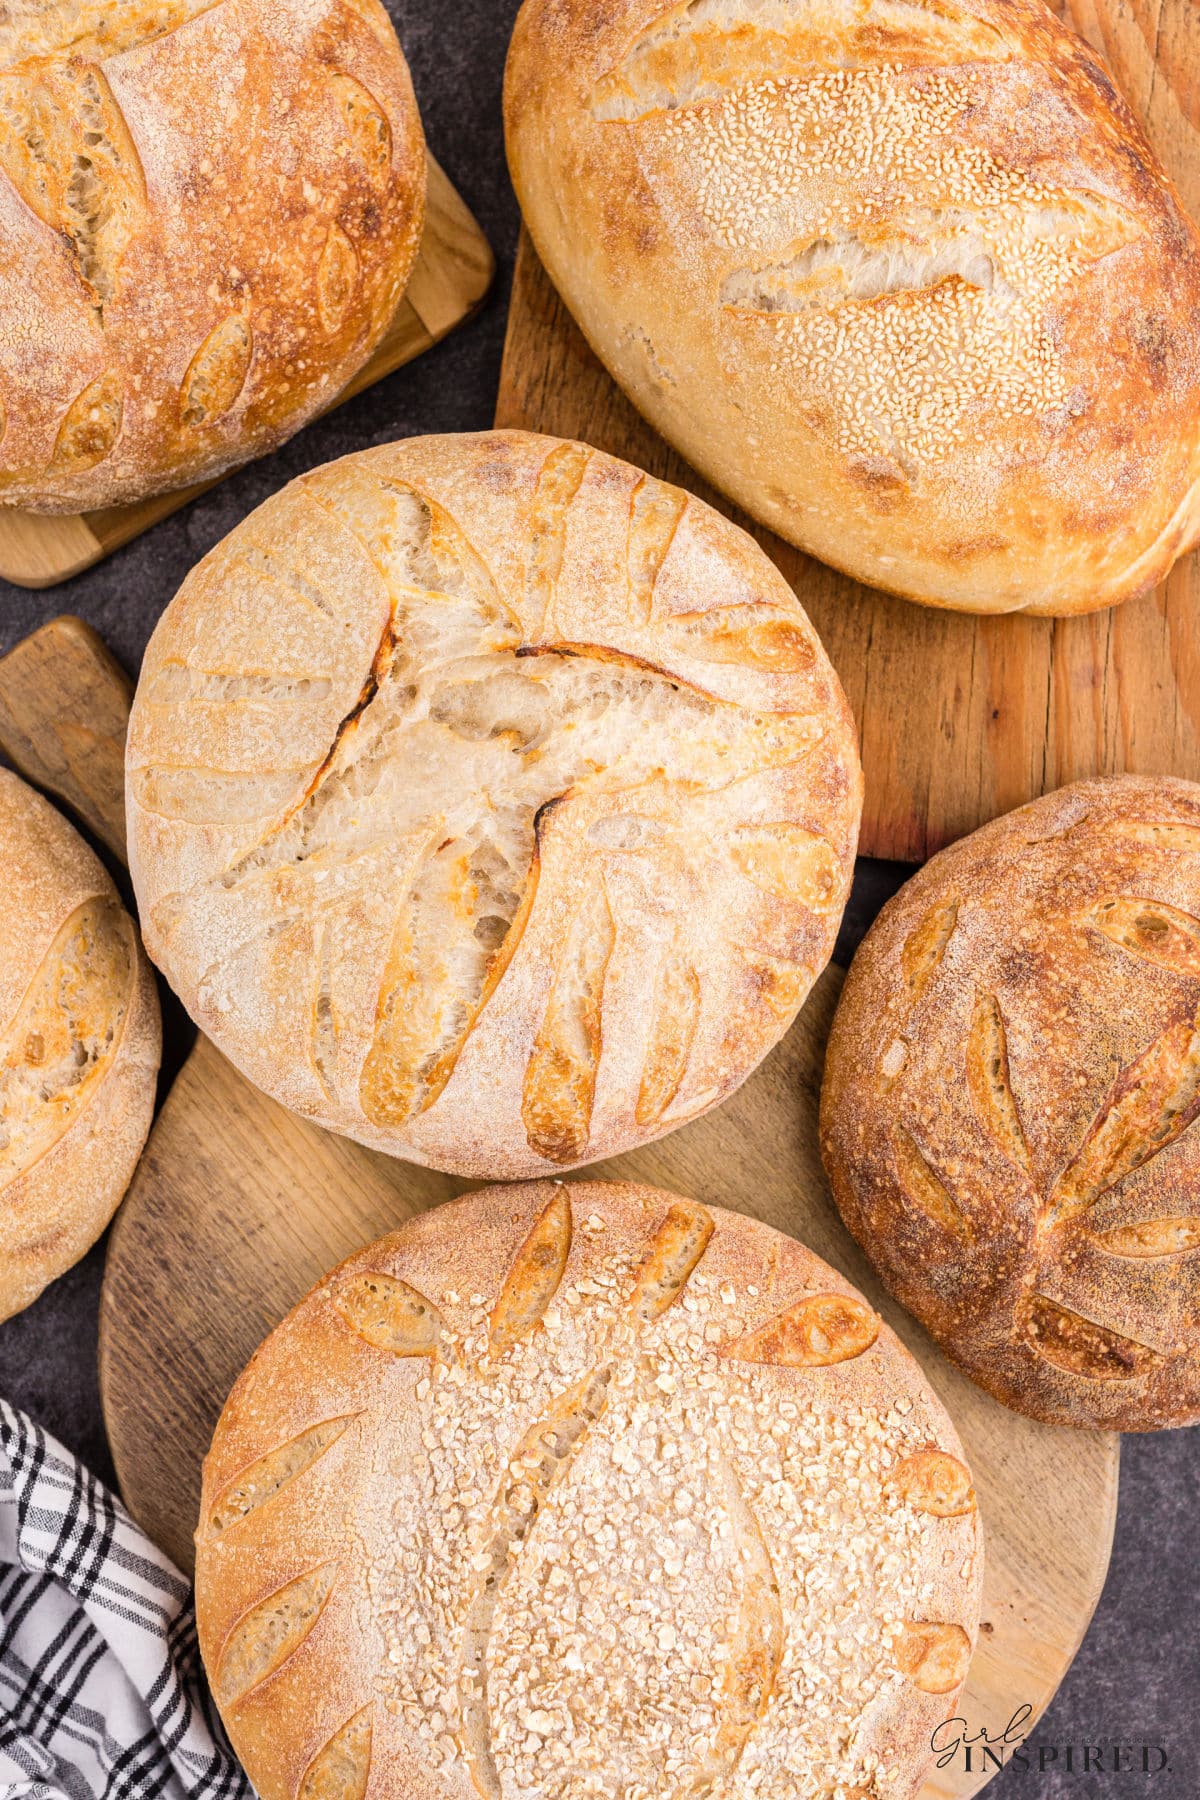
Step 7: Now it’s time to shape the bread into a loaf. You can divide the dough at this point and make two smaller loaves or shape into ovals or baguettes or whatever you desire. We will simply shape one round loaf.
Sprinkle the banneton basket liberally with rice flour. Remove the bread dough from the bowl and plop onto the counter.
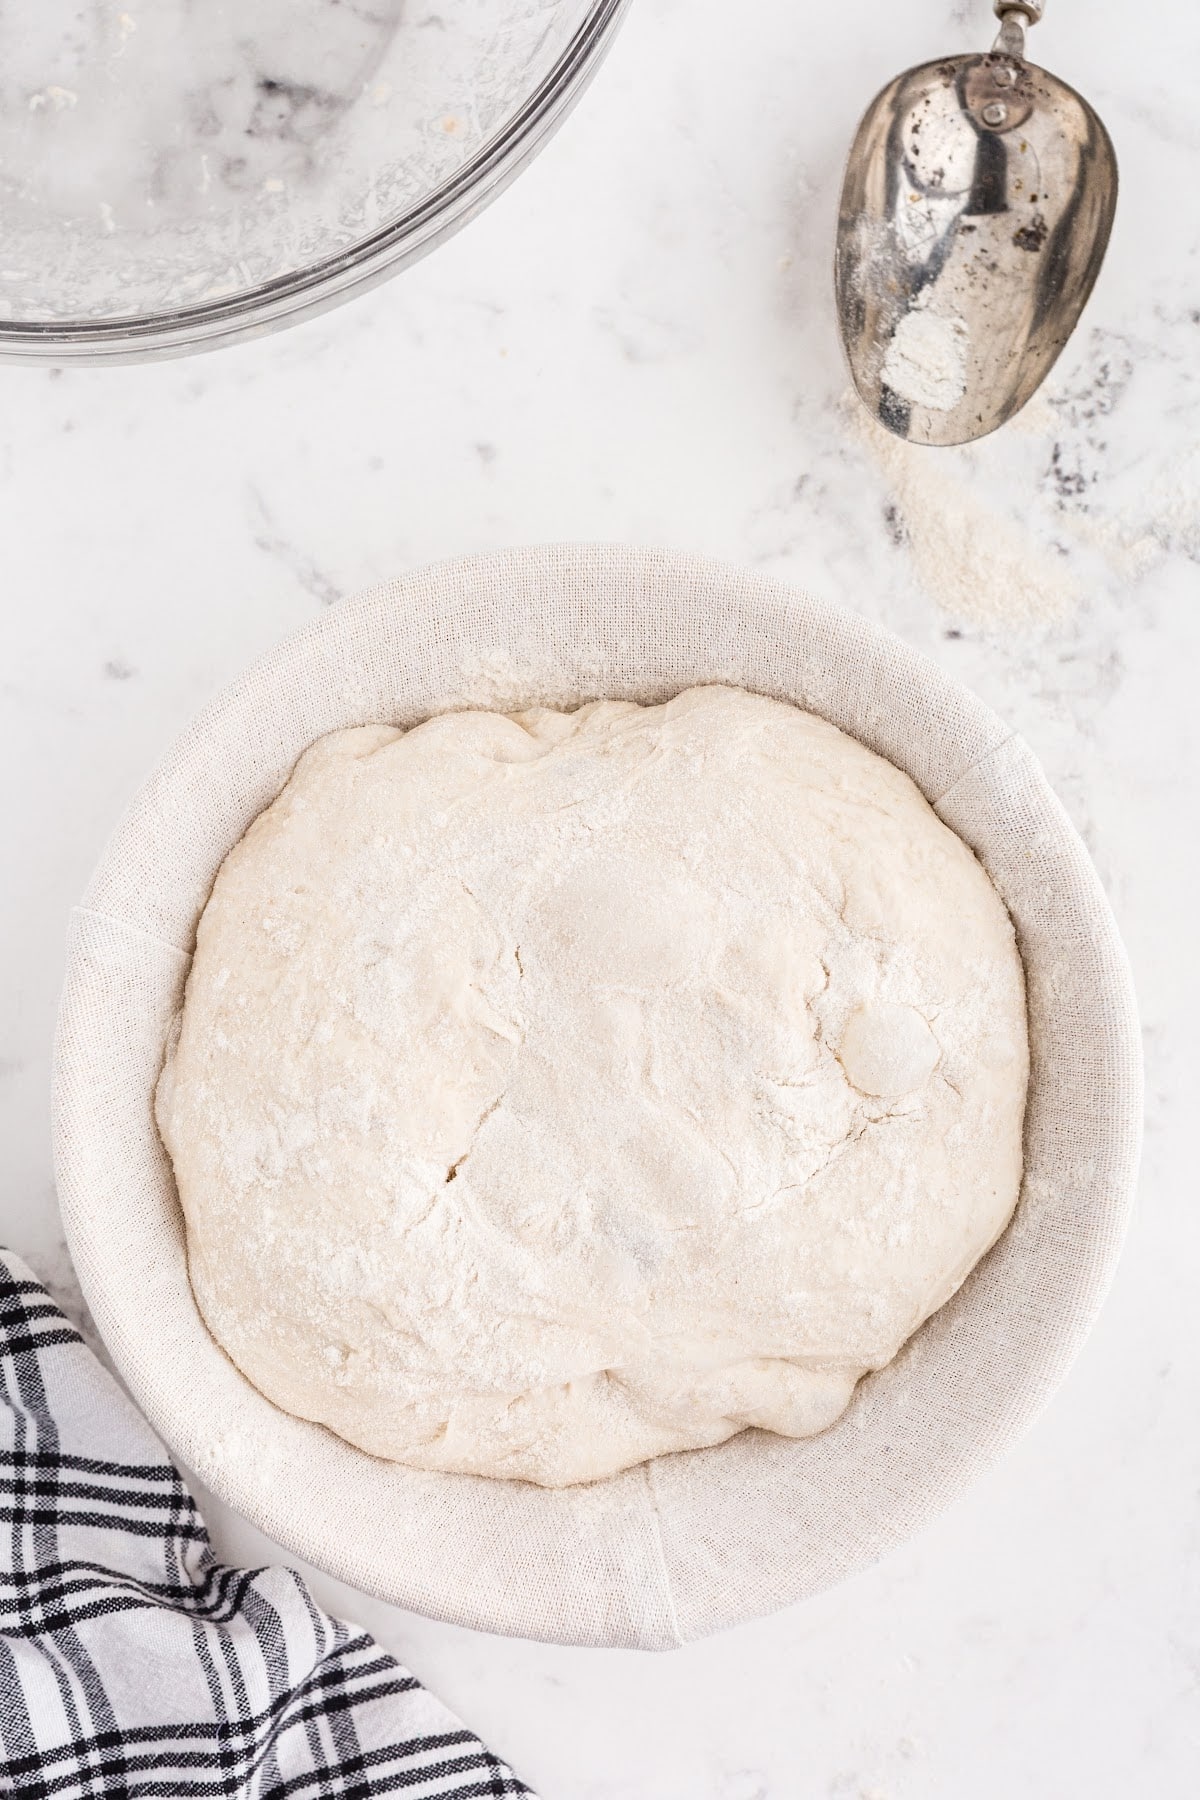
Step 8: Use your hands to carefully build tension on the base of the dough by pulling the sides up and into the center. This is just a real light process – you do not want “punch down” the dough or flatten the air bubbles. Just gently form a taut round and then place it taut side down into the prepared shaping basket.
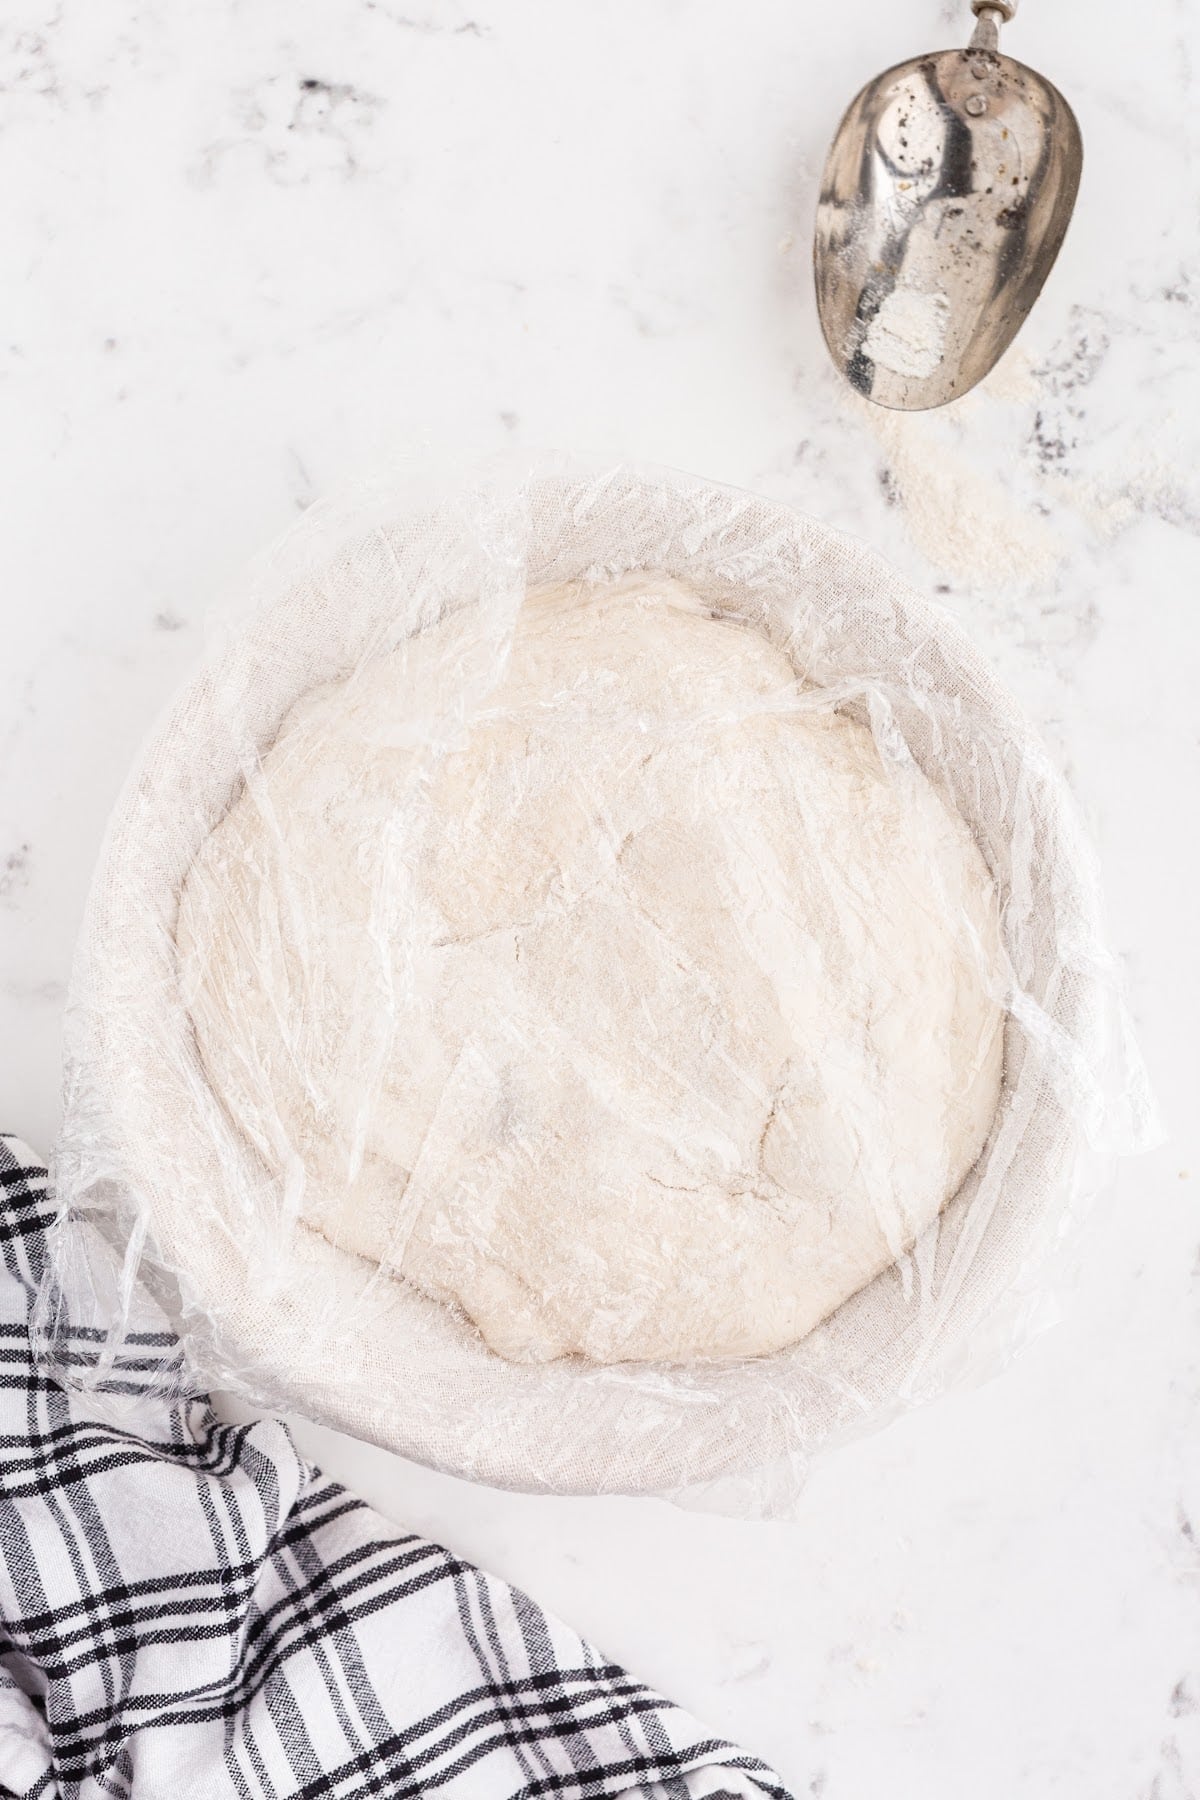
Step 9: Sprinkle a bit more rice flour over the exposed dough and wrap with plastic wrap or a loose-fitting reusable cover to prevent drying out. Place in the refrigerator overnight (or for about 12 hours.)
Step 10: When it’s time to bake, place the Dutch oven into the oven and preheat to 500°F. Allow the oven and Dutch oven to heat at this temperature for at least 30 minutes (I try to do 1 hour).
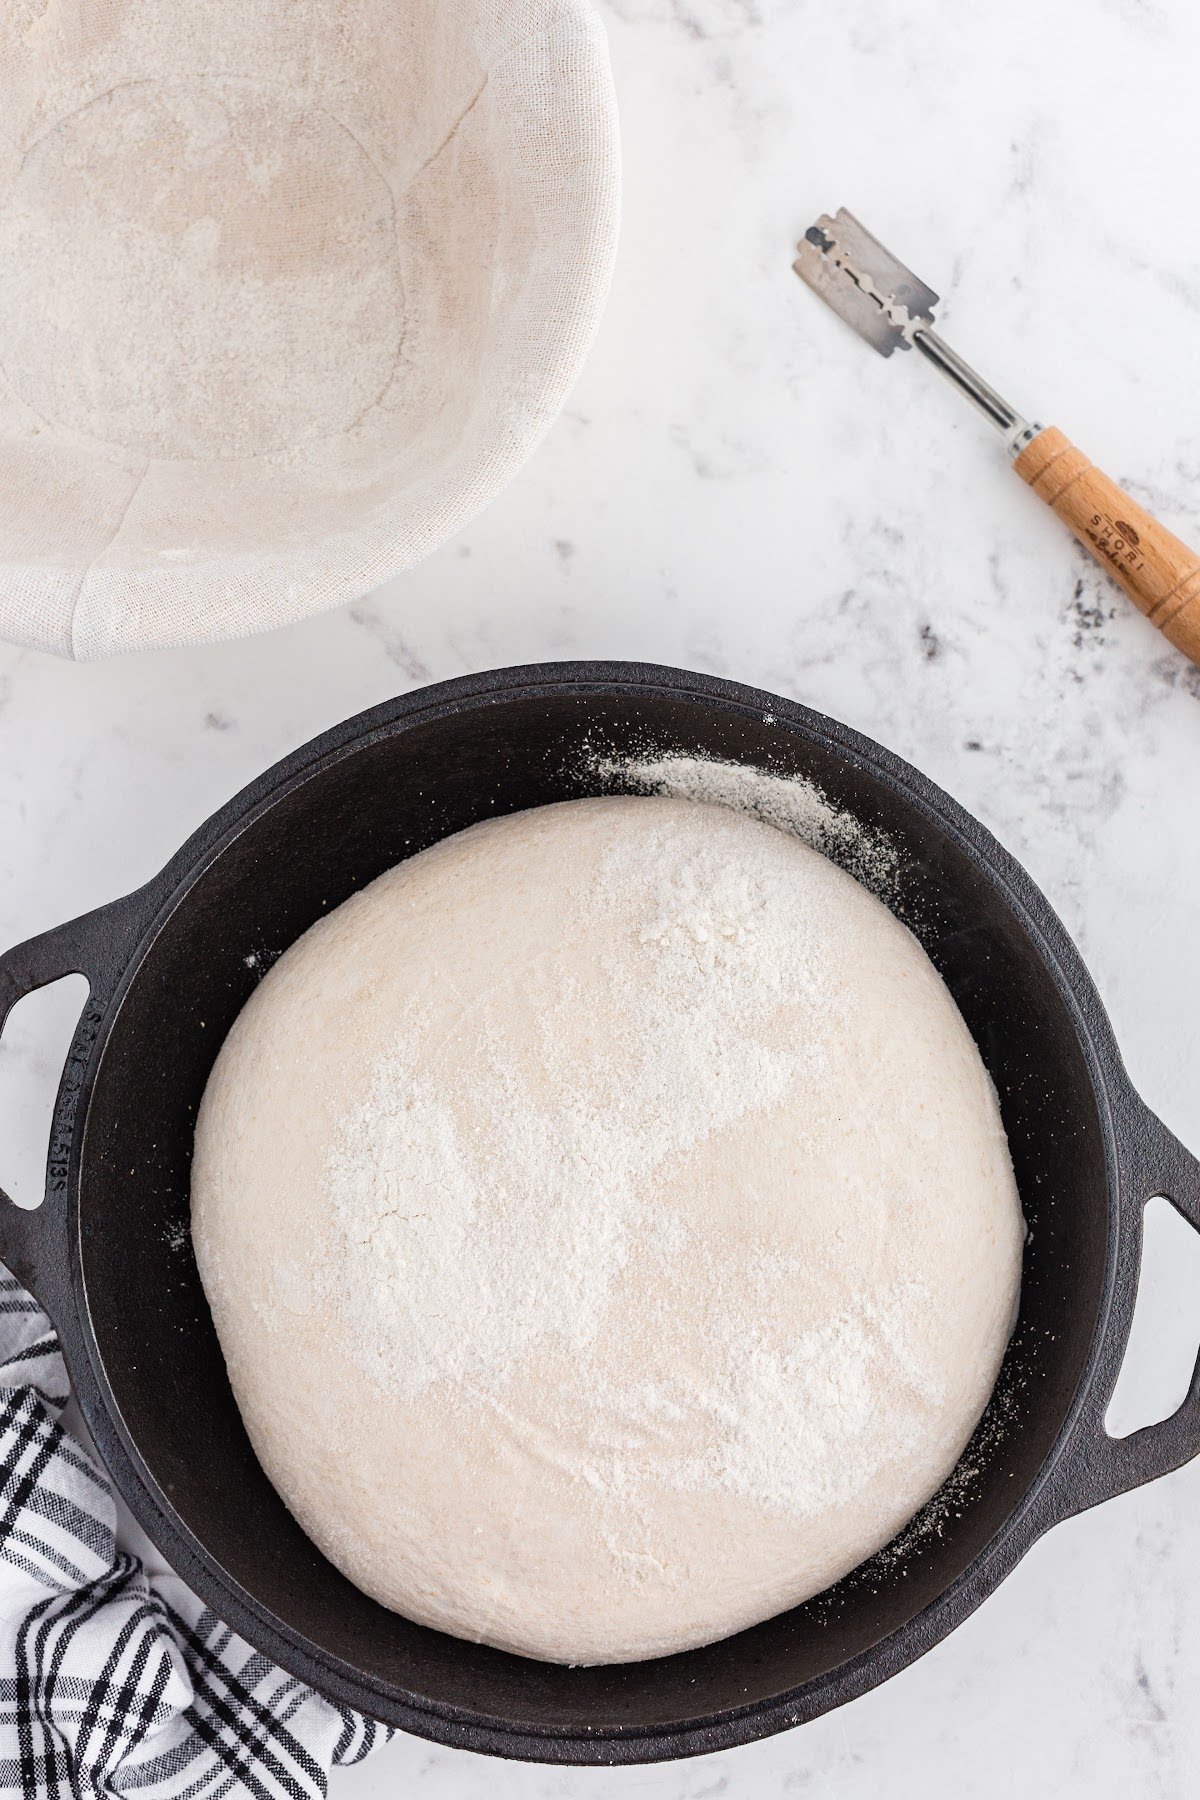
Remove the dough from the refrigerator and have your scoring tool ready. Carefully take the hot Dutch oven out of the oven. Quickly flip the banneton basket upside down to dump the dough into the center of the Dutch oven.
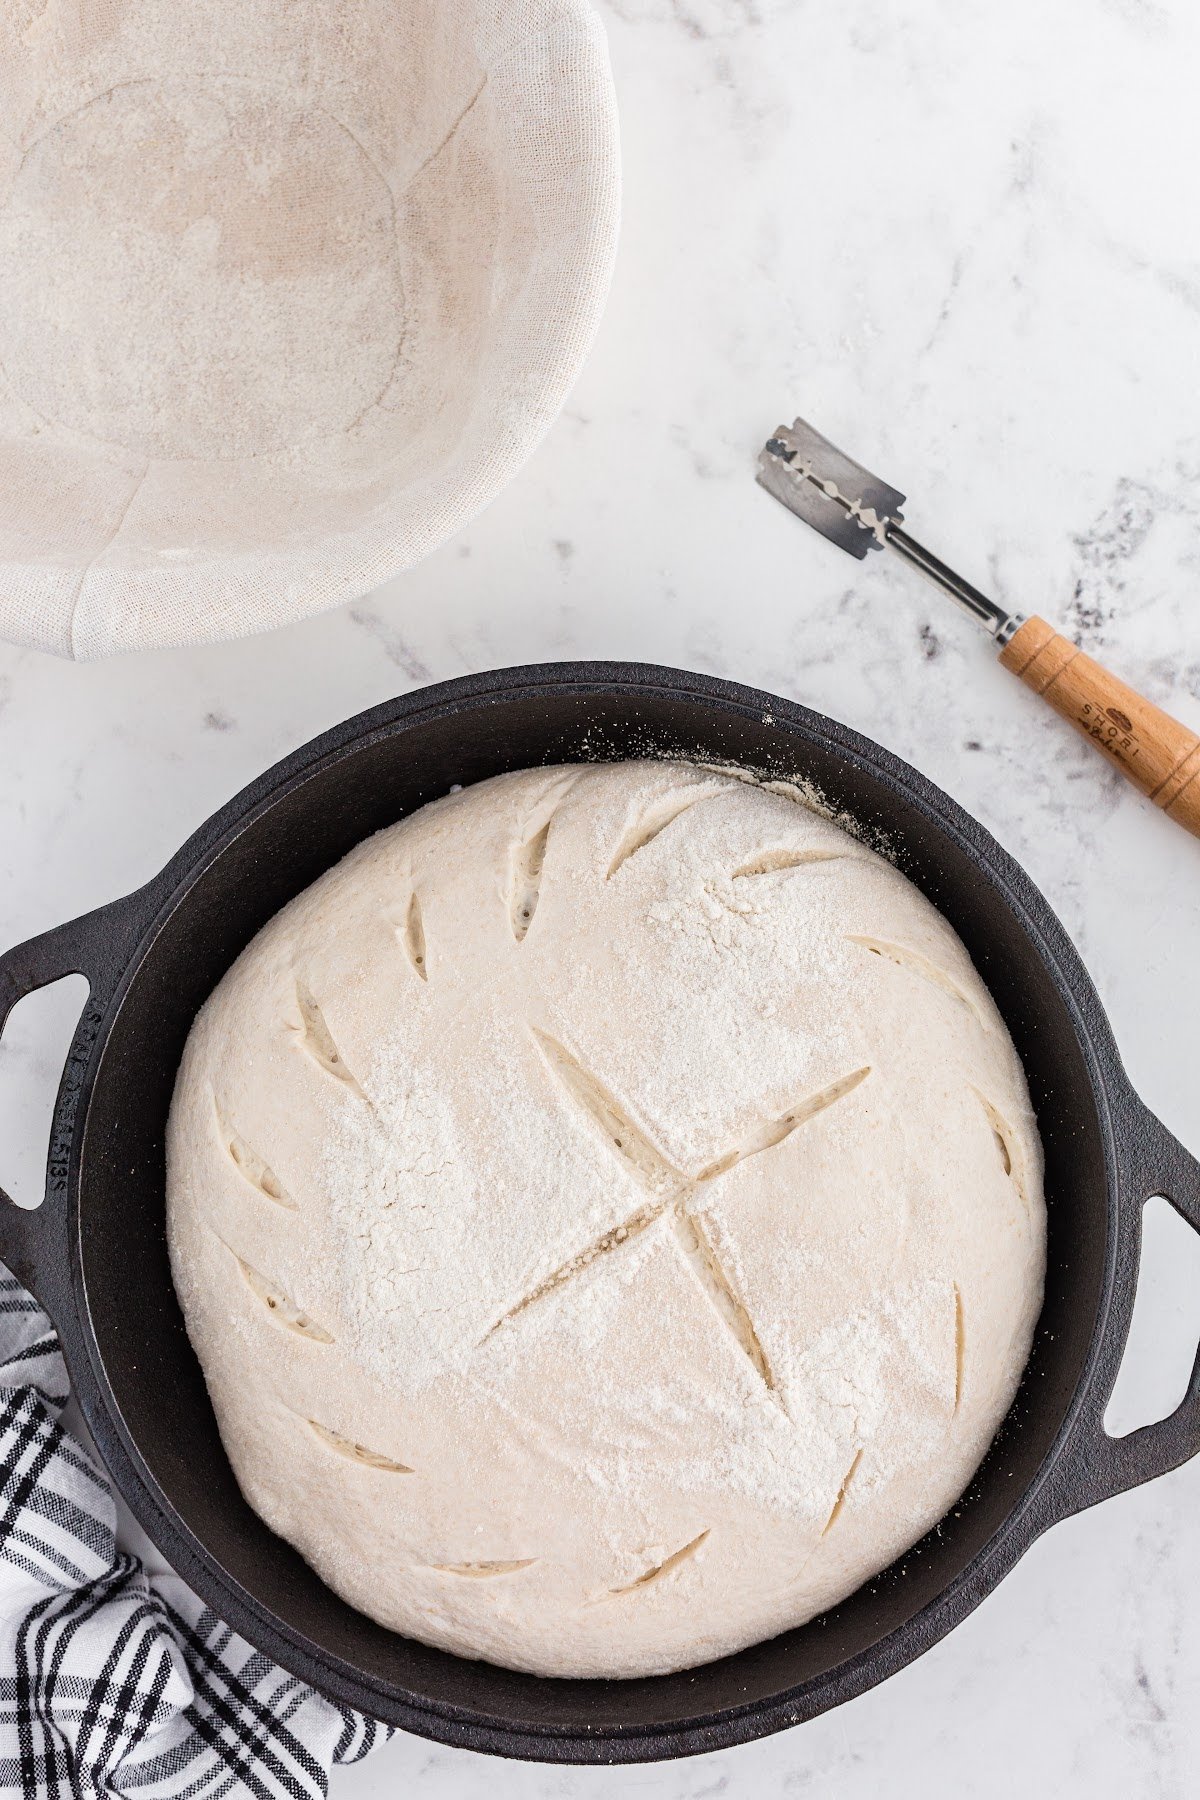
Step 11: Score the loaf with the lame. This gives the bread an area for steam to escape and the loaf to puff during baking. One long swipe across the center of the dough is sufficient. You can progress to intricate designs down the road.
Step 12: Place the lid on the Dutch oven and return to the hot oven. Bake for 20 minutes at 500°F. Remove the lid and reduce the oven temperature to 450°F. Continue baking for 10-15 minutes more, until the crust is deep golden brown and the center of the bread reaches about 205°F.
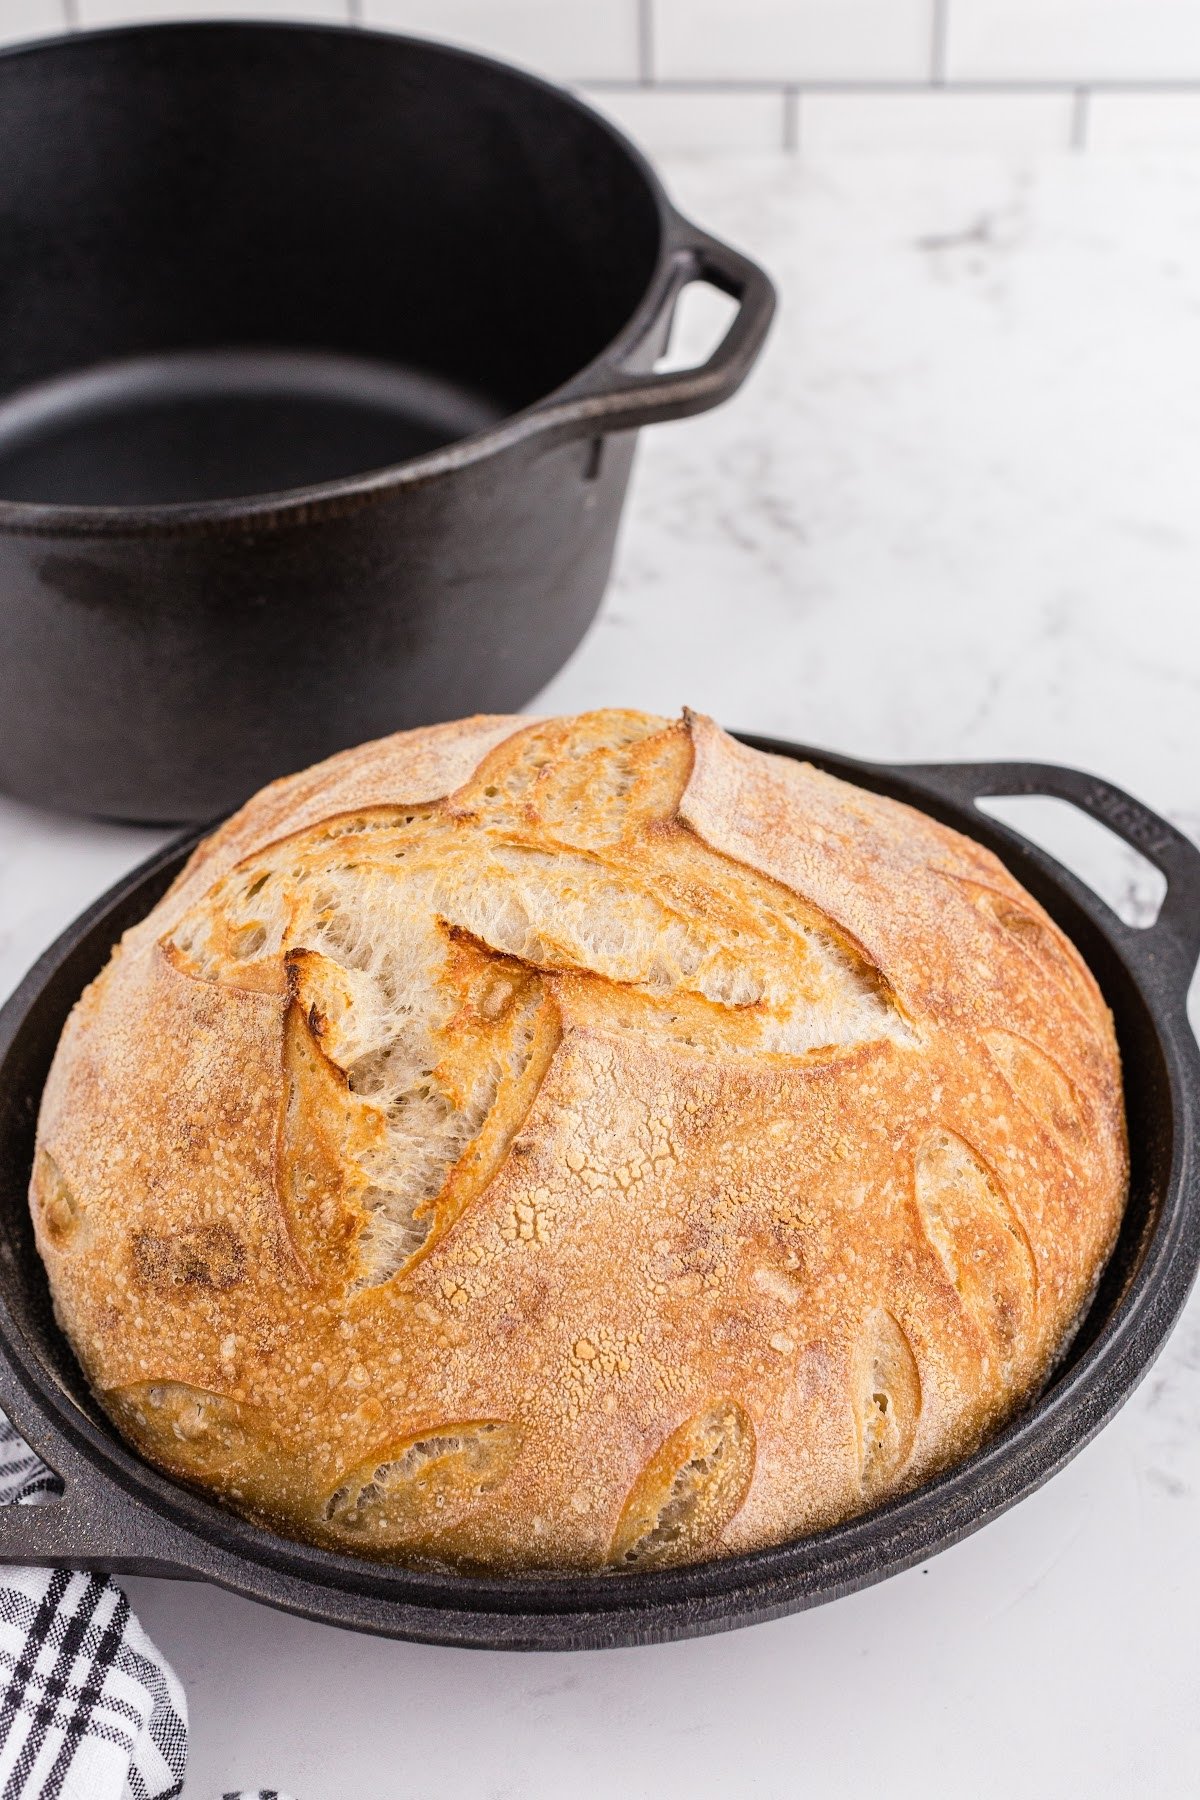
Step 13: Remove the bread from the oven and lift from the pan. Set on a cooling rack for several hours to cool completely. Cutting too soon can smash the crumb and make it gummy.
SERVE: Now it’s finally time to dig in. Our favorite way to eat the sourdough is with a nice slather of butter and a sprinkle of flakey salt.
Recipe Tips For Sourdough Bread:
- If you’d like to change up the flavor or texture, you can substitute a portion of the bread flour with whole wheat, rye, or even all-purpose flour. Keep in mind, whole wheat or rye flour will naturally give it a stronger and slightly more sour taste. When incorporating oat flour or whole wheat flour, the general consensus is to keep whole grain flours to about 20–30% of the total flour weight for best texture and rise.
- As tempting as it might be to walk away from your dough while it rests, don’t walk too far. You don’t want to skip the stretch and folds. This process strengthens the gluten network, helping the dough rise well and hold its shape. As you become your own expert on sourdough making, you might find yourself experimenting with different kneading techniques. I’m currently loving the “slap and fold” method for building strength early in the process.
- This is a 77% hydration recipe, which refers to the ratio of water to flour by weight. In general, lower hydration doughs are easier to handle and shape, while higher hydration doughs—like this one—can be stickier to work with but often produce a more open crumb and a moist, flavorful interior. If the dough feels tricky to work with, don’t stress—just reduce the water a bit. Even cutting back by 10 grams can make it much more manageable.
- Overnight proofing in the fridge helps the dough develop more of that signature sour flavor and slows down the fermentation but if you’re not ready by the next morning, don’t fret. You can leave the dough in the fridge for 12-18 hours if need be.
- If you keep your starter in the fridge and don’t feed it daily, prepare a levain the night before you plan to make the dough. Mix 25 grams of starter (straight from the fridge) with 50 grams of flour and 50 grams of water, and let it sit at room temperature overnight. This will allow the levain to rise and peak properly, typically taking 12–16 hours. For those who keep their starter at room temperature and feed it regularly, the starter will typically peak 8–10 hours after feeding.
Recipe FAQs
There is a way to make this bread even if you don’t have a Dutch oven, however, it is not foolproof and you may go through a trial and error period. Once you’re ready to bake the bread, preheat the oven, and place a baking sheet upside down on the middle rack and a cake pan on the bottom rack. Boil water and once the oven is preheated, you’ll add it to the cake pan. Score the bread and immediately place it on the upside-down baking sheet on a sheet of parchment paper. The boiling water will create steam.
Homemade sourdough, as with most bread, is at optimal freshness on day one. It can rest at room temperature for a few hours until it’s cooled before being sliced into. To maintain its freshness, keep sliced bread stored in an airtight container. I like to keep mine under a cake dome. You can also freeze it sliced or whole, wrapped in aluminum foil, and kept in an airtight freezer-friendly bag.
Even before you add the starter or any additional ingredients, the first thing you do is combine the flour and water and let it sit. This process happens during the first resting period. It gives gluten development a head start which allows for a more pliable dough that can be stretched and folded without tearing.
If you tried this Sourdough Bread Recipe or any other recipe on my website, please leave a 🌟 star rating and let me know how you liked it in the 📝 comments below.

Basic Sourdough Bread Recipe
Ingredients
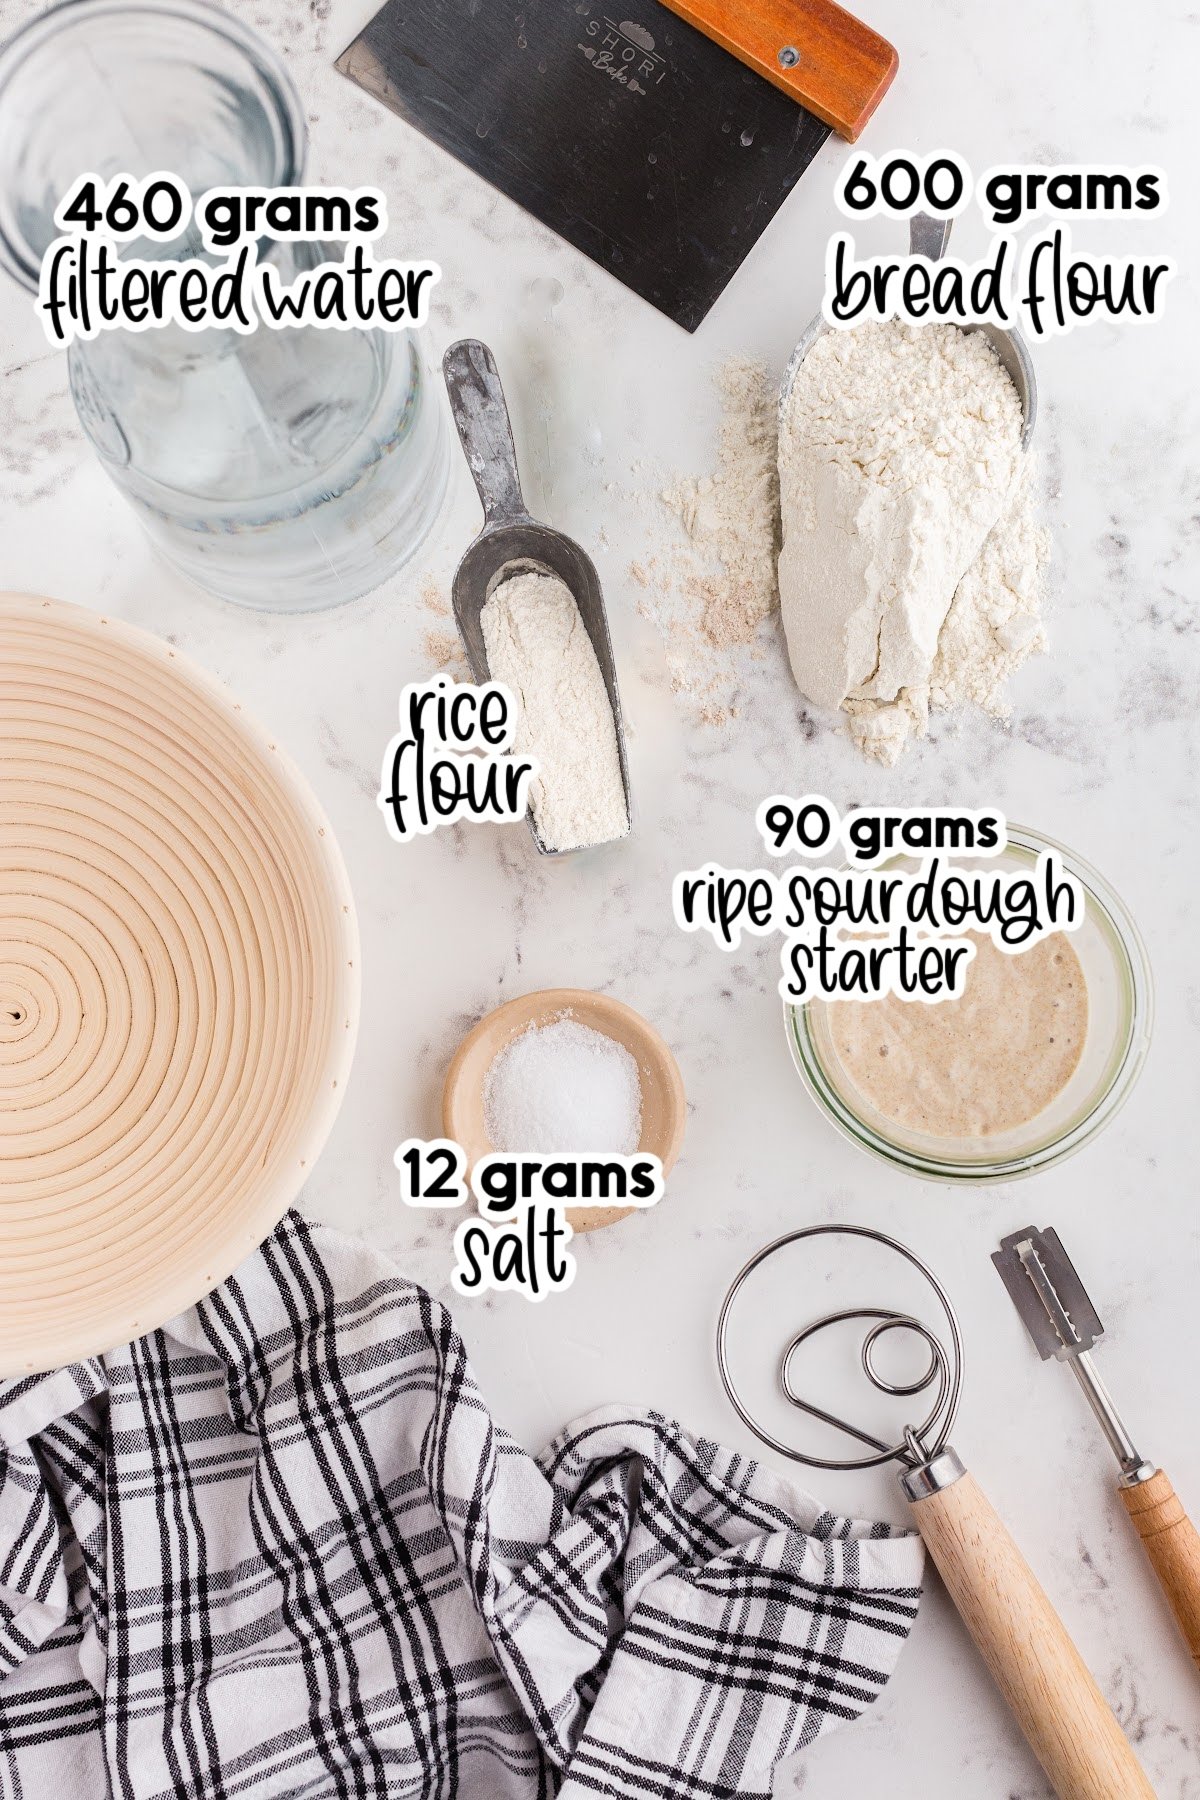
- 600 grams bread flour
- 460 grams filtered water
- 12 grams sea salt
- 100 grams ripe sourdough starter 8-12 hours after last feeding
Instructions
- In a large mixing bowl, combine flour (600 grams) and filtered water (460 grams) and stir to combine (mixture will be “shaggy”). Cover with plastic wrap and set in a warm, room temperature location for 45 minutes.
- After 45 minutes (this gives the mixture time to autolyze), add 100 grams starter and 12 grams salt to the flour/water mixture and stir well.
- Cover with plastic wrap and set aside for 4-6 hours (see next step for steps to strengthen dough during the 6 hours).
- We will perform a set of folds to strengthen the dough during the first two hours of this “bulk fermentation” time.
- Every 30 minutes, uncover the bowl of dough. Dip your hands into warm water (this keeps the dough from sticking to your hands). Slide your hands down around the top of the dough. Lift this side of the dough up and fold it down over the side opposite. Turn the bowl 90 degrees and repeat lifting and folding until you have lifted and folded each of the four sides of the dough. Replace the plastic wrap and leave the dough to set for another 30 minutes.
- Repeat twice more.
- After you’ve completed three sets of lifting and folding the dough, do a final set of dough strengthening folds. Slide you dampened hands around the dough sides (right and left). Lift the dough straight up from the bowl. The ends will dangle down and stretch. Do not let the dough break. Set the dough straight back down on itself. Rotate the bowl 90 degrees and repeat, completing four lift and stretch sets.
- Now let the dough sit for about four more hours undisturbed to complete bulk fermentation.
- At this time, the dough should be smooth and rounded, holding its shape with somewhat of a dome toward the edges of the bowl. Large bubbles may appear under the surface of the bread.
- Now it’s time to shape the bread into a loaf. You can divide the dough at this point and make two smaller loaves or shape into ovals or baguettes or whatever you desire. We will simply shape one round loaf.
- Place the liner in the banneton and sprinkle with rice flour (the rice flour doesn’t have gluten so it won’t stick to the bread dough).
- Lift the dough from the bowl and place it into the basket, flipping it upside down so that the smooth “top” of the dough is now face down in the basket. Tuck the excess dough onto itself to form a neat upside down loaf.
- Sprinkle rice flour on top of the dough to prevent it from sticking to the plastic wrap and also to dust the baking dish when it flips over into the pan at baking time.
- Wrap the entire basket with plastic wrap so that it is sealed up. Place in the refrigerator overnight or for at least 12 hours.
- When it’s time to bake, place the Dutch oven into the oven and preheat to 500°F. Allow the oven and Dutch oven to heat at this temperature for at least 30 minutes (I try to do 1 hour).
- Remove the dough from the refrigerator and discard the plastic wrap.
- Carefully take the hot Dutch oven out of the oven. Quickly flip the banneton basket upside down to dump the dough into the center of the Dutch oven.
- Score the loaf with the lame. This gives the bread an area for steam to escape and the loaf to puff during baking.
- Quickly place the lid onto the Dutch oven and return it to the oven. Bake for 20 minutes at 500°F.
- Reduce the oven temperature to 450°F and carefully remove the lid – turning the lid away from you so that the steam doesn’t rise out toward you.
- Continue baking for about 10 minutes longer or until the crust is deep golden brown.
- Remove from the oven and transfer the loaf to a cooling rack to cool completely.
Would you like to save this?
Notes
Nutrition
Make this recipe?
Share it with me on Instagram @girlinspired1 and follow on Pinterest for more!


Comments & Reviews
Stefanie says
I’ve been working on this recipe for several years. Sourdough can be tricky, but I have tried to include all of my tips and tricks so that you can master homemade sourdough making, too. I would love to hear your experience and your tips!