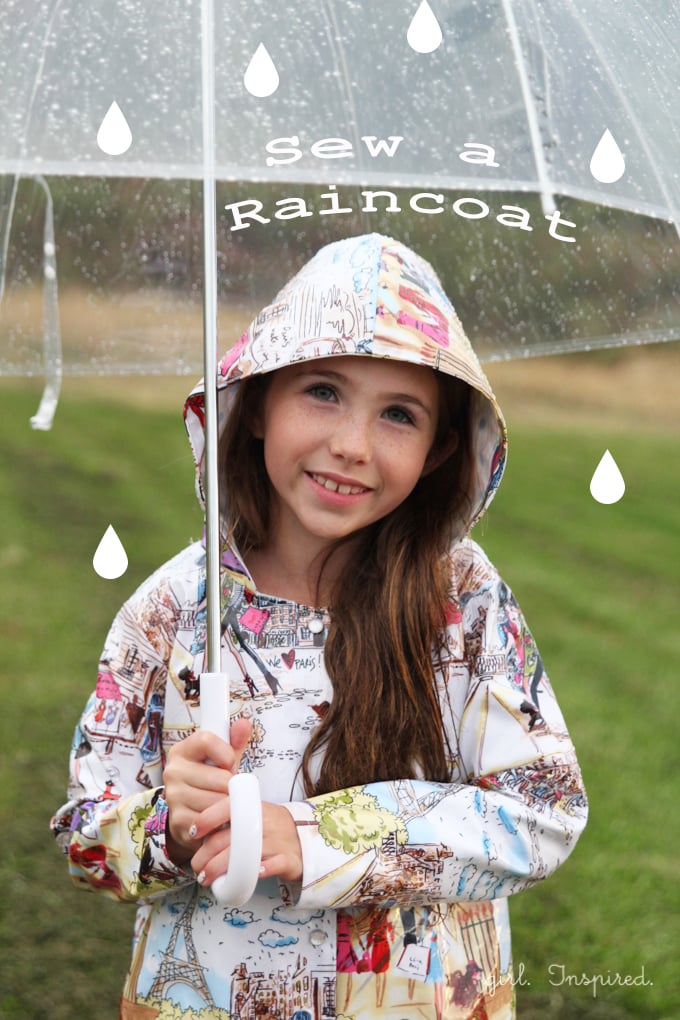
We’ve had some rain already this Fall and I was prepared with this gorgeous laminated cotton to sew a raincoat for Olivia. Actually, I think with a roll of the sleeves, all of the girls can wear it. I’ve had the laminated cotton for almost a year, but was nervous to sew with it because I don’t have a Teflon foot for my sewing machine. After getting into the jacket sewing spirit with all of the 5&10 Designs sewing, I worked up the nerve to cut into the laminated cotton and this raincoat turned out so beautifully!
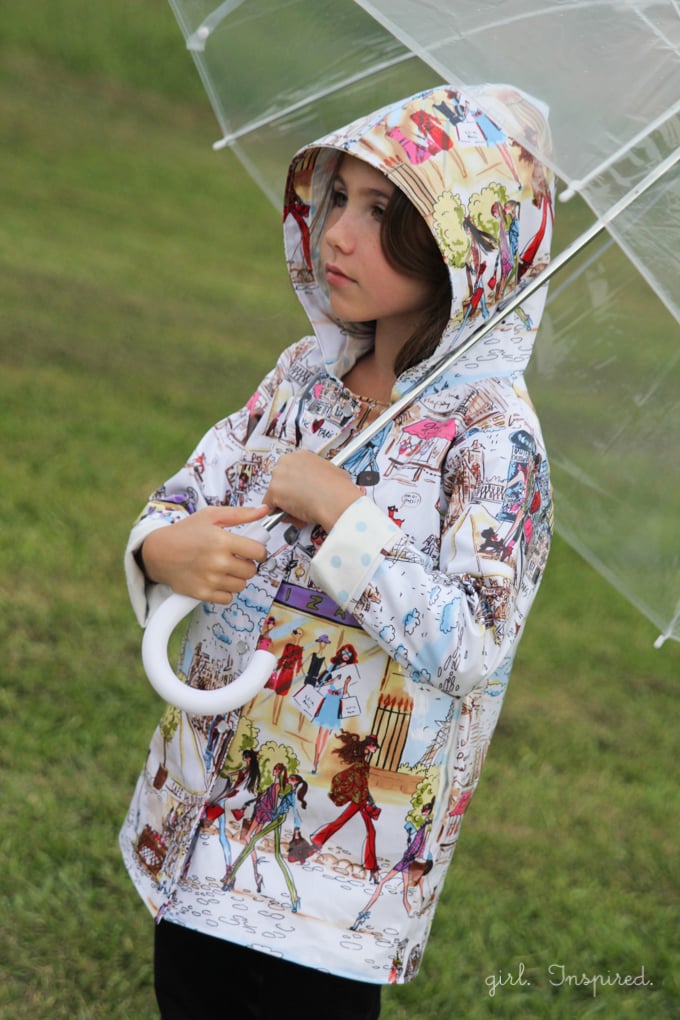

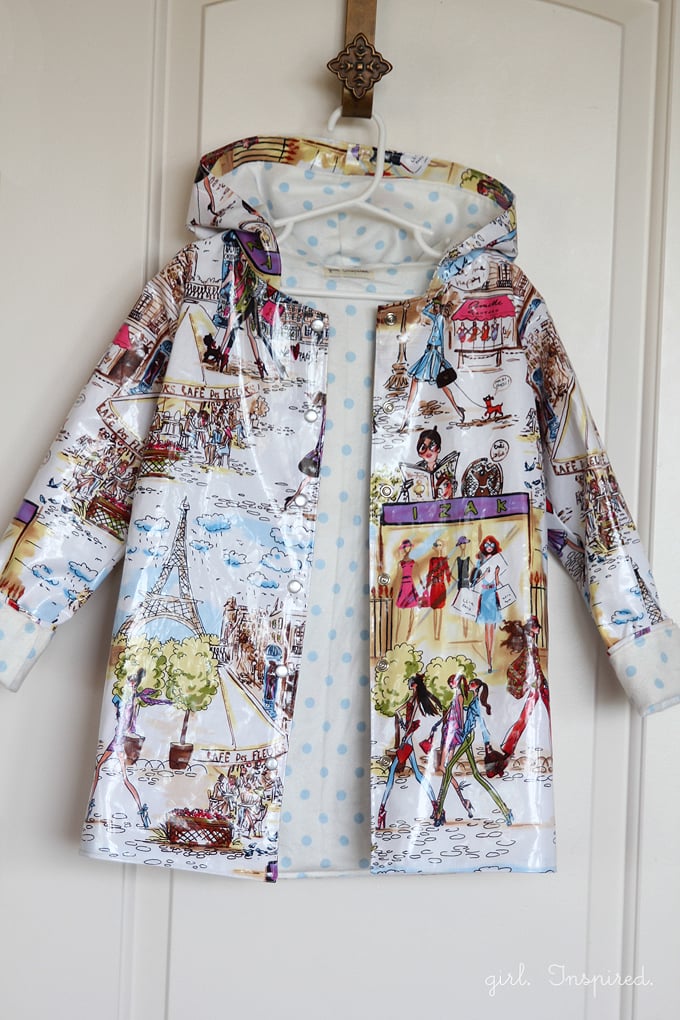
It’s lined with the softest polka dot flannel and finished with pearl snaps. I included inseam pockets made of flannel also. We don’t usually have really heavy downpour so I’m hoping the flannel just inside the sleeve hem and the pockets doesn’t become a wet problem (obviously, you’d want the sleeves rolled down, but we wanted to show off the flannel in the pictures). You could add flaps over your pockets and facings to the sleeves if you’re in a location with a lot of rain. I did use the laminate for the front and hood facings and love the way the jacket looks!
The girls just crawl into the flannel lining – it’s so warm and yummy – makes the prospect of putting on a crinkly raincoat much more inviting, don’t you think?
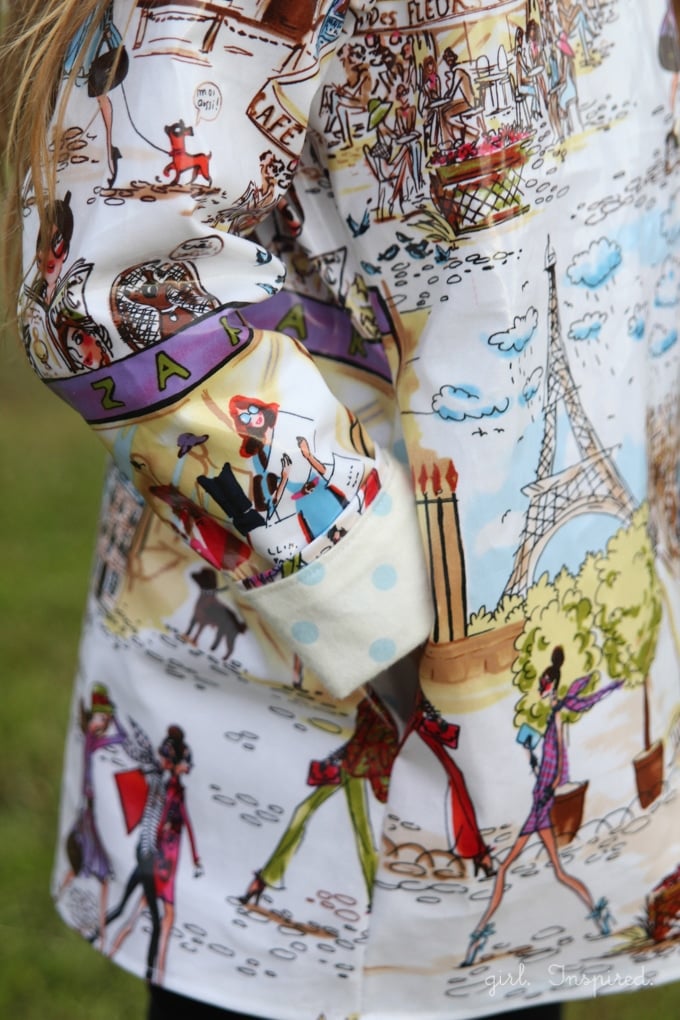
The fabric is laminated cotton “Who’s that Girl?” by Robert Kauffman. The Parisian street scene print is absolutely gorgeous! I used the regular cotton on some projects previously – like this sleeveless peasant dress and this throw pillow. The polka dot flannel lining is also Robert Kauffman and the polka dots really just add some sunshine to the rainy day!

A couple tips for sewing the laminated cotton without special attachments.
1. Lengthen your stitches a bit.
2. Don’t use pins where the holes will show on the finished jacket.
3. Sew with the lining fabric against your presser foot as much as possible as this is where the laminate gets stuck feeding through your machine.
4. To topstich on the laminate (which is essential for getting a nice crisp edge around the hood, down the front seams, and around the hems) – insert a strip of regular tissue paper between the fabric and the presser foot. You’ll sew through both and the foot will glide right over the laminate.
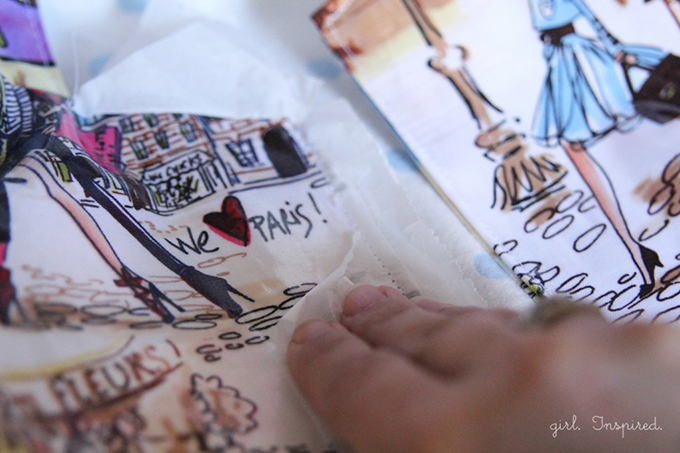
Once you’re done stitching, gently and slowly tear away the tissue paper. It’s almost like tearing perforated paper, just be careful not to pull too hard on the stitching.
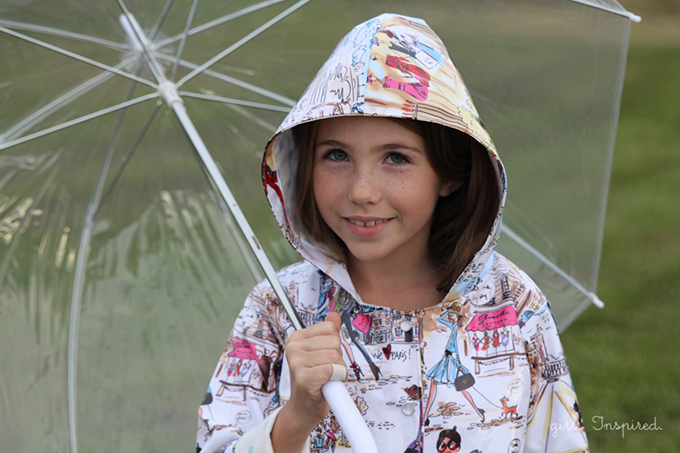
I used the 5&10 Designs Volume 2 pattern for the raincoat. It’s the basic coat – Look No. 1 – including the hood – I added a few inches to the longer length to make a raincoat that would come down to mid-thigh area. This is a quick sew! Cutting out the facings takes a little time, but other than that, you’re just sewing together the the sleeves and bodice and attaching the hood – nothing too fancy! I’m going to be brave and make the other girls raincoats, too. Everyone loves a new raincoat! Delia and Jessica sewed up raincoats for their kiddos too! Click on the pics below to go see theirs!


Comments & Reviews
Emily says
Love your version!
Lynn Poulin says
I LOVE the Paris print you used for the raincoat!
Heather says
I was just thinking I wanted to sew a rain coat and a army jacket for my daughter!
Megan says
The fabric you chose for this raincoat is amazing!
Becks says
I want to make raincoats for my kids!!!!
Ilona says
I love no 1 and no 9
Tiffany says
So cute! Your bravery is inspiring.
Maria Conway says
I have to choose one!!? Imposible! lol
I love looks 1, 3, 8 and 10 not sure what I’d make first..
melle@featheredruffles says
it would be a REALLY hard choice between #3 and #8… love them BOTH. 🙂
Audrey says
#2 or #8 I guess if I win I’ll have to decide!
Dini Green says
Number 1 for sure for my daughter
Kristi Andres says
I love them all and can’t choose which one. the Parisian look would be fun, but the polka dots are adorable too.
Bess Bauer says
I love look 1and 4. Those raincoats are so adorable.
MArtina Schwarze says
I would try #3 for one of my sons 😉
Gigi says
Amazing fabric! Love the dots!!