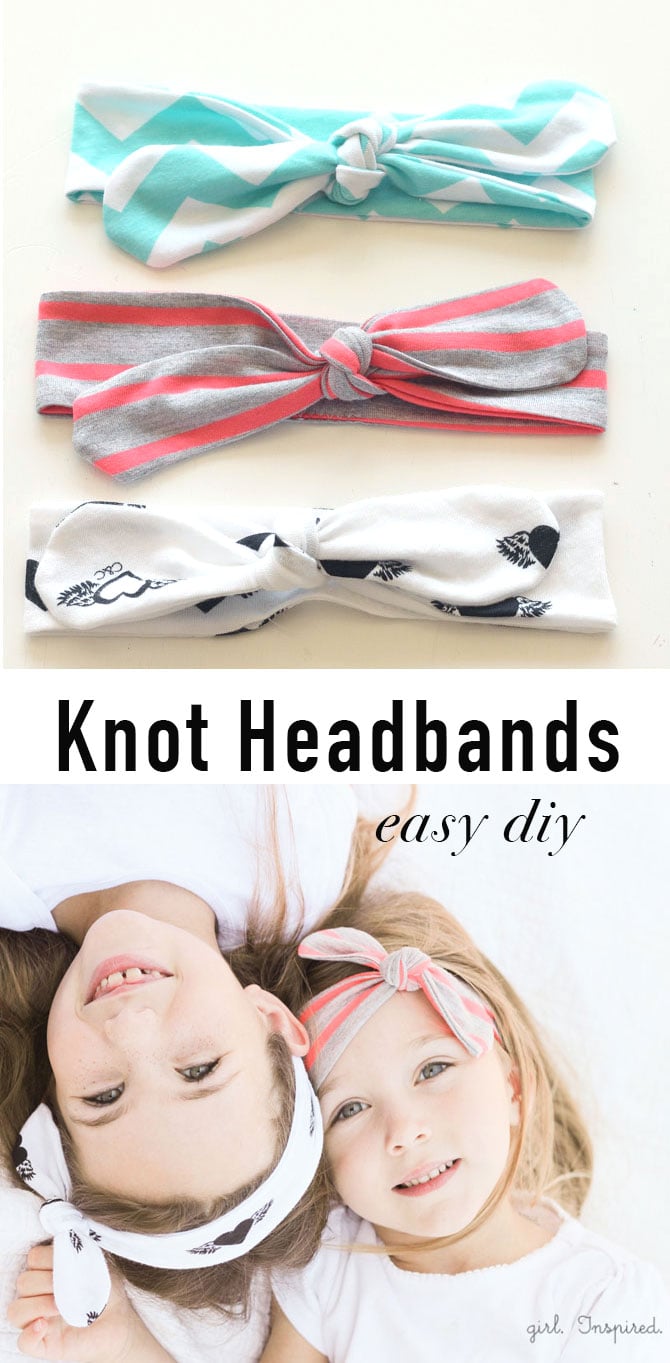
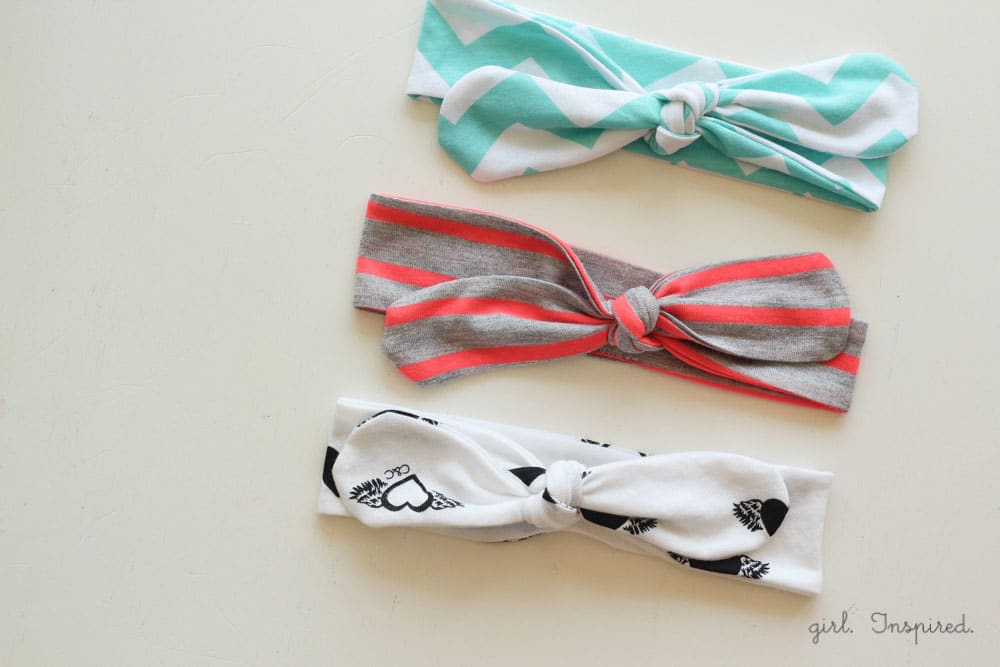
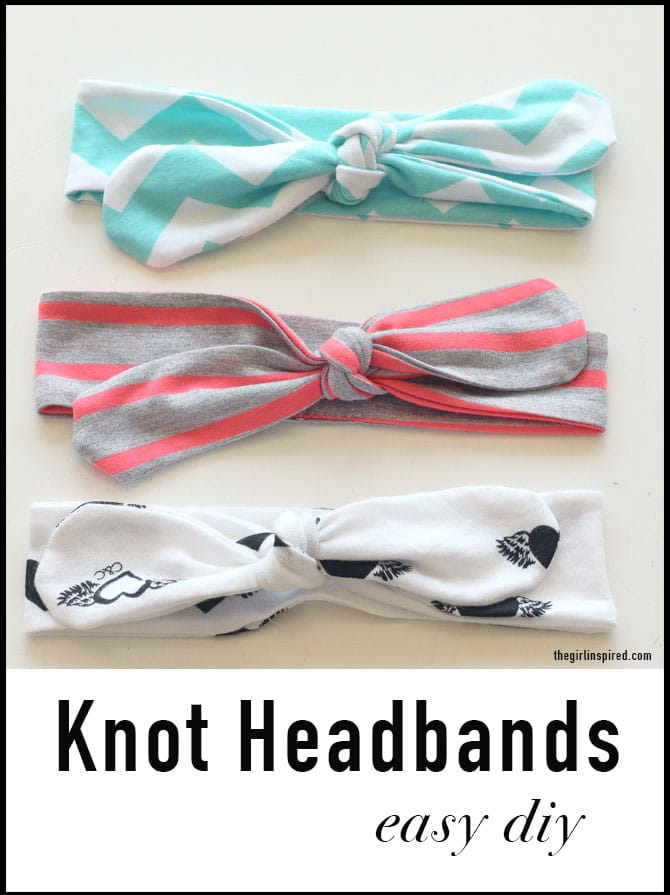
Making a quick headband to coordinate with an outfit adds just a little extra something. I whipped out a few of these knit knot headbands the other day to give a little motivation to my straggly haired girls as the new school year approaches. They are super easy and super quick to sew!

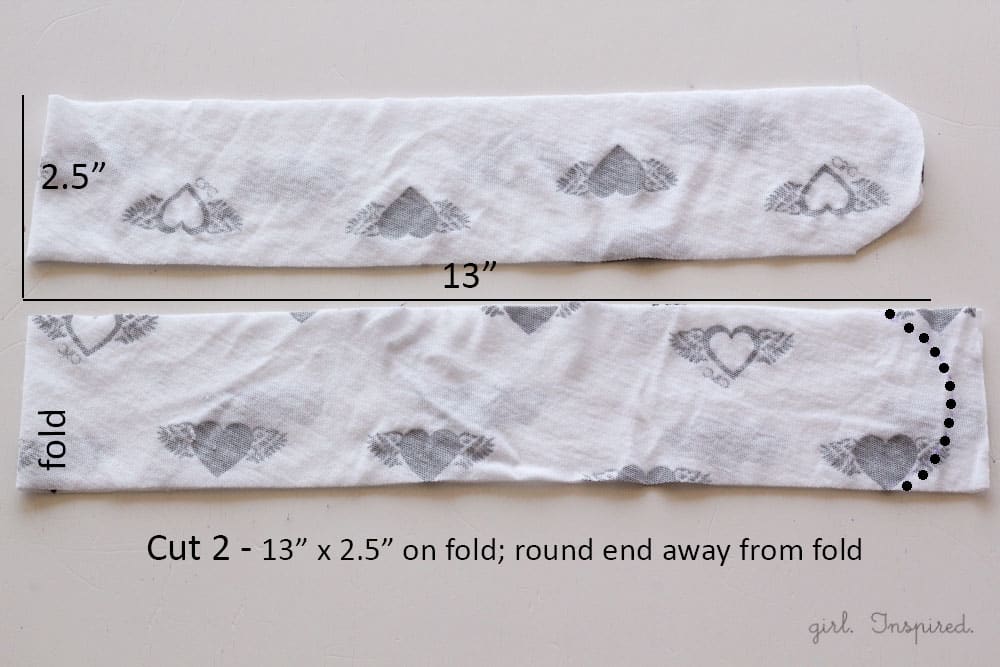
Grab some knit fabric – you’re going to cut two pieces into long oval shapes. With your fabric folded, cut two rectangles 13″ long (along the stretch) and 2 ½″ wide. Use a rounded object to trace a half circle on the open end (opposite the fold) of the rectangle and cut.
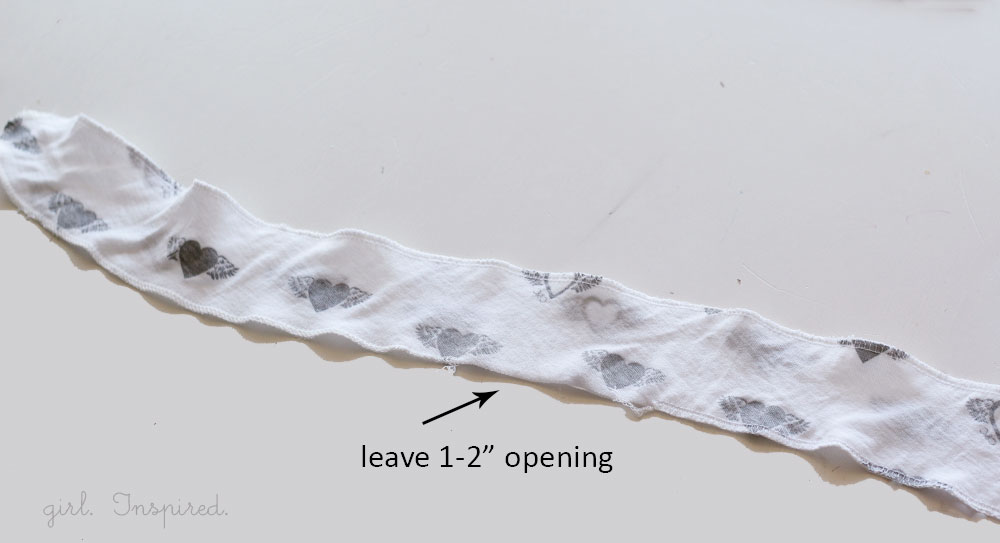
Now, you’ll have two long ovals. Place them right sides together, press a little with some steam if the knit starts rolling over on itself. Use a serger or a zigzag stitch to sew all the way around the ovals – you want the knit to maintain its stretch, so don’t use a regular straight stitch. Leave a 1-2″ opening at the center along one side only for turning the headband right side out.
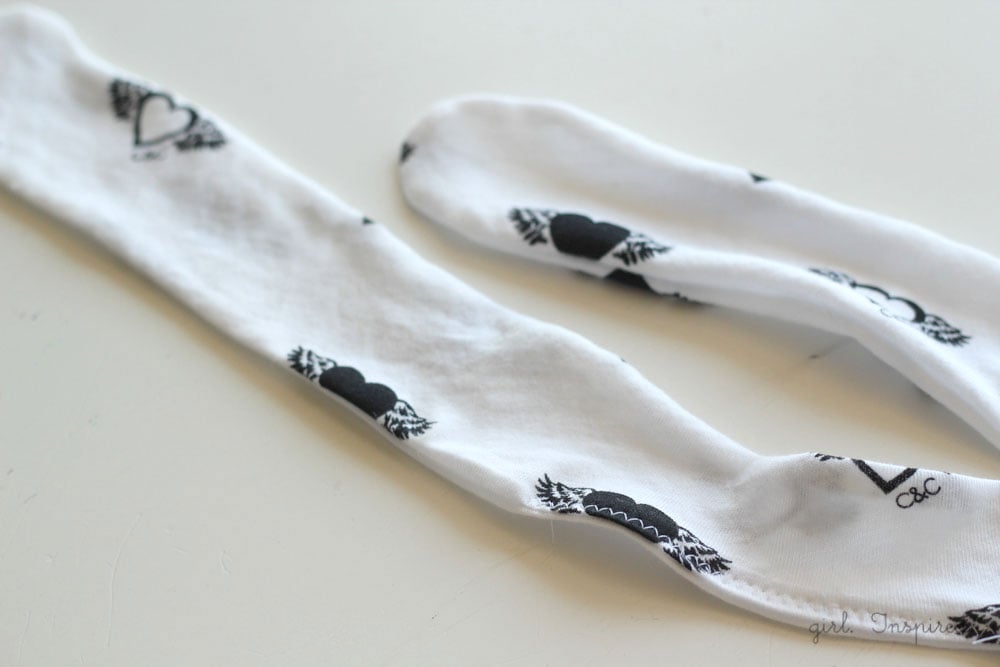
Turn the headband right side out and reshape. Press. Now, you’ll need to close up your opening. You can just zigzag stitch on the outside of the fabric since this spot will be at the nape of the neck and won’t show OR you can slipstitch it closed so it doesn’t show.
Now, wrap that headband around your girl’s head and tie into a double knot! That’s it!
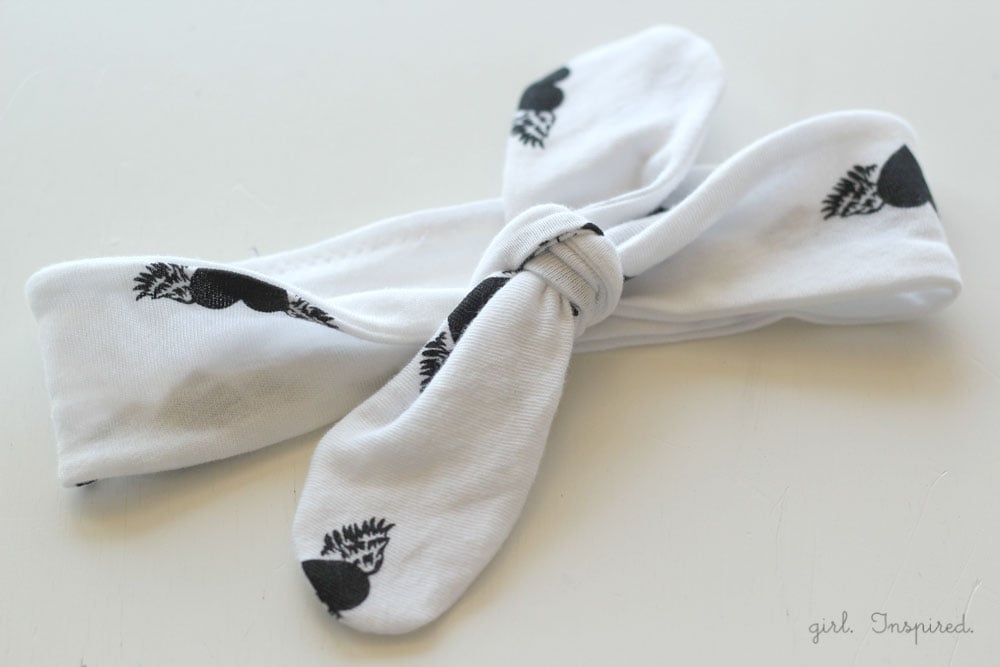
I previously made a similar headband out of quilting cotton to match one of the dresses I made for Grace.
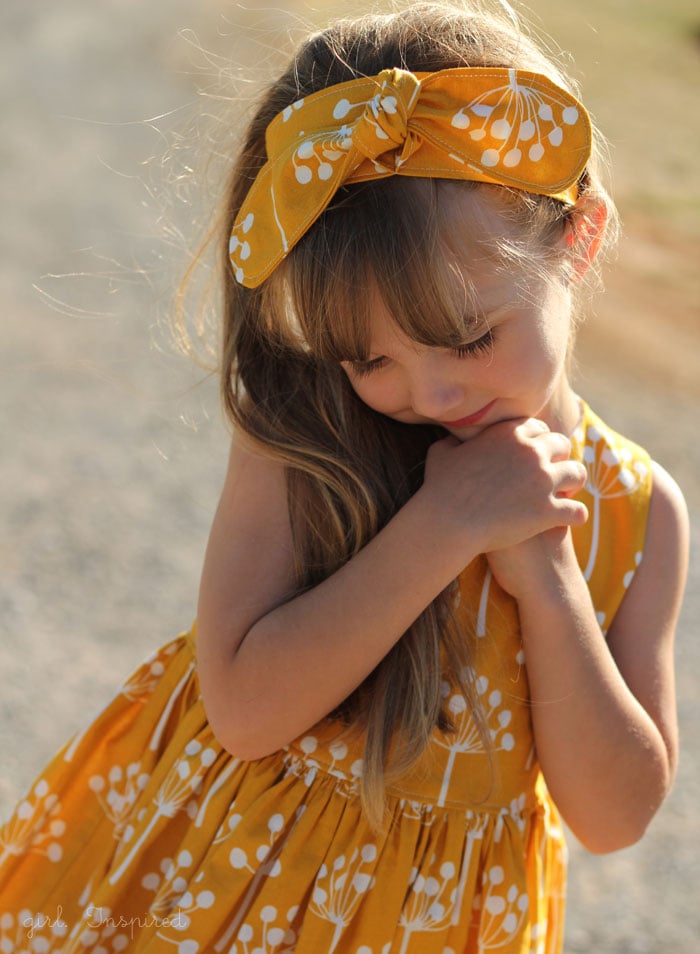
I used almost the same method, but lengthened the starting rectangle measurement to about 17″ each (on the fold, so 34″ long each). Then, I followed the same steps to round the edges, sew the two pieces together and turn right side out. Then, I topstitched around the entire headband, closing the opening in the process. Since the quilting cotton doesn’t have the stretch that the knit does, I added some elasticity to the center of the headband, which is then worn at the back of the neck.
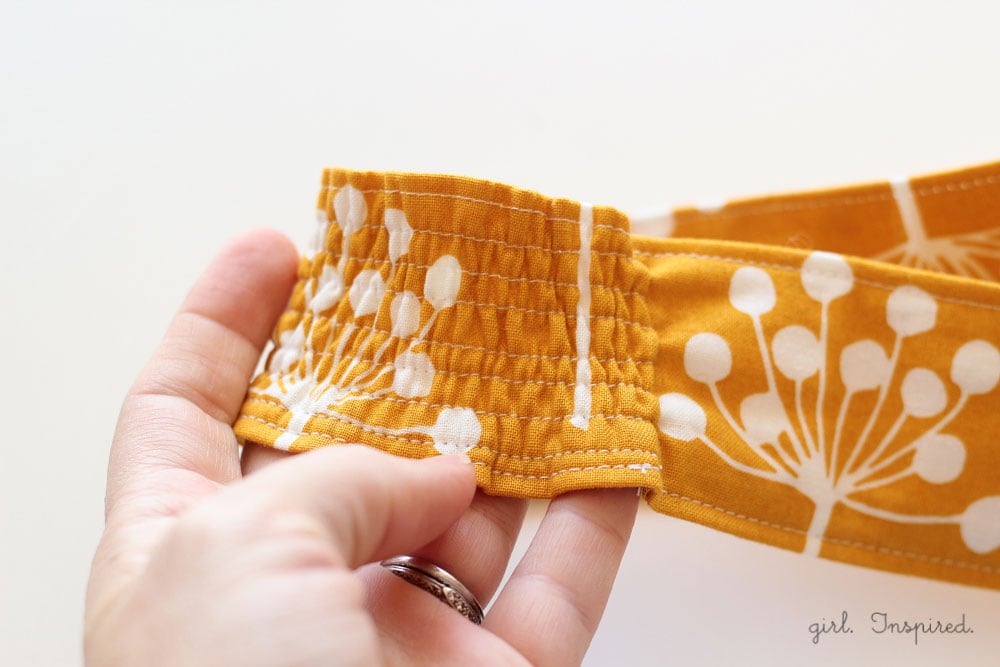
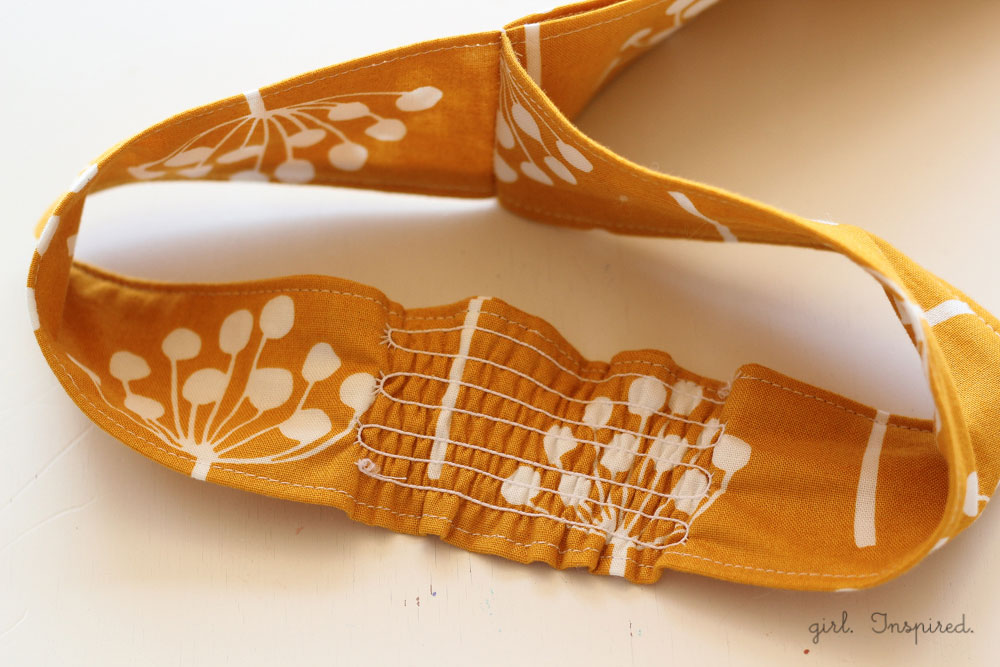
To do this, I marked the center of the headband and then marked about 2.5″ to each side of the center. With elastic thread in my bobbin, I stitched rows back and forth between each marked line, making about a 5″ elasticized chunk at the center of the headband. Press and steam this area from the top of the fabric to give it all that great stretchiness.
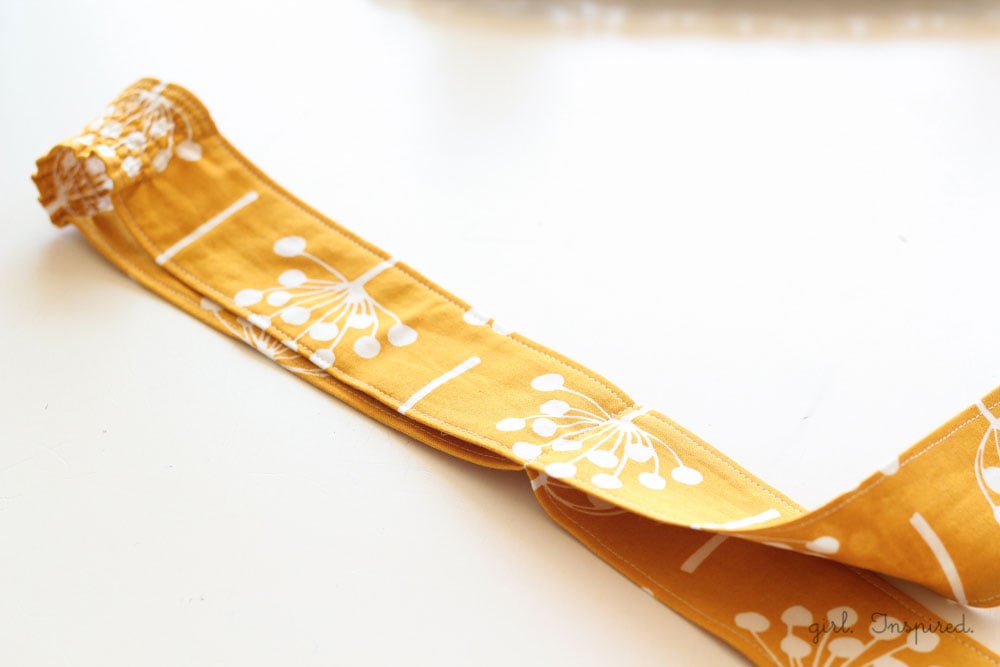
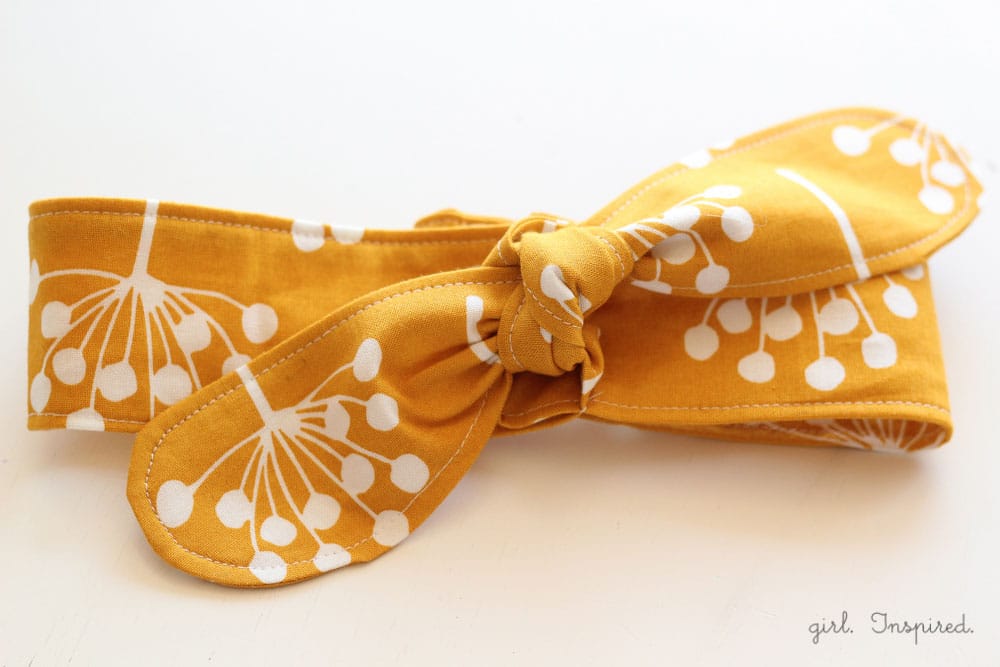
Next, I placed the headband around my daughter’s head and pulled it tight, marking where the two sides meet at the center front. I stitched the two sides together there, forming the headband circle, and then tied it into a knot.
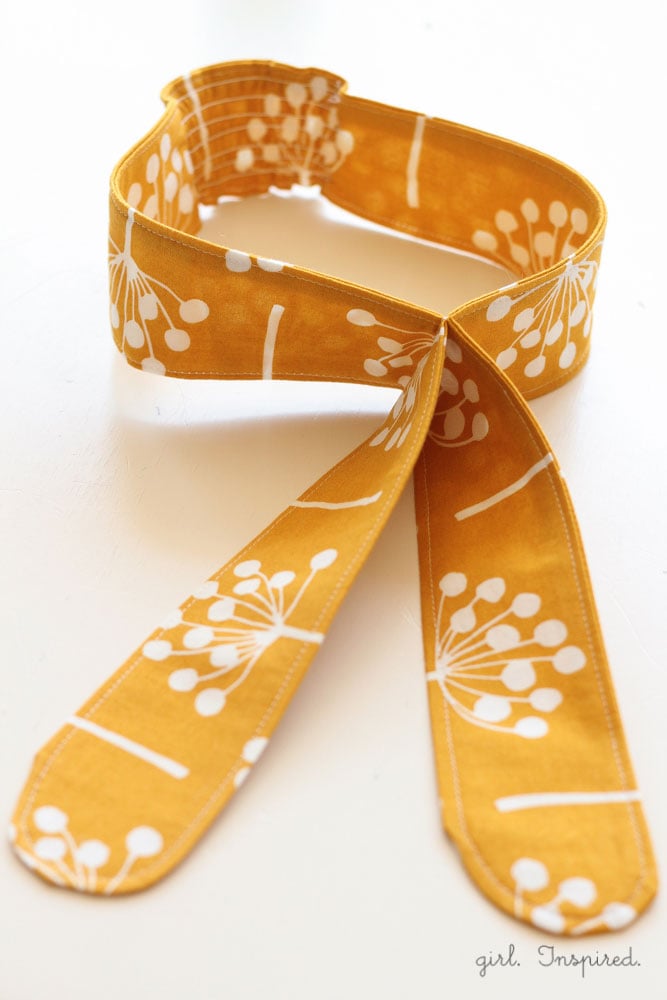
Done!!
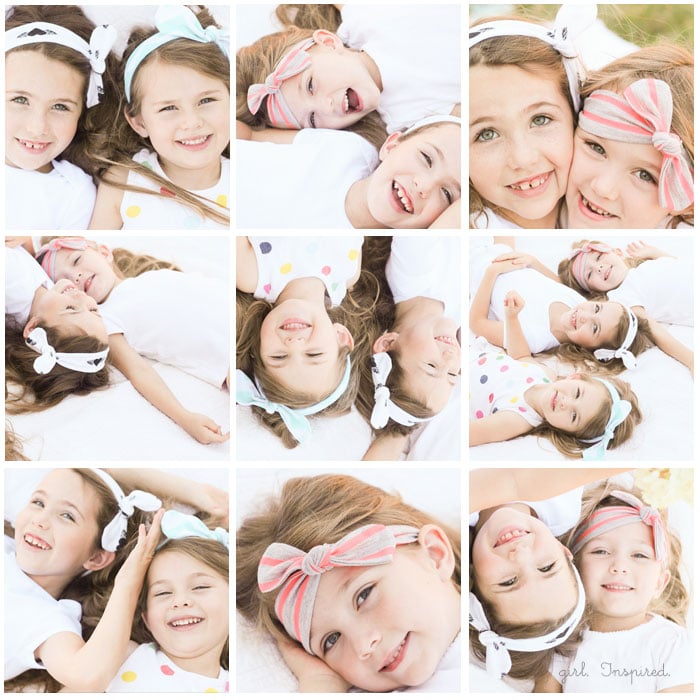
The girls were very excited to model the new knit headbands all together.

They thought it was hysterical how I was barking out for them to squish together, and stop standing in front of one another, and lay with their heads all together on a blanket. They thought it was SO hysterical in fact, they couldn’t keep a straight smile for anything! Enjoy!


Comments & Reviews
Helene Berg says
Today I fumbled around the internet looking for a headband pattern. I make little dresses for Africa where these dresses are sent to 84 countries around the world. I like to include a crocheted bracelet or sewn headband from leftover scraps in each pocket. My dilemma was that I didn’t know the head size. This pattern solves the problem entirely! Your headbands will be travelling around the world; hear the squeals of little girls who have nothing. Thank you for sharing!
Lindsey says
Have you heard of Kiki Magazine? I bet you would love it. http://www.kikimag.com
Jenna says
I bought my first set of knot headbands but I have this tutorial bookmarked and it on my To Do list. I just referenced it in my blog too. I love the look of these!
Virginia says
Hello,
I love reading all these beautiful items you create. They are all so
beautiful.
My question I have for you is this, I’m in the midst of purchasing a sewing machine and my choices are either a Janome Memory craft 6500 or a
juki f6500. I’m not sure which is best for sewing clothes or house hold items.
My only pet peeve is the place where the bobbin is placed on the Janome, the Juki is a top loader. If you would be so kind to direct me to which machine you would choose. Thank you. Virginia.
(please do not post) thanks.
Monica Sims says
nice idea! Now i have found a project where i can make something for my neices