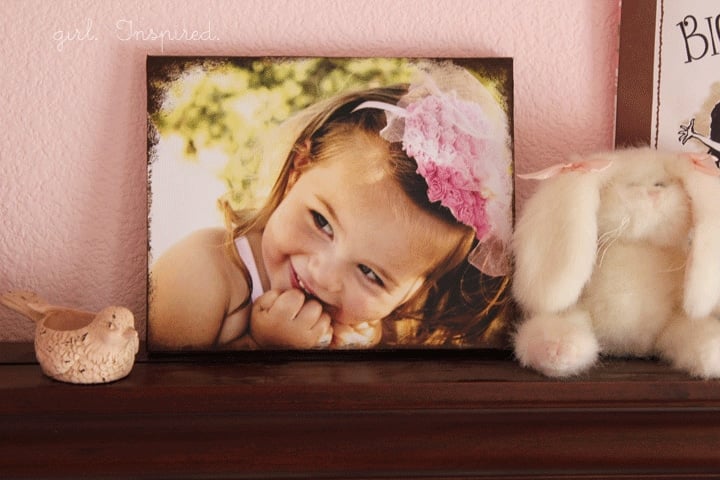
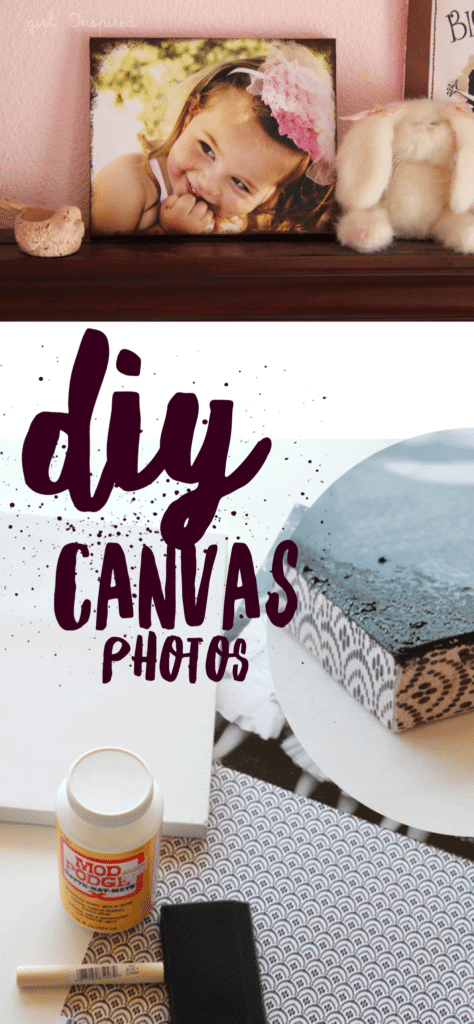
I am so excited to share this easy and beautiful tutorial for to make your own DIY Canvas Photos from inexpensive craft supplies!! I finally set aside the time and put a picture of the girls on canvas for Graham for Father’s Day. It was such a quick and easy project and I think the results are super cool.
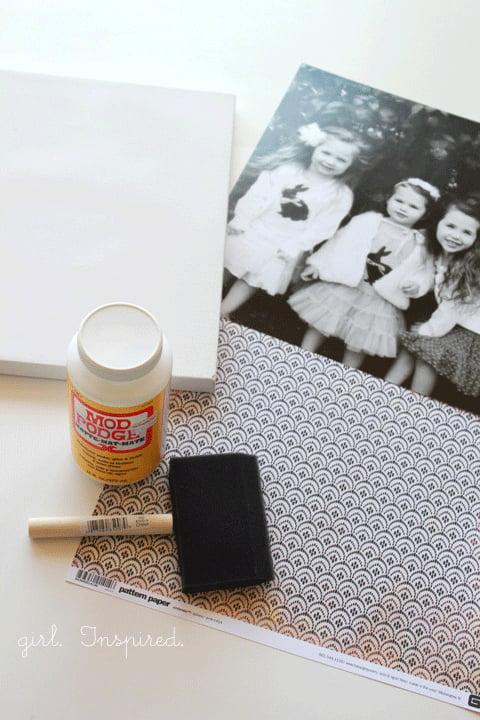
The supply list is short:
canvas
photograph (same size as canvas)
MATTE mod podge
scrapbook paper
acrylic paint
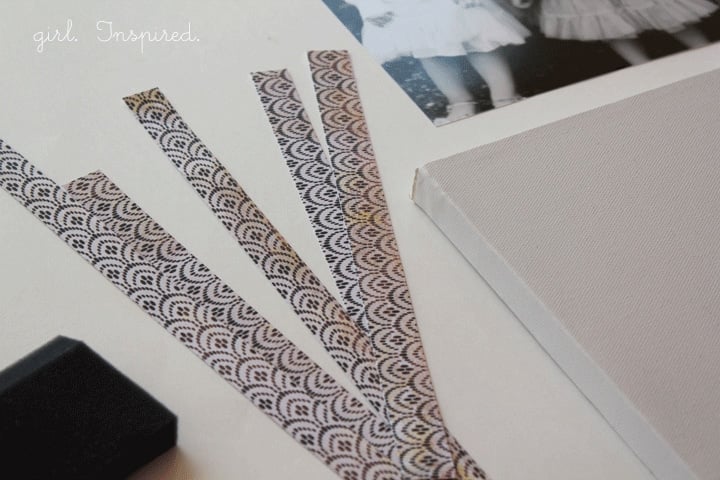
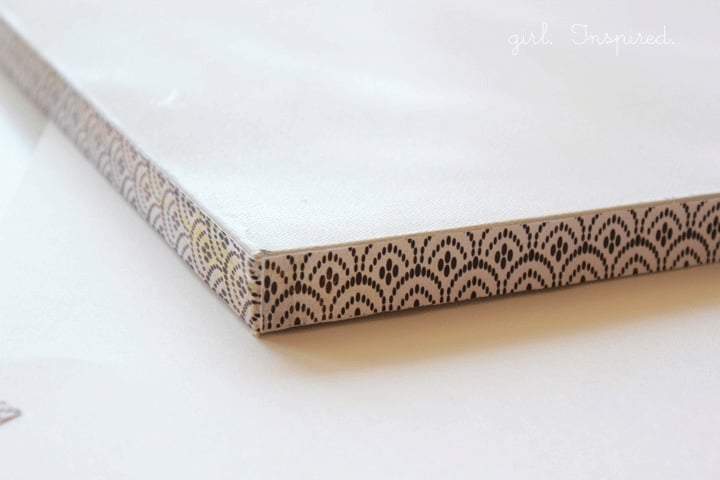
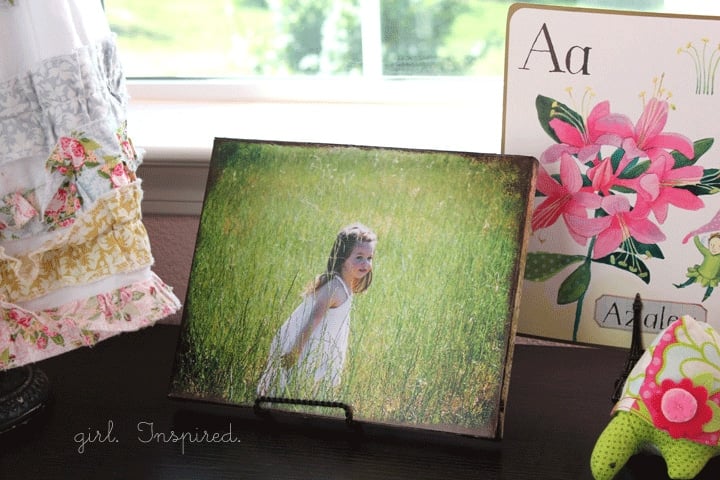
First, cut strips of scrapbook paper to fit each side of the canvas. It’s easiest if the strips are just slightly shorter and narrower than the sides. Apply mod podge liberally and glue strips on each side Glue the photograph to the top of the canvas. You can lay your project on wax paper so that it doesn’t stick to your work space while drying. Allow to dry completely.
Then, apply a coat of mod podge over the entire surface, the edges and the picture. Allow to dry completely again. It will look milky at first, but will dry clear. I used photos printed at Costco; they held up well and the ink didn’t smudge or anything wonky like that.
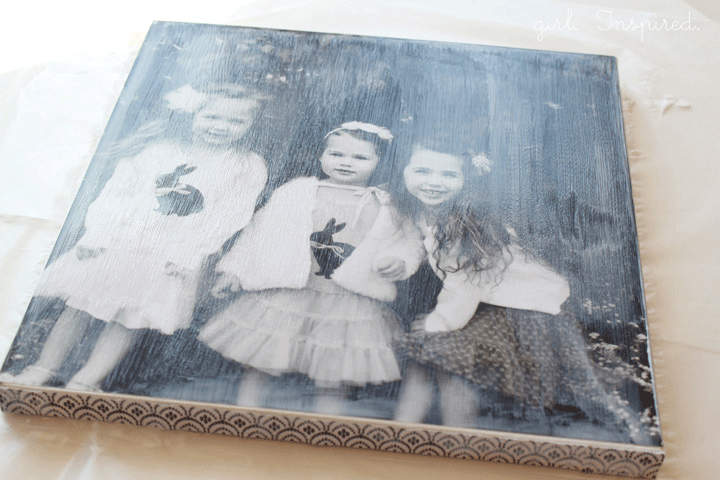
Okay, so after it’s all dry, use a sponge or cloth to dab on acrylic paint to cover any spaces between side paper strips and the photograph. I also liked the look of smudging up the corners. The paint adds a little texture that I like, too.

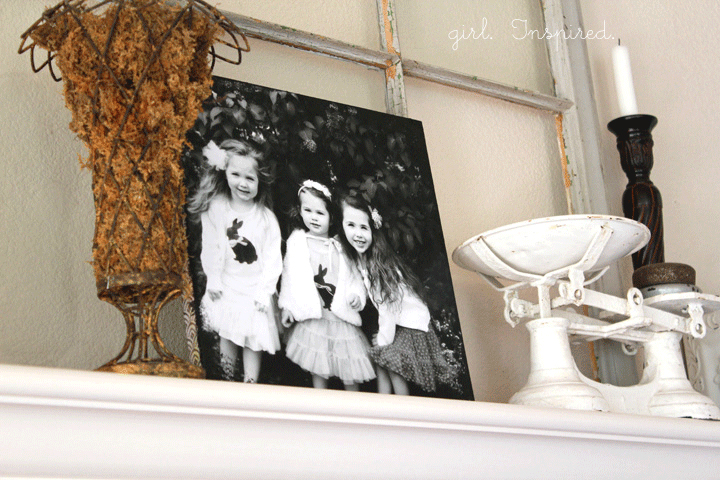
I only got a quick snapshot of Graham’s picture before we wrapped it up and now it resides at his office.
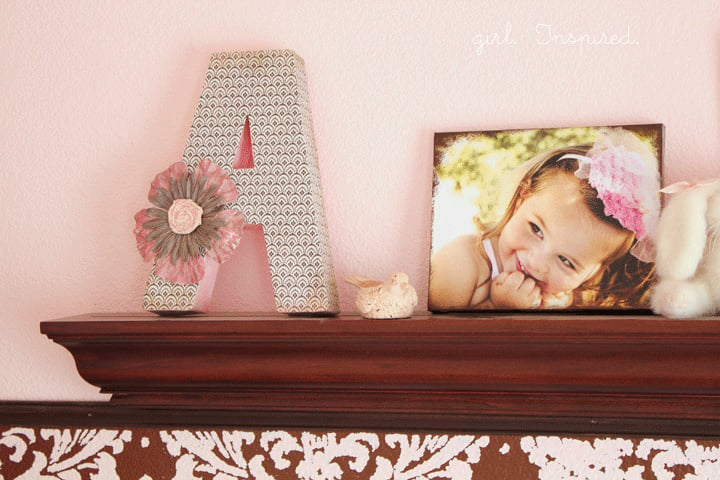
I made a couple more canvas pictures for Addie’s room with my favorite pictures from her birthday. I usually prefer black and white photos, but I did these in color because I love how the coloring coordinates perfectly in her bedroom. Rather than the black acrylic paint, I mixed a metallic bronze, medium brown, and metallic black and dabbed that around the edges and corners. It took me a couple tries to get the right color combination, but since the mod podge was well dried, I was able to rub off the unwanted paint with a damp sponge – foolproof! You gotta love that.
This is one of those immediate gratification projects. Each step literally takes less than a minute, and the mod podge dries fairly quickly (e.g., less than 30 minutes). You can have your canvas photo project done and on display in no time at all!
I like it, I think I’m going to go for a big ‘ol picture next.
PLEASE ALSO READ: CANVAS PHOTOS DIY REVISITED


Comments & Reviews
Lacey Stephens says
Thank you for the inspiration and tutorial! I tried and it they turned out great!! Thank you so much! You can see my post here…
http://handstampedbylacey.typepad.com/my_weblog/2012/01/turn-pictures-into-canvas-wall-art.html
I linked to your tutorial.
~Lacey
http://www.stampandcreate.com
Kelly @ Here Comes the Sun says
Thank you so much for this tutorial! I am pinning it now and am going to try this for photos for our living room.
Courtney Locke says
I just did this and hung them in my living room! They turned out so great and were so easy to do! Thank you!!
Anonymous says
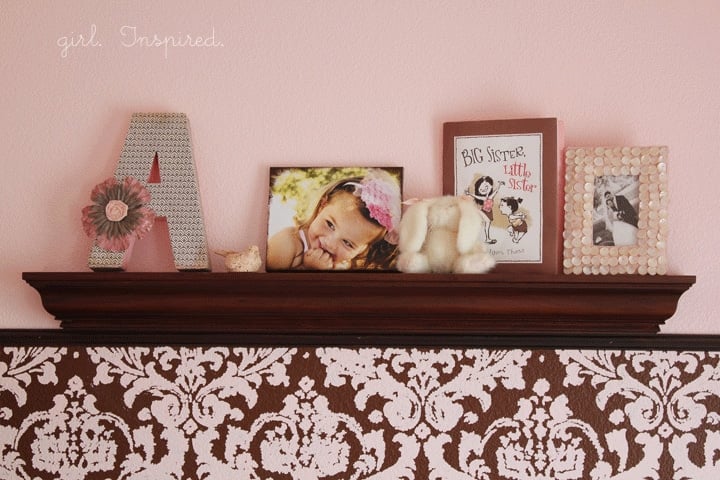
Thanks for the great tutorial. Did you use the same technique to the letter ‘A’ in the first photo? Any instructions, tips for letters?
Stef says
I love the idea of doing it on wood, Kristina!Quick answers to some of other frequent questions:I use matte mod podge and I buy it at any hobby/craft store.I have never tried lacquer or spray-on acrylic paint – if you try it, let us know how it turns out!I have my pictures printed in a MATTE finish at Costco – I do not have problems with the pictures bubbling or bleeding. Thicker scrapbook paper tends to bubble less when drying – I walk by every few minutes and press any bubbles in the paper out to the surface. I will be posting again on this topic soon – check back for more tips!
Kristina says
I did this for Christmas gifts, but I block mounted them onto wood. I bought nice wood at Lowes, cut it to the various sizes I needed, sanded the edges, stained the sides and back then mod podged my pictures on. A couple of things that are key to the process…the pictures need to be matte finish, not glossy. That will result in the bubbles some people have experienced. I used glossy mod podge and loved the results. A wide foam brush is best. The few stroke marks that are visible just lend to the canvas look for me, almost an oil painted brush stroke! I’m thrilled with this whole concept…I’m a photographer, but I don’t have much printed because frames are SO expensive!
Anonymous says
I tried this on canvas with printed photo and it got wrinkled tried it with photo paper and that one also wrinkled is there a trick to this
Lacey Stephens says
I tried this yesterday and it turned out great! Thanks for the tutorial
Liz says
Can’t wait to try this one!
Kim Z says
Thank you so much for your idea! I made 4 for Christmas presents and they were a hit! Would you be able to tell me how you made the “A” that sits on your shelf in a few of the above pics? Want to do the same thing for my baby that is due in a month. Thanks!
Anonymous says
Beautiful!!I have done this before but when I glued the photo to the canvas it bubbled up in certain places as it was drying. Do you have any suggestions on how to not let that happen?
Anonymous says
Beautiful!!!! Wonderful idea!!! For those of you that can’t find mod podge, make it. Equal parts of Elmer’s glue and water! Works just the same, but MUCH cheaper. 🙂
anshuman says
The idea shared by a hobbyist on how to make DIY acrylic photos.photo on acrylic printing
Anonymous says
What a great idea! Where do you get the mod podge from?
Jenni says
Any JoAnn’s Fabric or Michaels sells ModPodge.
Anonymous says
I’ve done this with posters and LOVE it! Going to try the paper and paint around the edges…what a great edition!